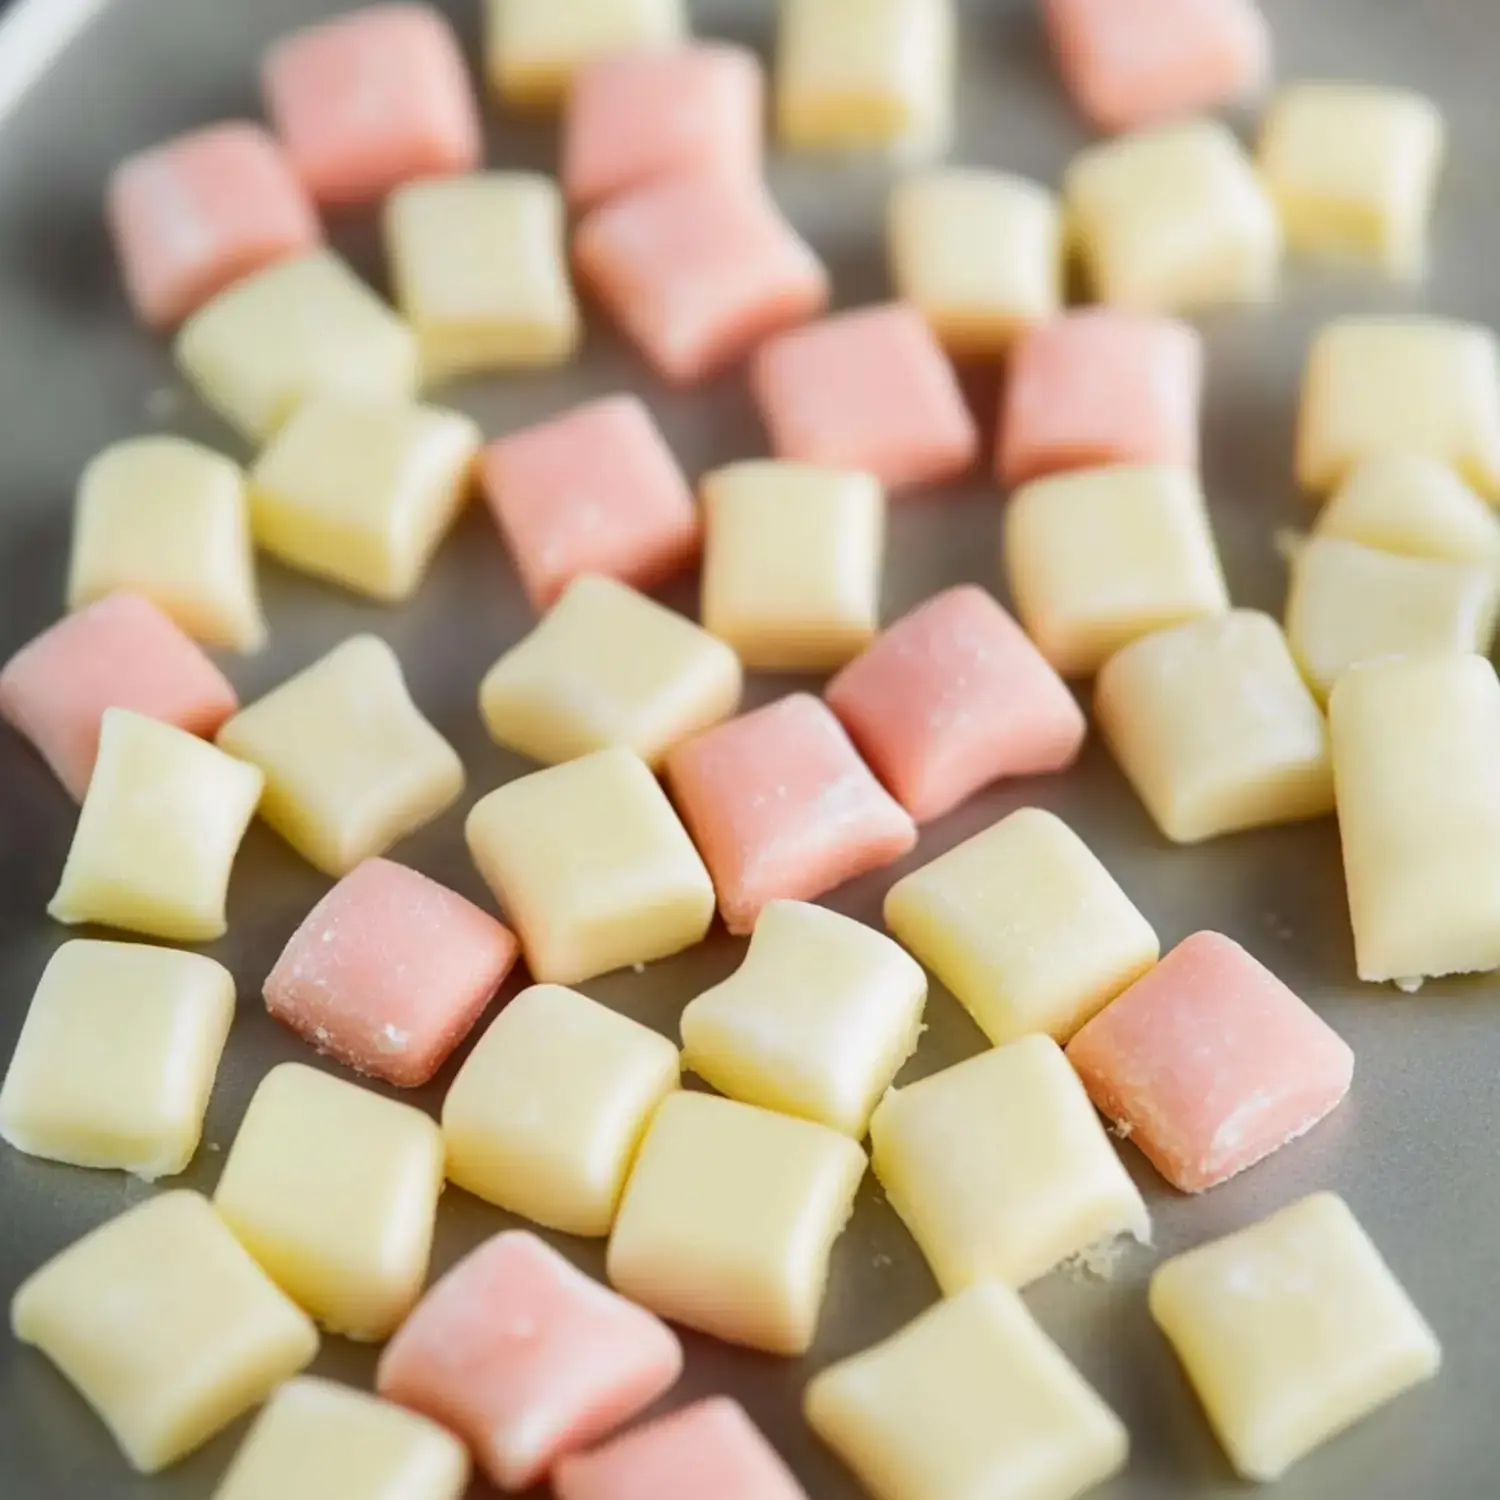
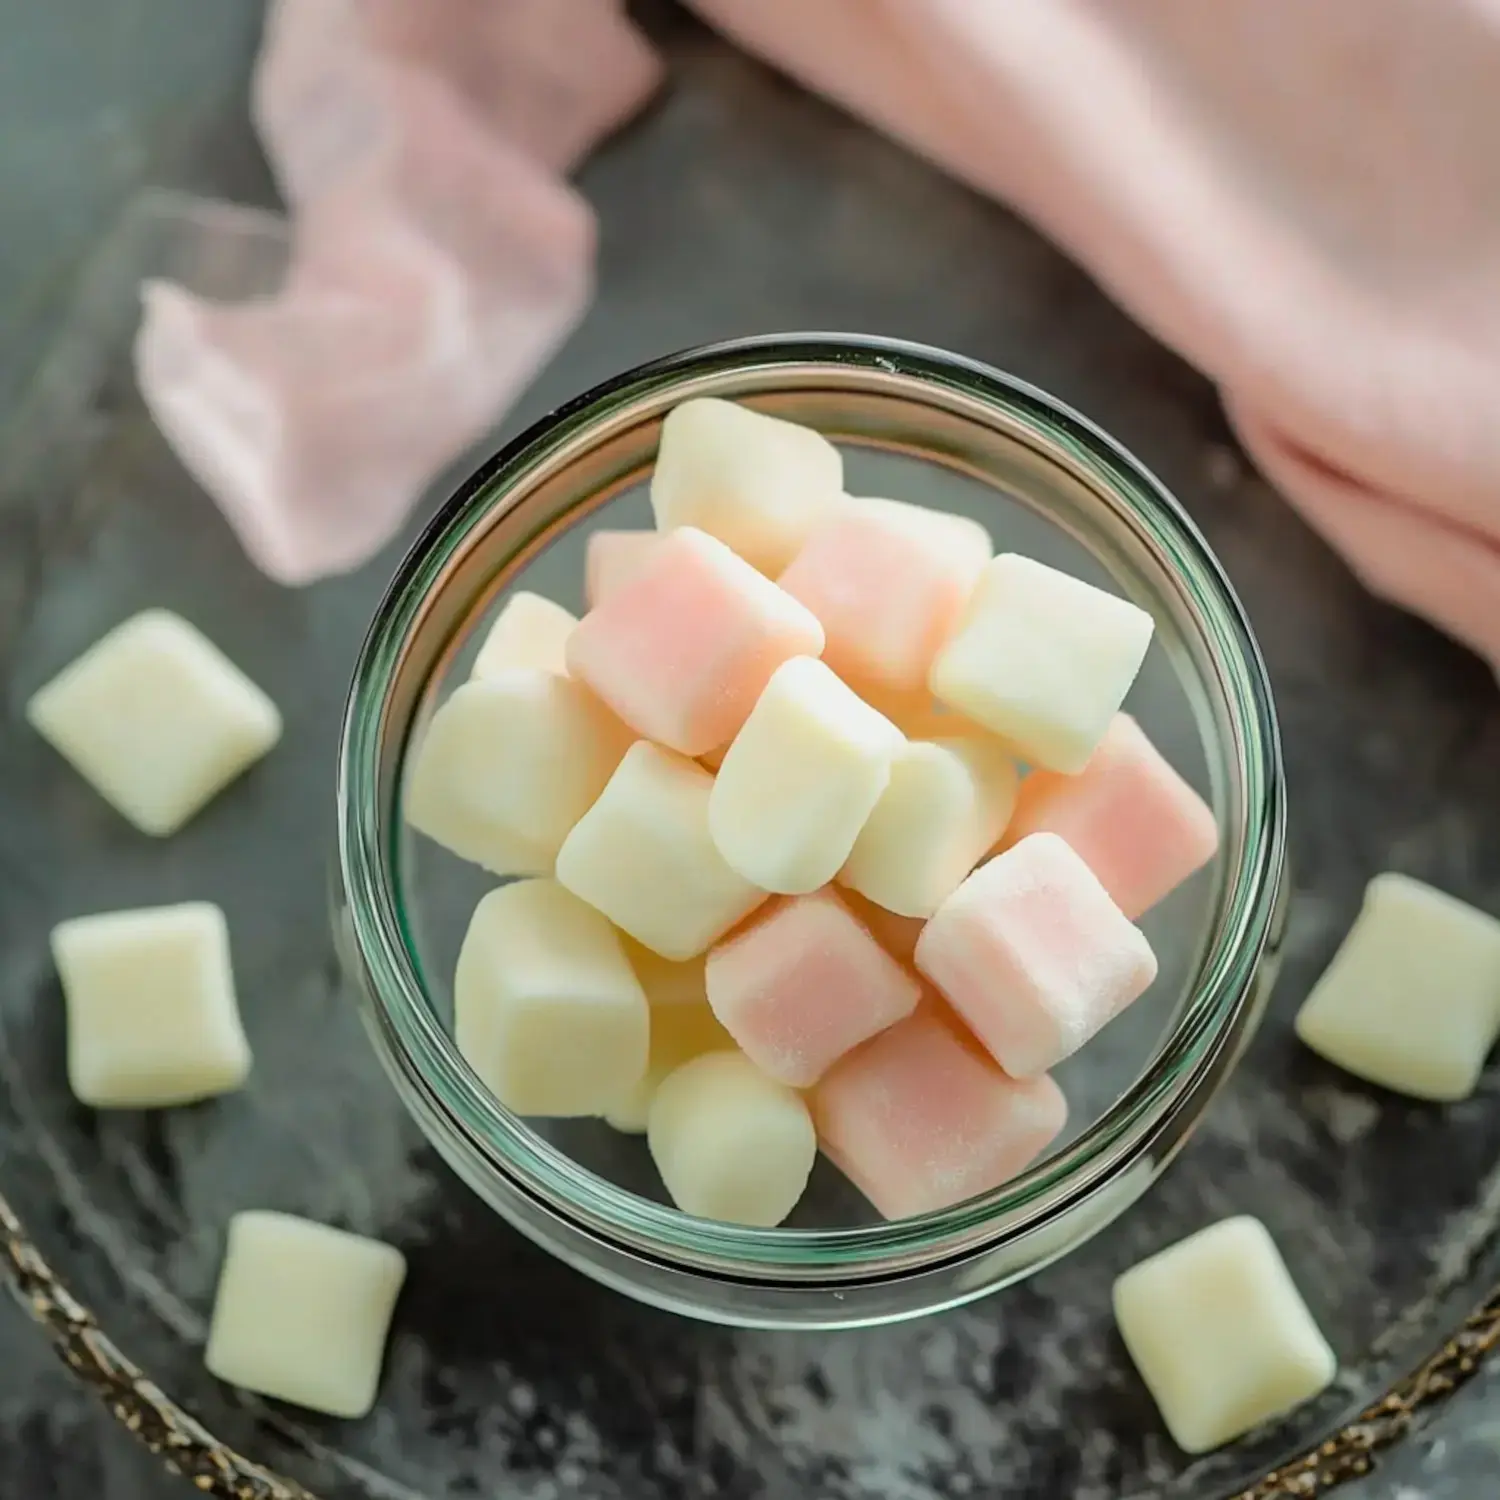
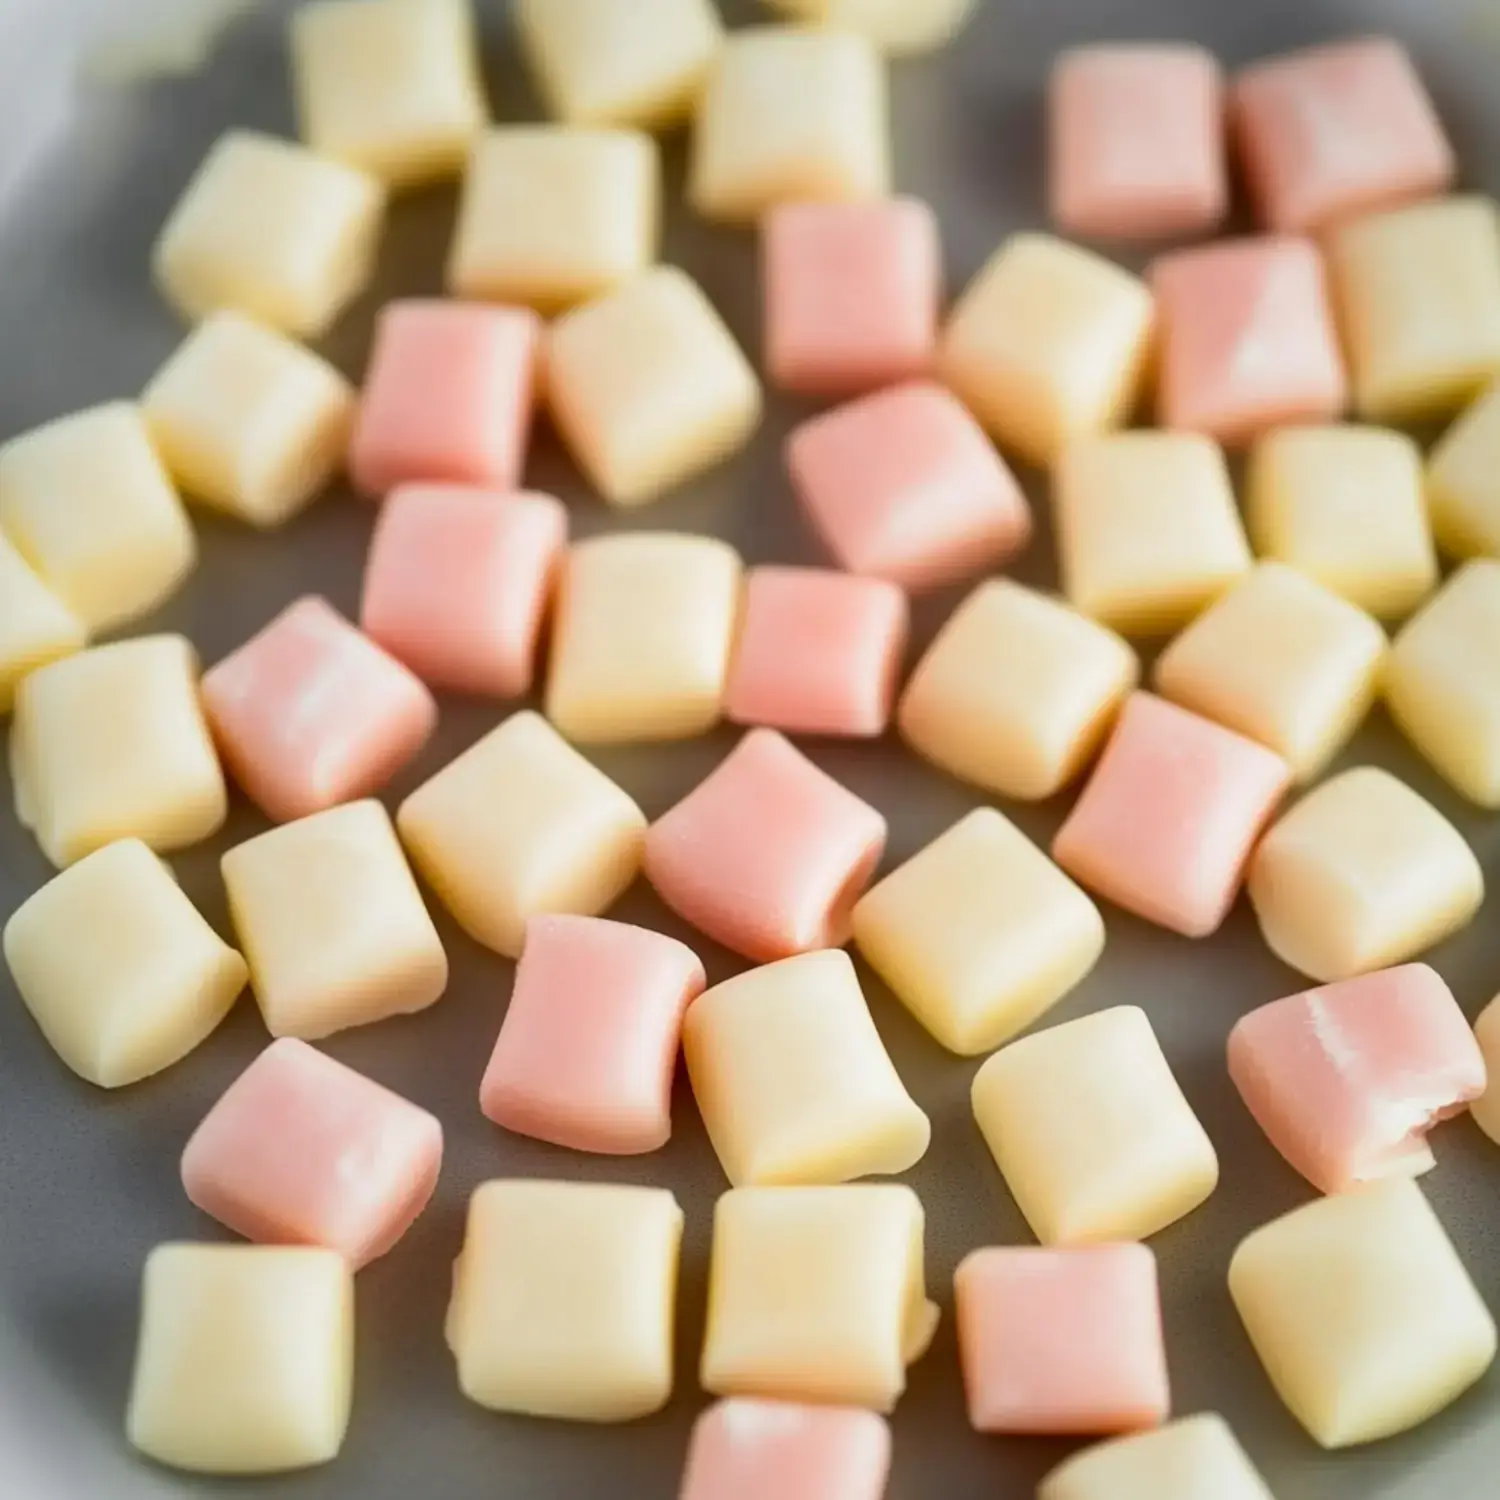
 Pin it
My butter mints story began when I wanted to recreate those dreamy wedding mints from my childhood. Now they've become our family's signature celebration treat. The way they melt in your mouth with that perfect balance of butter and peppermint creates pure magic in every bite. Plus they're so fun to make with little helpers in the kitchen.
Sweet Memories Made Fresh
What I love most about these mints is how they bring back such wonderful memories while making new ones. That creamy texture and gentle mint flavor take me right back to special occasions. Now my kitchen becomes a candy shop whenever we make them everyone choosing their favorite colors.
Everything You'll Need
- Good Butter: Quarter cup softened just right.
- Pinch of Salt: Makes everything taste better.
- Powdered Sugar: Four cups sifted for smoothness.
- Peppermint Extract: Pure not artificial makes a difference.
- Real Vanilla: Adds such lovely depth.
- Heavy Cream: Makes everything extra silky.
- Food Colors: For making rainbows if you like.
 Pin it
Let's Make Some Magic
- Starting Our Dough
- Watch that butter and sugar become cloud-like in your mixer. Every ingredient adds its own special touch until we have the perfect consistency like velvet play dough.
- Getting It Just Right
- Sometimes we need a little more sugar or cream it's like a dance getting everything perfect. Trust your hands they'll tell you when it feels right.
- Shaping Dreams
- Roll these little treats with love making whatever shapes bring you joy. My grandmother used to make tiny roses I stick to simple balls and logs.
- Patience Time
- Let them rest overnight like tucking them in with a blanket. The waiting is hard but worth it for that perfect texture.
My Kitchen Secrets
That butter temperature is everything too soft makes sticky dough too firm won't blend right. Add your sugar slowly like you're feeding baby birds. And if things aren't quite right a splash of cream or pinch of sugar works wonders.
Making Them Your Own
Some days we make them pink for baby showers other times soft blue for weddings. My daughter loves adding coconut flavor while my son swears by almond. Each batch becomes its own special creation that's the joy of these little treats.
Keeping Them Fresh
These little treasures stay perfect in a good container for couple weeks on the counter. Pop them in the fridge and they'll keep even longer. I love having a stash in the freezer ready for unexpected celebrations they thaw beautifully.
Perfect For Any Party
Whether it's my niece's wedding shower or just Sunday dinner these little mints make everything feel special. I love how easy they are to make ahead giving me time to enjoy the celebration. Sometimes I'll arrange them in pretty patterns on serving plates watching guests' eyes light up when they spot them.
Why Everyone Loves Them
There's something about these mints that brings out smiles and stories. Maybe it's how they remind us of special moments or maybe it's just their melt-in-your-mouth magic. Every time I make them someone shares a sweet memory about similar treats at their grandmother's house.
Mix It Up Your Way
The joy of these mints is how they welcome your own touches. A drop of food coloring here a different flavor there suddenly they're uniquely yours. For my sister's gender reveal party we made them in secret shades of pink and blue watching everyone's delight as they discovered the surprise.
Keeping The Magic Fresh
In a good container these little joys stay happy for weeks. My secret stash in the fridge lasts even longer. And those special batches tucked away in the freezer? They're like finding treasure months later still perfect as ever.
Little Things That Matter
That perfectly softened butter makes all the difference in the world. Adding sugar bit by bit might take patience but creates the smoothest dough. These little details I've learned over the years turn good mints into little bites of joy that everyone remembers.
 Pin it
Frequently Asked Questions
- → Why do these need to set uncovered?
Leaving them uncovered allows them to dry properly, creating that signature melt-in-your-mouth texture. Covering them while setting can trap moisture and affect the final texture.
- → Can I make these ahead?
Yes, they keep for up to two weeks at room temperature or a month in the refrigerator. Store in airtight containers with wax paper between layers.
- → Why is the dough sticky?
If your dough is sticky, gradually add more powdered sugar until it reaches a playdough-like consistency. Humidity can affect how much sugar you need.
- → Can I use different flavors?
While peppermint is traditional, you can experiment with other extracts like wintergreen or spearmint. Just use the same amount as called for in the recipe.
- → Why use an electric mixer?
The dough becomes very stiff and is difficult to mix by hand. A stand mixer is ideal, but a hand mixer will work with some effort.
