 Pin it
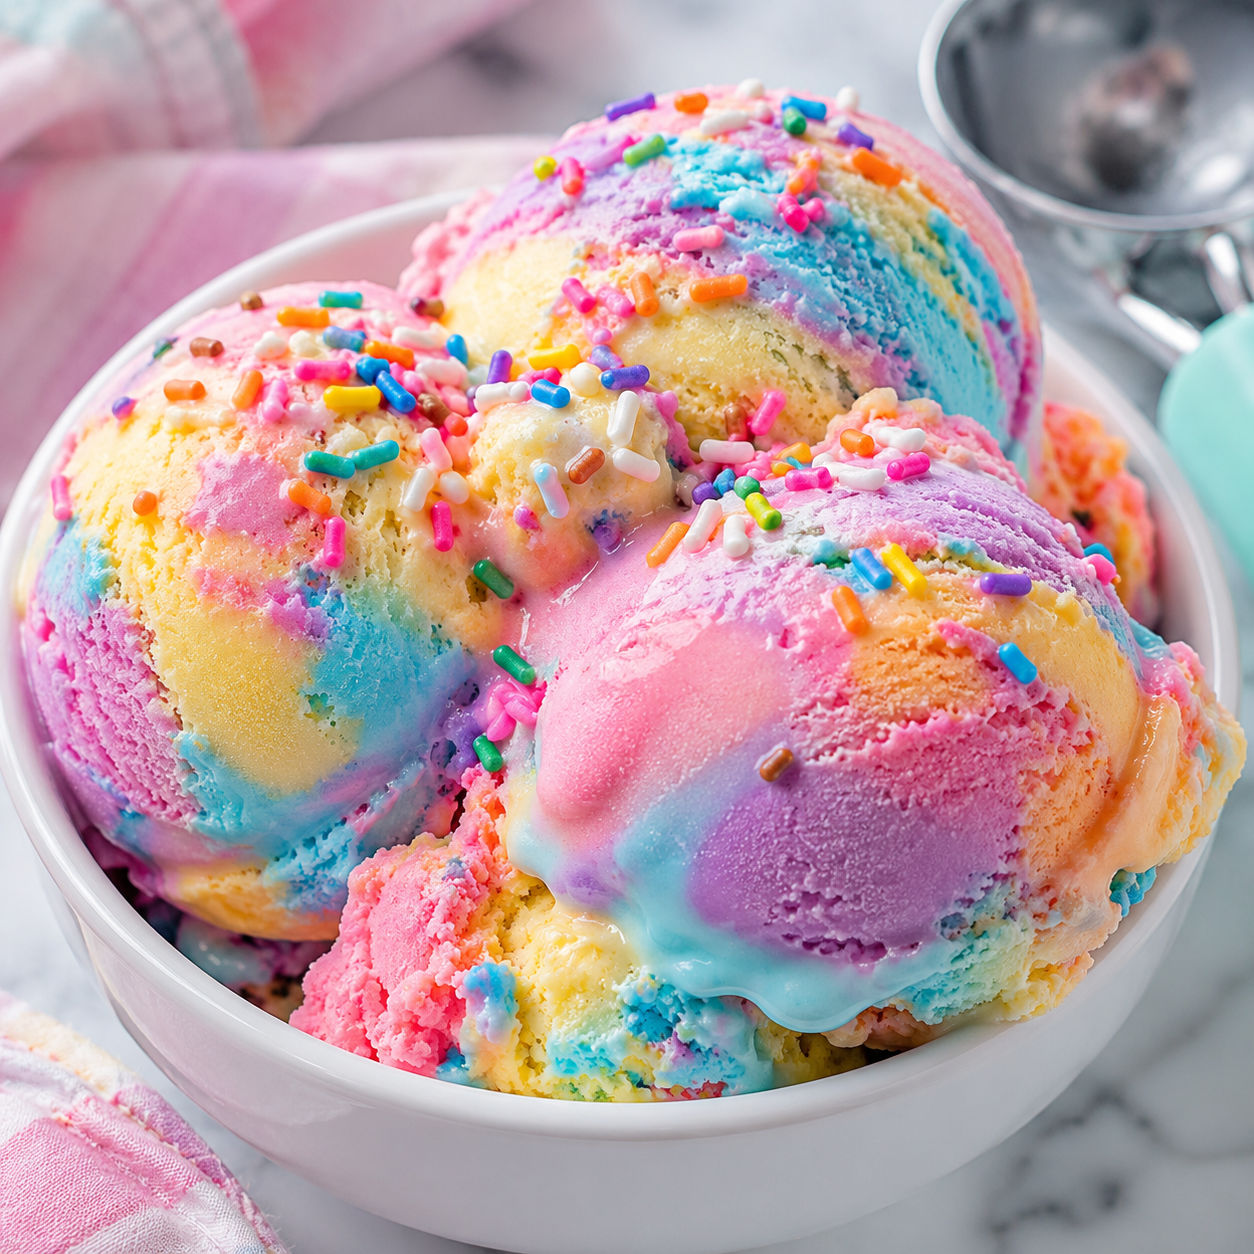
Ultimate Homemade Rainbow Ice Cream is the kind of freezer treat that makes people hover near the kitchen before it is even scoopable. It starts with a simple no-churn vanilla base, then gets divided into bright colors and layered into soft, creamy ribbons.
I like this version because it keeps the flavor clean. The colors look playful, but the ice cream still tastes like rich vanilla cream with a little crunch from sprinkles. No ice cream maker needed.
Rainbow Scoops Start Here
Use cold heavy cream and a fresh can of sweetened condensed milk for the smoothest base. Gel colors give the boldest rainbow without watering down the mixture.
Sprinkles are optional, but they make the finished scoops feel party-ready. Use jimmies rather than tiny nonpareils if you want less color bleeding.
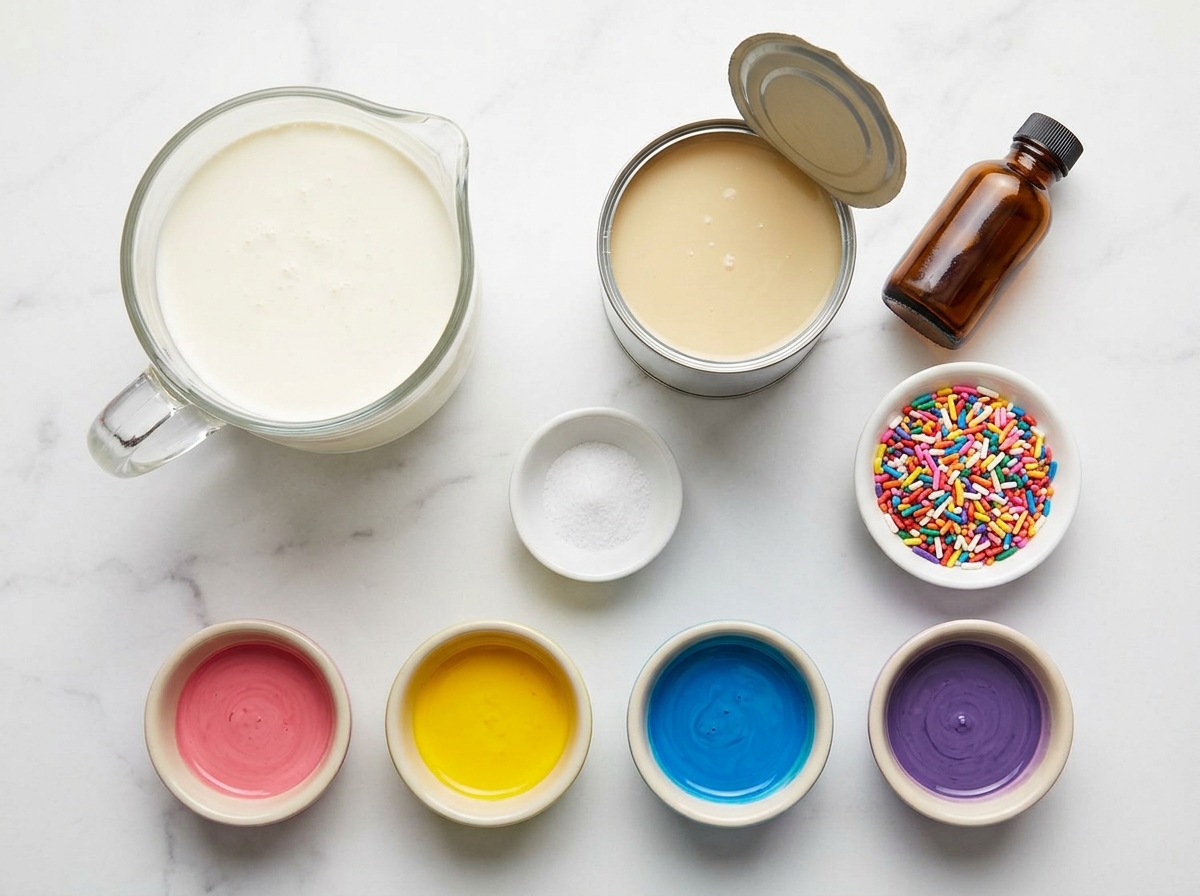
- Heavy cream. Whips into the airy structure that makes this no-churn ice cream scoopable.
- Sweetened condensed milk. Adds sweetness and keeps the frozen base softer than plain milk would.
- Vanilla extract. Gives the colors a creamy bakery-style flavor.
- Fine salt. Balances the sweetness so the ice cream does not taste flat.
- Gel food coloring. Creates bold pink, yellow, blue, and purple ribbons with only a few drops.
- Rainbow sprinkles. Add crunch and a little extra color through the scoops.
Ultimate Rainbow Ice Cream Method
- Chill the tools. Put the mixing bowl and beaters in the freezer for 10 minutes so the cream whips faster and holds its shape.
- Whip the cream. Beat the cold heavy cream until stiff peaks form. Stop as soon as the peaks stand up, since overbeaten cream can turn grainy.
- Fold the base. Stir sweetened condensed milk, vanilla, and salt in a separate bowl. Fold in the whipped cream in two additions until no white streaks remain.
- Tint the colors. Divide the base into four bowls. Add a small amount of gel color to each bowl and fold gently until the colors look even.
- Layer and swirl. Spoon the colors into a loaf pan in patches. Drag a butter knife through the pan once or twice to make ribbons.
- Freeze until firm. Scatter sprinkles over the top, cover tightly, and freeze for at least 6 hours. Let it soften for 5 minutes before scooping.
Keep The Texture Creamy
No-churn ice cream depends on air, fat, and sugar. The air comes from whipped cream. The fat gives richness. The condensed milk keeps the frozen base from turning rock hard.
Fold with a wide spatula and scrape from the bottom of the bowl. You want the mixture even, but not deflated. If you stir hard, the finished ice cream will freeze denser. For another creamy freezer dessert with a deeper flavor, try this homemade coffee ice cream.
Swirl Without Blending
The rainbow effect comes from layering, not mixing. Spoon each color into the pan in small mounds so every scoop catches more than one shade. Then make one loose figure-eight with a knife. That is enough.
If you want stronger contrast, leave a few larger pockets of color instead of trying to marble every inch. Purple and blue can dominate quickly, so use slightly less of those colors. For a candy-style version, the No Churn Skittles Ice Cream has a brighter fruit candy direction.
Flavor And Mix-In Ideas
Vanilla keeps the colors clean, but you can change the base. Almond extract gives a bakery flavor. Cake batter extract makes it taste like birthday cake. A teaspoon of lemon zest is good if you want it lighter.
For mix-ins, stay small and dry. Mini marshmallows, white chocolate chips, crushed vanilla cookies, or chopped waffle cone pieces work well. Wet fruit can freeze icy in this style of ice cream. If you want a nutty homemade scoop instead, save this butter pecan ice cream for a slower weekend dessert.
Storage And Scooping
Cover the pan with plastic wrap pressed directly onto the ice cream, then add foil or a lid. This blocks icy crystals on the surface. The FoodSafety.gov cold storage chart is useful for general freezer storage habits.
For clean scoops, let the pan sit on the counter for 5-8 minutes. Dip the scoop in warm water, shake it dry, then scoop through several colors at once. Do not leave dairy-based ice cream sitting out for long. The FDA has simple guidance on safe food handling if you are serving this at a party.
Serving It For Parties
This ice cream is made for birthdays, pool days, and easy summer desserts. Scoop it into cones, sandwich it between soft cookies, or serve it with homemade whipped cream and extra sprinkles.
If you need to serve a group, pre-scoop the ice cream onto a chilled sheet pan lined with parchment. Freeze the scoops until firm, then move them to a covered container. It keeps the party moving and saves you from fighting a frozen loaf pan at the table.
Summary
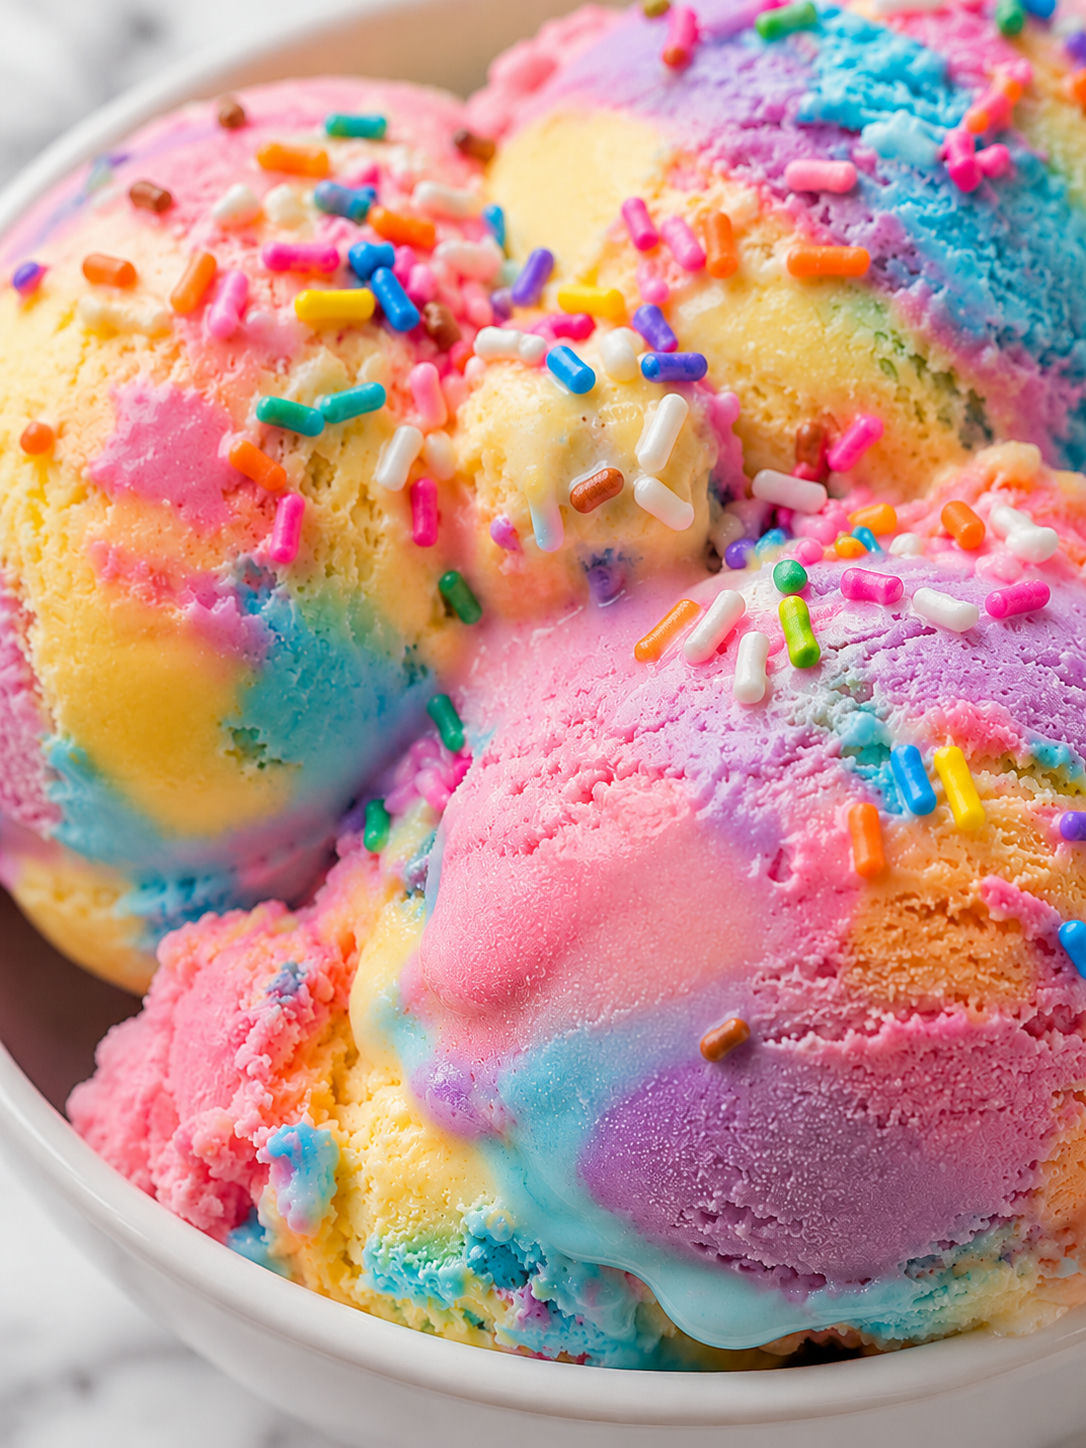
This rainbow ice cream is best made the night before so it has time to firm up. Let it sit at room temperature for a few minutes before scooping for the cleanest, creamiest curls.

FAQs
- Can I make Ultimate Homemade Rainbow Ice Cream without an ice cream maker?
Yes. This recipe is built for no-churn freezing. Whipped heavy cream traps air in the base, while sweetened condensed milk keeps the texture creamy instead of icy.
- What kind of food coloring works best?
Gel food coloring works better than liquid coloring because it gives strong color without thinning the ice cream base. Start with a tiny amount. You can always add more after mixing.
- Can I use whipped topping instead of heavy cream?
You can, but the texture will be lighter and sweeter. Heavy cream gives a richer homemade taste and better body. If using whipped topping, fold it gently with the condensed milk and skip the whipping step.
- How long does rainbow ice cream need to freeze?
Plan on at least 6 hours. Overnight is better for firm scoops. If the pan is very deep, the center may need a little longer to set.
- How do I keep the colors from turning muddy?
Layer spoonfuls of each color into the pan and swirl only once or twice with a knife. Do not stir the whole pan. Too much mixing blends the colors into grayish streaks.
- How long does homemade rainbow ice cream last?
It tastes best within 2 weeks. Press plastic wrap directly on the surface before adding the lid to slow freezer burn. Store it in the coldest part of the freezer, not the door.
- Can I add candy or cookies?
Yes, but keep the pieces small. Mini chocolate chips, rainbow sprinkles, crushed sandwich cookies, or chopped soft candy all work. Fold them into the base before dividing the colors.
