
 Pin it
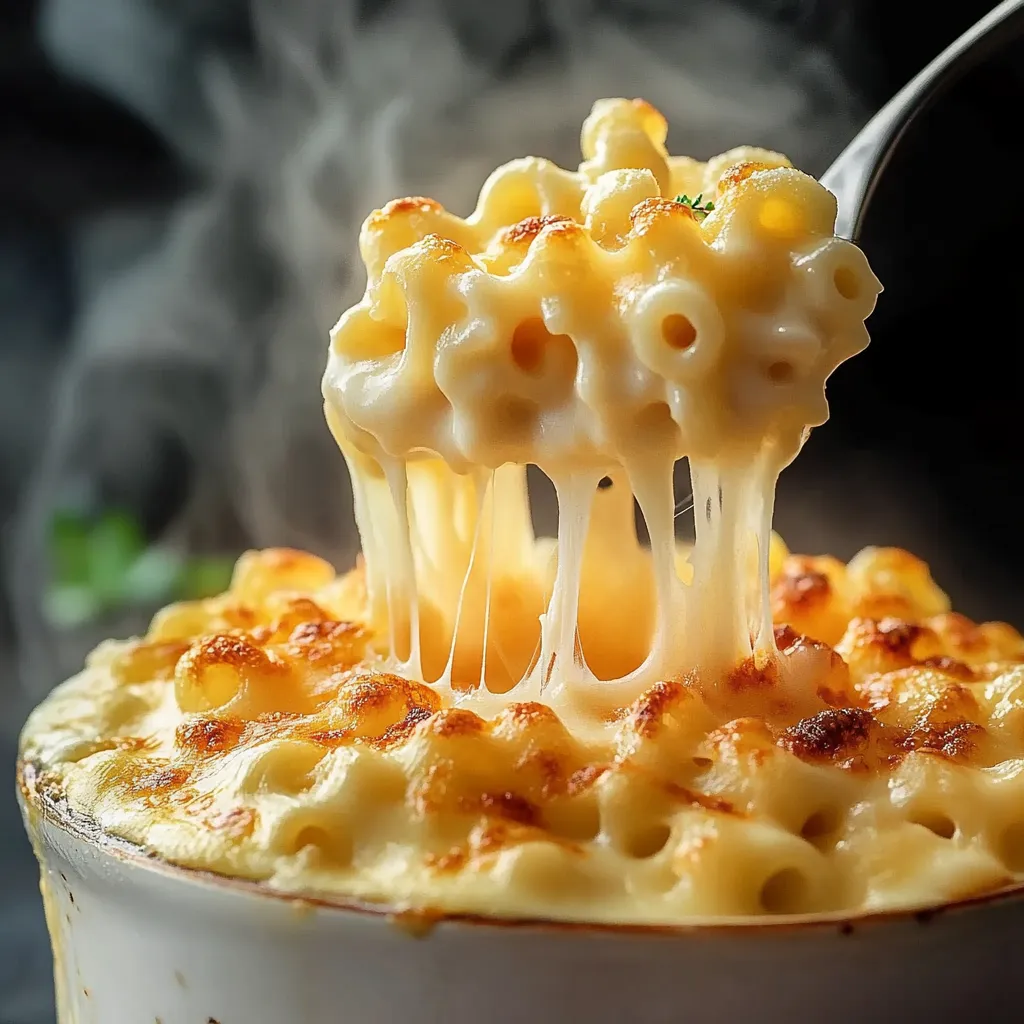
This ultra creamy mac and cheese transforms simple pasta into the ultimate comfort food with a blend of three gooey, melty cheeses and the perfect seasonings. When you need a dish that pleases everyone at the table, this family-favorite recipe delivers nostalgic flavor with a gourmet twist.
I developed this recipe after years of disappointing mac and cheese experiences. My kids would always compare restaurant versions to this one, inevitably declaring "Mom's is better!" This has become our celebration meal for every achievement, big or small.
Ingredients
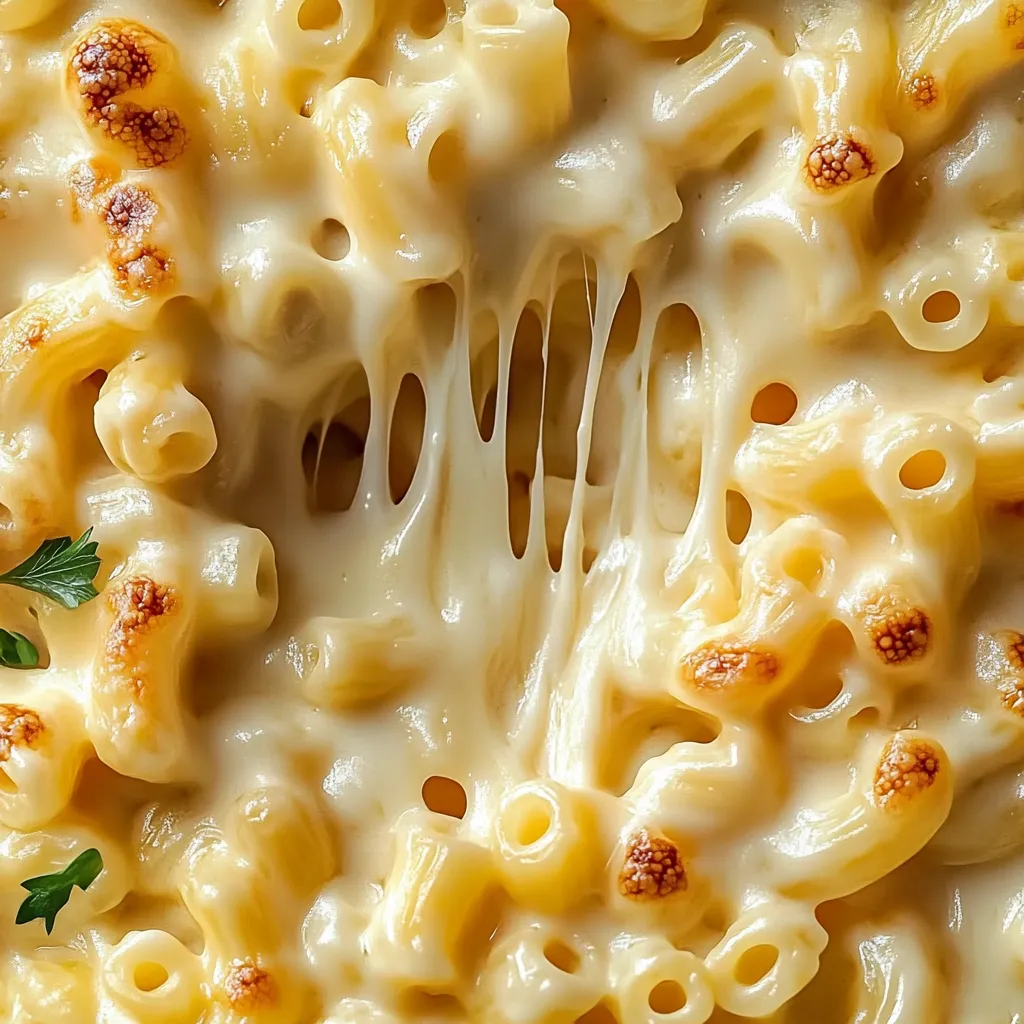
- Cavatappi pasta: Provides the perfect shape for catching all that delicious sauce in its ridges and curls
- Mozzarella cheese: Creates that Instagram-worthy cheese pull when serving
- Colby jack cheese: Delivers a mild, buttery flavor that appeals to everyone
- Sharp cheddar cheese: Adds the classic mac and cheese tang that makes this dish special
- Unsalted butter: Allows you to control the salt level in your final dish
- All-purpose flour: Forms the base of your roux for thickening
- Evaporated milk: Provides richness without being too heavy
- Heavy cream: Creates that luxurious silky texture
- Dijon mustard: Enhances the cheese flavor without tasting mustardy
- Garlic powder: Adds savory depth without overwhelming the dish
- Smoked paprika: Brings a subtle smokiness that elevates the entire recipe
Step-by-Step Instructions
- Boil the Pasta:
- Fill a large pot with water until it's about three-quarters full. Add 1 tablespoon of salt and bring to a rolling boil. Add the cavatappi pasta and stir immediately to prevent sticking. Cook for exactly 1 minute less than the package directions state for al dente. The pasta will continue cooking in the oven, so this prevents it from becoming mushy. Reserve ½ cup of pasta water before draining. Rinse the pasta briefly with cold water to stop the cooking process.
- Create the Roux Foundation:
- In a large, heavy-bottomed saucepan, melt 3 tablespoons of unsalted butter over medium heat until it begins to bubble slightly. Sprinkle in 3 tablespoons of flour and whisk continuously for 90 seconds. The mixture should smell slightly nutty and turn a light golden color. This cooking step eliminates the raw flour taste and creates the foundation for your cheese sauce.
- Develop the Cream Base:
- Reduce heat to medium-low. Slowly pour in the evaporated milk in a steady stream while whisking constantly to prevent lumps. Once smooth, gradually add the heavy cream using the same technique. Continue whisking for about 3 minutes until the mixture begins to thicken slightly. Add the Dijon mustard, salt, pepper, garlic powder, and smoked paprika. The sauce should coat the back of a spoon but still be pourable.
- Master the Cheese Melt:
- Turn heat to low. The secret to smooth cheese sauce is adding it gradually. Working with about ½ cup at a time, add the shredded cheeses, stirring continuously between additions. Start with mozzarella, then colby jack, finishing with sharp cheddar. Allow each addition to fully melt before adding more. This prevents the proteins in the cheese from clumping and ensures a silky texture.
- Combine with Precision:
- Remove the sauce from heat. Add the drained pasta to the cheese sauce, folding gently with a silicone spatula to coat every piece without breaking the pasta. If the sauce seems too thick, add reserved pasta water a tablespoon at a time until you reach your desired consistency. The starch in the pasta water helps maintain the smooth texture of your sauce.
- Perfect the Bake:
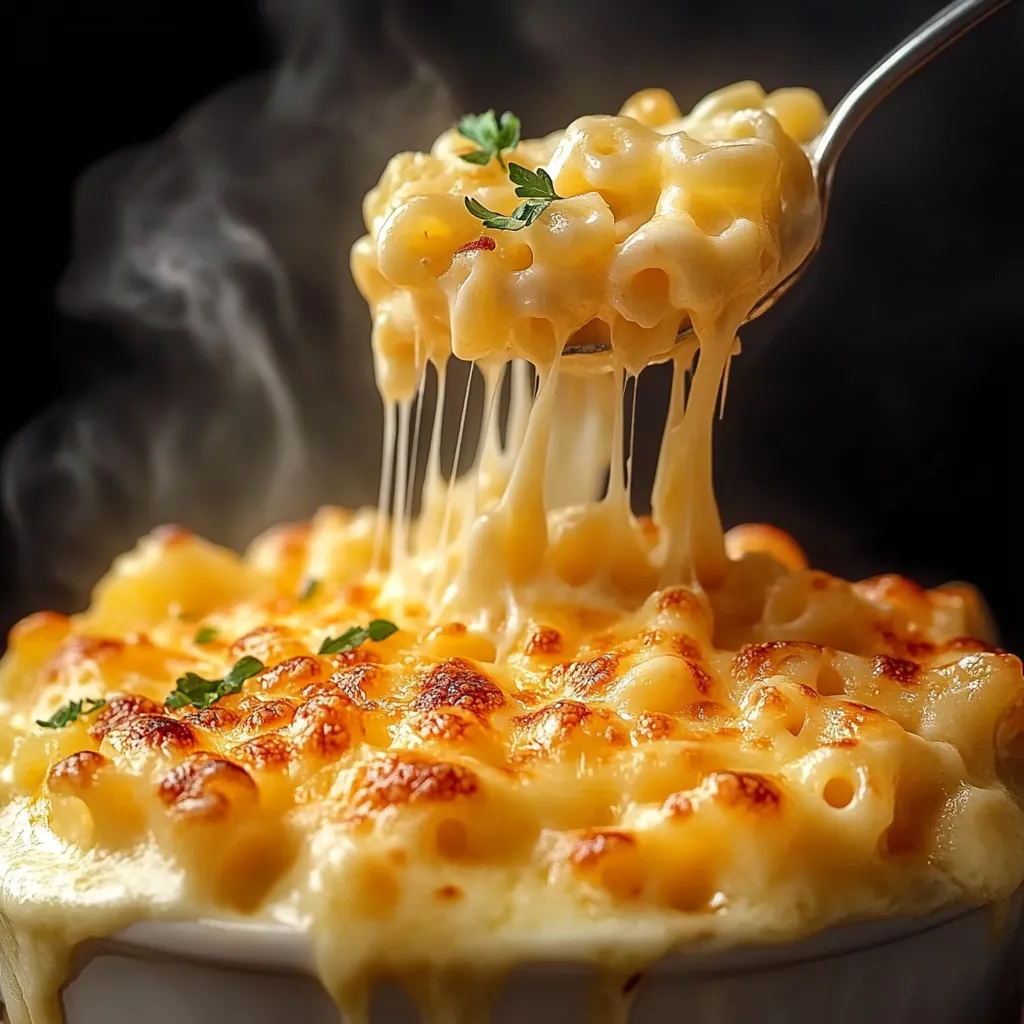
- Preheat your oven to 350°F and lightly grease a 9x13 casserole dish with butter. Transfer the mac and cheese mixture into the dish, spreading it evenly. Sprinkle an additional ½ cup of mixed cheeses over the top. Bake uncovered for 25 minutes, or until the edges are bubbling and the top develops a light golden crust. For an extra crispy top, broil for the final 2 minutes, watching carefully to prevent burning.
 Pin it
My absolute favorite part of this recipe is the contrast between the creamy interior and the slightly crispy top layer after baking. I remember the first time my daughter took a bite of this mac and cheese she declared it "better than birthday cake" which might be the highest compliment a seven-year-old can give.
Make-Ahead Options
This mac and cheese can be assembled up to 24 hours before baking. Prepare through the combining step, transfer to your baking dish, cover tightly with plastic wrap, and refrigerate. When ready to bake, remove from the refrigerator 30 minutes before cooking to take the chill off, then bake as directed, adding an extra 5-10 minutes to the baking time.
Reheating Without Drying Out
The secret to reheating mac and cheese without losing its creamy texture is adding moisture. For stovetop reheating, place leftovers in a saucepan with 1-2 tablespoons of milk per cup of pasta. Heat gently over medium-low heat, stirring occasionally. For microwave reheating, sprinkle 1 tablespoon of water or milk over each serving, cover with a damp paper towel, and heat in 30-second intervals, stirring between each until heated through.
Exciting Variations
Transform this classic recipe with mix-ins. For a protein boost, add 2 cups of shredded rotisserie chicken or 8 ounces of crispy bacon pieces before baking. Create a buffalo chicken version by stirring in ¼ cup of buffalo sauce and topping with crumbled blue cheese. For a vegetable addition that even kids will love, fold in 2 cups of roasted broccoli florets or caramelized onions. The versatility of this base recipe makes it perfect for customization.
 Pin it
Enjoy this ultra creamy, perfectly cheesy comfort meal anytime you're craving indulgence!
Frequently Asked Questions
- → Can I use different cheeses in this mac and cheese?
Absolutely! While the combination of mozzarella, colby jack, and sharp cheddar creates a perfect balance of meltability and flavor, you can substitute with other good melting cheeses like Gruyère, fontina, or Monterey Jack. Just maintain similar proportions of cheese to sauce for the right consistency.
- → Can I make this dish ahead of time?
Yes! You can prepare the pasta and cheese sauce, combine them, and refrigerate in the baking dish for up to 2 days before baking. When ready to serve, let it sit at room temperature for 30 minutes, then bake as directed, adding 5-10 minutes to the baking time since it will be starting cold.
- → What can I add to enhance this mac and cheese?
This dish welcomes many additions! Try mixing in crispy bacon, sautéed mushrooms, caramelized onions, steamed broccoli, or diced ham before baking. For a crunchy topping, sprinkle panko breadcrumbs mixed with melted butter over the top before baking.
- → Why use evaporated milk in the sauce?
Evaporated milk adds richness and creaminess while containing less fat than heavy cream. Its slightly caramelized flavor adds depth, and the higher protein content helps create a smooth, stable cheese sauce that's less likely to break or become grainy.
- → Is it necessary to bake the mac and cheese?
Baking is optional but recommended for developing flavor and texture. The top becomes slightly crispy while the inside remains creamy. If you prefer, you can serve it straight from the stovetop after combining the pasta and cheese sauce for an ultra-creamy result.
- → What's the best pasta shape to use?
Corkscrew or cavatappi pasta works beautifully because its spiral shape captures the creamy sauce in its twists. Other good options include medium shells, elbow macaroni, or fusilli. Shapes with ridges or curves hold sauce better than smooth, straight pasta.