 Pin it
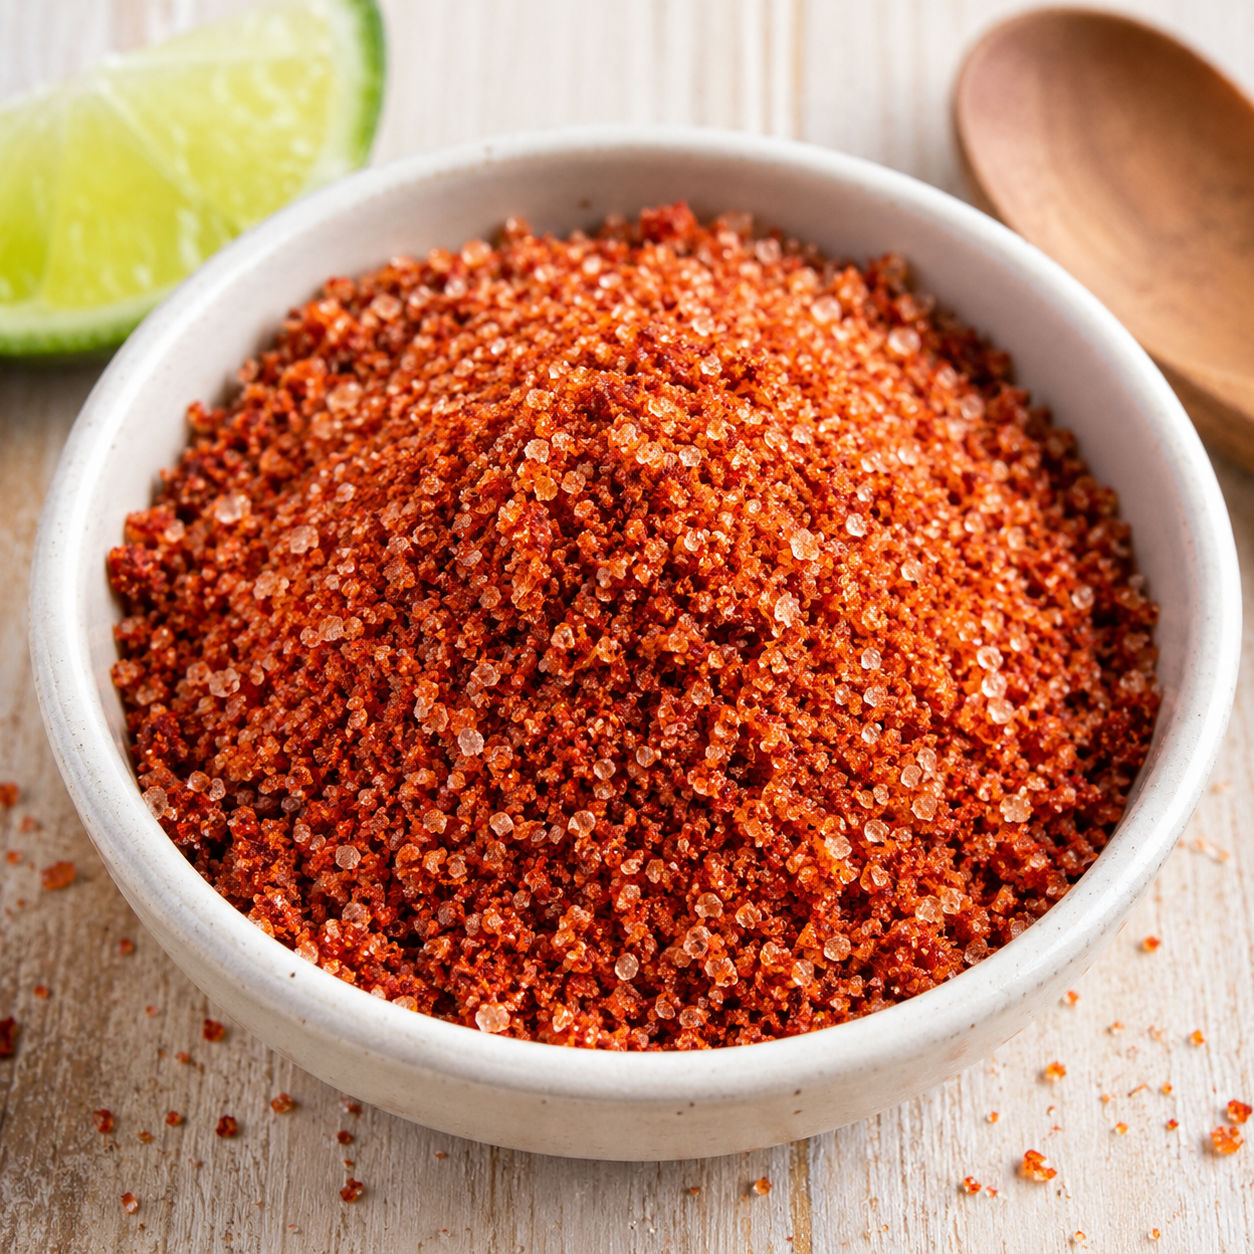
Sriracha Salt is one of those tiny kitchen projects that pays you back all week. You stir hot sauce into coarse salt, dry it gently, then break it into a bright red seasoning that wakes up fries, eggs, grilled meat, roasted vegetables, and snack mix.
The flavor is salty first, then garlicky and warm, with the vinegar tang from the hot sauce coming through at the end. The key is drying it all the way. If the salt still feels damp, it will clump in the jar.
Two Ingredients, Big Payoff
Use a coarse salt with clean flavor and a hot sauce you already like. Since there are only two ingredients, the finished Sriracha Salt will taste exactly like the sauce and salt you choose.
- Coarse kosher salt. Gives the seasoning a crunchy finish and enough surface area to hold the sauce.
- Sriracha hot sauce. Adds chile heat, garlic, vinegar tang, and a little sweetness.
- Garlic powder. Optional, but useful if you want a deeper savory note after drying.
- Parchment paper. Keeps the sticky salt from welding itself to the baking sheet.
Dry It Until Crisp
- Mix the salt. Stir the coarse salt, sriracha, and optional garlic powder in a bowl until every grain looks evenly stained red.
- Spread it thin. Scrape the mixture onto a parchment-lined baking sheet. Press it into a shallow, even layer so moisture can escape.
- Bake it low. Dry at 200°F for 60-90 minutes, stirring every 20 minutes. The salt should look dull and feel gritty, not sticky.
- Cool and crumble. Let the salt cool on the pan. Break up any clumps with your fingers or pulse once or twice in a clean spice grinder.
- Store it airtight. Transfer to a dry jar once completely cool. Keep it away from steam and use it as a finishing salt.
The Drying Step Matters
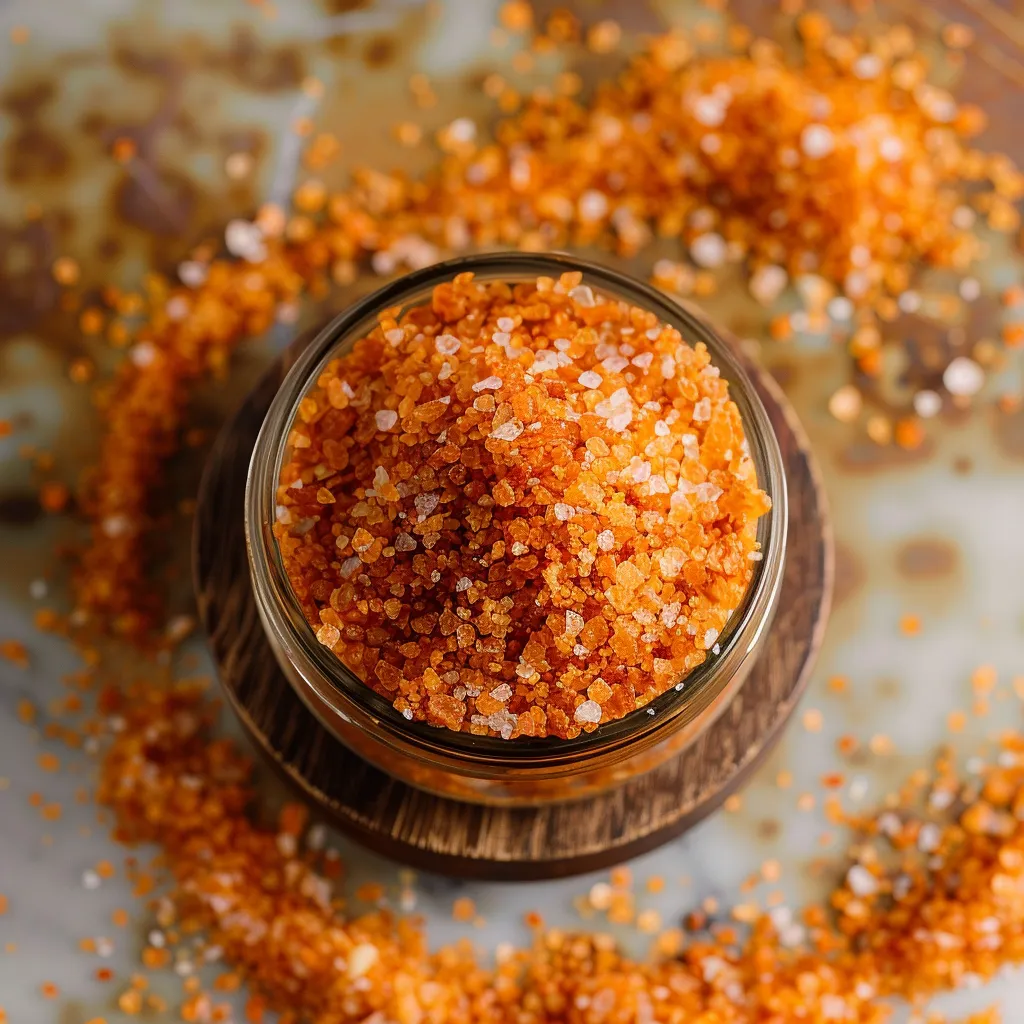
The oven is not really cooking the salt. It is driving off water from the hot sauce. Low heat protects the garlic and chile flavor, while steady stirring keeps the mixture from hardening into one sheet. If the salt darkens quickly, your oven is running hot. Lower it to 175°F and give it more time.
Spread the mixture thinner than you think. A thick mound traps moisture in the middle. That leads to sticky clumps later. Food safety basics still apply when you are handling sauces and storing homemade condiments, so I like the plain guidance from the USDA food safety section for keeping prep surfaces and jars clean.
How To Use It
Sriracha Salt is strongest as a finishing salt. Sprinkle it after cooking so the crunch and tang stay clear. It is excellent on fries, roasted sweet potatoes, buttered corn, fried eggs, deviled eggs, and avocado toast. For dinner, try a pinch over Oklahoma Onion SmashBurger patties or the cheesy sauce in Smashing Patty Melts Confidential Sauce.
It also works in snack food. Toss a little with popcorn, pretzels, or roasted nuts while they are still warm. Go lightly at first. This seasoning is salt plus hot sauce, so a heavy hand can take over fast.
Smart Flavor Adjustments
The basic ratio is flexible. One cup of coarse salt with 1/3 cup sriracha gives a bold, red, punchy salt. For a lighter batch, use 1/4 cup sauce. For extra chile warmth, add a pinch of cayenne before drying. For more garlic, add 1/4 teaspoon garlic powder, not fresh garlic. Fresh garlic adds too much moisture and can make storage less reliable.
You can also change the sauce. A smoky hot sauce makes a deeper seasoning for grilled foods. A sweeter chili sauce makes a friendlier version for snack mixes and party bites like Texas Twinkies Egg Rolls Honey.
Storage Without Clumps
Moisture is the only real enemy here. Let the salt cool fully before jarring it, then store it in a tight container away from the stove. Steam from boiling pots can sneak into shakers and make the grains stick together. If you live somewhere humid, add a few grains of uncooked rice to the jar or use a small food-safe desiccant packet.
If the salt clumps after a week, it is not ruined. Spread it back on parchment and dry it for 15-20 minutes at 200°F. Cool, crumble, and return it to a clean jar.
Serving Ideas For Parties
Set out Sriracha Salt with lime wedges and a bowl of crispy snacks. It gives people a way to add heat without covering everything in wet sauce. I like it beside sliders, wings, potato skins, and cheesy dips. It would be right at home next to Rotel Cream Cheese Sausage Balls because the spicy salt cuts through rich, creamy flavors.
For drinks, use it on the rim of a michelada or a spicy margarita. Rub the glass with lime first, dip lightly, then tap off the extra. A full rim can be too salty, so half the glass is usually better.
Summary
Keep a small jar by the stove and use a pinch at the end of cooking. It is strong, so start light and add more after tasting.
FAQs
- What is Sriracha Salt made of?
It is usually made with coarse salt and sriracha hot sauce. The hot sauce brings red chile heat, garlic, vinegar, and a little sweetness, while the salt turns it into a dry finishing seasoning.
- Can I use table salt instead of kosher salt?
I would not use table salt here. It is too fine, so it can turn pasty and taste harsh. Coarse kosher salt or coarse sea salt gives better texture and dries more evenly.
- How dry should Sriracha Salt be?
It should feel crisp and sandy once cool. If it smears on the parchment or sticks to your fingers, return it to the oven for another 15-20 minutes and stir again.
- How long does homemade Sriracha Salt last?
Store it in an airtight jar in a cool, dry pantry for about 2 months. Use a clean, dry spoon so moisture does not get into the jar.
- Can I make it less spicy?
Yes. Use 1/4 cup sriracha for every cup of salt instead of 1/3 cup. You can also mix the finished salt with more plain coarse salt to soften the heat.
- What should I put Sriracha Salt on?
Try it on fries, roasted potatoes, corn, eggs, avocado toast, popcorn, grilled chicken, burgers, and noodle bowls. It is especially good on rich or crispy foods that can handle salt and heat.
