
 Pin it
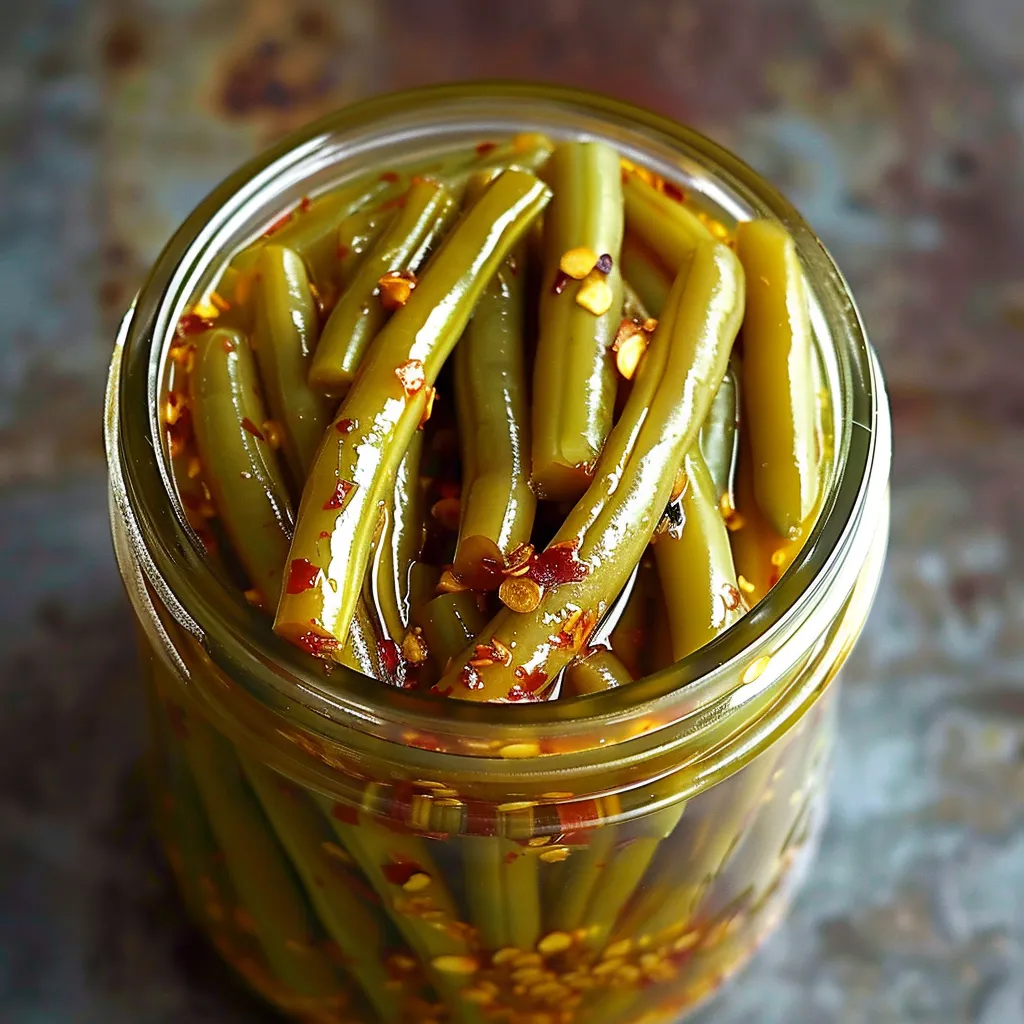
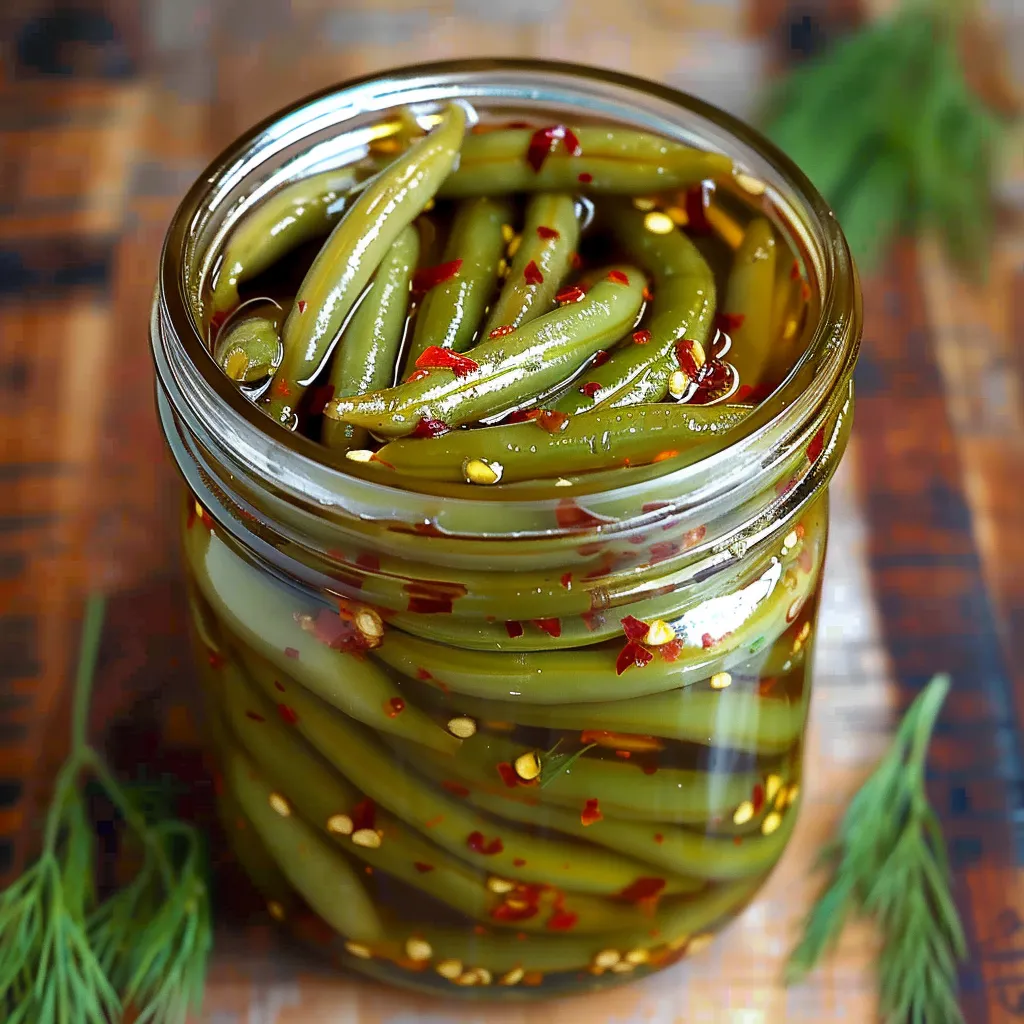
This spicy dilly bean recipe transforms ordinary green beans into tangy, crunchy pickles that bring a zing to any meal. They make the perfect accompaniment to sandwiches, charcuterie boards, or straight from the jar when you need a flavor-packed snack.
I discovered this recipe when my garden produced more green beans than we could eat fresh. Now I make at least 20 jars each summer, and my friends start asking when the "bean season" begins around May!
Ingredients
- Fresh green beans: Choose beans that are firm and snap easily for the crispest pickles
- White vinegar: Provides the perfect preservation acidity while letting the flavors shine
- Water: Dilutes the vinegar slightly for balanced flavor
- Pickling salt: No additives means clear brine and perfect preservation
- Fresh garlic cloves: Each clove infuses the beans with aromatic flavor
- Dill seed: The quintessential pickling herb that gives these their signature taste
- Red chile flakes: Adjust amount to your heat preference these bring the spicy kick
Step-by-Step Instructions
- Prepare Canning Equipment:
- Fill your water bath canner halfway with water and begin heating. Wash pint jars in hot soapy water, rinse well, and keep warm. Place lids in a small saucepan with water and heat until simmering but not boiling. Have rings ready nearby.
- Prep The Beans:
- Sort through beans, discarding any that are limp or blemished. Wash thoroughly under cool running water. Trim ends and cut beans to fit jars with about 1/2 inch headspace. Keeping them straight makes for a beautiful presentation in the jar.
- Make The Brine:
- In a medium saucepan, combine vinegar, water, and pickling salt. Bring to a full rolling boil over high heat, stirring occasionally to dissolve salt completely. Keep hot while filling jars.
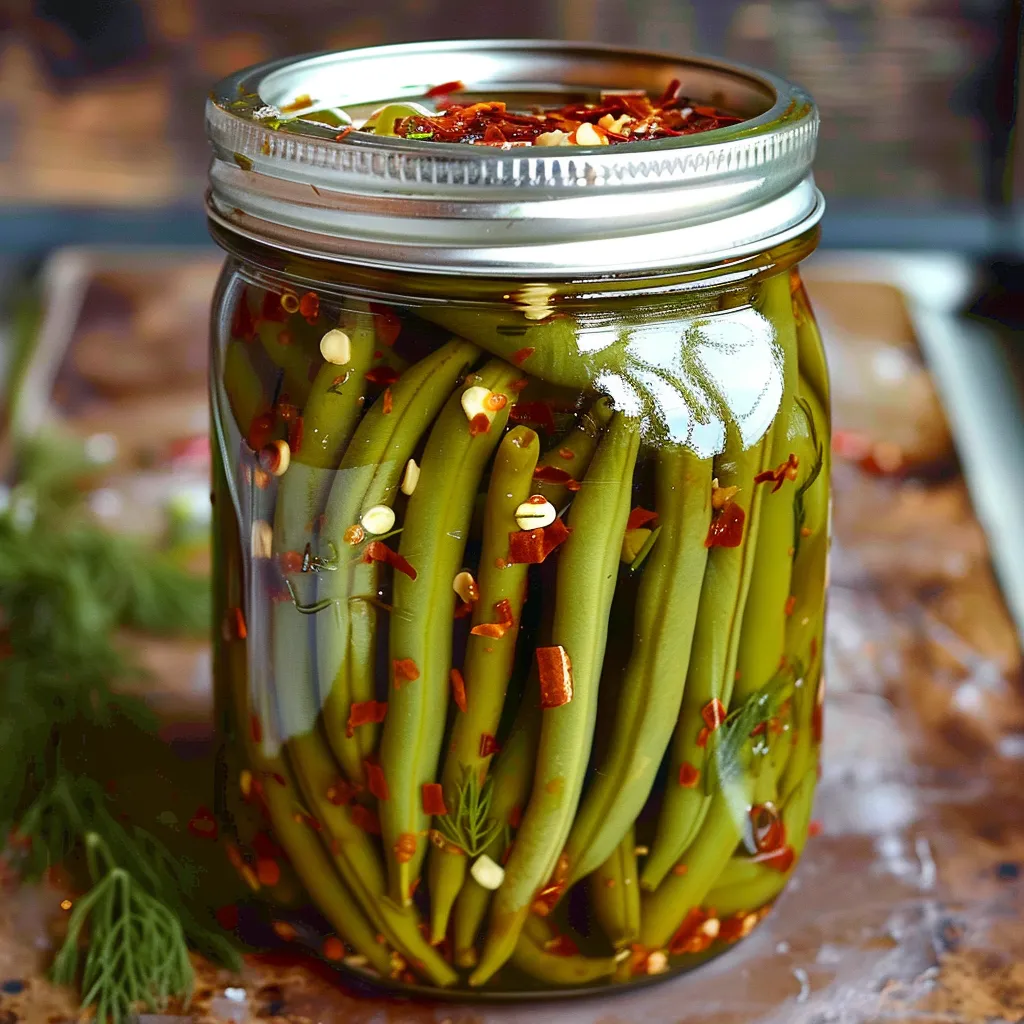
- Pack The Jars:
- For each clean, hot jar, add 1 clove of garlic that has been peeled and slightly crushed to release flavor. Add 1 teaspoon dill seed and 1 teaspoon red chile flakes directly to the bottom. Pack beans into jars vertically, fitting as many as possible while leaving 1/2 inch headspace at top.
- Fill With Brine:
- Carefully ladle hot brine over the beans, maintaining that critical 1/2 inch headspace. The beans must be completely covered with brine. Insert a chopstick or bubble remover around the inside edge of the jar to release any trapped air bubbles.
- Process The Jars:
- Wipe jar rims clean with a damp paper towel to ensure proper sealing. Center lids on jars and apply rings just until fingertip tight. Lower filled jars into boiling water bath, ensuring they're covered by at least 1 inch of water. Process for exactly 10 minutes, adjusting for altitude if necessary. Remove jars and allow to cool undisturbed for 24 hours.
 Pin it
These dilly beans have become my signature preserve. The combination of dill and garlic reminds me of my grandmother's pickle recipe, but the addition of chile flakes was my own twist that transformed them into something special. Last Christmas, I included them in gift baskets alongside homemade bread and cheese, and they were the first thing everyone mentioned in their thank you notes.
Storage and Shelf Life
Once processed and sealed properly, these dilly beans will maintain their quality for 12-18 months when stored in a cool, dark place like a pantry or basement. The flavor actually improves over the first few months! After opening, store jars in the refrigerator where they'll keep for about 3 months. If you notice any jars with bulging lids, unusual odors, or mold, discard them without tasting.
Customizing Your Dilly Beans
While this recipe creates a perfectly balanced pickle, you can adjust it to your preferences. For milder beans, reduce the chile flakes to 1/2 teaspoon per jar. For extra-spicy beans, add a small slice of jalapeño to each jar. You can substitute fresh dill heads for dill seed if available, using one head per jar. Yellow wax beans work beautifully in this recipe too, or try a colorful mix of green and yellow beans in each jar for visual appeal.
Serving Suggestions
These spicy dilly beans shine as cocktail garnishes, particularly in Bloody Marys where they add both flavor and flair. They make excellent appetizers when wrapped with thin slices of prosciutto. Chop them finely to add zing to potato salad or tuna salad. I always include a jar on cheese boards where their tangy crunch balances rich cheeses perfectly.
 Pin it
These crunchy, zesty dilly beans are sure to brighten your table, whether as part of a hearty meal or as a thoughtful homemade gift.
Frequently Asked Questions
- → What green beans work best for dilly beans?
Use fresh, firm, and unblemished green beans. Trim them evenly so they fit snugly in the jars.
- → Can I adjust the spice level?
Yes, reduce or increase the red chili flakes based on your preferred level of spiciness.
- → What’s the purpose of pickling salt?
Pickling salt helps preserve the green beans without clouding the brine or altering its flavor.
- → How long do pickled beans last?
Properly sealed and stored jars can last up to a year in a cool, dark place.
- → Can I use dried dill instead of dill seed?
Fresh or dried dill can work in a pinch, but dill seed gives the most traditional flavor.