 Pin it
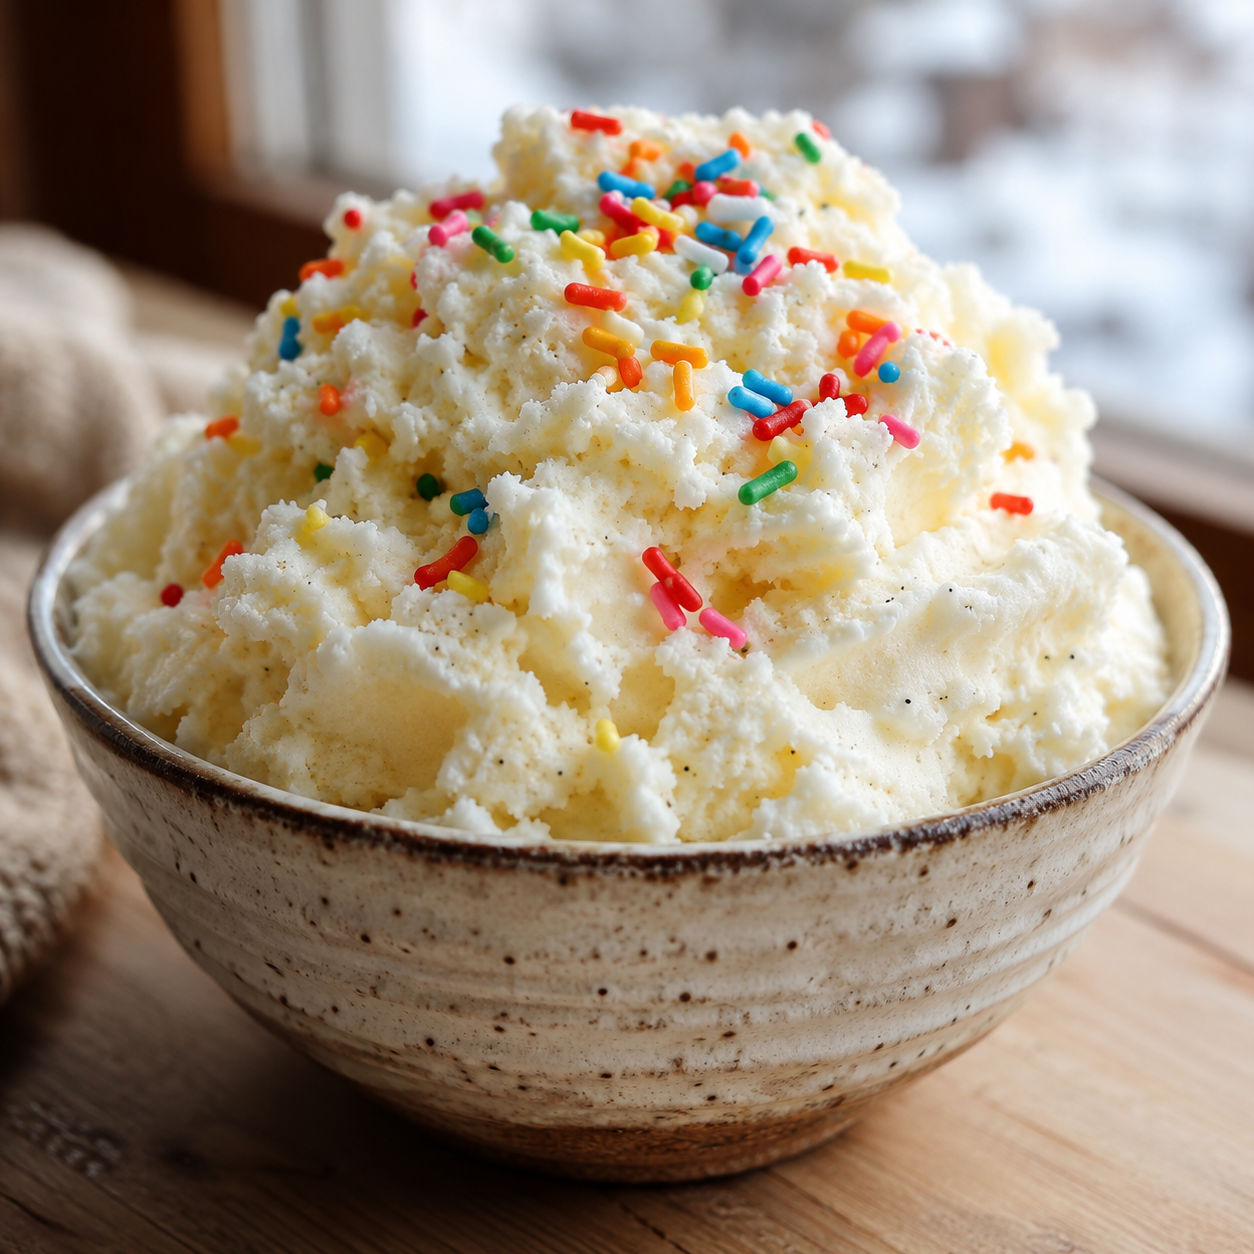
The first heavy snowfall of the year still makes me feel like a kid. I pull on my boots, grab the biggest bowl I own, and head outside to make snow ice cream. It takes five minutes, three ingredients, and zero cooking. The result is a soft, sweet vanilla cream that tastes like a snow day in a bowl.
This version uses sweetened condensed milk instead of plain sugar and milk. The condensed milk gives a richer, smoother texture without any measuring or cooking a syrup. You just fold it into fresh snow and eat it right away while it is still fluffy.
What goes into the bowl
You only need three pantry staples plus fresh snow. Pick the cleanest, freshest powder you can find. The sweetened condensed milk does double duty here, adding both sweetness and a silky body that plain sugar cannot match.
- Fresh clean snow. The base of the dessert. It should be powdery and white, collected from an untouched surface after the snow has been falling for a while.
- Sweetened condensed milk. This thick, syrupy milk sweetens the snow and creates a creamy, cohesive texture without any heat.
- Pure vanilla extract. A small splash adds warmth and rounds out the sweetness so the ice cream tastes balanced, not just sweet.
- Fine sea salt. Just a pinch. It sharpens the vanilla and keeps the mixture from tasting flat.
How to mix it up
- Collect the snow. Place a large bowl outside while it snows, or scoop from a clean, untouched area. Avoid the top layer that touched the air first, and steer clear of any discolored snow.
- Whisk the base. In a small bowl, stir the sweetened condensed milk with the vanilla extract and salt until smooth.
- Fold in the snow. Pour the milk mixture over the snow. Use a wide spatula or wooden spoon to fold gently, adding more snow a cup at a time if the mixture looks too thin. Stop when it resembles soft-serve ice cream.
- Taste and serve. Give it a quick taste. Add a drop more vanilla if you like. Spoon into bowls immediately and top with sprinkles, chocolate chips, or a drizzle of syrup.

The snow matters most
Not all snow is equal. Fresh, dry powder works best because it absorbs the condensed milk without turning soupy. Wet, heavy snow already holds water, so you may need less liquid or more snow to reach the right texture. I usually wait until the snow has been falling for at least an hour so the air is clean and the surface layer is fresh.
Swaps and fun twists
If you do not have sweetened condensed milk, you can use the classic method with two cups of whole milk and one cup of granulated sugar. Stir the sugar into the milk until it dissolves, then fold into the snow the same way. For a chocolate version, whisk two tablespoons of cocoa powder into the condensed milk before folding. You can also swap the vanilla for almond or peppermint extract. If you love no-churn ice cream, try our Easy No-Churn Cookie Monster Ice Cream or Ultimate Homemade Rainbow Ice Cream when snow is not falling.
Serve it right away
Snow ice cream is best eaten immediately. It has the texture of soft-serve fresh from the machine. If you want firmer scoops, pack it into a loaf pan and freeze for thirty to sixty minutes. Do not leave it in the freezer overnight. It will freeze into a hard block because there is no churned air or stabilizers to keep it scoopable.
Keeping it safe
Freshly fallen snow is generally safe for most people, but it is still wise to be cautious. The FDA food safety guidance reminds us that airborne particles can settle on outdoor surfaces. Collect snow during a steady fall, away from roads, animals, and treated walkways. If you live in an area with heavy pollution or industrial activity, skip the snow and make Quick Snow Ice Cream with shaved ice instead.

FAQs
- Can I use any type of snow?
Dry, powdery snow works best because it absorbs the condensed milk without getting soupy. Wet, heavy snow already contains extra moisture, so you may need to add more snow or use less liquid to get the right texture.
- What if I do not have sweetened condensed milk?
You can use the classic method instead. Stir one cup of granulated sugar into two cups of whole milk until dissolved, then fold that mixture into the snow. The texture will be a little lighter but still delicious.
- Is it safe to eat snow?
Freshly fallen snow is generally safe for most healthy people, but it can contain airborne particles. Collect it during a steady snowfall, scrape away the top inch, and avoid areas near roads, animals, or treated walkways.
- How do I store leftovers?
Snow ice cream is best eaten immediately. If you must save some, pack it into a container and freeze for thirty to sixty minutes for firmer scoops. Do not freeze overnight or it will turn into a solid block.
- Can I make chocolate snow ice cream?
Yes. Whisk two tablespoons of unsweetened cocoa powder into the sweetened condensed milk before folding it into the snow. You can also add mini chocolate chips or a drizzle of chocolate syrup on top.
- Can I make this dairy-free?
Yes. Use canned coconut condensed milk instead of dairy condensed milk. The coconut flavor pairs nicely with vanilla, and the texture stays just as creamy.
- Why is my snow ice cream watery?
You likely added too much liquid or used wet snow. Add more fresh snow a cup at a time and fold gently until the mixture thickens into a soft-serve consistency.
