 Pin it
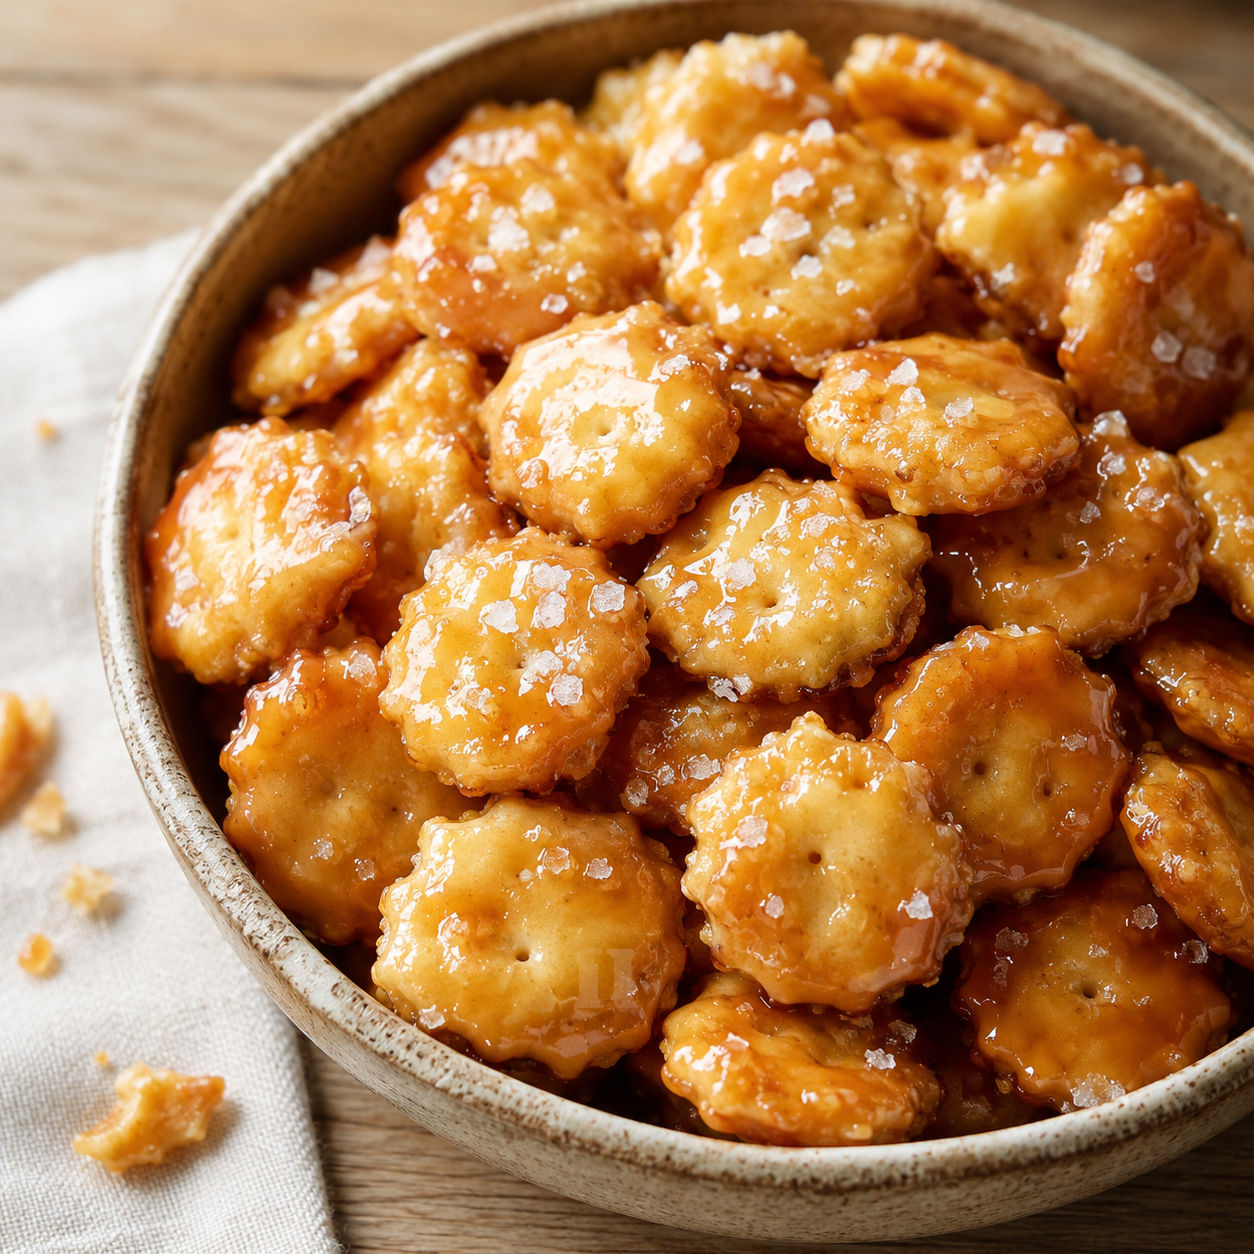
I make these when I need something sweet and salty and I need it now. A bag of oyster crackers, some butter, and a handful of brown sugar turn into a crunchy, caramel-coated snack that disappears faster than I can cool them.
The best part is the speed. The caramel comes together in one saucepan, the oven does the rest, and you do not need a candy thermometer or any fancy equipment. Just keep an eye on the oven during those last few minutes. Sugar waits for no one.
The pantry lineup
This is a short list, so quality matters. Use real butter and fresh brown sugar that is not rock-hard. The cinnamon is subtle, but it rounds out the caramel in a way that makes people ask what that warm note is.
- Oyster crackers. One 9-ounce bag gives you the perfect base. Their light, airy crunch stands up to the caramel without turning soggy.
- Unsalted butter. Two sticks melt into the caramel and carry the richness. Unsalted lets you control the final salt level.
- Brown sugar. One cup packs the molasses depth that makes the coating taste like proper caramel rather than plain sugar.
- Vanilla extract. Two teaspoons add that rounded, bakery-shop aroma once the heat subsides.
- Ground cinnamon. Just half a teaspoon adds warmth without making these taste like holiday cookies.
- Flaky sea salt. A generous pinch on top before baking is what makes the sweet-salty balance sing.
How the magic happens
- Prep the crackers. Preheat your oven to 350°F and spread the oyster crackers in an even layer on a parchment-lined baking sheet. The paper is non-negotiable unless you enjoy chiseling caramel off metal.
- Boil the caramel. Melt the butter in a medium saucepan over medium heat, then stir in the brown sugar, vanilla, and cinnamon. Let it bubble gently for 2 to 3 minutes until the mixture thickens and looks like loose caramel sauce.
- Coat and salt. Pour the hot caramel over the crackers and toss gently with a greased spatula so they do not clump into one giant brick. Sprinkle the flaky salt evenly across the top.
- Bake until set. Slide the tray into the oven for 7 to 9 minutes. Watch closely. The caramel will look bubbly and slightly darker around the edges when it is ready.
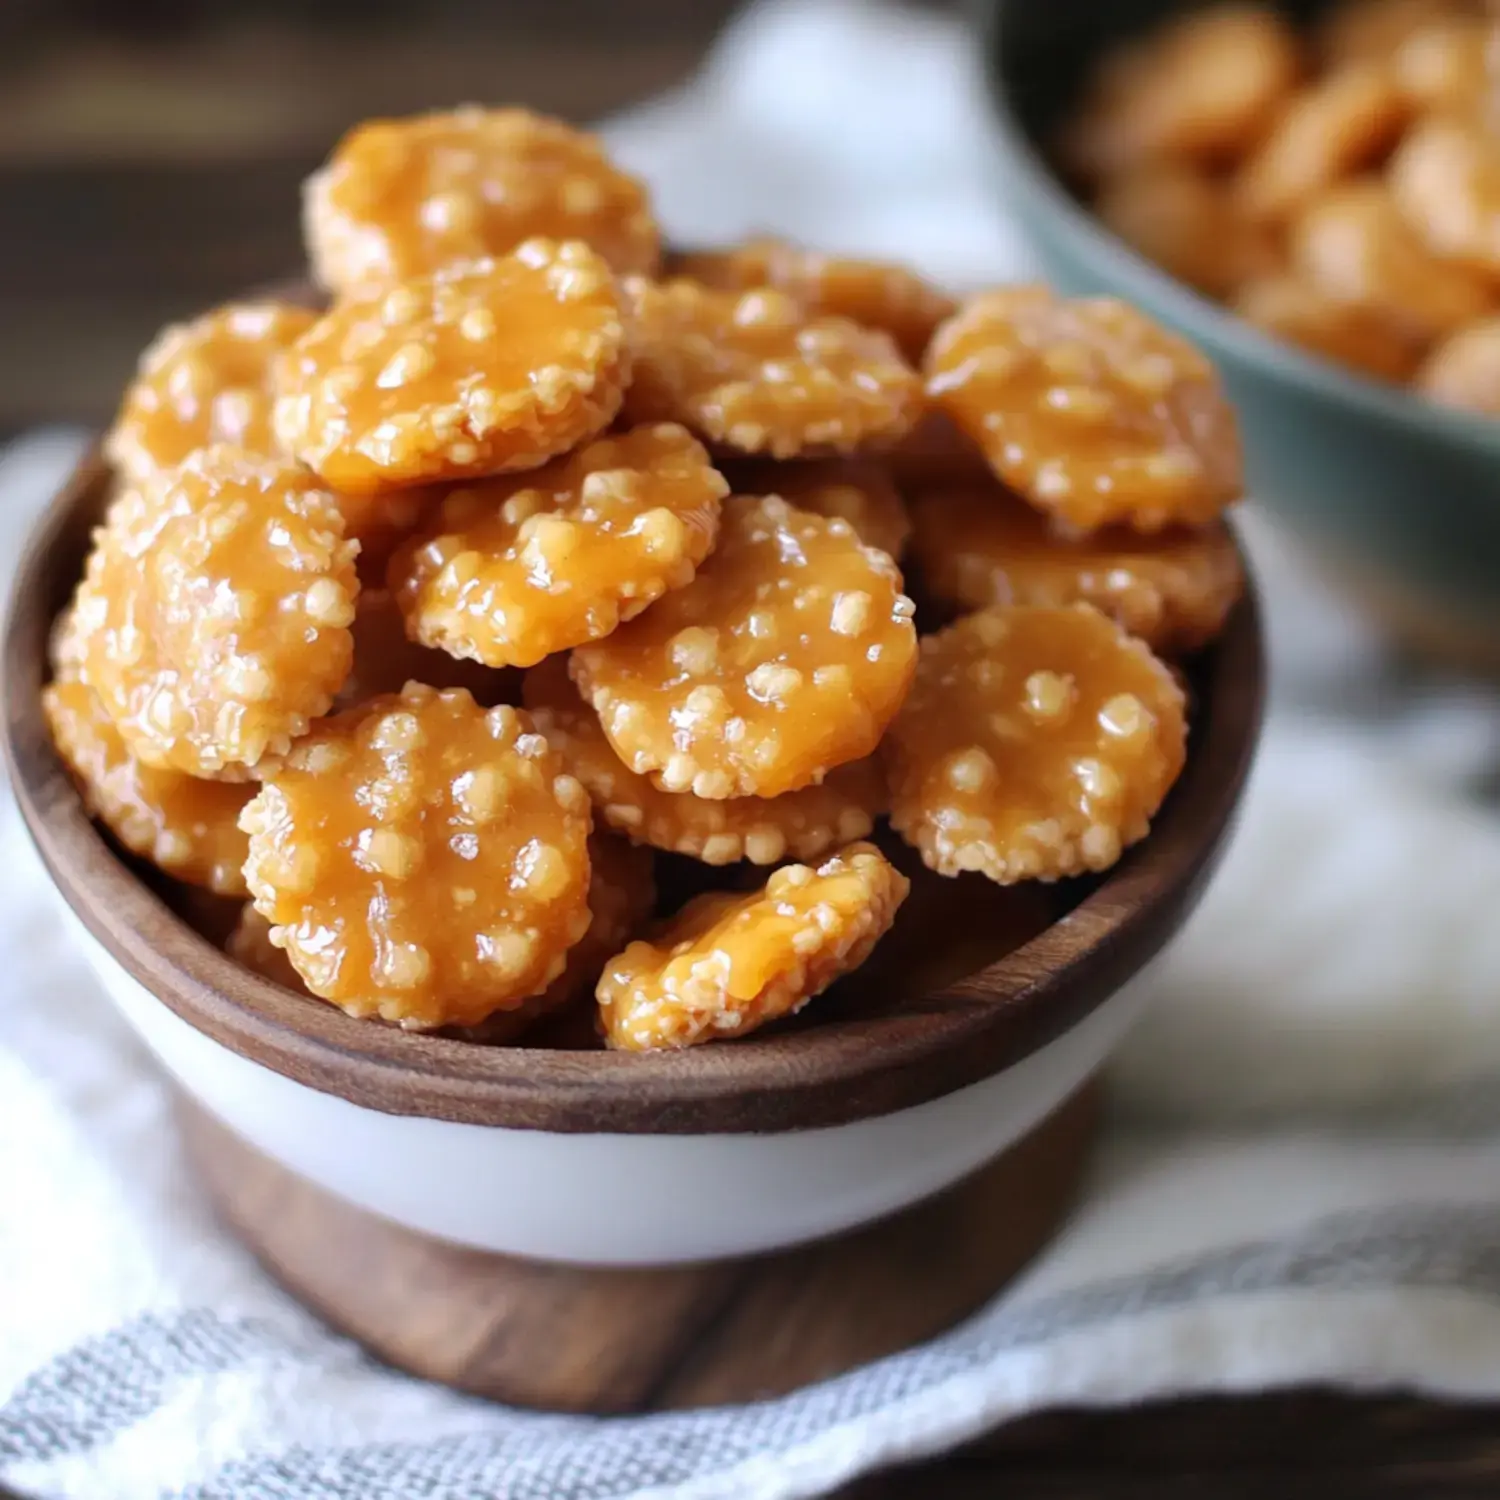
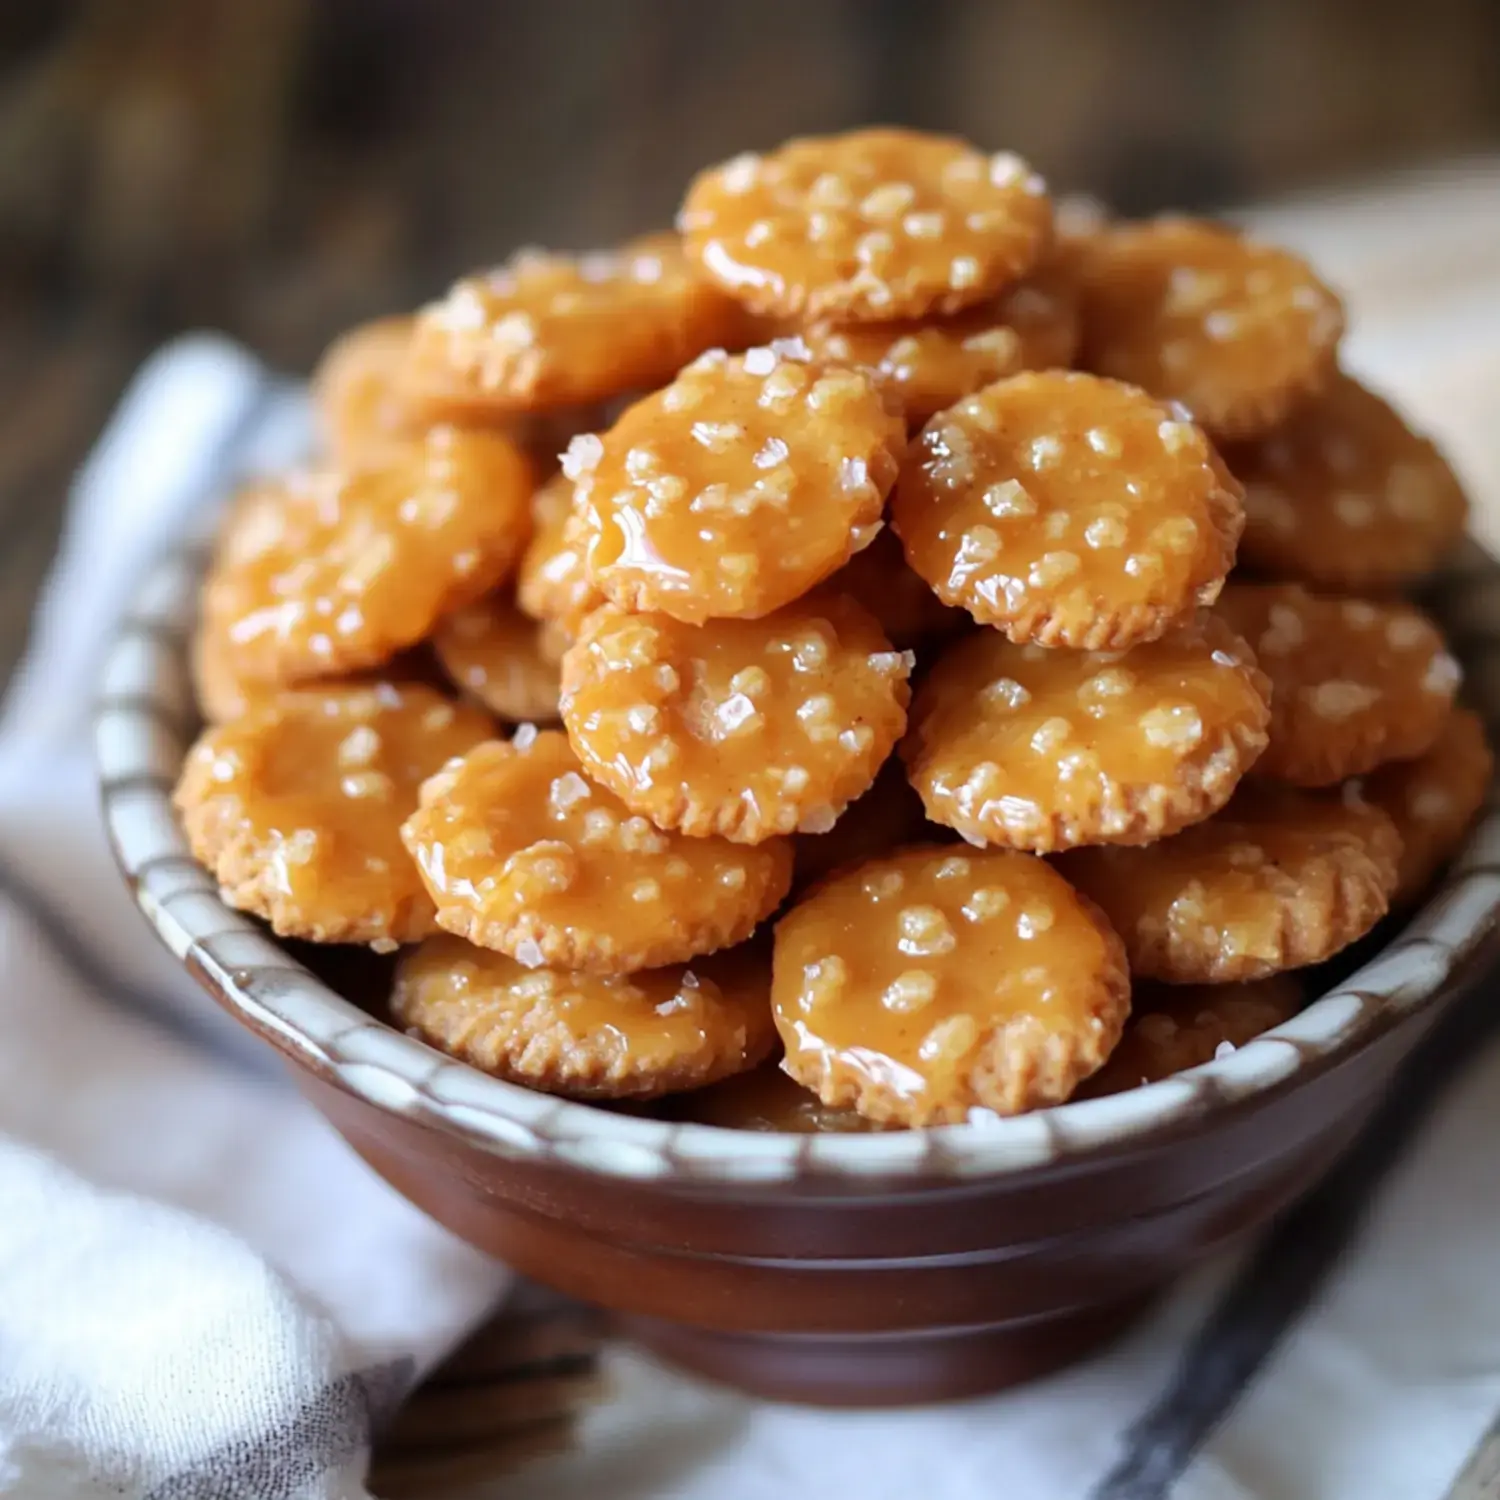
- Cool completely. Let the tray sit undisturbed at room temperature until the caramel hardens into a glossy shell, about 30 minutes. Break into clusters and try not to eat half the batch standing at the counter.
Why they clump and how to fix it
The caramel is sticky by nature, so some clumping is inevitable. If you want more individual crackers, toss them in a large bowl with the caramel instead of pouring it over the sheet, then spread them out before baking. A silicone spatula sprayed with a little oil helps separate them without tearing.
If they do fuse into a sheet, just let them cool and snap them into ragged clusters by hand. Those uneven shards are honestly the best part. They look rustic and homemade, which is exactly what you want in a snack bowl or a gift jar.
The two-minute caramel window
Boiling the butter and sugar for too long will give you a hard, brittle toffee coating that can crack a tooth. Too little time and the coating stays soft and tacky even after cooling. Two to three minutes of gentle bubbling is the sweet spot for a crisp shell that still yields under your teeth. You are looking for a color slightly darker than maple syrup and a texture that coats the back of a spoon. For a deeper look at how sugar behaves at different temperatures, Serious Eats breaks down caramel science in plain terms.
Add-ins and flavor swaps
Chopped pecans or almonds tossed in with the crackers add crunch and make the mix feel a little more grown-up. A drizzle of melted dark chocolate over the cooled clusters turns them into a dessert that rivals white chocolate caramel fudge. For something savory-sweet, add a pinch of cayenne to the caramel. If you are making a party spread, set these out next to fried cheese bites and watch both bowls empty.
Storing and packing for gifts
Once fully cool, store the bites in an airtight container at room temperature for up to one week. The caramel acts as a seal, so they stay crisp as long as humidity stays out. You can also freeze them in a zip-top bag for up to three months. Thaw uncovered at room temp so condensation does not soften the coating.
Ways to serve them
These are obvious stars on a snack table, but they also crush beautifully over vanilla ice cream as a crunchy caramel topping. Mix them into a bowl of popcorn and chocolate candies for a party mix that beats anything from a bag. You could even tuck a small pouch into a lunchbox as a surprise treat. If you want another bite-sized dessert on the same table, cherry pie bites bake on the same sheet and travel just as well.
FAQs
- Can I use salted butter instead of unsalted?
Yes, but cut back on the flaky salt you sprinkle on top. Start with half the amount and taste the cooled batch before adding more.
- Why did my coating turn out soft and sticky?
The caramel needed more time on the stove or in the oven. Sugar must reach a high enough temperature to harden as it cools. Next time, let it bubble for the full three minutes or bake until the edges look deeply golden.
- Can I make these gluten-free?
Absolutely. Substitute a sturdy gluten-free oyster-style cracker. The butter, sugar, and spices are naturally gluten-free, so the swap is simple.
- How long do they stay fresh?
Store them in an airtight container at room temperature for up to one week. For longer storage, freeze them in a zip-top bag for up to three months and thaw uncovered.
- Can I double the recipe?
Yes. Use two baking sheets so the crackers remain in a single layer. Crowding traps steam and can make the coating chewy instead of crisp.
- What can I add for extra flavor?
Toss in chopped pecans or almonds with the crackers, or drizzle melted dark chocolate over the cooled clusters. A pinch of cayenne in the caramel also adds a surprising kick.
- Do I need a candy thermometer?
No. This quick caramel relies on time and visual cues. Two to three minutes of gentle boiling and a color slightly darker than maple syrup are all you need.
