 Pin it
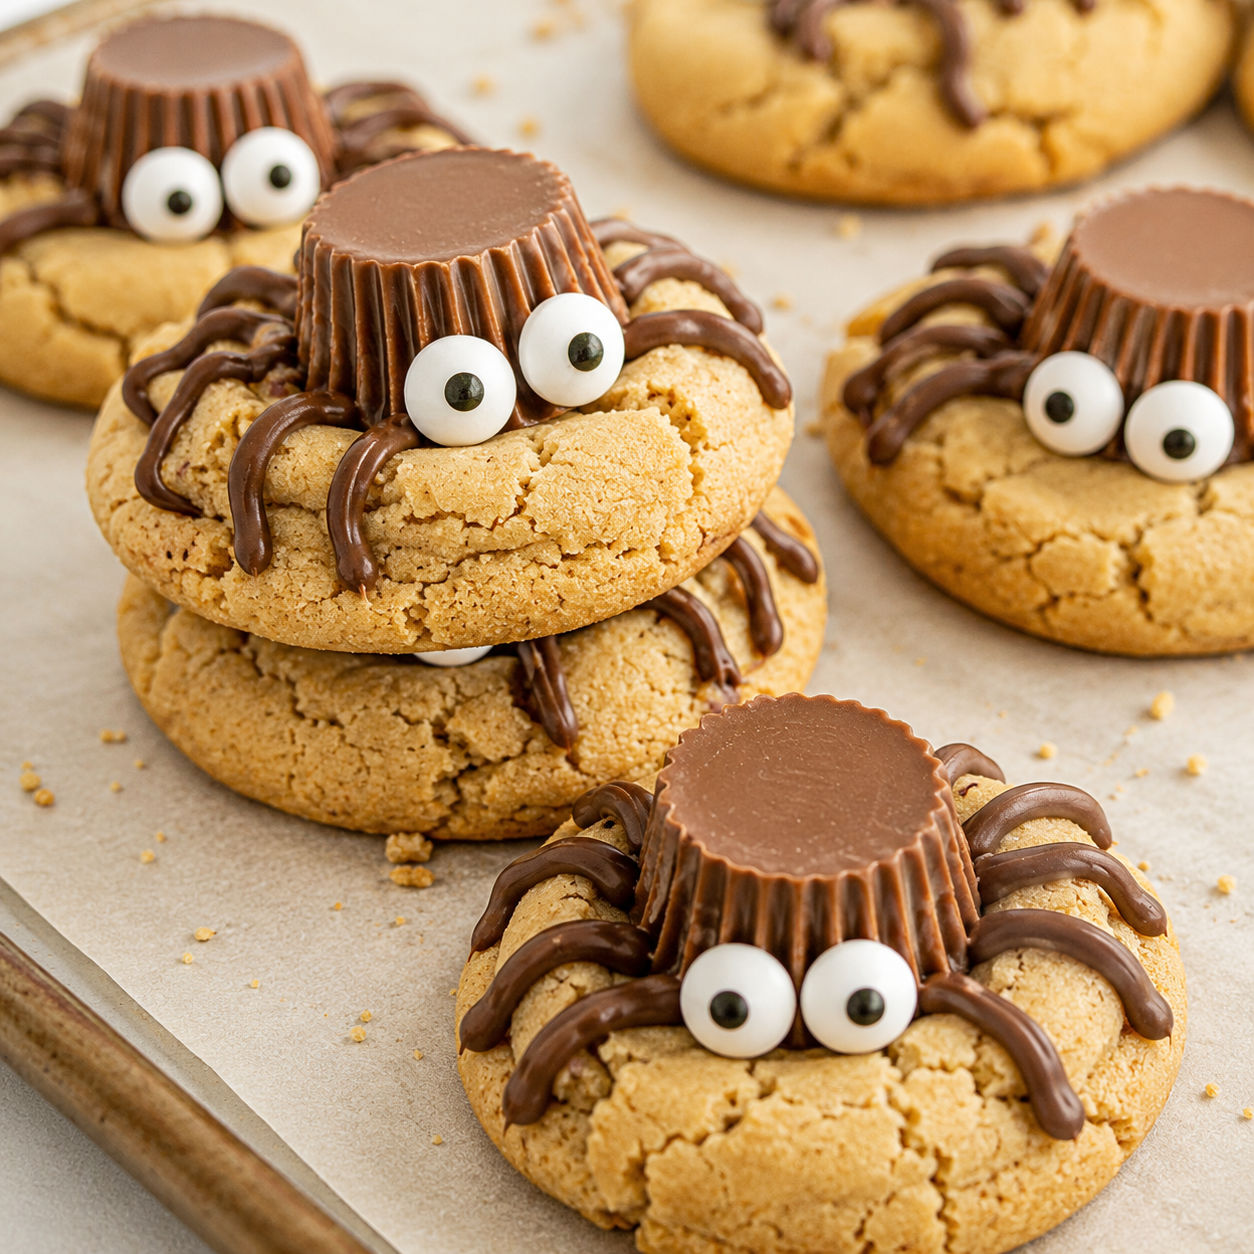
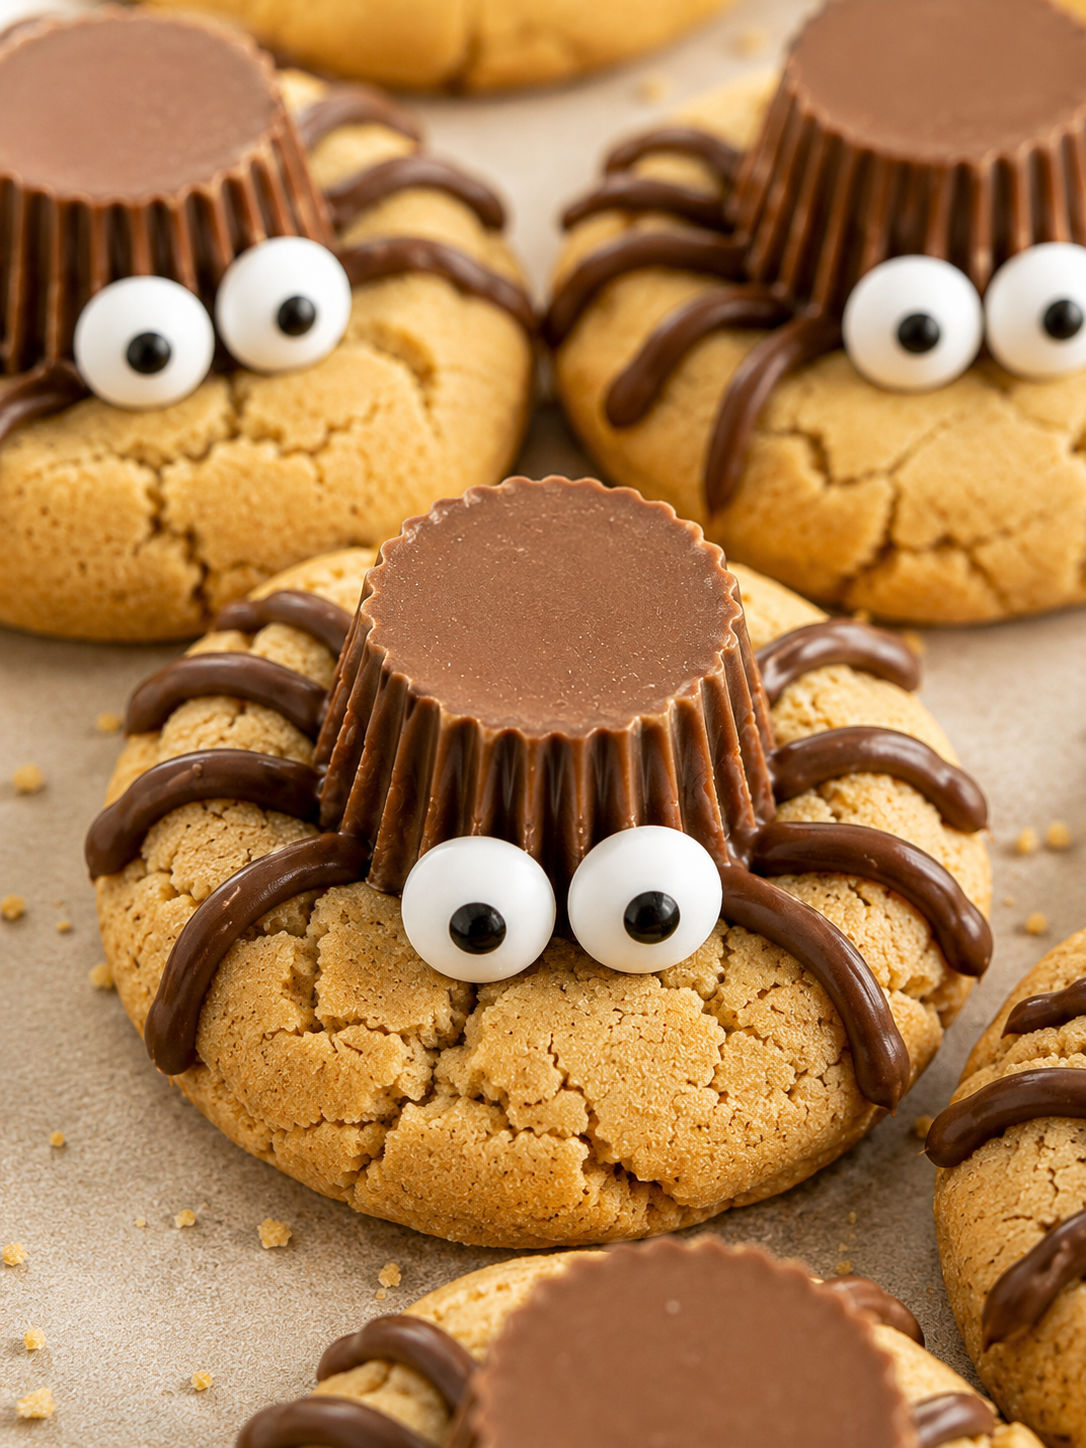
Peanut Butter Spider Cookies are the kind of Halloween treat that gets a reaction before anyone takes a bite. The base is a soft peanut butter cookie, and the spider body is a mini chocolate peanut butter cup pressed into the center while the cookie is still warm.
The decorating is easy enough for kids to help with, but there are two spots where timing matters. Add the candy cup while the cookie is warm, then wait until everything is cool before you pipe the legs so they stay crisp and clean.
The Spider Cookie Lineup
Choose creamy peanut butter and fresh mini chocolate peanut butter cups for the cleanest shape. If the cups are very soft, chill them while the cookies bake so they hold their ridges when pressed into the warm dough.
- Creamy peanut butter. Gives the dough its rich flavor and helps the cookies bake tender.
- Unsalted butter. Adds softness and lets you control the salt.
- Granulated and brown sugar. Granulated sugar helps the edges set, while brown sugar keeps the center chewy.
- Egg. Binds the dough so the cookies stay soft instead of sandy.
- Vanilla extract. Rounds out the peanut butter flavor.
- All-purpose flour. Gives the cookies enough structure to hold the candy cup.
- Baking soda. Helps the cookies spread just enough around the spider body.
- Mini chocolate peanut butter cups. Make the raised spider bodies in the center of each cookie.
- Semi-sweet chocolate. Melts into pipeable legs that set firm after chilling.
- Candy eyes. Finish the spider look with almost no extra work.
Bake And Build The Spiders
- Heat the oven. Set the oven to 350°F and line two baking sheets with parchment. Unwrap the candy cups before the cookies go in.
- Mix the dough. Beat butter, peanut butter, both sugars, egg, and vanilla until creamy. Stir in flour, baking soda, and salt just until no dry streaks remain.
- Shape the cookies. Scoop the dough into 24 balls and roll lightly in sugar. Space them about 2 inches apart so they can spread.
- Bake until set. Bake for 8-10 minutes, until the edges look lightly golden and the centers still look soft. Do not overbake.
- Add the bodies. Press one mini chocolate peanut butter cup into each warm cookie. Move the cookies to a rack and cool completely.
- Pipe the legs. Melt the chocolate, spoon it into a piping bag, and pipe four legs on each side of the candy cup. Attach candy eyes with tiny dots of melted chocolate, then chill until set.
Peanut Butter Spider Cookies That Set
The secret is waiting between the warm cookie stage and the decorating stage. The candy cup needs the heat from the cookie so it sinks in slightly, but the piped legs need a cool surface so they do not melt into fuzzy lines. I press in the cups right away, then leave the cookies alone until the chocolate is firm again.
If you love the same peanut butter cookie base in a less spooky shape, try these Peanut Butter Blossoms. They use the same warm-cookie candy trick, which is why this recipe feels familiar even with the Halloween decorating.
Avoiding Cracks And Craters
Soft centers are your friend here. If the cookies bake until firm all the way through, the candy cup can split the top instead of settling into it. Pull the cookies when the edges are set and the middle still looks a touch puffy.
Use gentle pressure when you add the chocolate peanut butter cups. Press straight down and stop as soon as the candy sits snugly. If one cookie cracks, nudge the warm edges back toward the cup with a spoon. The legs will hide small flaws later.
Smart Swaps For Decorating
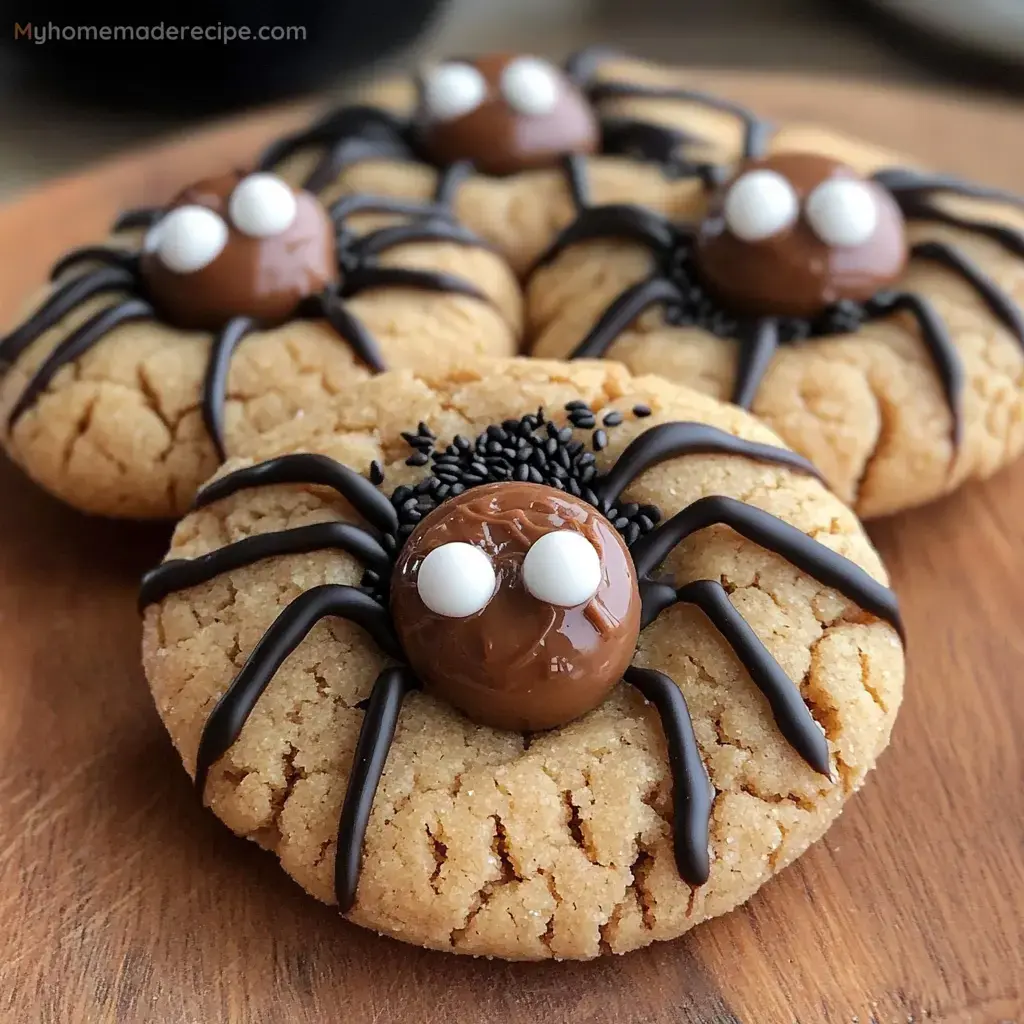
Semi-sweet chocolate chips are easy for legs, but chocolate melting wafers give smoother piping if you have them. You can also use small round chocolate candies for the body if peanut butter cups are not available, though the flavor will be less peanut-forward.
For more peanut butter party baking, the Triple Peanut Butter Cookies are a good choice for people who want maximum peanut flavor without decorations. If you want chocolate in the dough too, these Peanut Butter Brownie Swirl Cookies fit the same dessert table.
Storage Without Smudges
Let the decorated cookies chill until the chocolate legs are firm before packing them. Store them in an airtight container at cool room temperature for 2 days, or refrigerate for up to 5 days. Use parchment between layers so the candy eyes and legs do not rub against the cookie above.
For make-ahead baking, prepare the plain peanut butter cookies first and decorate them the next day. Warm the chocolate just before piping. For a tray with another seasonal cookie, add Best Soft Christmas Cookies and swap the sprinkles to Halloween colors.
Serving Them For Halloween
These are sweet, rich cookies, so one or two per person is plenty. Set them on a dark tray or a white cake stand so the little chocolate legs show clearly. If you are serving younger kids, pipe shorter legs so the cookies are easier to pick up.
For food safety at a party, keep the cookies covered until serving and avoid leaving them near heat or direct sun. The FDA food allergy guide is helpful when you are labeling treats for a crowd.
FAQs
- Can I make Peanut Butter Spider Cookies ahead of time?
Yes. Bake and decorate them up to 2 days ahead, then store them in a single layer or with parchment between layers. The candy eyes and chocolate legs hold best when the cookies are kept cool and dry.
- Can I use store-bought peanut butter cookie dough?
You can. Bake the dough as directed, then press the mini chocolate peanut butter cups into the warm cookies. Homemade dough gives a softer peanut flavor, but store-bought dough works when you need a fast party treat.
- How do I keep the chocolate legs from smearing?
Let the cookies cool fully before piping the legs. Use melted chocolate that is smooth but not hot, then chill the cookies for 10-15 minutes so the lines set before stacking or moving them.
- Can I make these without candy eyes?
Yes. Dot on two tiny spots of melted white chocolate or frosting, then add a small dot of melted chocolate in the center. They will still read as little spiders without packaged candy eyes.
- What peanut butter works best?
Use a shelf-stable creamy peanut butter for the most reliable dough. Natural peanut butter can separate and make the cookies oily or crumbly unless it is very well stirred.
- Can these cookies be gluten-free?
Yes, use a 1:1 gluten-free baking flour and check that your candy cups, chocolate, and candy eyes are gluten-free. The texture may be a little more delicate, so let the cookies cool well before decorating.
