 Pin it
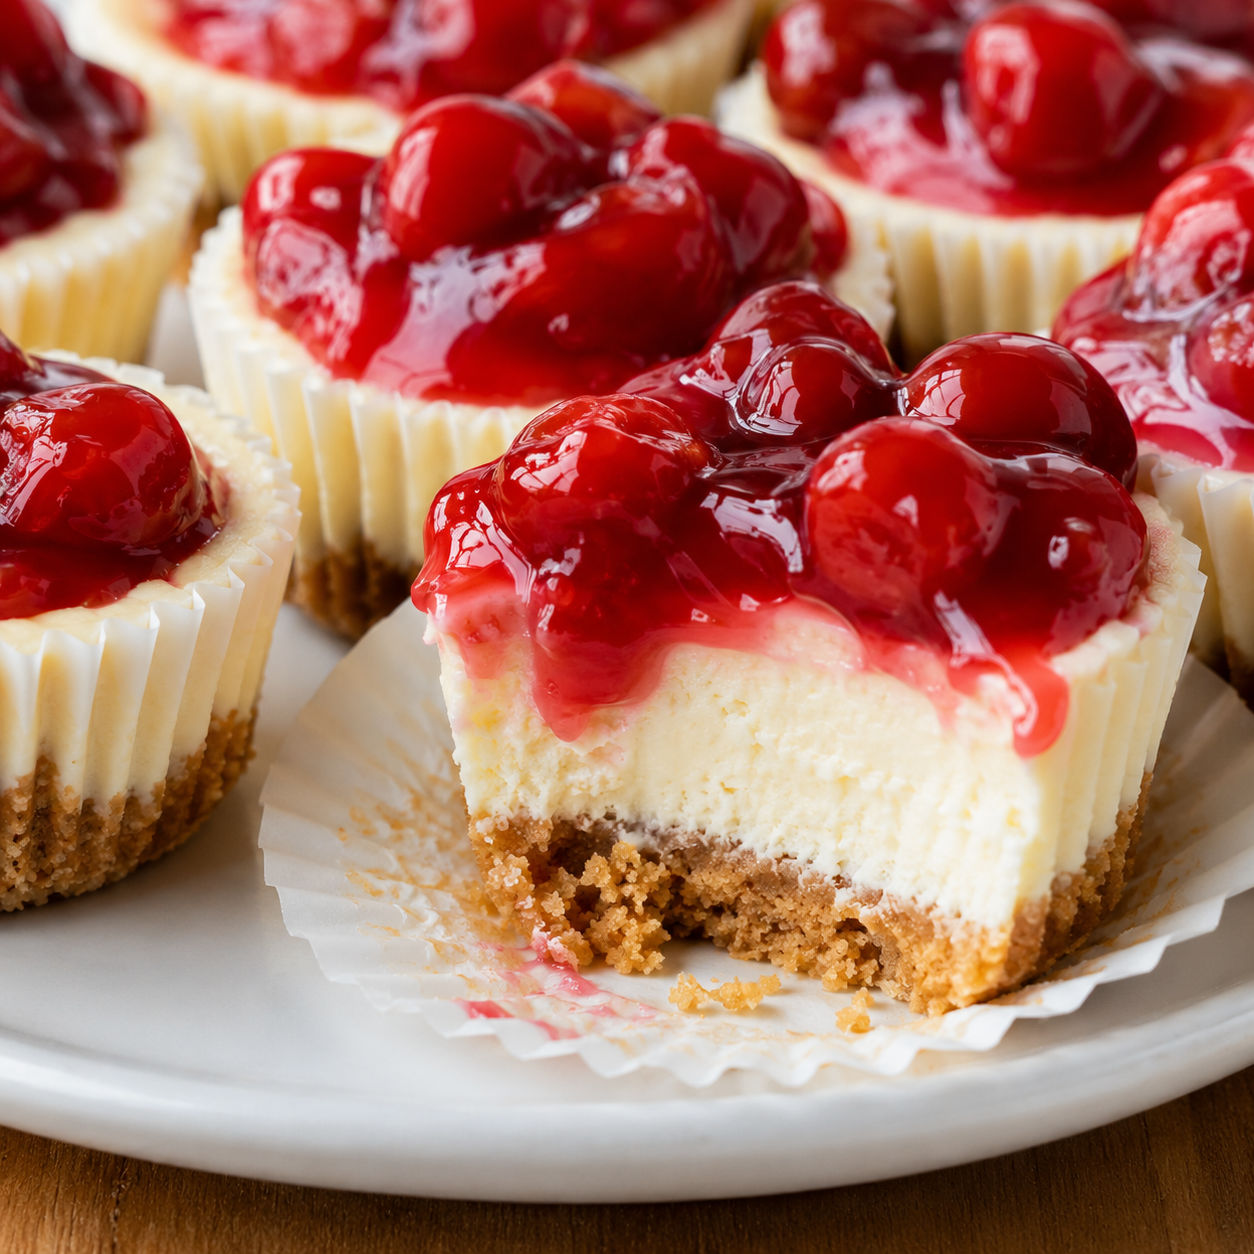
This easy mini cheesecakes recipe with cherry topping gives you the rich, creamy bite of a classic cheesecake without the long bake or water bath. Each one has a buttery graham crust, a tangy vanilla filling, and a spoonful of glossy cherries on top.
I like these for parties because they are already portioned and easy to move from fridge to table. The batter is simple, but a few small details matter. Soft cream cheese, gentle mixing, and a proper chill make the texture smooth instead of dense.
Easy Mini Cheesecakes Recipe with Cherry Topping
The ingredient list is short, so use full-fat cream cheese and fresh graham crumbs if you can. Cherry pie filling keeps the topping easy, but a good jar of cherry preserves loosened with a little warm water also works.
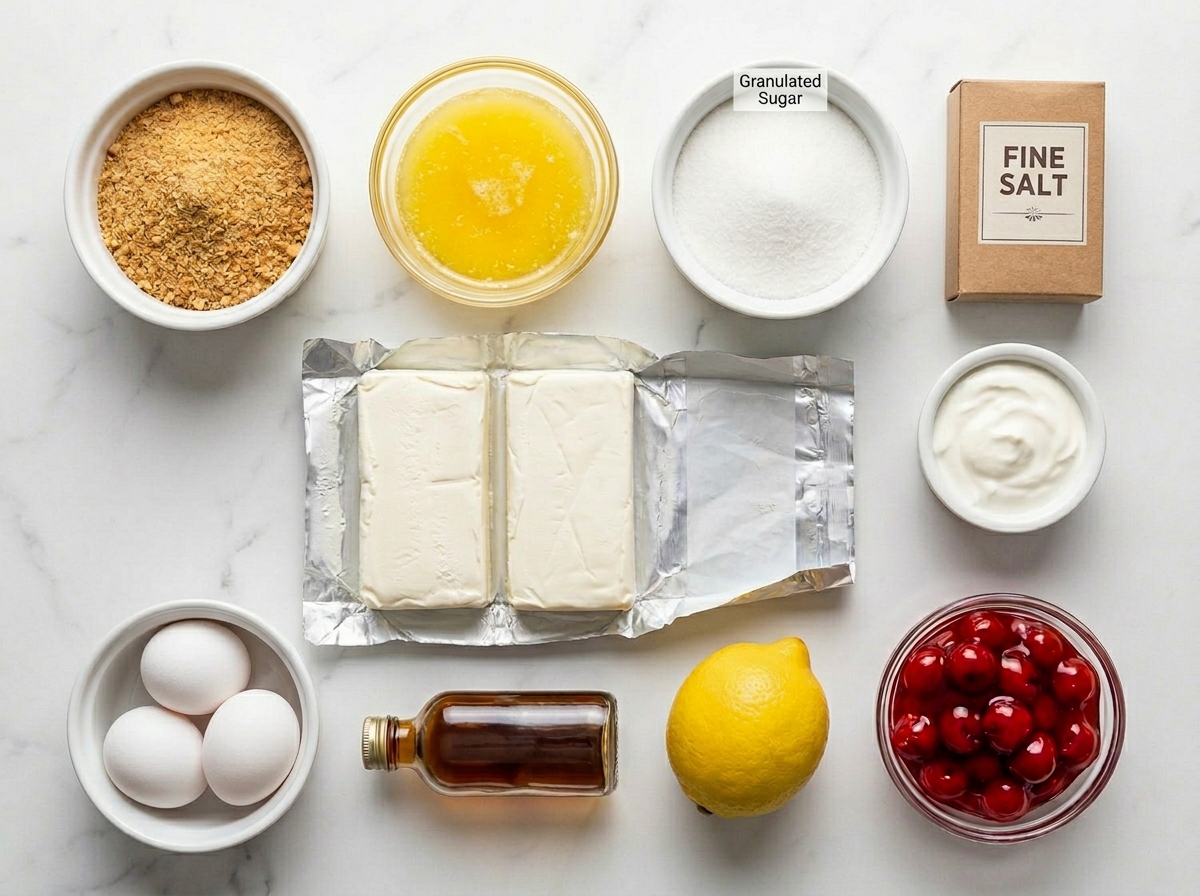
- Graham cracker crumbs. They bake into a buttery base that holds each cheesecake without getting hard.
- Melted butter. It binds the crumbs and gives the crust a toasted flavor.
- Cream cheese. Full-fat cream cheese makes the filling smooth, tangy, and sturdy enough to unmold.
- Granulated sugar. It sweetens the filling without making it grainy.
- Sour cream. A small amount softens the texture and adds a gentle tang.
- Eggs. They set the cheesecake filling as it bakes.
- Vanilla and lemon juice. These keep the flavor bright instead of flat.
- Cherry pie filling. The glossy topping gives each mini cheesecake its sweet cherry finish.
The Batter Bakes Up Smooth
- Prep the pan. Heat the oven to 325°F and line a standard 12-cup muffin tin with paper liners so the cheesecakes lift out cleanly.
- Make the crust. Stir graham crumbs, sugar, salt, and melted butter, then press a spoonful firmly into each liner and bake for 5 minutes.
- Mix the filling. Beat softened cream cheese until smooth, then mix in sugar, sour cream, vanilla, lemon juice, salt, and eggs just until combined.
- Fill the cups. Divide the batter over the warm crusts, filling each liner about three-quarters full.
- Bake gently. Bake for 16-18 minutes, until the edges look set and the centers still have a small wobble.
- Cool and chill. Cool in the pan for 30 minutes, then chill for at least 2 hours before topping with cherries.
Room Temperature Matters
Cold cream cheese is the main reason mini cheesecakes turn lumpy. Let it sit on the counter until it gives easily when pressed, usually about an hour. If you are short on time, cut it into cubes and warm it in the microwave in 10-second bursts. Do not melt it. You want soft cream cheese, not oily cream cheese.
Beat the cream cheese by itself first, then add the sugar and sour cream. Once the eggs go in, slow down. Too much air in the batter can puff the cheesecakes in the oven and make them collapse as they cool. This is the same reason I keep the filling simple in other small cheesecake desserts like mini cheesecakes and mini cinnamon roll cheesecakes.
How To Avoid Cracks
Mini cheesecakes are more forgiving than a full-size cheesecake, but they can still crack if they overbake. Pull them when the edges are set and the centers still jiggle slightly. The heat left in the filling will finish the job as they cool. A tiny dip in the middle is fine. It gives the cherry topping a place to sit.
Cooling matters too. Set the muffin tin on a rack and leave the cheesecakes alone for about 30 minutes before moving them to the fridge. Fast temperature changes can make the tops wrinkle or split. If you want a helpful comparison, The Kitchn's mini cherry cheesecake method also uses a gentle bake and a chilled finish.
Cherry Topping Choices
Canned cherry pie filling is the easiest route and the one I use when these are headed to a potluck. It is thick, shiny, and stays put on each little cheesecake. Spoon it on after chilling, not before baking. Baked cherry topping can bleed into the filling and make the tops messy.
If you prefer less sweetness, warm 3/4 cup cherry preserves with 1 tablespoon water and a small squeeze of lemon, then cool it before using. You can also use homemade cherry compote, but keep it thick. Loose sauce slides off the tops. Cherry lovers may also like serving these beside cherry pie bites or a spoonable dessert like cherry pecan cheesecake lush.
Chill Before Serving
The chill is not optional. Warm mini cheesecakes taste eggy and soft, while chilled ones taste creamy and clean. Two hours is enough for a quick dessert, but overnight gives the best texture. Keep them in a covered container so they do not pick up fridge smells.
For storage, refrigerate leftovers and serve them within 4 days. The food-safety basics are simple. Keep dairy desserts cold, and do not leave them sitting out for more than 2 hours. You can check general cold-food guidance at FoodSafety.gov. If you are taking these to a party, carry them in a cooler and add the cherry topping once you arrive.
Easy Flavor Variations
This base recipe is easy to change without changing the method. Use chocolate cookie crumbs for a black forest feel, or swap the cherry topping for blueberry pie filling if you want a different fruit. A little almond extract also works with cherries, but use only 1/8 teaspoon because it gets strong fast.
For a brighter dessert tray, serve these beside blueberry cheesecake or mini tarts with lemon curd. The flavors are different enough that the plate feels planned. Keep the same baking cues no matter the topping. Set edges, soft centers, slow cooling, and a solid chill are what make the cheesecakes taste bakery-level at home.
Summary
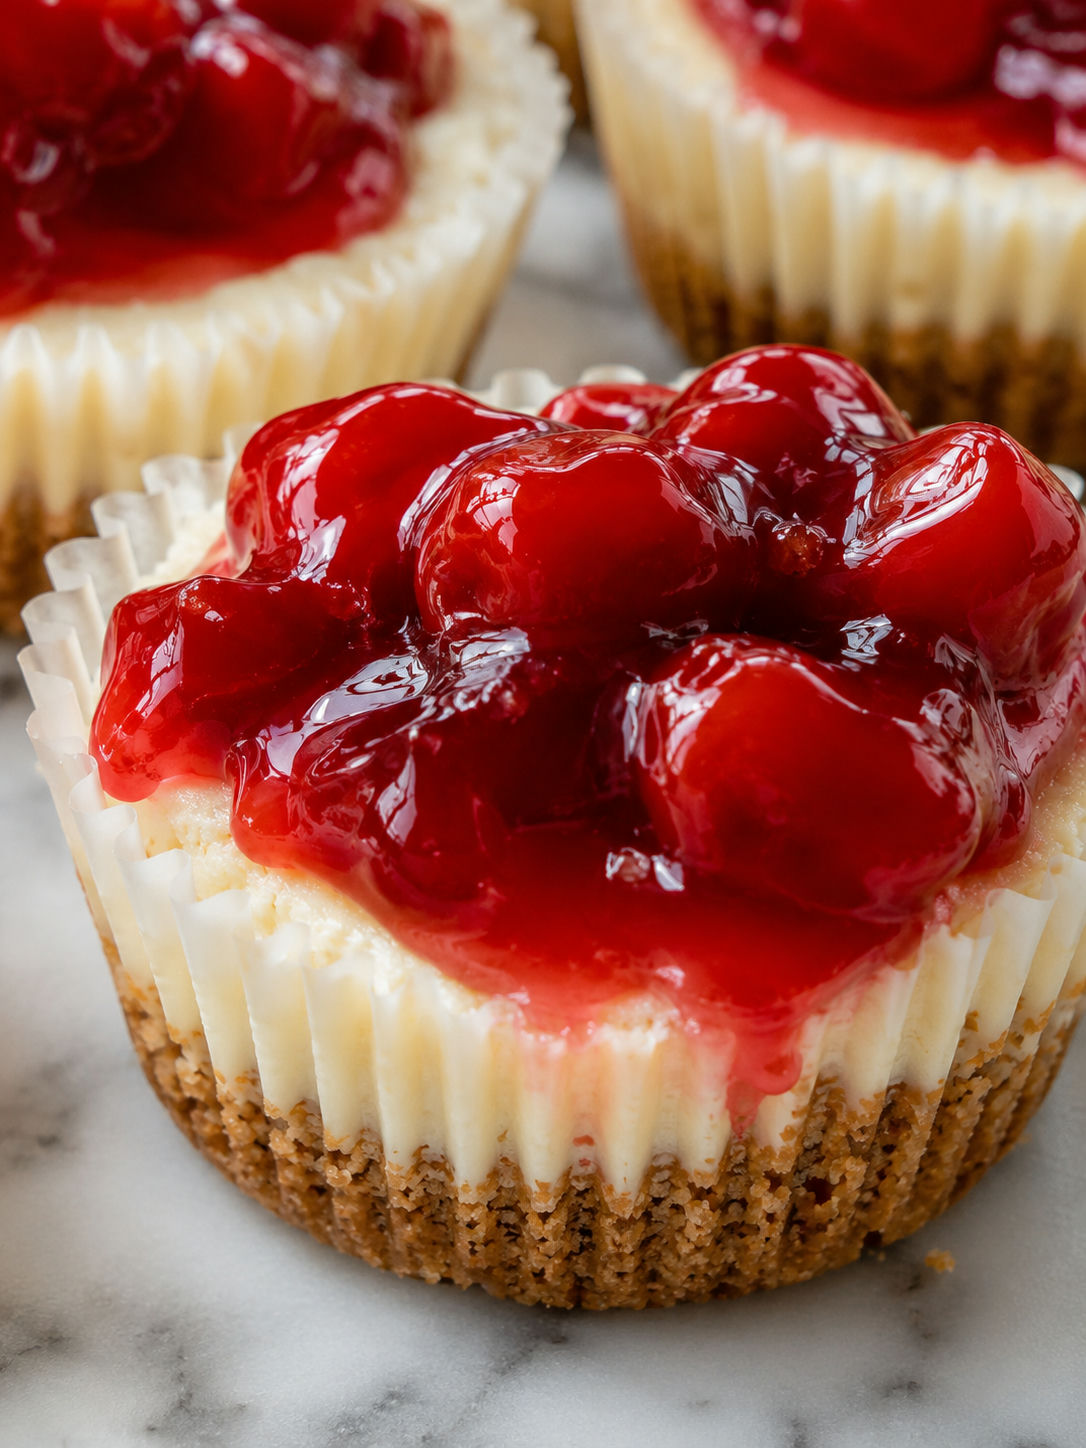
Mini cheesecakes are a smart make-ahead dessert because they chill quickly, travel well, and can be topped right before serving.
FAQs
- Can I use canned cherry pie filling?
Yes. Canned cherry pie filling is the easiest topping and works well here because the cheesecakes are small. Spoon it on after the cheesecakes are fully chilled so the topping stays glossy and neat.
- Can I make mini cheesecakes ahead of time?
Yes. Bake and chill them up to 2 days ahead, then keep them covered in the refrigerator. Add the cherry topping the day you serve them for the cleanest look.
- Why did my mini cheesecakes sink?
A slight dip in the center is normal and actually holds the cherry topping nicely. Deep sinking usually means the batter was overmixed or the cheesecakes were baked too long, then cooled too quickly.
- Can I use vanilla wafers instead of graham crackers?
Yes. Use 12 vanilla wafers as an even faster crust, placing one in the bottom of each paper liner. The flavor is softer and sweeter than graham cracker crust, but it works well with cherries.
- How long should mini cheesecakes chill?
Chill them for at least 2 hours. Overnight is even better if you want the cleanest peel from the paper liners and the creamiest texture.
- Can I freeze mini cheesecakes?
Freeze the baked cheesecakes without cherry topping for up to 2 months. Thaw them covered in the refrigerator, then add the topping just before serving.
- What can I serve with cherry mini cheesecakes?
They are rich enough on their own, but coffee, hot tea, or a simple fruit plate works nicely. For a dessert tray, pair them with small fruit desserts like cherry pie bites or lemon tarts.
