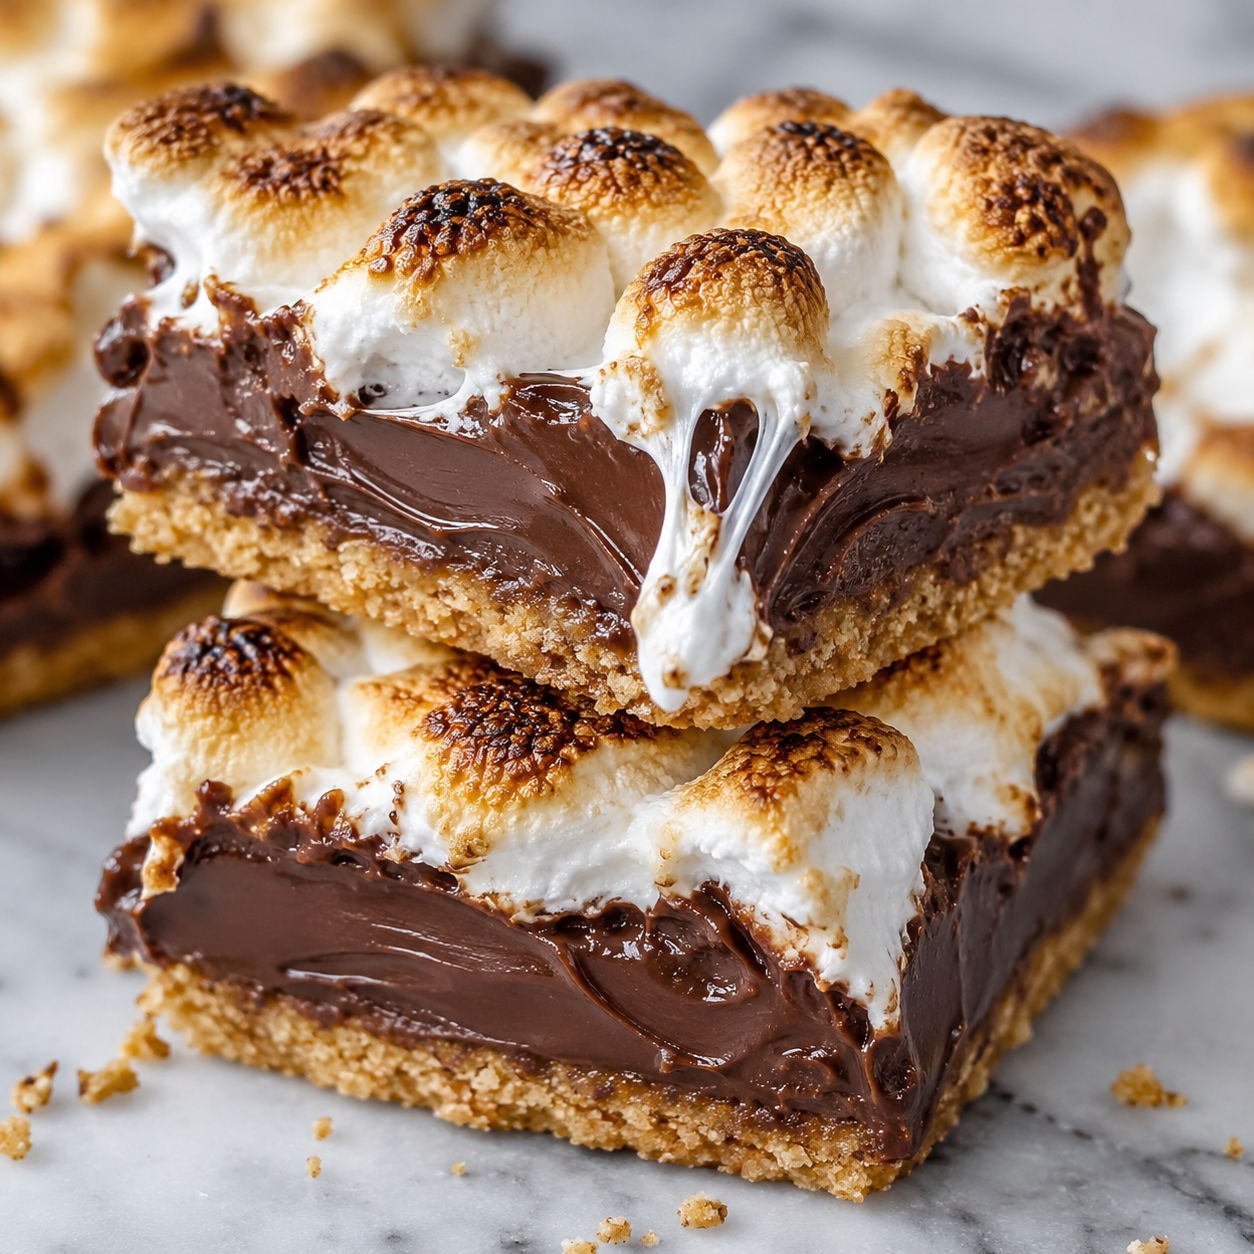
 Pin it
Some nights call for a mug of hot chocolate. Other nights call for something you can eat with your hands. These bars turn that cozy drink into a dense, fudgy dessert with a graham cracker crust and a layer of golden toasted marshmallows on top.
The idea is simple. A layer of buttery crumbs holds a filling rich with melted chocolate and hot cocoa powder. A quick pass under the broiler chars the marshmallows just enough to bring back campfire memories.
I make these when the weather turns cold and I want the flavor of my favorite winter drink without the mug. They cut neatly into squares once chilled, and they disappear fast at potlucks.
Graham crust and fudgy filling
Quality matters here because the ingredient list is short. Use real semi-sweet chocolate bars rather than chips for a smoother melt, and grab a hot cocoa mix with actual milk powder in it.
- Graham cracker crumbs. The base of the crust. They bake into a crisp, sweet foundation that holds up to the dense chocolate layer.
- Unsalted butter. Binds the crumbs and gives the crust its richness. Melt it first so it mixes evenly.
- Semi-sweet chocolate. Chopped fine so it melts quickly into the filling. Bars melt smoother than chips.
- Sweetened condensed milk. Adds sweetness and a thick, fudgy texture without any flour.
- Hot cocoa powder. This is the trick that makes the filling taste like a mug of cocoa rather than plain fudge.
- Mini marshmallows. Scatter them over the baked filling and toast until golden and puffed.
- Vanilla extract and salt. Vanilla rounds out the chocolate, and a pinch of salt keeps the sweetness in check.
Bake, top, and torch
- Make the crust. Stir the graham cracker crumbs with melted butter, sugar, and a pinch of salt until the texture resembles wet sand. Press the mixture firmly into the bottom of a lined 9-by-13-inch pan and bake at 350°F (175°C) for 8 minutes, just until it smells toasty.
- Melt the filling. Combine the chopped chocolate and butter in a heatproof bowl set over simmering water. Stir until smooth, then whisk in the sweetened condensed milk, hot cocoa powder, vanilla, and salt until the mixture is glossy and thick.
- Bake the base. Pour the chocolate filling over the warm crust and spread it into an even layer. Bake for 18 to 20 minutes until the center is set but still slightly soft. It will firm up as it cools.
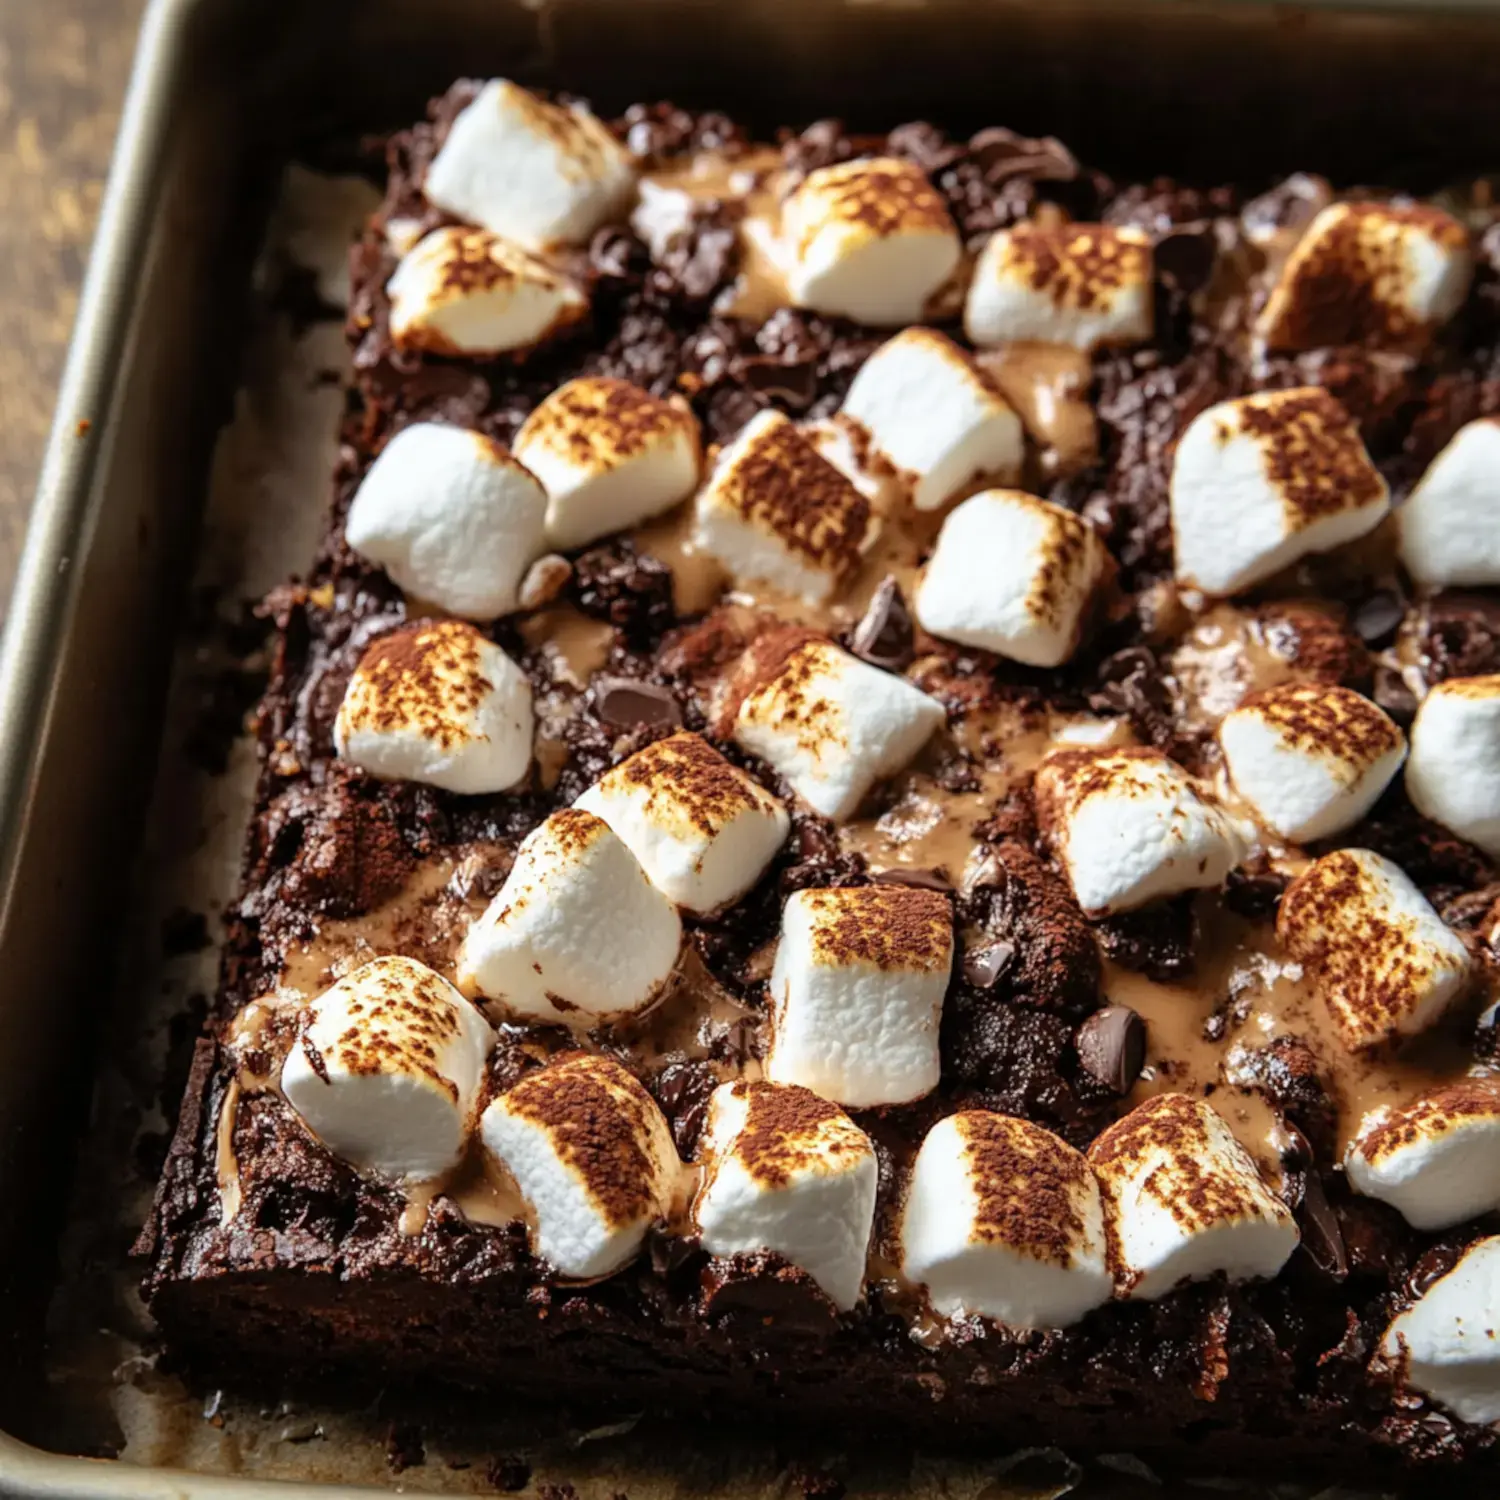
- Pile on marshmallows. Scatter the mini marshmallows evenly across the chocolate layer. Switch the oven to broil and return the pan for 1 to 2 minutes, watching constantly, until the tops are deeply golden with a few charred spots.
- Cool completely. Let the bars rest at room temperature for 30 minutes, then refrigerate for at least 1 hour before lifting them from the pan and slicing with a hot knife.
Why hot cocoa powder works
Adding plain cocoa powder can make a filling too bitter and dense. Hot cocoa mix, on the other hand, contains sugar and milk powder that soften the chocolate and give it a lighter, malted flavor. It dissolves easily into the melted chocolate and condensed milk, so you do not need extra sugar. If you enjoy this combination, our marshmallow hot chocolate bars use a similar base with a slightly different texture.
Getting a clean slice
Warm chocolate and melted marshmallows are a delicious mess. For neat squares, chill the bars until the filling is cold and firm. Run a large knife under hot water, wipe it dry, and slice in one confident motion. Wipe the blade clean between cuts. The cold firms the butter in the crust and the chocolate in the filling so the layers stay distinct instead of squishing together.
Toasting without a kitchen torch
The broiler is the fastest way to toast a whole pan at once, but it demands attention. Keep the oven door cracked and do not walk away. The marshmallows can go from pale to burnt in under thirty seconds. If your oven broiler runs hot, slide the rack down to the middle position so the heat reaches the top evenly. For a similar campfire flavor profile in a layered dessert, try our s'mores lasagna with graham and chocolate.
Make ahead and store
These bars keep well in an airtight container in the refrigerator for up to 4 days. The cold air keeps the marshmallow topping chewy rather than hard. You can also freeze the bars in a single layer, then transfer them to a freezer bag for up to 2 months. Thaw overnight in the refrigerator. The U.S. Food and Drug Administration advises keeping perishable foods refrigerated at 40°F or below. See the FDA food safety guidelines for safe storage practices.
Swaps and extras
Swap semi-sweet chocolate for dark chocolate if you prefer less sweetness, or stir in a tablespoon of peanut butter with the melted chocolate for a nutty twist. Crushed peppermint candies sprinkled over the marshmallows before toasting add a holiday feel. For another handheld cocoa treat, our hot cocoa cookies with marshmallows and chocolate glaze are a great companion recipe.

FAQs
- Can I use hot chocolate mix instead of hot cocoa powder?
Yes. Look for a mix that lists sugar and cocoa as the main ingredients. Avoid mixes with powdered nondairy creamer if you want a cleaner melt and richer taste.
- Do I have to use a broiler to toast the marshmallows?
No. A kitchen torch works well and gives you more control over each marshmallow. You can also bake the bars at 450°F for 3 to 5 minutes until the marshmallows puff and brown.
- Can I make these gluten-free?
Yes. Substitute gluten-free graham-style crumbs for the crust. The filling itself contains no flour, so only the crust needs adjusting.
- How long do these bars last?
Stored in the refrigerator in an airtight container, they stay fresh for up to 4 days. For longer storage, freeze them for up to 2 months and thaw overnight in the refrigerator.
- Can I use large marshmallows instead of mini?
You can, but cut them into smaller pieces first. Whole large marshmallows do not melt and toast as evenly across the surface.
- Why did my chocolate filling crack?
Overbaking is the usual cause. Pull the pan from the oven when the center still jiggles slightly. It will set firm as it cools without cracking on top.
- What pan size works best?
A 9-by-13-inch pan gives you bars that cook evenly and slice neatly. An 8-by-8-inch pan will produce thicker squares. Increase the bake time by 5 to 8 minutes if you go smaller.
