
 Pin it
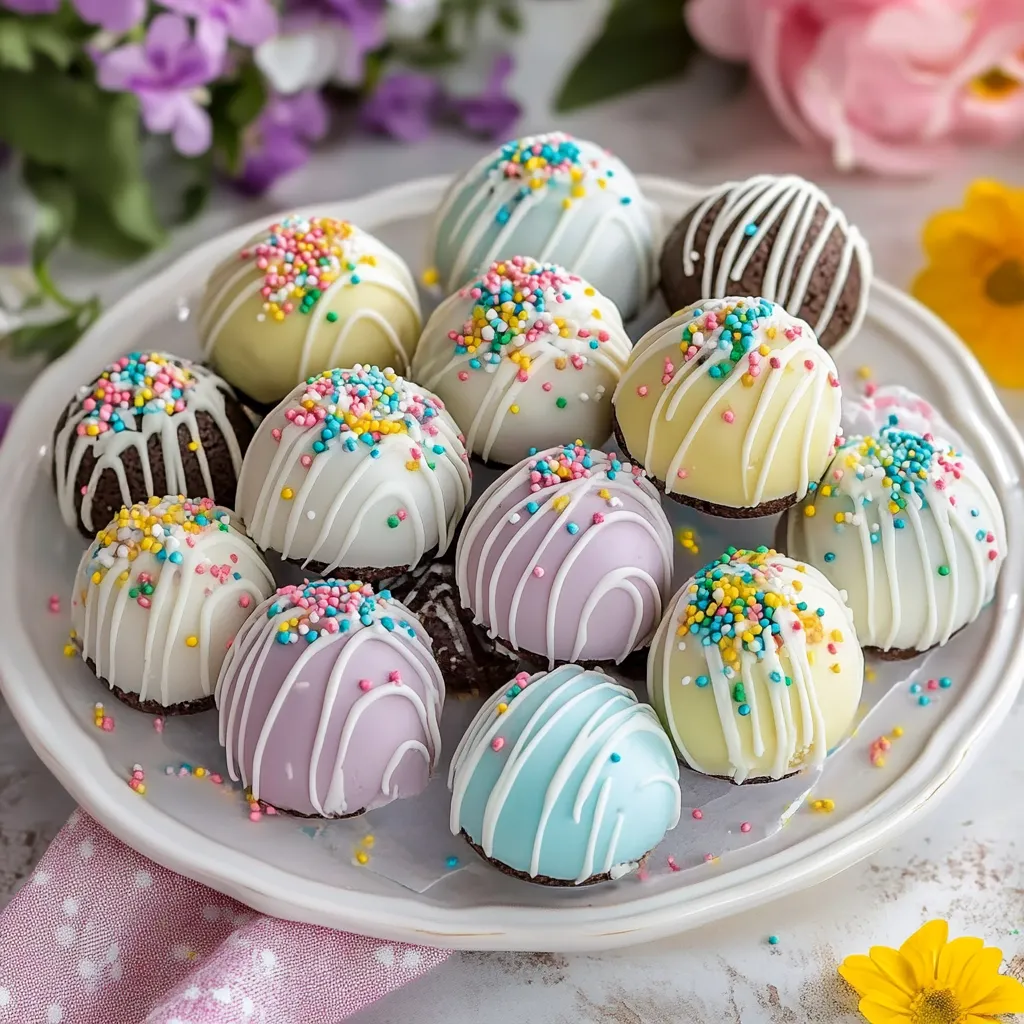
Oreo balls transformed into adorable egg shapes make for an irresistible Easter treat everyone will love. The creamy Oreo and cream cheese filling creates a truffle-like texture that melts in your mouth, while the colorful pastel chocolate coating brings festive spring vibes to your dessert table. These no-bake delights require minimal effort but deliver maximum impact at any celebration.
I first made these for my family's Easter brunch last year, and they disappeared faster than any other dessert on the table. My nephew begged me to make another batch the following weekend, claiming they were even better than regular Oreos which is quite the compliment coming from a picky seven-year-old!
Cookie Base Components
- 36 Oreo cookies: original flavor works beautifully, but feel free to experiment with seasonal varieties
- 8 oz cream cheese: softened to room temperature for easier mixing
- 16 oz candy melts: in assorted pastel colors (pink, blue, yellow, green)
- Various sprinkles, edible glitter, or candy pearls: for decoration
The Oreos provide the perfect chocolatey base with just the right amount of sweetness. When selecting cream cheese, full-fat Philadelphia creates the most luxurious texture, though reduced-fat versions work in a pinch. Quality candy melts from brands like Wilton or Ghirardelli melt smoothly without requiring tempering, making them ideal for beginners and experienced bakers alike.
Crafting Perfect Eggs
- Preparation Stage
- Using a food processor, pulverize Oreo cookies (filling and all) until they become uniform fine crumbs without any large pieces remaining. If you don't have a food processor, place cookies in a sturdy zip-top bag and crush with a rolling pin until finely ground.
- Mixing Phase
- Transfer the Oreo crumbs to a large mixing bowl and add softened cream cheese. Use a rubber spatula to combine the ingredients thoroughly until no white streaks remain and the mixture resembles a thick, moldable dough. The consistency should allow you to form shapes that hold together without being too sticky or too dry.
- Shaping Process
- Scoop tablespoon-sized portions of the Oreo mixture and gently roll between your palms to form a ball. Then slightly elongate and taper the ends to create that classic egg shape. Place each formed egg on a parchment-lined baking sheet, ensuring they don't touch each other. Once all eggs are shaped, transfer the baking sheet to the freezer for approximately 20-30 minutes until quite firm.
- Coating Technique
- Working with one color at a time, melt candy melts in microwave-safe bowls according to package instructions, stirring at 30-second intervals until completely smooth. Remove only a few egg shapes from the freezer at once to keep them firm. Balance each egg on a fork and carefully lower it into the melted candy, using a spoon to help coat it completely. Gently tap the fork against the bowl's edge to remove excess coating before transferring back to the parchment paper.
- Decorating Method
- While the coating is still wet, quickly add sprinkles, edible glitter, or other decorations as desired. For extra flair, drizzle with contrasting colors of melted candy by using a piping bag with a small tip or a fork dipped in melted candy. Allow each egg to set completely before handling, either at room temperature or accelerated in the refrigerator for 10-15 minutes.
 Pin it
I personally find that the white chocolate coating pairs magnificently with the deep chocolate Oreo interior. The contrast creates a lovely flavor balance that reminds me of my grandmother's homemade truffles. She always said desserts should be as beautiful as they are delicious, and these colorful eggs certainly live up to her standard.
Texture Matters
The magic of these Oreo balls lies in their contrasting textures. The exterior provides a satisfying snap when you bite into it, while the interior remains soft and truffle-like. Achieving this perfect balance means paying attention to the consistency of your Oreo mixture. If it seems too dry, add an extra tablespoon of cream cheese. If it's too wet and sticky, incorporate a few more crushed cookies until you reach that ideal moldable consistency that holds its shape.
Flavor Options
Try different Oreo flavors as your base. Golden Oreos create a beautiful vanilla canvas for pastel coatings, while seasonal varieties like mint or peanut butter offer unexpected flavor twists. Consider adding extracts like almond, coconut, or orange to the cream cheese mixture for subtle flavor enhancements that complement the chocolate base. For chocolate lovers, try using dark chocolate candy melts with a sprinkle of sea salt on top for a sophisticated twist on this playful treat.
Storage Tips
Store finished Oreo eggs in an airtight container in the refrigerator for optimal freshness. They'll maintain peak quality for up to one week but rarely last that long! Allow them to sit at room temperature for about 10 minutes before serving for the best texture and flavor experience. For longer storage, these treats freeze beautifully for up to two months. Simply place in freezer-safe containers with parchment paper between layers, then thaw in the refrigerator overnight before serving.
Presentation Ideas
Arrange your colorful Oreo eggs in paper cupcake liners for individual servings at parties. Create a stunning Easter centerpiece by placing them in a decorative basket lined with colorful Easter grass. For gifting, package them in clear cellophane bags tied with pastel ribbons or place them in decorative egg cartons for a clever presentation. These visually impressive treats make wonderful hostess gifts during spring gatherings.
 Pin it
These Easter Egg Oreo Balls have become a non-negotiable tradition in my home. There's something incredibly satisfying about transforming simple ingredients into something so special. The joy on peoples' faces when they bite into these treats makes the minimal effort completely worthwhile. I hope they bring as much delight to your Easter celebration as they have to mine!
Frequently Asked Questions
- → Can I make these Oreo egg truffles ahead of time?
- Yes, these truffles can be made up to 5 days in advance. Store them in an airtight container in the refrigerator until ready to serve. They also freeze well for up to 3 months if wrapped properly.
- → What can I use instead of candy melts?
- You can substitute candy melts with white chocolate chips or bars colored with oil-based food coloring. Regular chocolate chips also work well for a classic chocolate coating instead of pastel colors.
- → Do I need to remove the cream filling from the Oreo cookies?
- No, you should use the whole Oreo cookie including the cream filling. The filling adds sweetness and helps bind the mixture together with the cream cheese.
- → How do I get the perfect egg shape for these truffles?
- First roll the mixture into balls, then gently press and shape into an egg form. You can also use an egg-shaped silicone mold or cookie cutter as a guide. Chilling the mixture first makes it easier to shape.
- → What's the best way to dip the truffles in the candy coating?
- Use a fork or dipping tool to submerge each truffle in the melted candy coating. Tap the fork gently on the edge of the bowl to remove excess coating before placing on parchment paper. Work with just a few truffles at a time, keeping the rest refrigerated.