
 Pin it
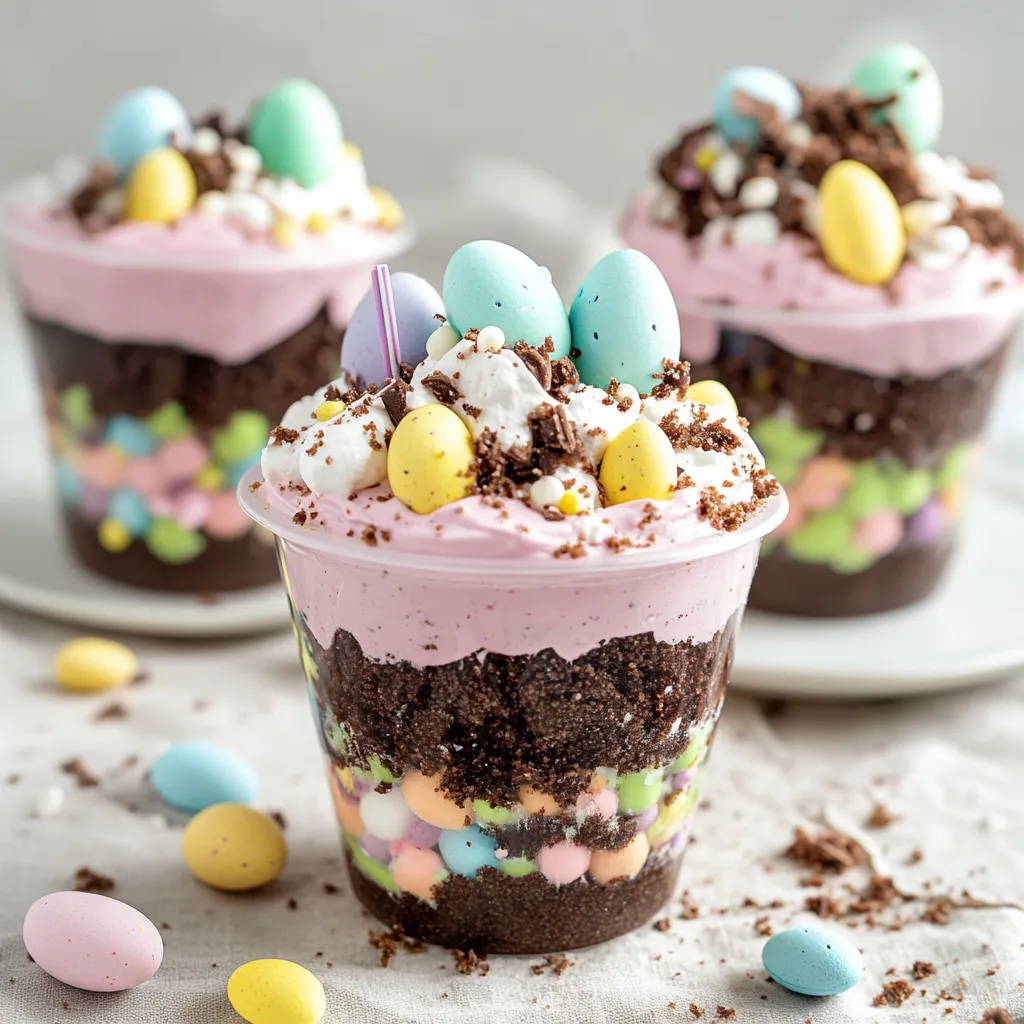
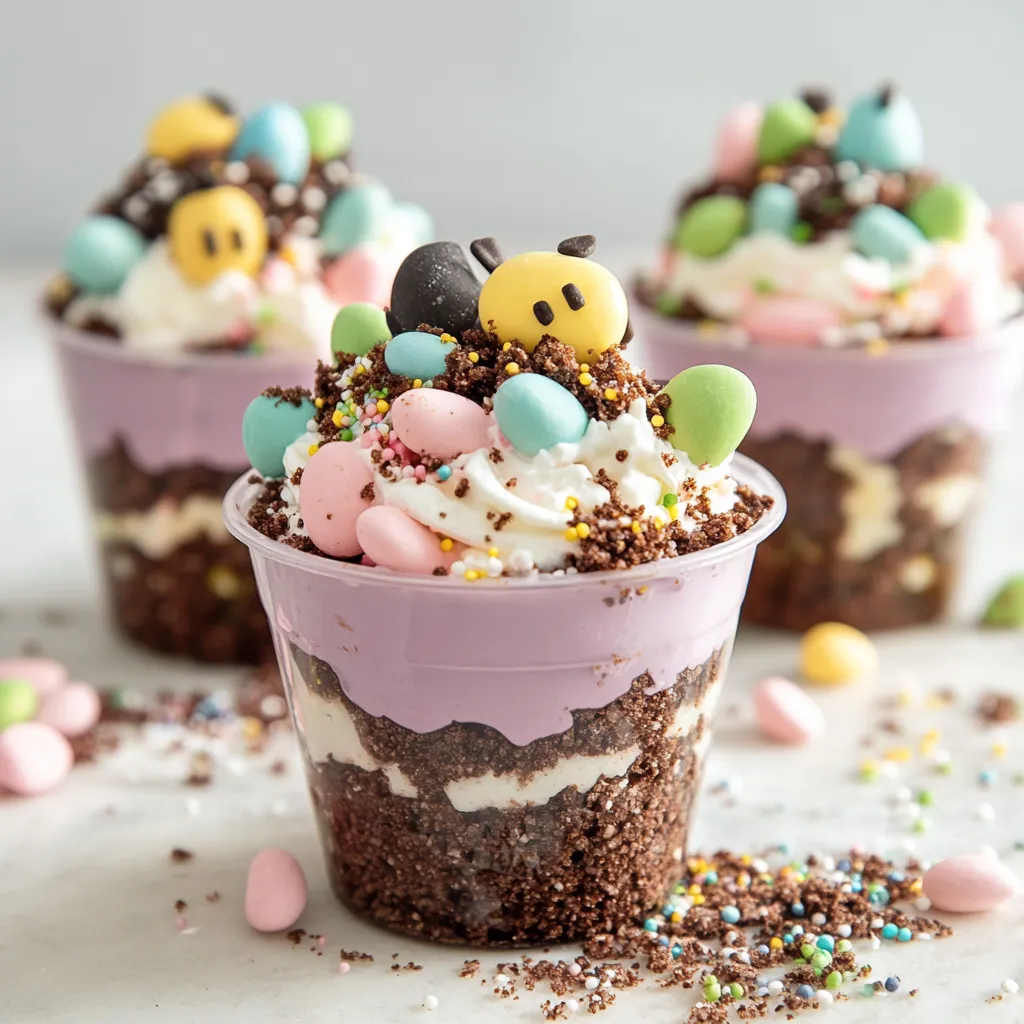
Easter dirt cups transform simple ingredients into a whimsical spring dessert that delights both children and adults alike. Layers of creamy pastel pudding alternate with chocolate cookie crumbs to create a visually striking treat topped with festive Easter decorations. These individual servings require no baking and come together quickly, making them perfect for busy holiday preparations when you need something impressive without spending hours in the kitchen.
I first made these for my niece's spring birthday party, and the children literally gasped when they saw the colorful cups appear. Even the adults couldn't resist sneaking a cup when they thought no one was looking. The combination of creamy pudding with the chocolate cookie crunch creates such a satisfying textural contrast that everyone kept scraping their cups for one more bite.
Sweet Essentials
- 1 package vanilla instant pudding mix: for quick preparation and reliable results
- 2 cups cold milk: to activate the pudding mix properly
- 1 container Cool Whip: thawed completely for proper incorporation
- 1 package Oreo cookies: finely crushed with filling removed for authentic dirt texture
- Food coloring: in pastel shades like pink, purple, blue, or yellow for spring appeal
- Shredded coconut: for creating realistic green grass on top
- Easter Peeps: in chick or bunny shapes for playful decoration
- Candy eggs: such as mini chocolate eggs or jellybeans for the finishing touch
The quality of your Oreo crumbs makes a significant difference in the final presentation. Process them to a fine, uniform texture rather than chunky pieces for the most realistic dirt appearance. When selecting food coloring, gel colors provide more vibrant hues with fewer drops than liquid varieties. For the coconut grass, unsweetened coconut produces a more natural look, but sweetened works perfectly well if that's what you have available.
Creating Magic
- Pudding Preparation
- Pour the vanilla pudding mix into a medium bowl and add cold milk in a steady stream while whisking continuously to prevent lumps from forming. Continue whisking vigorously for a full two minutes by the clock to ensure the pudding activates properly. Allow the mixture to rest undisturbed for five minutes until it reaches a soft-set consistency that holds its shape when the spoon is lifted. The pudding should coat the back of a spoon with a smooth, velvety texture without any granular appearance.
- Color Development
- Divide the prepared pudding evenly between two separate mixing bowls using a rubber spatula to ensure you capture every bit. Add food coloring one drop at a time to each bowl, stirring gently between additions until you achieve perfect pastel shades. Spring colors like lavender, baby blue, soft pink, or pale yellow work beautifully for Easter. Remember that the addition of white Cool Whip will lighten your colors considerably, so make the initial shade slightly more intense than your desired final result.
- Texture Enhancement
- Remove the lid and protective seal from your thawed Cool Whip container. Divide the Cool Whip equally between your colored pudding bowls. Using a rubber spatula, fold each mixture with a gentle down-and-over motion rather than stirring to preserve the air incorporated in the whipped topping. Continue folding until the color is uniform with no white streaks remaining and the texture becomes light and mousse-like. The finished mixture should hold soft peaks and feel substantially fluffier than the original pudding.
- Assembly Process
- Begin the layering process by sprinkling approximately one tablespoon of finely crushed Oreo crumbs into the bottom of each clear cup or mason jar. Gently tap each cup to create an even base layer. Spoon or pipe the first colored pudding mixture over the crumbs, being careful not to disturb them or smear the sides of the cup. Create distinct layers by adding the pudding from the center of the cup rather than the sides. Continue alternating layers of Oreo crumbs and different colored pudding mixtures until each cup is nearly full, reserving enough crumbs for the final topping.
- Festive Finishing
- Place the filled cups in the refrigerator for at least one hour to fully set and allow flavors to meld. Meanwhile, prepare the coconut grass by placing shredded coconut in a container with a tight-fitting lid. Add several drops of green food coloring and a small amount of water. Secure the lid firmly and shake vigorously until the coconut takes on an even, grass-like green color. Just before serving, top each chilled dirt cup with a layer of cookie crumbs, then add a small mound of green coconut grass. Complete the scene by adding one Peep per cup and several candy eggs arranged artfully on the coconut grass.
 Pin it
The first time I served these at our family Easter celebration, my grandmother was absolutely charmed by these whimsical treats. She insisted on taking pictures to show her friends and even requested I make them again for her garden club meeting. There's something delightful about how these simple cups bring out childlike joy in people of all ages.
Storage Wisdom
These dirt cups maintain their texture and flavor beautifully when stored properly. Cover each cup individually with plastic wrap, pressing it directly onto the surface of the top layer to prevent condensation from dripping onto your carefully crafted creation. The assembled cups can be refrigerated for up to two days before adding the decorative toppings. For best results, add the coconut grass, Peeps, and candy eggs no more than two hours before serving to maintain the fresh appearance and prevent any color bleeding from the candies into the coconut grass.
Serving Elegance
Present your Easter dirt cups on a decorated serving tray lined with additional green coconut grass for a cohesive presentation. Include small dessert spoons with each cup to encourage guests to dig through all the delicious layers. For added charm, tie pastel ribbons around the cups or jars and attach small name tags if serving at a seated gathering. These individual desserts eliminate the need for cutting and serving, allowing everyone to simply grab a cup and enjoy the festivities without interruption.
 Pin it
These Easter dirt cups have become a treasured tradition in my family, marking the arrival of spring with their playful presentation and delicious flavors. The joy on everyone's faces when they receive their own little cup of Easter magic makes this simple dessert worth creating year after year. I hope they bring the same happiness to your spring celebrations.
Frequently Asked Questions
- → Can I make these Easter dirt pudding jars ahead of time?
- Yes, you can prepare the pudding layers and Oreo layers up to 2 days in advance. Keep them refrigerated but wait to add the coconut grass, Peeps, and candy eggs until just before serving to maintain their appearance and texture.
- → What size mason jars work best for this recipe?
- Half-pint (8 oz) mason jars work perfectly for individual servings. If you're making these for children, 4 oz jars create cute mini portions. For larger servings, pint-sized jars work well too.
- → Can I use a different type of cookie instead of Oreos?
- Yes, chocolate graham crackers or chocolate wafer cookies work well as substitutes. For a different flavor profile, try using vanilla sandwich cookies like Golden Oreos with vanilla pudding.
- → What can I use instead of Cool Whip?
- You can substitute homemade whipped cream by whipping 1 cup of heavy cream with 2 tablespoons of powdered sugar until stiff peaks form. Fold it into the pudding the same way you would with Cool Whip.
- → Is there a dairy-free version of this recipe?
- Yes, you can make this dairy-free by using plant-based milk (like almond or coconut milk) with instant pudding mix, and coconut whipped topping instead of Cool Whip. Just check that your Oreos are dairy-free (the original ones typically are).