 Pin it
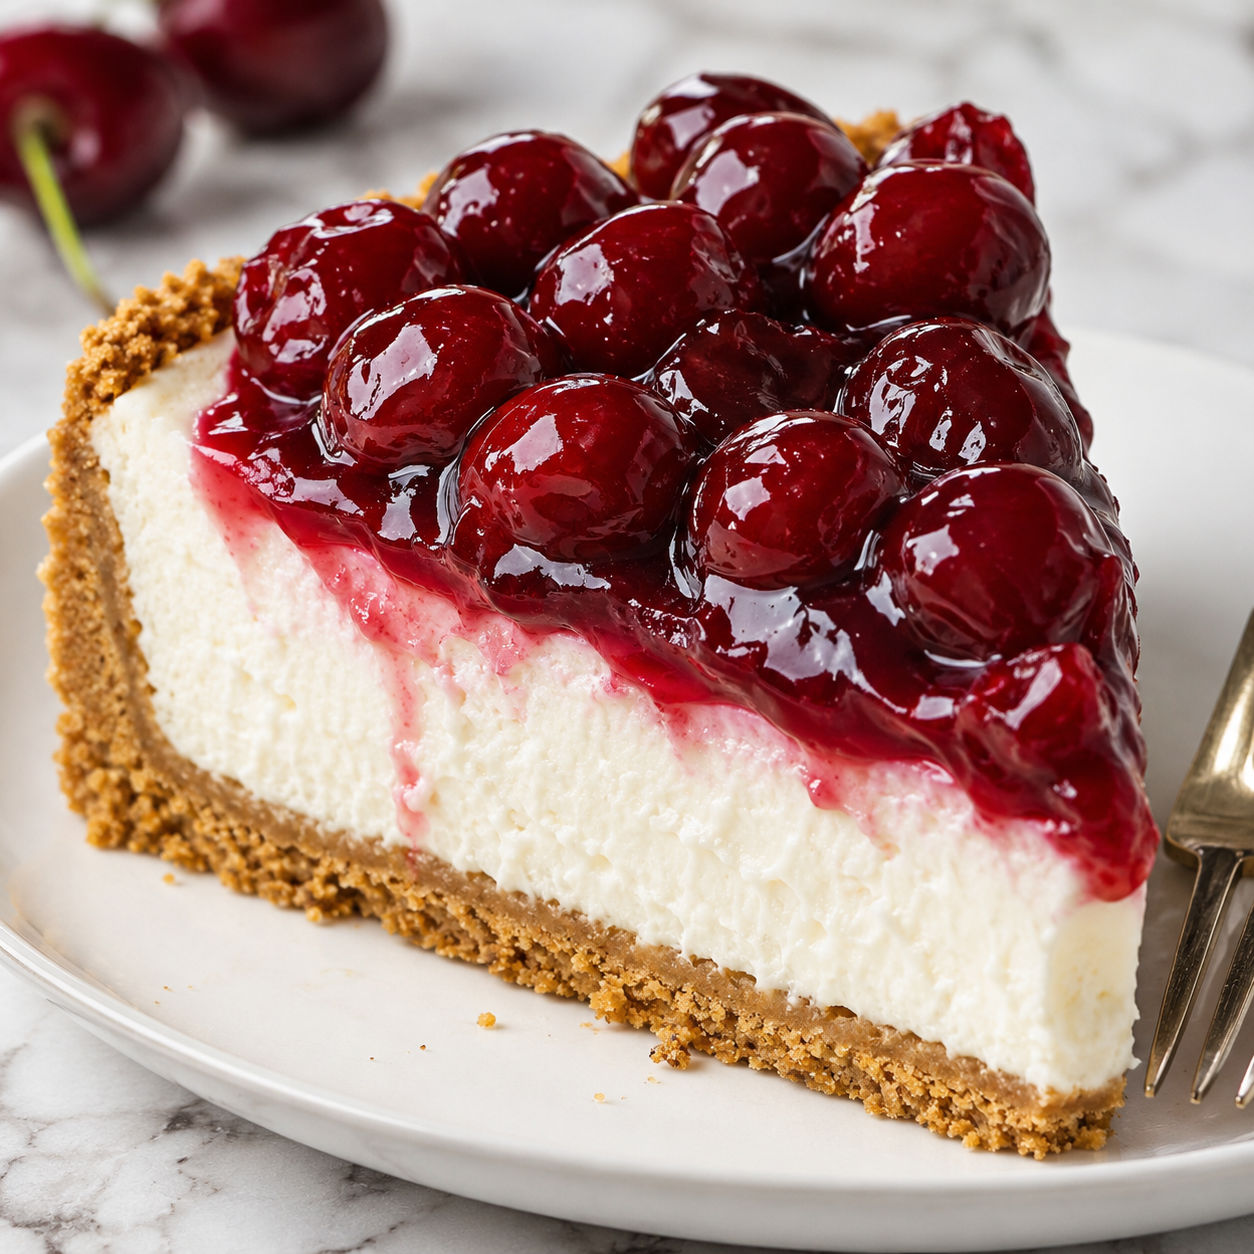
Easiest No-Bake Cherry Cheesecake is the dessert I make when I need something pretty without turning on the oven. It has a buttery graham crust, a smooth cream cheese center, and a shiny cherry topping that does most of the decorating for you.
The filling stays light because whipped topping is folded in after the cream cheese is beaten smooth. The only real wait is the chill time. Give it at least 4 hours and the slices come out neat instead of soft and slouchy.
Creamy Cherry Basics
This is a short ingredient list, so the texture of the cream cheese matters. Let it soften until a finger leaves a gentle dent, then beat it smooth before anything fluffy goes in.
A store-bought graham crust keeps this firmly in easiest territory. If you love a thicker crust, use a deep-dish crust or press homemade crumbs into a pie plate.
- Graham cracker crust. Gives the cheesecake a sweet, crumbly base without any baking.
- Cream cheese. Builds the tangy, rich body of the filling.
- Powdered sugar. Sweetens smoothly and helps the filling stay silky.
- Vanilla extract. Rounds out the cream cheese flavor.
- Lemon juice. Adds a small bright note that keeps the filling from tasting flat.
- Whipped topping. Lightens the filling and helps it slice after chilling.
- Cherry pie filling. Makes the glossy fruit layer with almost no work.
The Shortcut Method
- Soften the cream cheese. Leave it at room temperature for about 45 minutes, then beat it until completely smooth so the filling has no lumps.
- Sweeten the base. Beat in powdered sugar, vanilla, and lemon juice until creamy. Scrape the bowl once so the edges do not hide thick streaks.
- Fold in the topping. Add the whipped topping with a spatula and fold until no white streaks remain. Go gently so the filling stays airy.
- Fill the crust. Spoon the filling into the graham crust and smooth the top. Cover loosely and chill for at least 4 hours.
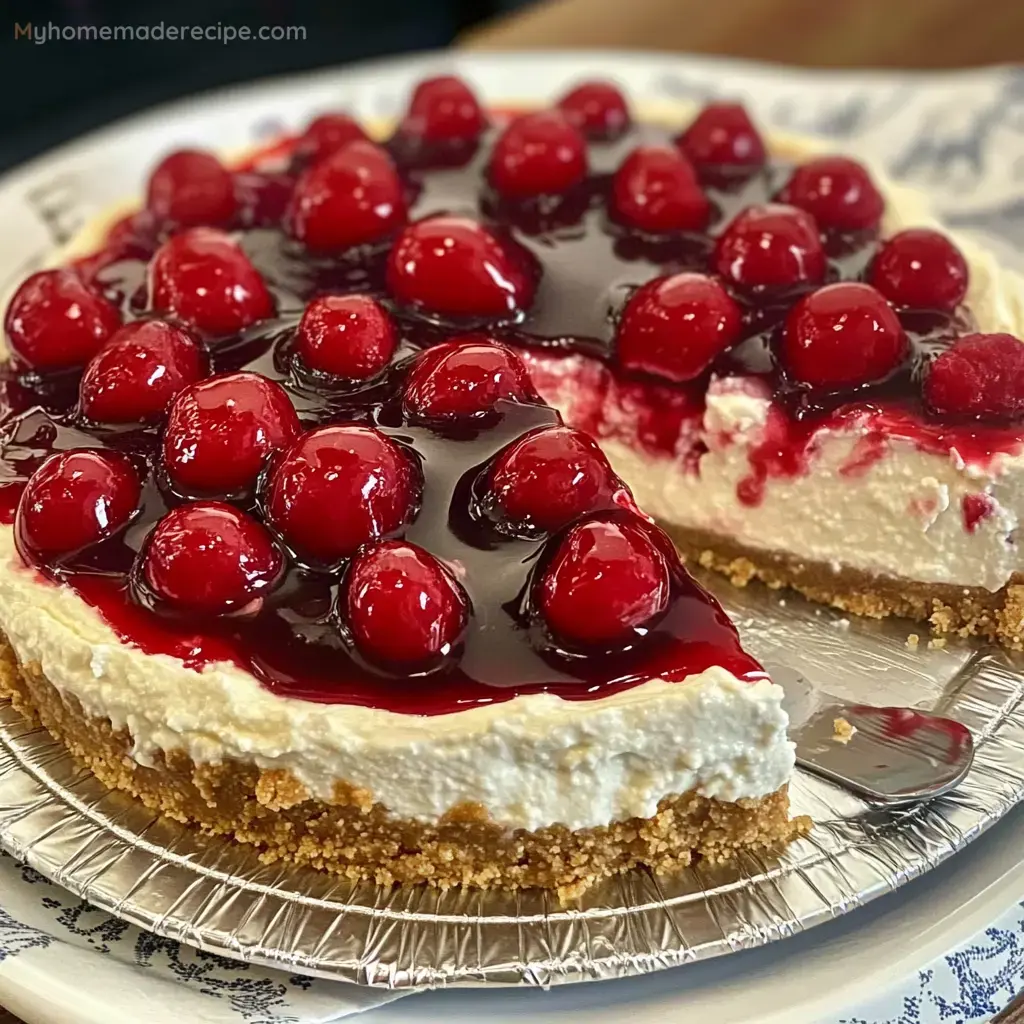
- Add cherries and serve. Spread chilled cherry pie filling over the firm cheesecake. Slice with a clean knife and serve cold.
Why This Filling Sets
The filling sets because thick cream cheese is blended with powdered sugar, then lightened with whipped topping. It is not baked and it does not use gelatin, so cold time does the heavy lifting. If you cut it early, it will taste good but look messy.
Beat the cream cheese base until it is smooth before folding. Once the whipped topping goes in, switch to a spatula. A mixer can knock out the air and make the filling looser. For a cute party version using the same no-bake idea, try No-Bake Cheesecake Jars.
Chill Time Matters
Four hours is the minimum. Overnight is better. The crust firms as the butter chills, and the cream cheese filling tightens enough to hold the cherry layer. If you need to travel with it, chill the cheesecake without the topping first. Add the cherries once you arrive, or keep the whole pie in a cooler.
For food safety, keep cream cheese desserts cold and refrigerate leftovers promptly. The USDA has a practical leftovers and food safety guide that is useful when desserts sit out at parties.
Smart Ways To Change It
You can make this sweeter, tangier, or more bakery-style without changing the method. Add 1 teaspoon almond extract for a cherry-almond flavor. Use a chocolate cookie crust if you want the filling to taste more like Black Forest cheesecake. Spoon blueberry or strawberry pie filling over the top when cherries are not what you have.
If you want something with more texture, Cherry Pecan Cheesecake Lush has a soft layered feel with crunch from pecans. For bars that slice neatly for a tray, Cherry Almond Cheesecake Bars are a good fit.
Serving Without Sloppy Slices
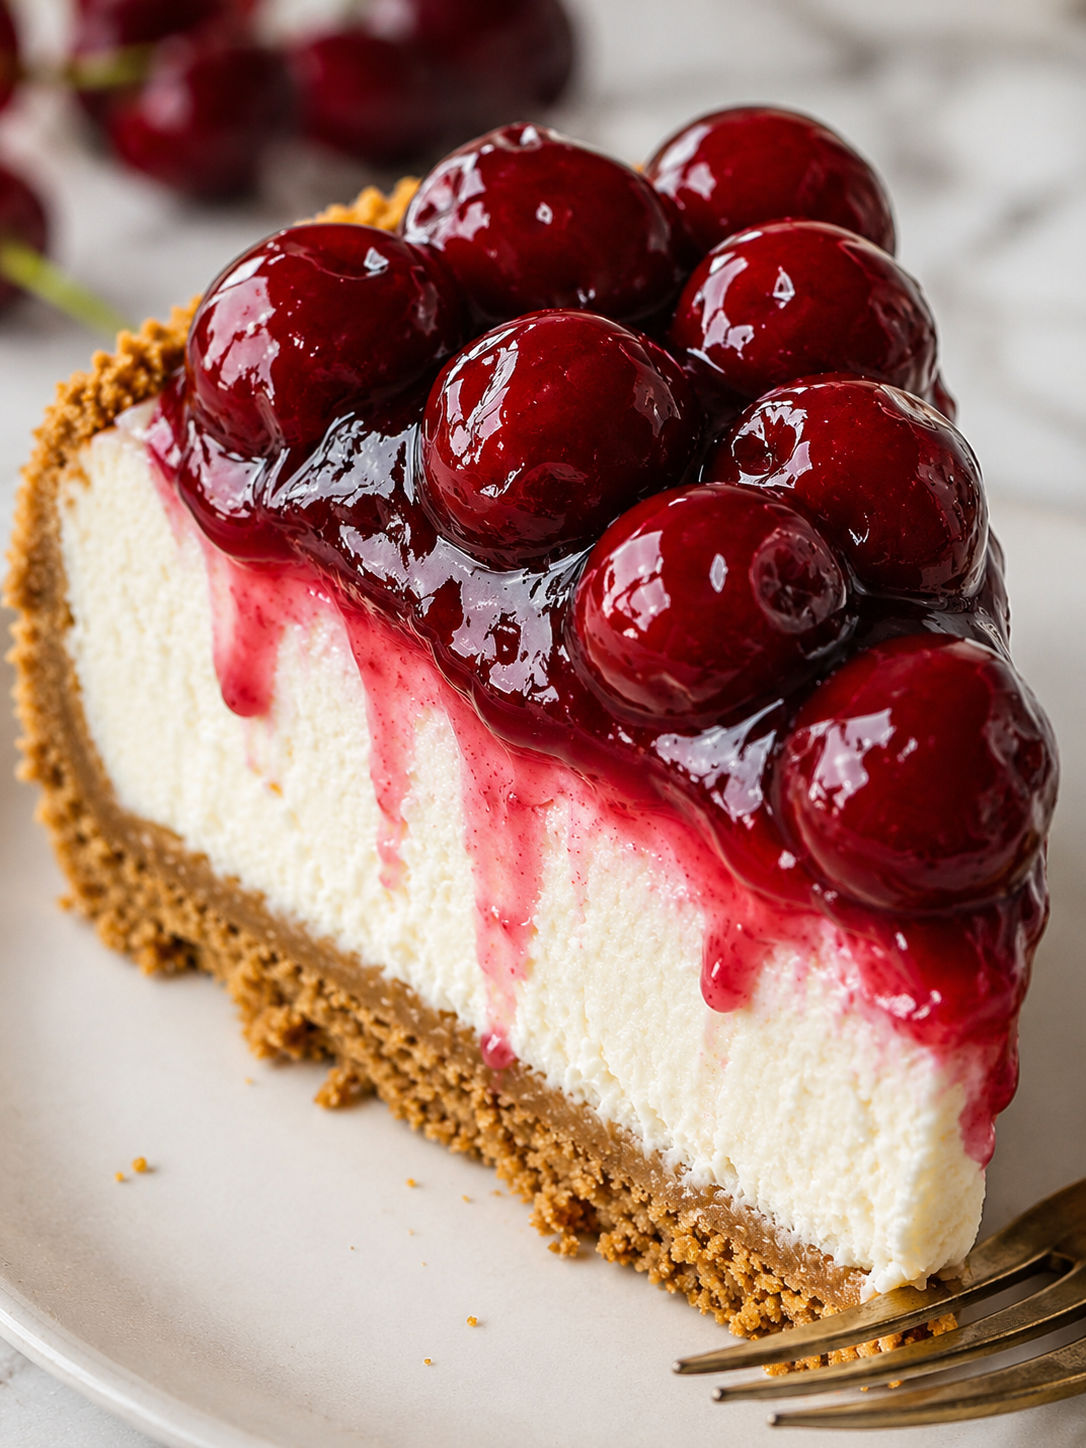
Use a sharp knife dipped in hot water and wiped dry between cuts. It sounds fussy, but it takes seconds and keeps the cherry topping from dragging through the white filling. A small offset spatula helps lift the first slice without cracking the crust.
Serve this cheesecake cold from the fridge. If it sits on the counter too long, the filling softens and the crust loses its clean edge. For a dessert table, cut slices right before serving and keep the rest chilled. If you are building a full no-bake spread, No-Bake Peanut Butter Cheesecake gives you a richer option next to the cherry.
Storage And Freezer Notes
Cover the cheesecake and refrigerate it for up to 4 days. If the cherry topping touches plastic wrap, it will stick, so use a domed lid or toothpicks to tent the wrap above the surface.
To freeze it, chill the cheesecake until firm first. Freeze without the cherry topping for the cleanest result. Wrap the pie well and freeze for up to 1 month, then thaw overnight in the refrigerator and add the cherries before serving.
Summary
Keep the cream cheese soft, fold gently, chill fully, and serve cold. Those four details make this simple cheesecake taste much richer than the effort suggests.
FAQs
- Can I make no-bake cherry cheesecake the day before?
Yes. This dessert is better when it has a full night to chill. Add the cherry topping after the filling firms up, then keep the cheesecake covered in the refrigerator until serving.
- Can I use homemade whipped cream instead of whipped topping?
You can, but it will be softer unless the cream is whipped to firm peaks. Use 1 cup cold heavy cream plus 2 tablespoons powdered sugar, then fold it in gently. For the easiest and most stable version, frozen whipped topping is more reliable.
- Why did my no-bake cheesecake not set?
The cream cheese may have been too warm, the filling may have been overmixed after the whipped topping went in, or it may not have chilled long enough. Give it at least 4 hours. Overnight is best for clean slices.
- Can I use a different pie filling?
Yes. Blueberry, strawberry, raspberry, or mixed berry pie filling all work with the same cream cheese base. If the topping is very loose, chill it first so it does not sink into the filling.
- How long can cherry cheesecake sit out?
Keep it cold until close to serving time. Because it contains cream cheese, do not leave it at room temperature for more than 2 hours. On a hot day, keep it in a cooler or serve it from the fridge in smaller portions.
- Can I make this gluten-free?
Yes. Use a gluten-free graham-style crust or make one with gluten-free cookie crumbs and melted butter. Check the cherry pie filling too, since some brands use thickeners or additives that may vary.
