 Pin it
Pierogi are the kind of food that fills a kitchen with a smell you carry with you for years. Sautéed onion going deeply golden in butter, the starchy warmth of boiling dough, the gentle sizzle when the dumplings hit a hot pan. They take real time, and that is part of the point.
This version uses a soft egg-and-sour-cream dough that rolls thin without tearing and a pork-and-onion filling seasoned with marjoram. The filling is moist but not wet. That balance is what keeps the dumplings from going soggy or splitting in the water.
Budget about two hours the first time, a little less once you find your folding rhythm. Every extra minute goes toward a freezer full of pierogi you can pull out on any weeknight.
Dough, Filling, and Butter to Finish
The ingredient list is short, but quality in a few key spots makes a clear difference. Fresh ground pork and an onion cooked low and slow are what give the filling its depth.
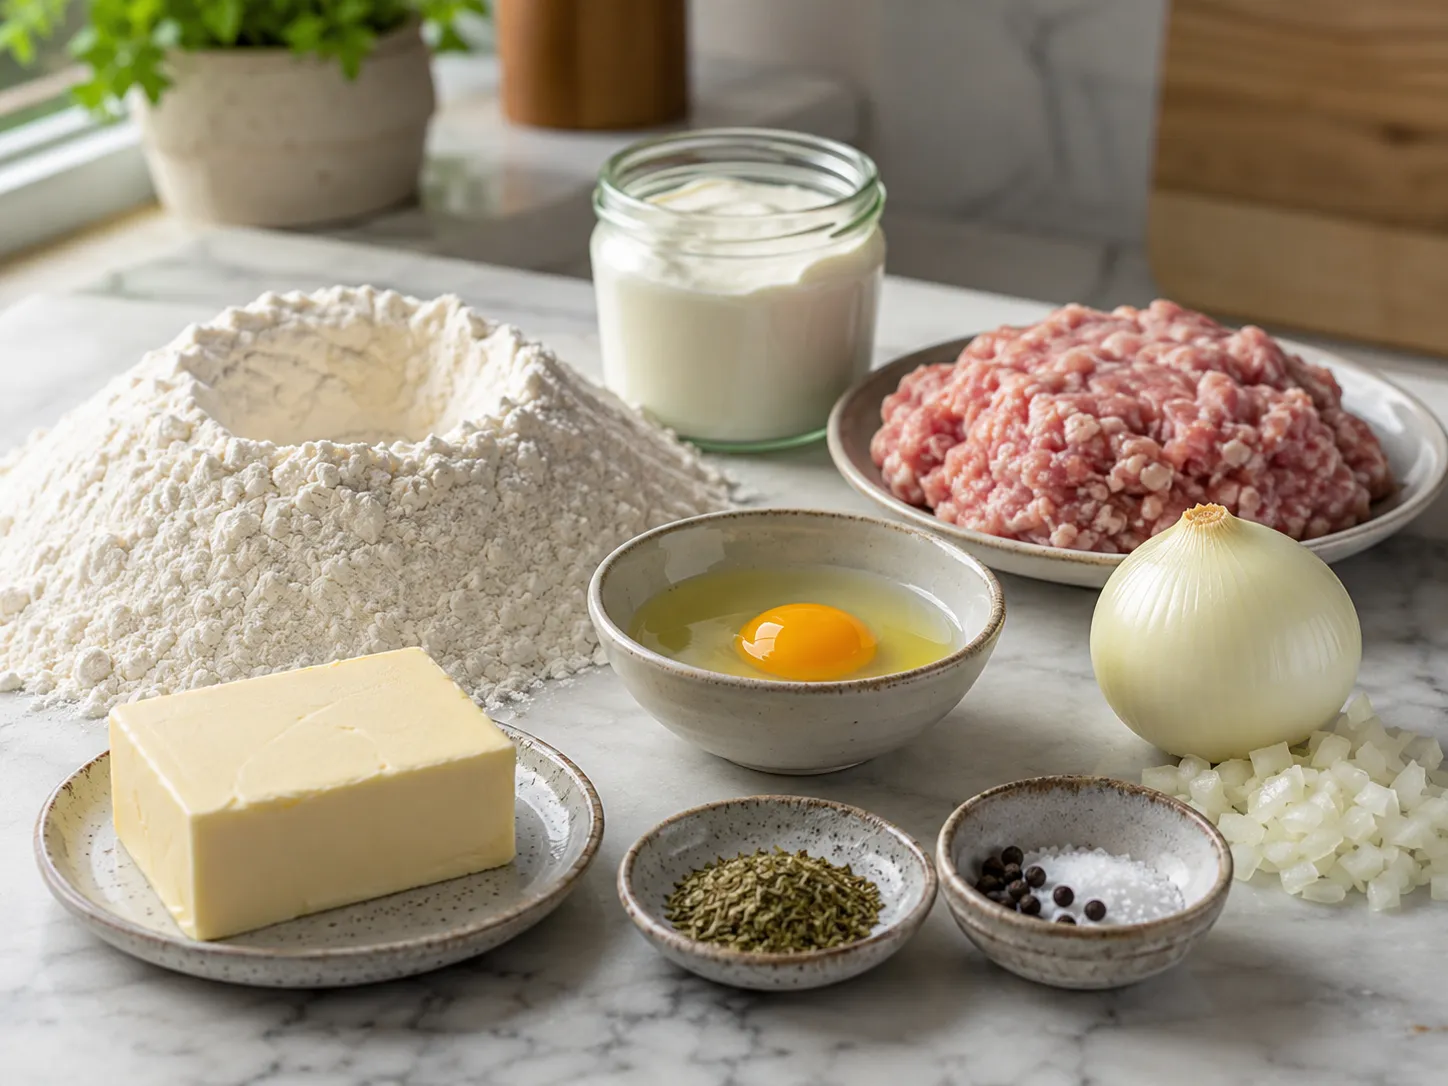
- All-purpose flour. The base of the dough. It gives structure without turning tough when you rest the dough properly before rolling.
- Egg. Adds richness and binds the dough so it stretches without tearing at the folds.
- Sour cream. The small amount of fat keeps the dough tender and easy to work with, even after rolling it thin.
- Ground pork. The filling base. It stays juicy after cooking and takes on seasoning well. A mix of pork and beef works just as well.
- Onion. Cooked low and slow in butter until golden, it turns sweet and aromatic and carries the whole filling.
- Dried marjoram. The herb that makes a Polish meat filling taste distinctly Polish. It is mild and slightly floral. Do not skip it.
- Butter. Used for cooking the onion, frying the boiled pierogi in the pan, and making the caramelized onion topping for serving.
Fold, Boil, and Finish in the Pan
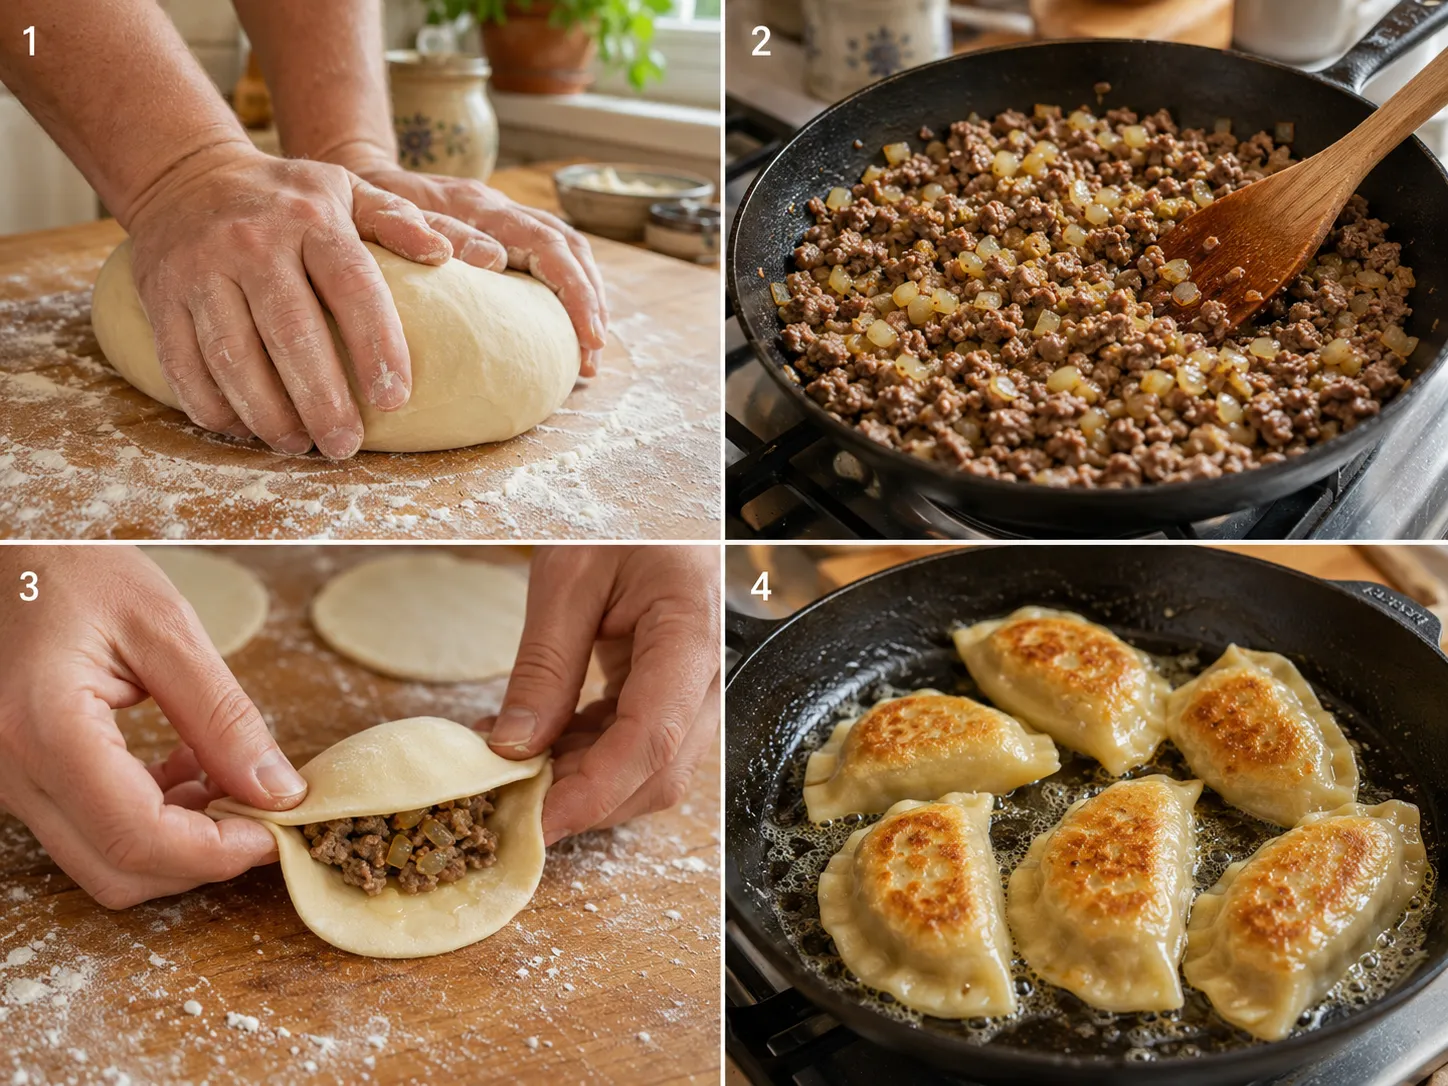
- Make the dough. Combine flour and salt in a large bowl. Add the egg and sour cream and mix briefly. Pour in warm water a little at a time, mixing after each addition, until a shaggy dough forms. Turn out onto a lightly floured surface and knead for 6 to 8 minutes until smooth and slightly tacky. Cover with an inverted bowl and rest for 30 minutes.
- Cook the filling. Cook ground pork in a dry skillet over medium-high heat, breaking it into fine crumbles, until cooked through with no pink remaining, about 8 minutes. Drain excess fat. Melt butter in the same pan over medium heat and cook the diced onion for 10 to 12 minutes until deeply golden. Combine the pork, onion, and marjoram. Season generously with salt and black pepper. Add broth if the mixture feels dry. Cool completely before filling.
- Roll and cut the circles. Divide the rested dough in half. Roll one half on a lightly floured surface to about 1/8-inch (3 mm) thick. Cut 3-inch (8 cm) circles using a round cutter or the rim of a glass. Gather and re-roll the scraps once.
- Fill and seal. Place one heaped teaspoon of filling in the center of each circle. Fold the dough over to form a half-moon, keeping the filling away from the edges. Press the edges firmly together from the center outward, then crimp or pleat all the way around to both tips. Check each dumpling for gaps before it goes in the pot.
- Boil the pierogi. Bring a large pot of well-salted water to a boil. Cook in batches of 10 to 12. They are ready about 2 minutes after they float to the surface, 4 to 5 minutes total. Lift out with a slotted spoon and toss with a small knob of butter to prevent sticking.
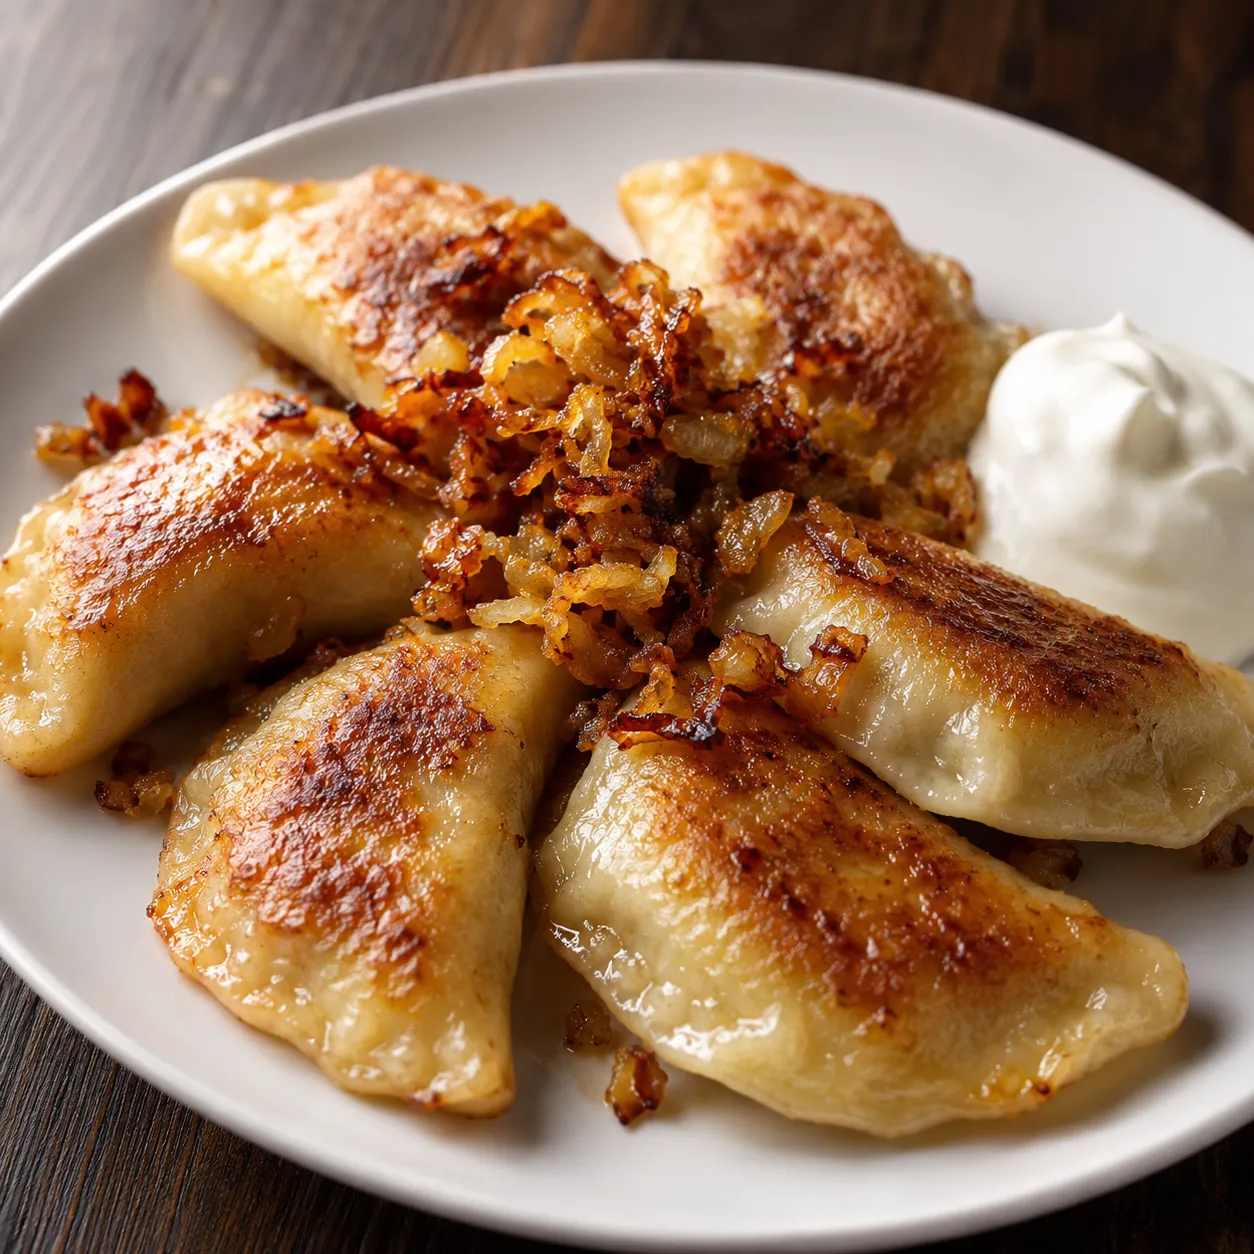
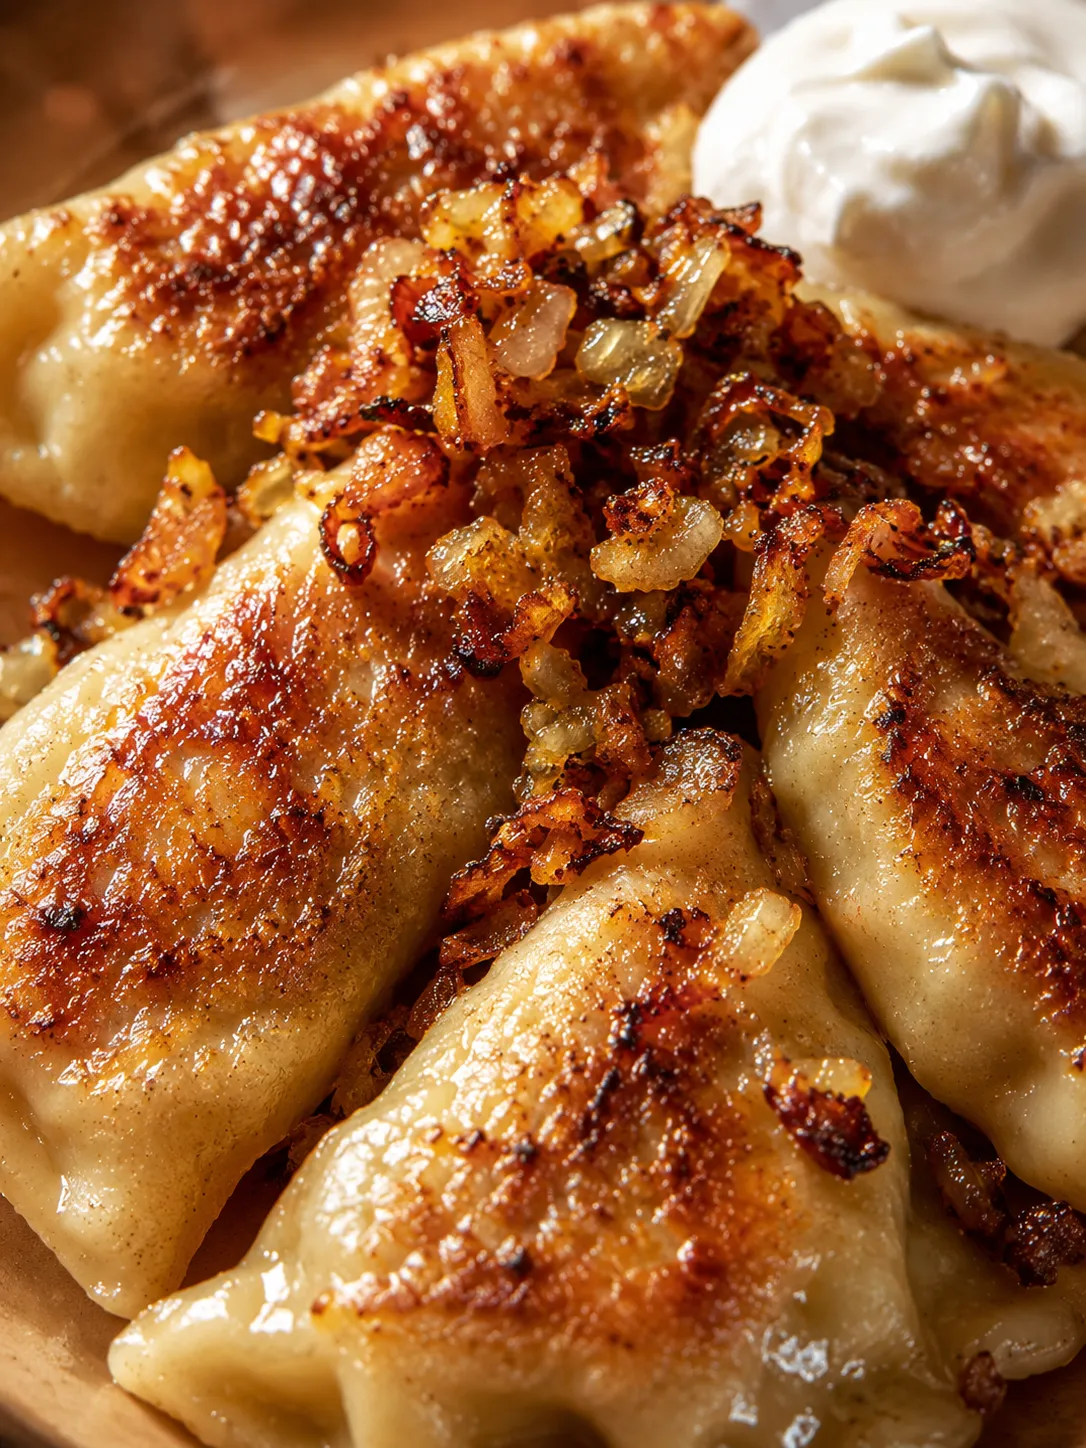
- Pan-fry and serve. In a separate pan, fry the sliced onion in butter over medium heat for 12 to 15 minutes until deeply golden. Melt more butter in a large skillet over medium heat and fry the boiled pierogi 2 to 3 minutes per side until golden and crispy on the outside. Serve topped with the fried onion and sour cream alongside.
Why the Dough Has to Rest
Thirty minutes under a bowl transforms the dough from stiff and resistant to soft and cooperative. Kneading develops the gluten network and resting lets that network relax. Roll the dough immediately after kneading and it springs back every time you push the pin. After the rest, it stays where you put it and rolls out thin without fighting you.
If your kitchen is warm, rest the dough at room temperature. If it is very hot, 20 minutes in the refrigerator does the same job. Either way, do not skip this step.
Sealing Pierogi So None Burst
A burst pierogi in the boiling water is a soggy, starchy disappointment. The seal fails for one of two reasons: filling caught in the seam, or a fold that was not pressed firmly enough.
Wipe the edge of each circle with a dry finger before folding. Even a thin smear of filling grease stops the dough from bonding to itself. Once you fold, press from the center outward toward the ends so air does not get trapped, then crimp all the way to both tips. The USDA recommends cooking ground pork to 160°F internally, so make sure the filling is fully cooked before it goes into the dough.
Getting the Filling Texture Right
The filling should be moist enough to hold together but not so wet that it softens the dough from the inside. After you mix the cooked pork and golden onion, press a small amount between your fingers. If it holds its shape and releases just a faint sheen of fat, it is ready. If it crumbles and feels dry, add broth a tablespoon at a time. If it feels slick or wet, cook it in the pan for a few more minutes to drive off excess moisture.
Taste the filling before you start folding. The dough contains salt, but the filling needs its own generous seasoning or the whole dumpling will taste flat once boiled.
Freezing and Reheating a Full Batch
One of the best things about pierogi is that they freeze raw and cook from frozen beautifully. Once you have sealed a full batch, arrange the uncooked dumplings in a single layer on a parchment-lined tray and freeze for one hour. When they are firm, transfer them to a zip-top bag. They keep for up to three months.
To cook from frozen, drop them straight into boiling salted water and add about two extra minutes beyond the usual time after they float. Pan-fry as normal once boiled. Cooked leftovers should be refrigerated within two hours and eaten within three days, following standard food safety guidelines for cooked meat dishes.
Serving Ideas Beyond Sour Cream
Fried onion and sour cream are the classic accompaniments, and they are classic for a reason. The onion adds sweetness and a little crisp texture and the sour cream cuts the richness of the butter. Beyond that, a simple green salad or a cold beet salad works well on the side. For a heartier meal, add a bowl of clear beet broth alongside the plate. If you have leftover pierogi the next morning, fry them in extra butter until very crispy. They are genuinely good for breakfast.
FAQs
- Can I use beef instead of pork for the filling?
Yes. Ground beef works well, and many Polish families use a pork-and-beef mix in equal parts for a richer flavor. If you use beef alone, choose an 80/20 grind so the filling stays moist after cooking. A leaner grind tends to make the filling dry and crumbly once sealed inside the dough.
- How do I keep boiled pierogi from sticking together?
Toss them with a small knob of butter as soon as they come out of the water. That thin coat of fat prevents them from gluing to each other while you finish cooking the remaining batches. If you are not pan-frying immediately, spread them in a single layer on a lightly oiled tray.
- Can I make the dough the night before?
Yes. Wrap it tightly in plastic wrap and refrigerate for up to 24 hours. Let it come back to room temperature for about 20 minutes before you roll it out. Cold dough is stiff and tears more easily, so allowing it to warm slightly is worth the wait even the next day.
- How long do cooked pierogi keep in the refrigerator?
Cooked pierogi keep for up to three days in an airtight container. Reheat them in a buttered skillet over medium-low heat rather than the microwave, which tends to make the dough rubbery and the filling dry. A few minutes per side brings back the crispy exterior. The FoodSafety.gov guidelines are a reliable reference for cooked meat and leftovers storage times.
- Can I skip the pan-frying step and just serve them boiled?
Absolutely. Boiled pierogi are softer and more delicate, and many people prefer them that way. Skip the skillet and serve them straight from the pot with a pile of fried onion on top and sour cream on the side. Children especially tend to like the gentler texture of a simply boiled pierogi.
- Why do my pierogi burst open in the boiling water?
The two most common causes are overfilling and a weak seal. Use no more than one heaped teaspoon of filling per dumpling and make sure the edges are completely free of filling before you press them together. Press firmly from the center outward toward both tips so no air gets trapped, then crimp all the way to the ends. Even one small gap will let water in and force the seam open.
- Can I freeze uncooked pierogi?
Yes, and it is the best way to store a large batch. Arrange uncooked pierogi in a single layer on a parchment-lined tray and freeze for one hour until firm, then transfer to a zip-top bag or airtight container. They keep for up to three months. Cook them straight from frozen in boiling salted water, adding about two extra minutes beyond the usual time after they float to the surface.
