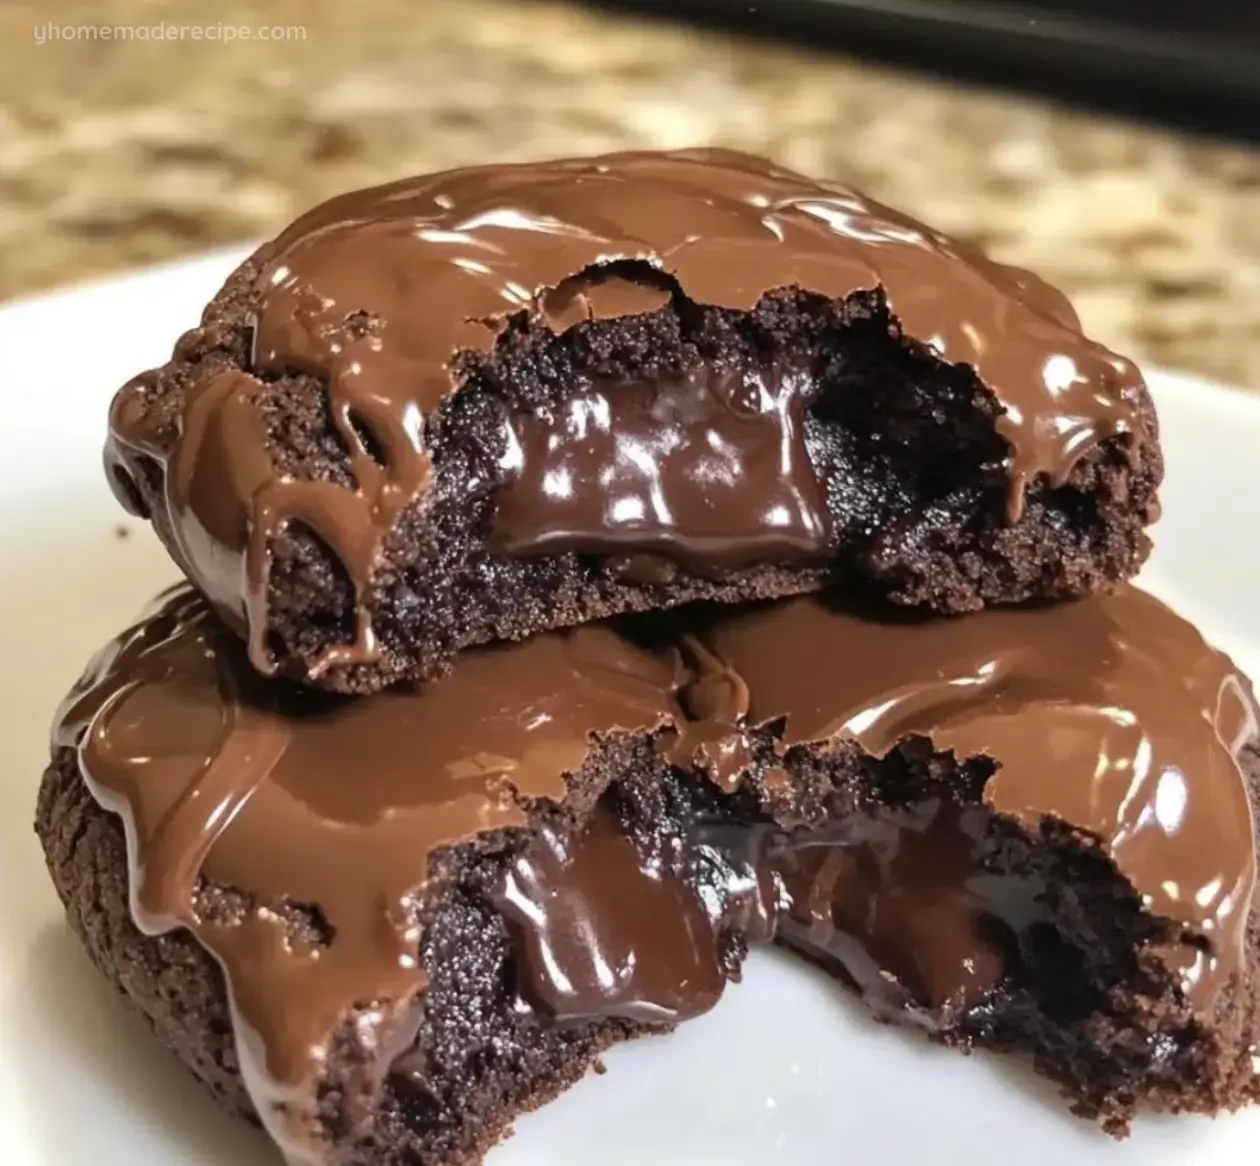
Get ready to experience a chocolate dessert that will make your taste buds dance with joy. These chocolate lava cookies combine the best of both worlds - the classic cookie and the beloved molten lava cake. The result? A rich, gooey, and utterly delicious treat that's hard to resist. With a soft chocolate exterior and a luscious, melty center, these cookies are bound to become your new favorite sweet indulgence. Let's explore how to make these heavenly treats in your own kitchen.
Understanding the Key Ingredients
Each component in this recipe plays a vital role in creating the perfect texture and flavor. Let's take a closer look at what makes these cookies so special:
Cake Flour: The Secret to Softness
Cake flour is a crucial ingredient in this recipe. It has less protein than all-purpose flour, which results in a softer, more delicate texture. This is essential for achieving that cake-like consistency similar to a traditional lava cake. The fine texture of cake flour also helps create a smoother dough, which is important for encasing the molten center without any leaks.
Cocoa Powder: Rich Chocolate Flavor
Dark cocoa powder is the star when it comes to flavor. It provides a deep, rich chocolate taste in every bite. Using dark cocoa powder, instead of regular cocoa, intensifies the chocolate experience. If you can't find dark cocoa powder, Dutch-process cocoa works well too, offering a smooth, less acidic chocolate flavor.
Cornstarch: Texture Enhancer
Cornstarch might seem unusual in cookie dough, but it's important. It helps create a tender crumb and stops the cookies from spreading too much while baking. This is especially crucial for lava cookies, as we want them to keep their shape and hold the molten center intact.
Egg + Egg Yolk: Structure and Richness
The mix of a whole egg and an extra yolk is key to getting the right texture. The whole egg provides structure and helps bind the ingredients, while the extra yolk adds richness and helps create a denser, fudgier texture. This combination also helps the cookies hold their shape and contain the molten center.
Dark Chocolate: The Molten Core
High-quality dark chocolate is essential for creating the molten center. Couverture chocolate or a chopped baking bar is ideal as they melt smoothly and create a luscious, flowing center when the cookies are warm. The quality of chocolate you use will directly impact the flavor of your cookies, so choose wisely!
Step-by-Step Guide to Making Chocolate Lava Cookies
Now that we understand the key ingredients, let's dive into the process of creating these delectable treats. The method might seem a bit involved, but the results are definitely worth the effort.
Preparing the Ganache Filling
- 1. Chop the chocolate finely and place it in a heat-proof bowl. The finer you chop the chocolate, the more easily it will melt.
- 2. Heat the cream in a small saucepan until it's steaming. Be careful not to let it boil, as this can affect the texture of your ganache.
- 3. Pour the hot cream over the chopped chocolate. Make sure all the chocolate is covered.
- 4. Cover the bowl with foil and let it sit for 5 minutes. This allows the heat from the cream to gently melt the chocolate.
- 5. After 5 minutes, whisk the mixture until it's smooth and shiny. If there are still some unmelted chocolate pieces, you can microwave the mixture in short bursts, stirring between each, until it's completely smooth.
- 6. Let the ganache cool and solidify. You can speed this up by placing it in the refrigerator.
Making the Cookie Dough
- 1. Start by mixing the butter and sugars together. This process adds air to the mixture, which helps create a lighter texture in the final cookie. Beat until the mixture is light and fluffy, which usually takes about 3-5 minutes.
- 2. Add the egg, extra yolk, and vanilla extract. Mix until well combined. The mixture might look a bit separated at this point, but don't worry - it will come together when you add the dry ingredients.
- 3. In a separate bowl, mix together the cake flour, cocoa powder, cornstarch, baking powder, baking soda, and salt. This ensures that all the dry ingredients are evenly distributed.
- 4. Gradually add the dry ingredients to the wet ingredients, mixing until just combined. Be careful not to overmix, as this can lead to tough cookies.
- 5. Cover the dough with plastic wrap and refrigerate for at least 30 minutes. This chilling time allows the flour to absorb moisture and the fats to solidify, which helps prevent excessive spreading during baking.
Putting It All Together and Baking
- 1. Preheat your oven to 375°F (190°C) and line your baking sheets with parchment paper.
- 2. While the oven is heating, form your chilled ganache into small balls. Place these back in the freezer to keep them firm.
- 3. Scoop about ¼ cup of cookie dough and roll it into a ball. Make a dent in the center with your thumb.
- 4. Place a frozen ganache ball in the dent and carefully wrap the cookie dough around it, making sure to seal it completely.
- 5. Place the filled cookie dough balls on your prepared baking sheets, leaving plenty of space between them.
- 6. Bake for about 13 minutes. The cookies should be set around the edges but still slightly soft in the center.
- 7. If you want, you can gently press down on the tops of the cookies with a measuring cup right after they come out of the oven. This gives them a flatter top, more like a lava cake.
- 8. Let the cookies cool completely on the baking sheet. This is important - if you try to move them while they're still warm, they might fall apart.
- 9. Once cooled, sprinkle the tops with powdered sugar for that classic lava cake look.
 Pin it
