 Pin it
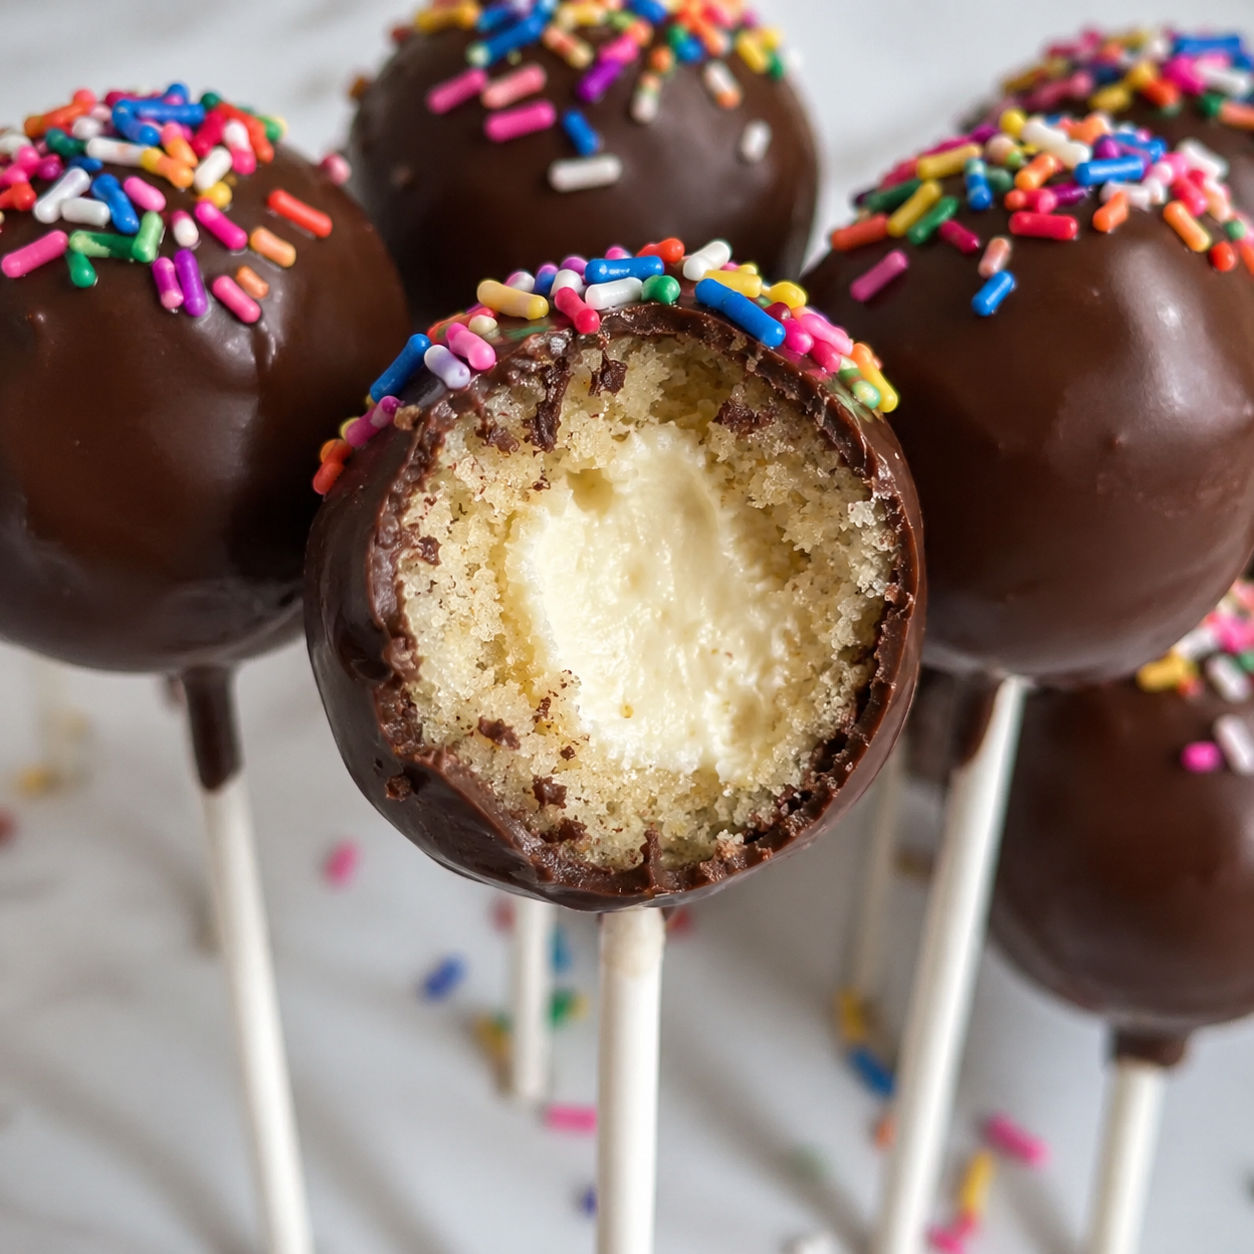
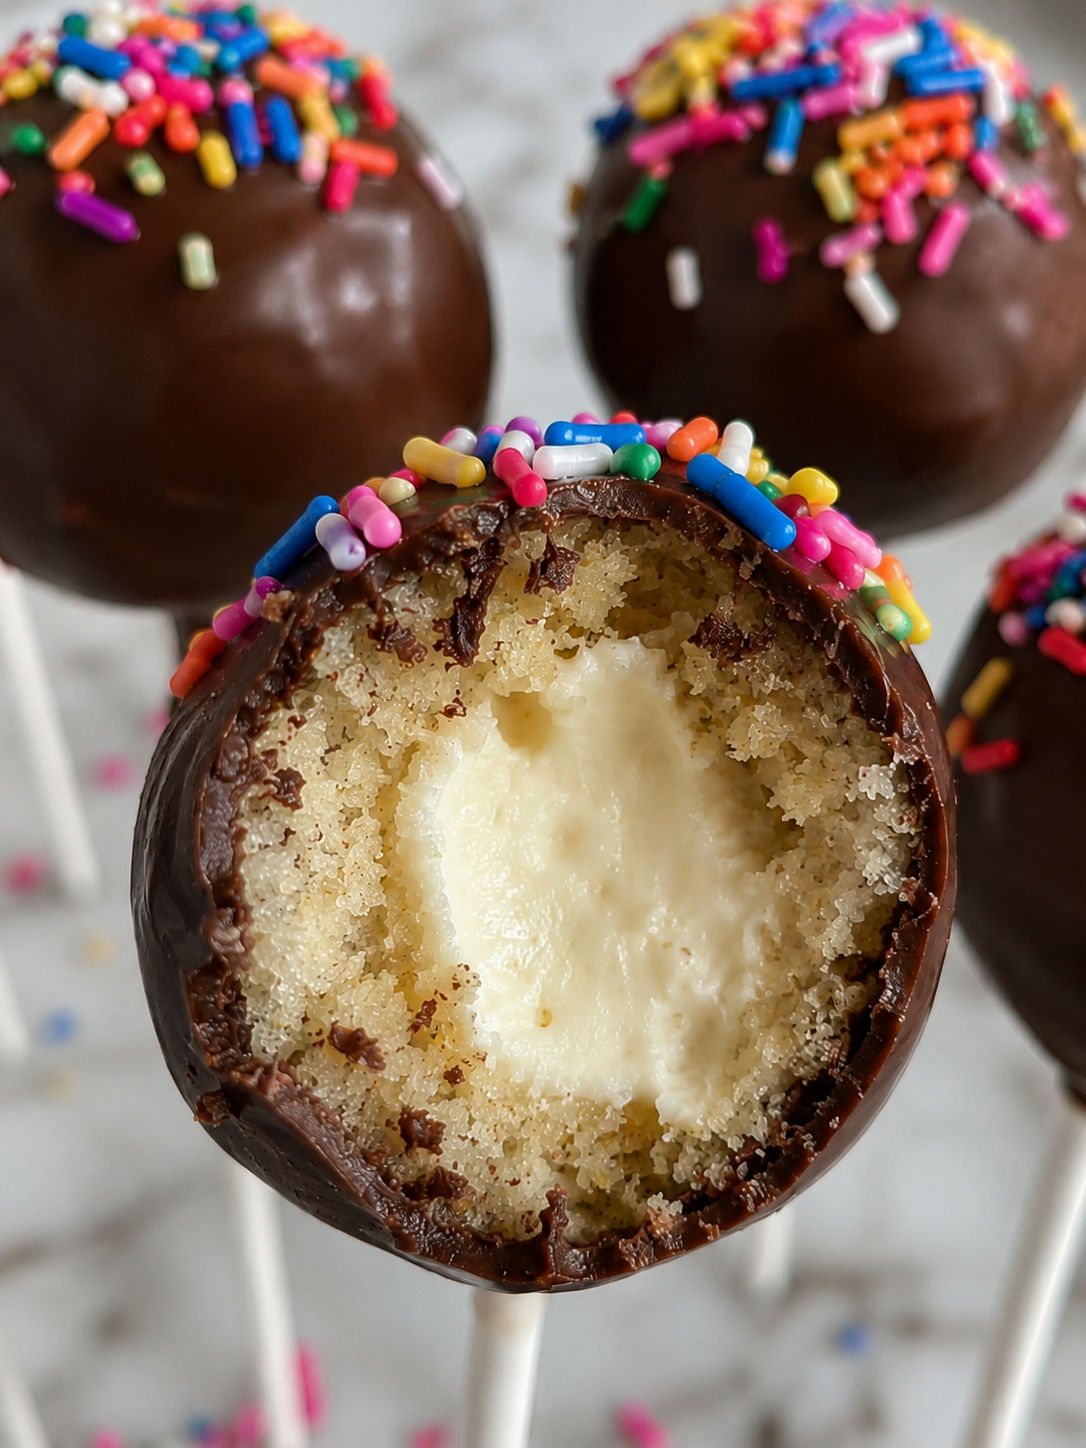
Easy Cheesecake-Stuffed Cake Pops are small enough for a dessert table but rich enough to feel special. You get soft cake on the outside, a tangy cheesecake middle, and a thin chocolate shell that cracks when you bite in.
The trick is not fancy equipment. It is temperature. Cold filling, cooled cake, and a short chill before dipping make the pops much easier to shape and coat.
Easy Cheesecake-Stuffed Cake Pops ingredients
Start with a cake flavor you like eating cold. Vanilla, chocolate, red velvet, and strawberry all work well with the cream cheese center.
The cream cheese should be fully softened before mixing, but the finished filling needs to chill until scoopable. That small pause keeps the center from smearing into the cake crumbs.
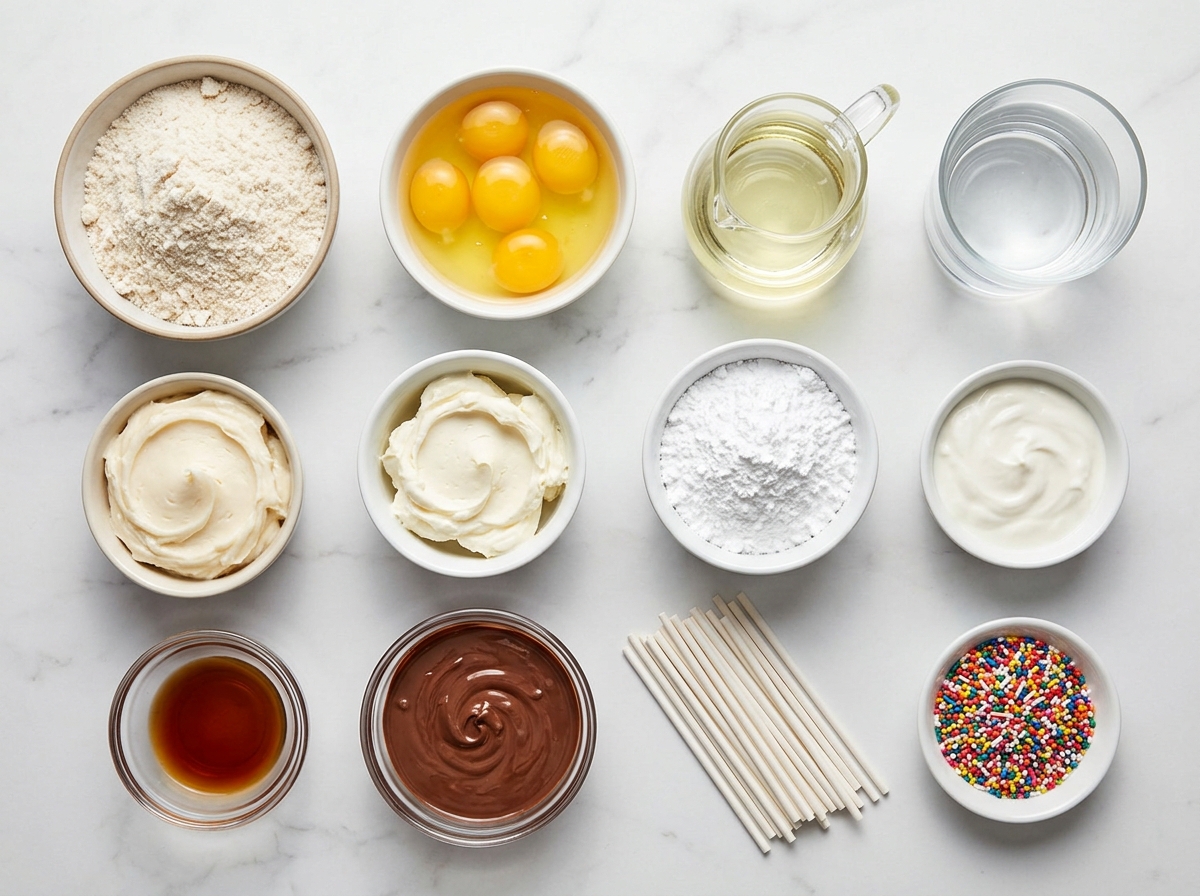
- Cake mix. A simple shortcut that gives you a soft, even crumb for shaping.
- Eggs, oil, and water. These are the usual box-mix add-ins, so follow your package amounts.
- Frosting. Binds the cake crumbs so they hold around the filling.
- Cream cheese. Makes the tangy cheesecake center rich and smooth.
- Powdered sugar. Sweetens the filling without leaving grit.
- Sour cream. Loosens the cream cheese and gives the center a real cheesecake tang.
- Vanilla extract. Rounds out both the cake and filling flavors.
- Melting chocolate. Creates the crisp outer shell and holds the stick in place.
- Sprinkles. Add color before the coating sets.
Shape, stuff, dip, chill
- Mix the filling. Beat the cream cheese, powdered sugar, sour cream, vanilla, and a pinch of salt until smooth. Chill until thick enough to scoop.
- Bake and cool the cake. Prepare the cake mix according to the package directions. Cool it completely so the crumbs do not melt the frosting.
- Make the cake mixture. Crumble the cake finely in a large bowl. Mix in frosting a few spoonfuls at a time until it feels like soft dough.
- Add the cheesecake center. Flatten a spoonful of cake mixture, place a small chilled dollop of filling in the middle, and wrap the cake around it.
- Set the sticks. Dip each stick tip in melted chocolate, insert it halfway into a cake pop, and chill until firm.
- Coat and decorate. Dip each cold pop in melted chocolate, tap off the excess, add sprinkles, and stand upright until set.
Keep the filling cold
The filling should taste creamy, but it should not be loose when you stuff the pops. If it slides off the spoon, give it more refrigerator time. For extra neat centers, scoop tiny portions onto a parchment-lined plate and freeze them for 15-20 minutes before wrapping them in cake.
That chilled center gives you a clean layer of cake around the outside. It also helps the finished pop stay round when you push in the stick. If you love cheesecake desserts with a soft center, try these easy sopapilla cheesecake bars or cheesecake stuffed baked apples next.
The cake crumb texture
Add frosting slowly. A full cup may be right for a drier cake, but a very moist cake may need less. Stop when the crumbs press together easily and no dry patches remain. The mixture should not feel greasy or sticky.
If it gets too soft, add a handful of extra cake crumbs or chill the bowl for 20 minutes. Do not use raw cake batter or underbaked cake. The FDA explains why raw flour can carry bacteria in its safe flour handling guidance.
Smooth dipping without cracks
Cold pops and warm coating need balance. If the pops are frozen solid and the coating is very hot, the shell can crack as it sets. I like the pops firm from the fridge and the chocolate melted until fluid but not steaming.
A tall, narrow glass makes dipping easier than a shallow bowl. Dip straight down, lift straight up, then tap your wrist gently so the coating falls evenly. Add sprinkles right away because candy coating sets fast. For another easy make-ahead cheesecake treat, the no bake banana pudding cheesecake has the same creamy payoff with less shaping.
Flavor swaps that fit
Vanilla cake with white chocolate keeps the look classic. Chocolate cake with dark coating tastes richer and less sweet. Strawberry cake with a vanilla cheesecake center is bright and fun for spring parties.
You can fold 2 tablespoons of finely crushed cookies into the cake mixture, but avoid big chunks near the surface. They make dipping bumpy. For a berry version, use strawberry cake and finish with pink sprinkles, then serve it beside strawberry cheesecake dump cake for a dessert table that feels coordinated without much extra work.
Storing and serving chilled
These cake pops are best served cold. The cheesecake center stays tidy, the shell stays crisp, and the cake has a fudgy bite. Keep them in a covered container in the refrigerator and set them out about 10 minutes before serving.
For longer storage, freeze them on a tray first so the coating does not smudge. Then pack them in layers with parchment between each layer. The FoodSafety.gov cold storage chart is a helpful reference for refrigerator and freezer timing.
Summary
Serve these chilled for the cleanest bite and the creamiest cheesecake center.
FAQs
- Can I make Easy Cheesecake-Stuffed Cake Pops ahead of time?
Yes. They are actually easier to serve when made ahead because the filling has time to firm up. Store the finished cake pops in an airtight container in the refrigerator for up to 5 days.
- Can I use homemade cake instead of boxed cake mix?
Yes. Use any fully baked and cooled 9x13-inch cake or two 8-inch cake layers. Crumble it finely, then add frosting a little at a time until the mixture holds together without feeling wet.
- Why are my cake pops sliding off the sticks?
The cake balls may be too warm or too soft. Chill them well, dip the tip of each stick in melted chocolate, then insert it into the pop and chill again before coating.
- Can I freeze cheesecake-stuffed cake pops?
Yes. Freeze them in a single layer until solid, then move them to a freezer-safe container for up to 2 months. Thaw overnight in the refrigerator so the coating does not sweat too much.
- What chocolate works best for coating?
Candy melts are the easiest because they set quickly and do not need tempering. Chocolate chips also work, but adding a little coconut oil or shortening helps them melt smoother.
- Can I make these without lollipop sticks?
Yes. Shape them as cheesecake-stuffed cake balls and dip them with a fork. Let the excess coating drip off before setting them on parchment paper.
