 Pin it
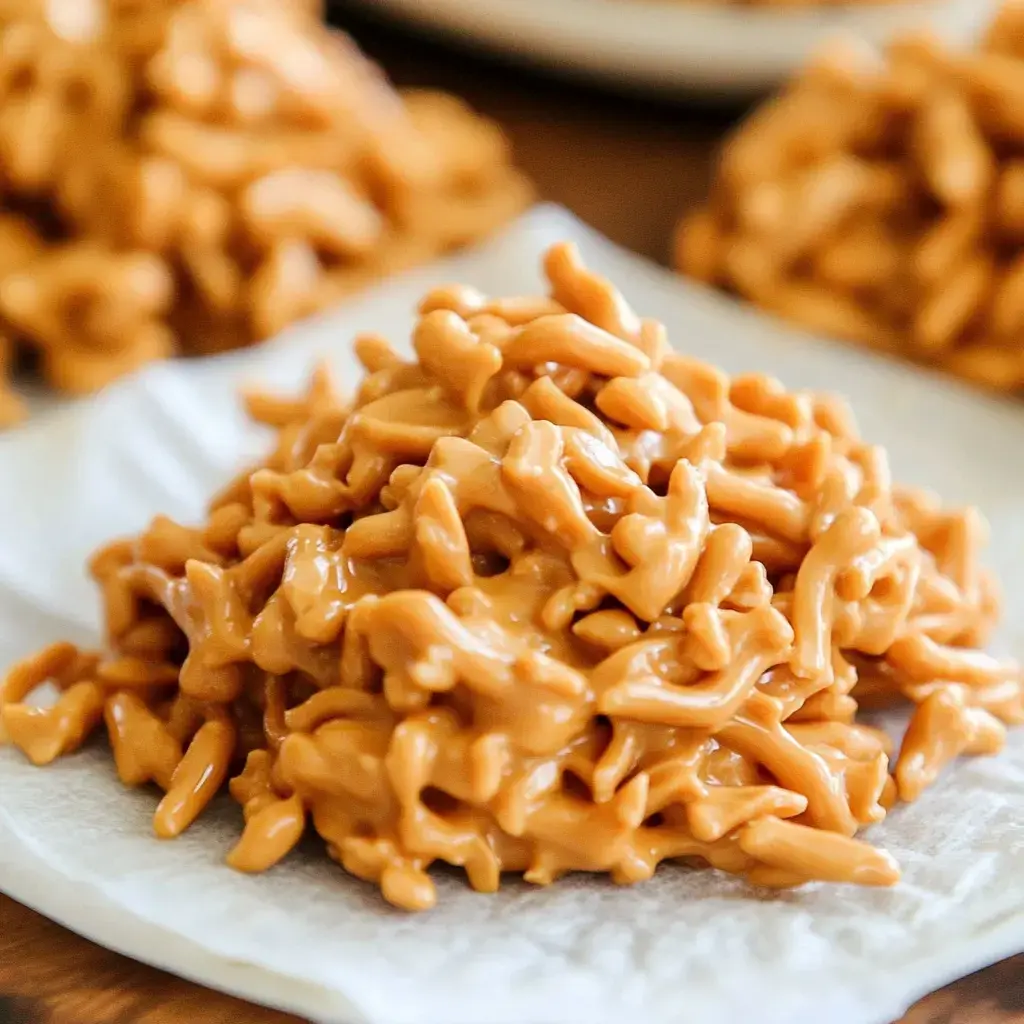
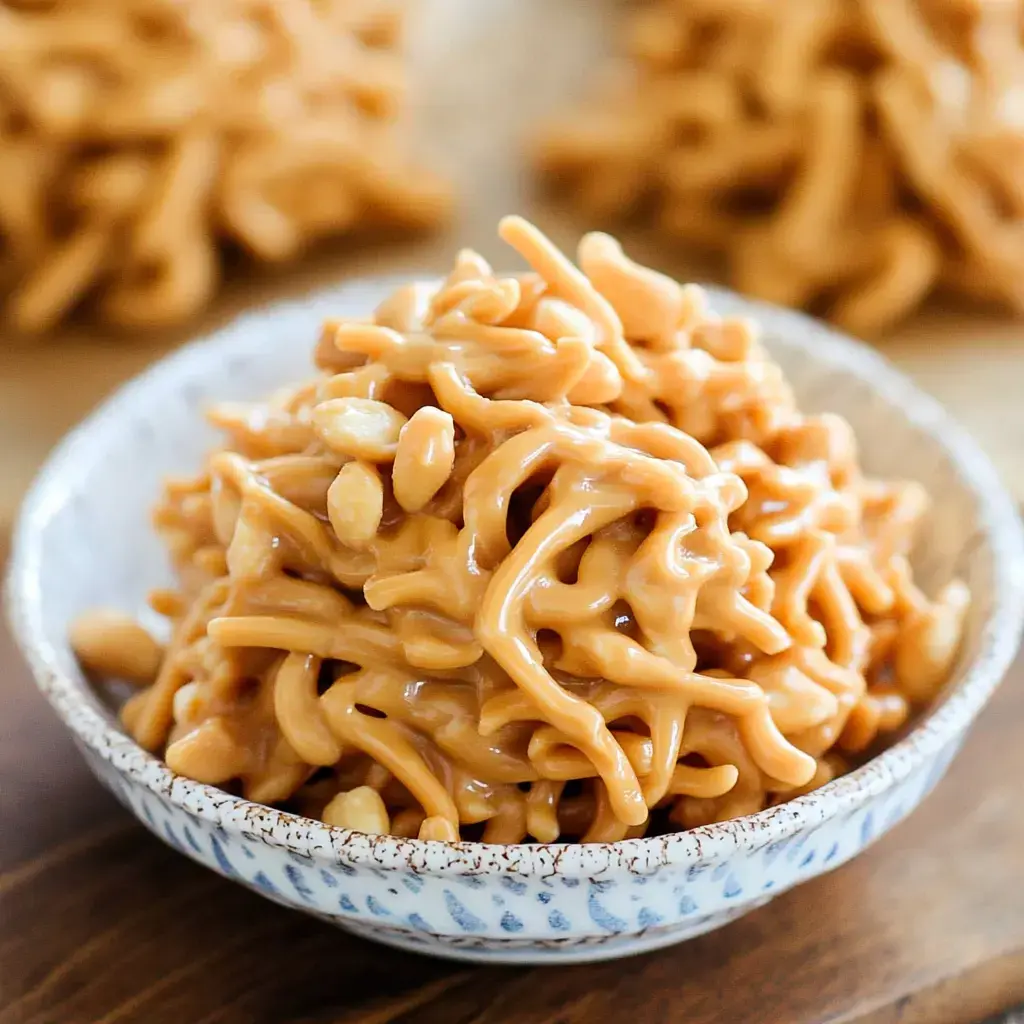
Looking for a super quick treat that everyone loves? These butterscotch haystacks are my secret weapon! They're crunchy, sweet, and salty all at once, and best of all - no oven needed. Just melt, mix, and watch them disappear. My family can barely wait for them to set before diving in!
Pure Kitchen Magic
There's something special about treats that don't need fancy equipment or complicated steps. Just four ingredients and 30 minutes are all you need. My kids love helping make these - though I have to watch them or all the noodles disappear before we're done!
Shopping List
- Chow Mein Noodles: These give that perfect crunch.
- Salted Peanuts: Trust me, the salt makes everything pop.
- Creamy Peanut Butter: Skip the natural kind for this one.
- Butterscotch Chips: The secret to that amazing flavor.
- Sea Salt: Just a pinch for the finish.
Let's Make Some Magic
- Melt And Mix
- First up, grab your microwave-safe bowl. Dump in those butterscotch chips and peanut butter. Microwave in 30-second bursts, stirring between each one. Keep going until it's smooth and glossy - usually takes about 2 minutes total.
- The Big Mix
- Pour your crunchy noodles and peanuts into a big bowl. Now comes the fun part - drizzle that warm butterscotch mixture all over. Gently fold everything together until every noodle's coated. Work quick though - it starts setting up fast!
- Shape Those Stacks
- Line your counter or a couple baking sheets with parchment paper. Use a spoon to drop little piles onto the paper. Don't worry about making them perfect - those messy edges get extra crunchy!
- The Waiting Game
- Pop them in the fridge for about 30 minutes. I know it's hard to wait, but they need time to firm up. A sprinkle of sea salt while they're still a bit soft makes them extra special.
Tips For Success
Want to know my secrets? Regular peanut butter works better than natural - less oil separation means better texture. Keep your butterscotch mixture warm while you work, or it'll get too thick to mix. And here's my favorite trick: line everything up before you start melting. These set up fast, so you want to be ready to go!
Keeping Them Fresh
Store these little beauties in an airtight container in the fridge - they'll stay crunchy for a week. Want to plan ahead? Make a double batch and freeze them! They last six months in the freezer, though they never make it that long at my house. Just let them come to room temperature before serving.
Party Perfect
Need something for the bake sale or holiday party? These are your answer! Package them in little boxes lined with parchment paper for gifts - they travel really well. I always bring them to potlucks and everyone begs for the recipe. They're perfect for those "oops, I need to bring something" moments!
Mix It Up
Sometimes I switch things up by adding different nuts - cashews are amazing in these. A handful of mini marshmallows makes them extra fun for kids. During the holidays, I use white chocolate instead of butterscotch and add some crushed candy canes on top. The possibilities are endless!
 Pin it
Sweet Memories
My mom used to make these when I was little, and now my kids help me make them. There's something special about recipes that get passed down through generations, especially ones this simple and delicious. Give them a try - I bet they'll become a favorite in your family too!
Frequently Asked Questions
- → Why avoid natural peanut butter?
Regular peanut butter (like Skippy or Jif) provides better consistency. Natural peanut butter can separate and affect texture.
- → Can I melt ingredients another way?
Yes, use a double boiler instead of microwave for more control over melting process.
- → How long do these keep?
Store in airtight container at room temperature up to 2 weeks, or freeze up to 3 months.
- → Why let them set at room temperature?
Gradual setting helps prevent butterscotch from blooming or becoming grainy. Refrigeration speeds process if needed.
- → Can I make smaller portions?
Yes, adjust size as needed but keep consistent for even setting time.
