
 Pin it
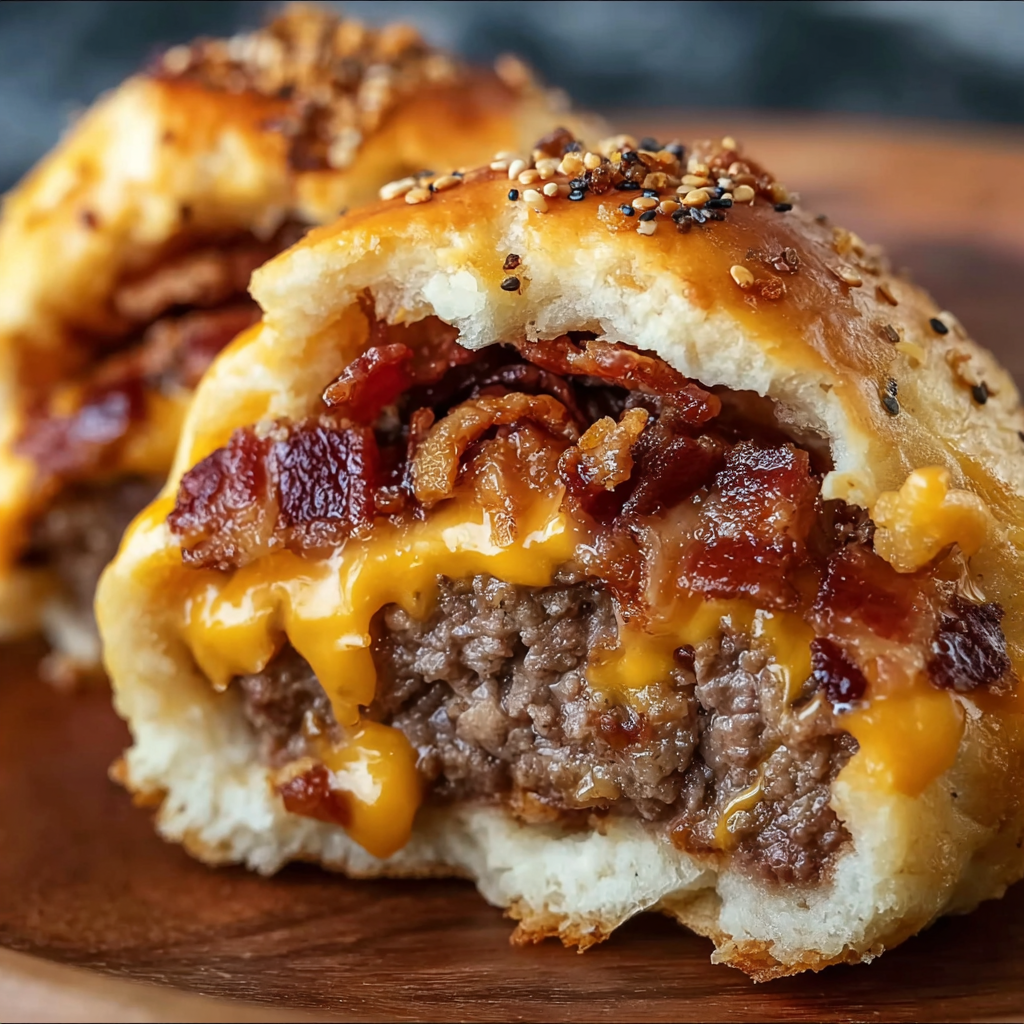
Bacon Cheeseburger Bombs are the ultimate bite-sized treat for anyone who loves the classic combination of juicy beef, melted cheese, and crispy bacon. These are perfect for a fun family dinner or a crowd-pleasing party snack. Wrapping everything inside fluffy biscuit dough makes the magic—no greasy spatula flipping required.
I threw these together once for game night and my friends could not believe they came from my own oven. Now they ask for Cheeseburger Bombs at every get-together.
Ingredients
- Ground beef: Brings rich meaty flavor and classic burger taste. Choose an 80 to 85 percent lean blend for best texture and juiciness
- Salt and black pepper: Season the beef perfectly. Use freshly cracked pepper for the best, bold flavor
- Garlic powder and onion powder: Lift the beef and really give a cheeseburger feel. Look for fresh, aromatic powders
- Shredded cheddar cheese: Adds creamy sharpness that melts inside. Go for a bold, thick-cut cheddar for maximum melt
- Bacon bits: Infuse smoky crunch in every bite. Use real bacon or your favorite thick-cut crumbles
- Refrigerated biscuit dough: Creates the fluffy golden shell that holds it all together. Choose a high-quality butter or buttermilk style dough for tender results
- Egg wash: Brushes on top for gorgeous shine and golden color
- Sesame seeds: Add a burger-bun touch and a little crunch on top. Toasted sesame brings the most flavor
Instructions
- Prepare the Filling:
- Brown ground beef in a skillet over medium heat, breaking up the chunks as you go. Sprinkle the salt, black pepper, garlic powder, and onion powder evenly over the meat while cooking. Allow the beef to cook through until no pink remains, then drain away any excess fat. Taking time to cook off the moisture helps avoid soggy biscuit bombs later.
- Add Cheese and Bacon:
- Turn off the heat and immediately sprinkle in the shredded cheddar cheese and bacon bits. Stir while the beef is hot so the cheese starts to melt and the bacon gets mixed throughout for even distribution of flavor in every bite.
- Assemble the Bombs:
- Preheat your oven to 375°F or 190°C so it is hot when you are ready to bake. Take one biscuit dough round and gently flatten it with your hands or a rolling pin, working outward from the center while keeping the edges thicker. Place a generous spoonful of the cheesy beef filling onto the center of the dough. Carefully wrap the dough up and over the filling, pinching and sealing the edges at the top. Flip the sealed side down so it is resting on the baking sheet.
- Bake:
- Line a baking sheet with parchment to prevent sticking. Arrange all the filled biscuit bombs seam side down. Use a pastry brush or the back of a spoon to lightly coat each bomb with beaten egg for a glossy finish. Sprinkle with sesame seeds for authentic burger flair. Bake for 15 to 18 minutes until each bomb is deeply golden and puffed up. Let them sit for a minute or two before moving so the filling can settle.
 Pin it
I am completely obsessed with the way the cheddar cheese melts inside—it becomes gooey and stretches out with each bite. The first time my family tried these, everyone was fighting over the last one, right down to the crumbs on the baking pan.
Storage Tips
Once baked and cooled, store leftovers in an airtight container in the refrigerator for up to three days. To reheat, use the oven or toaster oven at a low temperature to bring back the crispy edges. These are also freezer friendly—wrap each cooled bomb individually and freeze in a freezer bag. No need to thaw before reheating, just add a few extra minutes to the bake time.
Ingredient Substitutions
You can swap the ground beef for ground turkey or plant-based meat crumbles for a lighter or vegetarian version. Try Swiss or pepper jack cheese instead of cheddar for a twist. Crescent roll dough works in place of biscuit dough if you want a flakier bite. If you do not have bacon bits, diced leftover cooked bacon strips add lovely texture and flavor.
Serving Suggestions
Serve these warm with little bowls of ketchup, yellow mustard, or your favorite burger sauces for dipping. Add some crispy pickles or a simple green salad on the side to balance the richness. These are a hit at parties, potlucks, or anytime your crew is hungry for something hearty.
Cultural Note
Bacon Cheeseburger Bombs pay homage to classic American diner comfort food but tuck all those familiar flavors into a convenient, hand-held pastry. You will spot versions of stuffed buns and meat pies in many food cultures, but this is pure burger nostalgia reimagined for home bakers. Every bite carries that backyard barbecue goodness—no grilling required.
 Pin it
Burger night at my house has never been the same since these Bacon Cheeseburger Bombs made their debut. Kids and adults alike smile when they see these golden beauties—there is just something about a cheesy surprise inside that gets everyone excited for dinner.
Frequently Asked Questions
- → What kind of cheese works best?
Shredded cheddar melts smoothly and delivers classic cheeseburger flavor, but you can substitute with mozzarella or a cheese blend for variety.
- → Can I use homemade biscuit dough?
Yes, homemade biscuit dough adds a personal touch. Just ensure it's rolled thin to fully wrap the beef and cheese mixture.
- → Are bacon bits or fresh bacon preferred?
Bacon bits are convenient, but freshly cooked and crumbled bacon offers richer flavor and texture.
- → How do I prevent the bombs from opening while baking?
Seal edges tightly by pinching the dough before baking. Placing seam-side down also helps them stay closed while rising.
- → What dipping sauces pair well?
Try classic ketchup, mustard, barbecue sauce, ranch, or a spicy aioli for great flavor contrast.
- → Can these be made ahead?
Yes, assemble the bombs ahead and refrigerate before baking. Add a few extra minutes to the bake time if chilled.