
 Pin it
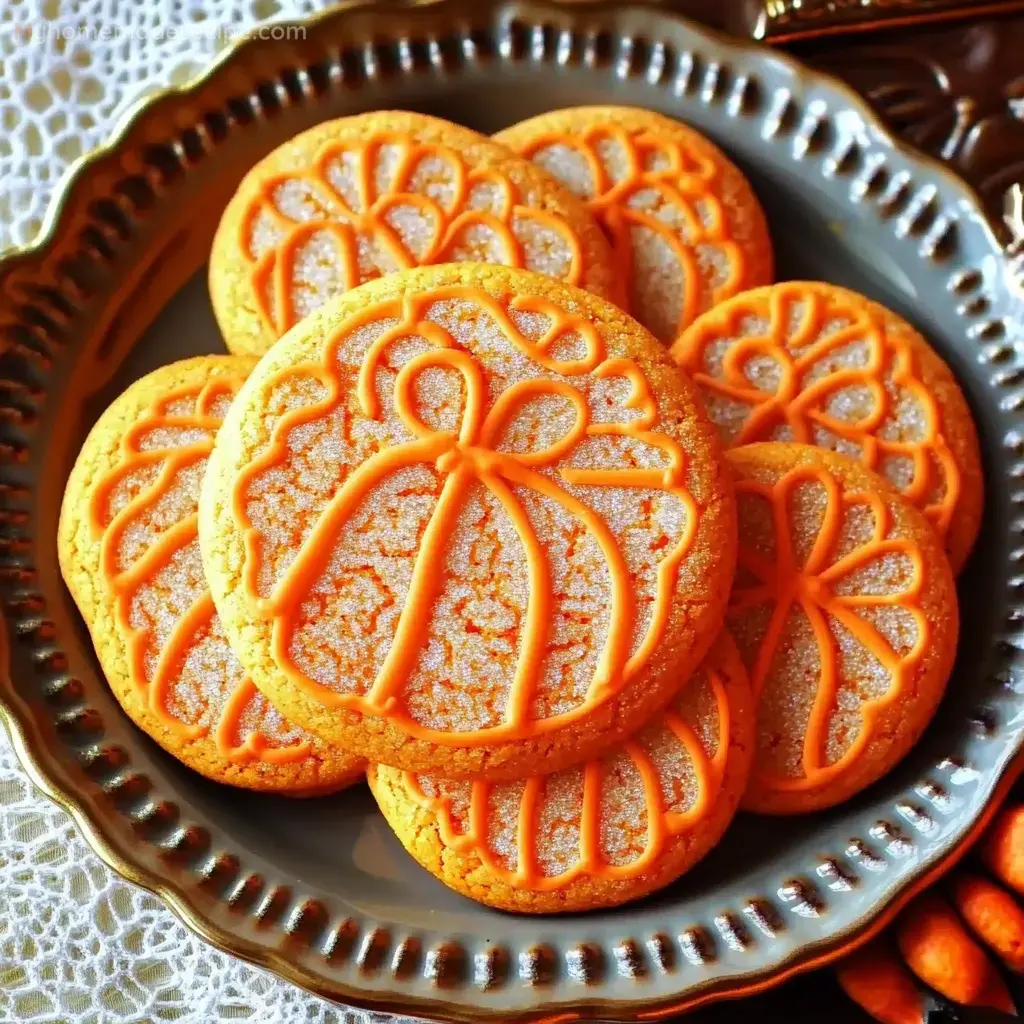
The Pumpkin-Shaped Sugar Cookies are as charming as they are delicious. This simple cookie recipe celebrates the pumpkin, but not the ingredient itself. It's all about the look and shape, and not about a pumpkin spice flavor. This makes it a versatile treat that can be enjoyed by everyone, regardless of their preference for pumpkin flavors.
Ingredients
- All-purpose flour: 2 cups
- Baking soda: 1 teaspoon (note: the original recipe uses baking soda, not baking powder)
- Cream of tartar: 1 teaspoon
- Kosher salt: 1 teaspoon
- Unsalted butter: 2 sticks (16 tablespoons), softened (the recipe uses salted butter, but unsalted can be used as well)
- Granulated sugar: ¾ cup
- Brown sugar: ½ cup
- Large egg: 1, beaten
- Pure vanilla extract: 1 teaspoon
- Orange and green gel food color: For coloring the dough to achieve the pumpkin and stem colors
- Optional decorations: Colored sugar, sprinkles, or other toppings
Preparation
- Preheat the oven to 350 degrees Fahrenheit. This temperature is crucial for achieving the right texture and color for your cookies.
- Prepare the baking sheets by lining them with parchment paper. This will ensure that your cookies do not stick to the sheets and will make cleanup easier.
Mixing the Dough
- In a large mixing bowl or using a stand mixer, combine the dry ingredients: all-purpose flour, baking soda, cream of tartar, and kosher salt. Whisk these ingredients together to ensure they are well combined.
- In a separate bowl, cream together the softened butter and sugars (both granulated and brown sugar) until well combined. This step is crucial as it helps in creating a smooth and even texture in your cookies.
- Add the beaten egg and pure vanilla extract to the butter mixture and mix until smooth. The egg adds moisture and richness, while the vanilla extract enhances the flavor.
- Gradually add the dry ingredients to the wet ingredients and mix until a dough forms. You may need to use a stand mixer or hand mixer for this step, especially if you are making a large batch of cookies.
Coloring the Dough
- Divide the dough into two portions. Color one portion with orange gel food color to achieve the pumpkin color. You can add as much or as little color as you like to get the desired shade of orange.
- Color the other portion with green gel food color for the stem. Mix the colors thoroughly into the dough until they are evenly distributed.
Rolling and Cutting
- Roll out the orange-colored dough to the desired thickness. You can use a rolling pin to achieve an even thickness.
- Use a pumpkin-shaped cookie cutter to cut out the cookies. If you don’t have a pumpkin-shaped cutter, you can use any shape you like, but the pumpkin shape adds to the seasonal charm.
- Place the orange sugared balls onto the prepared baking sheets. If you find that your dough is too sticky, you can lightly dust your hands with flour before handling it.
- Use a flat-bottomed glass or a measuring cup to flatten each ball into a disc shape. This helps in achieving a uniform shape for your cookies.
- Press a small dimple into the top of each pumpkin where the stem will go. This dimple helps the stem stay in place.
- Use a paring knife to carefully cut four rounded slits onto each pumpkin to resemble the lines on a pumpkin. This step adds to the realistic look of your pumpkin cookies.
Creating the Stem
- Form the green dough into small cone shapes. These cones will serve as the stems of your pumpkins.
- Press each cone-shaped stem onto the top of each pumpkin, into the dimple created earlier. Make sure the stem is securely attached so it doesn’t fall off during baking.
- Use the paring knife to add two small slits to the stem if desired. This adds a bit of detail and realism to your cookies.
Baking
- Bake the cookies in the preheated oven for 12-15 minutes or until the bottoms of the cookies are lightly browned but not dark. Keep an eye on them to ensure they don’t overcook.
- Cool the cookies completely on a wire rack. This is an important step as it helps in setting the shape and texture of the cookies.
Decoration
- Optionally, decorate the cookies with colored sugar, sprinkles, or other toppings. This step allows you to customize your cookies according to your preferences or the theme of your event.
Key Points
- Visual Appeal: The recipe emphasizes the visual aspect of the cookies, making them perfect for fall-themed events and decorations. The pumpkin shape and green stem make these cookies stand out.
- Classic Sugar Cookie: This is a classic sugar cookie recipe shaped like pumpkins, without any special pumpkin flavorings. This makes it a versatile treat that can be enjoyed by everyone.
- Customization: The cookies can be decorated with various toppings to match individual preferences or themes. Whether you prefer simple colored sugar or elaborate designs, the choice is yours.
- Versatility: The dough can be colored and shaped to fit different themes, and the cookies can be frozen before or after baking for convenience. This makes it easy to prepare them ahead of time and bake them when needed.
Freezing the Cookies
- Freezing Before Baking: You can freeze the colored cookie dough before shaping and baking the cookies. Simply wrap the dough tightly in plastic wrap or aluminum foil and place it in a freezer-safe bag. When you’re ready to bake, thaw the dough at room temperature and proceed with the recipe.
- Freezing After Baking: If you prefer to bake the cookies first and then freeze them, you can do so as well. Once the cookies are completely cooled, place them in an airtight container or freezer-safe bag and store them in the freezer. Frozen cookies can be stored for up to 3 months.
Additional Fall Desserts
- Apple Crisp: A classic fall dessert made with apples, sugar, flour, and oatmeal. It’s perfect for serving warm with a scoop of vanilla ice cream.
- Pumpkin Pie: For those who love pumpkin flavors, a traditional pumpkin pie is a must-have during the fall season.
- Cranberry Tarts: These sweet and tangy tarts are made with fresh cranberries and are perfect for Thanksgiving or any fall gathering.
- Spiced Cider Donuts: These donuts infused with cinnamon, nutmeg, and other spices are a delightful treat for the fall season.
Traditions and Memories
Baking is often about more than just following a recipe; it's about creating traditions and memories. Every year, I make it a point to bake these Pumpkin-Shaped Sugar Cookies with my family. It's a tradition that started many years ago when my children were young, and now it continues with my grandchildren. There's something special about seeing the excitement on their faces as they help shape the pumpkins and add the green stems. It's a time for bonding and creating memories that will last a lifetime. Whether you're baking for a special occasion or just a cozy family evening, these cookies are sure to bring joy and warmth to your home.Seasonal Baking Tips
- Use Seasonal Ingredients: Incorporate seasonal ingredients like apples, cranberries, and pumpkins into your baking. These ingredients add unique flavors and textures that are perfect for the fall season.
- Warm Spices: Fall baking often includes warm spices like cinnamon, nutmeg, and ginger. These spices add depth and warmth to your baked goods.
- Decorate Seasonally: Use seasonal decorations like fall-themed sprinkles, colored sugar, and edible leaves to make your baked goods look festive.
Making it a Family Affair
- Assign Tasks: Assign different tasks to each family member. For example, one person can roll out the dough, another can cut out the shapes, and another can decorate the cookies.
- Make it Fun: Play some music, tell stories, or have a baking competition to make the experience more enjoyable.
- Teach Skills: Use this opportunity to teach your children or grandchildren various baking skills like measuring ingredients, mixing dough, and decorating cookies.
Final Touches
- Fall-Themed Platter: Arrange the cookies on a fall-themed platter or tray. You can add some artificial leaves, acorns, or small pumpkins to enhance the display.
- Cookie Stand: Use a cookie stand to display your cookies. This makes them look more appealing and easier to grab.
- Gift Baskets: If you're planning to give these cookies as gifts, arrange them in a gift basket with some fall-themed ribbons and decorations.