
 Pin it
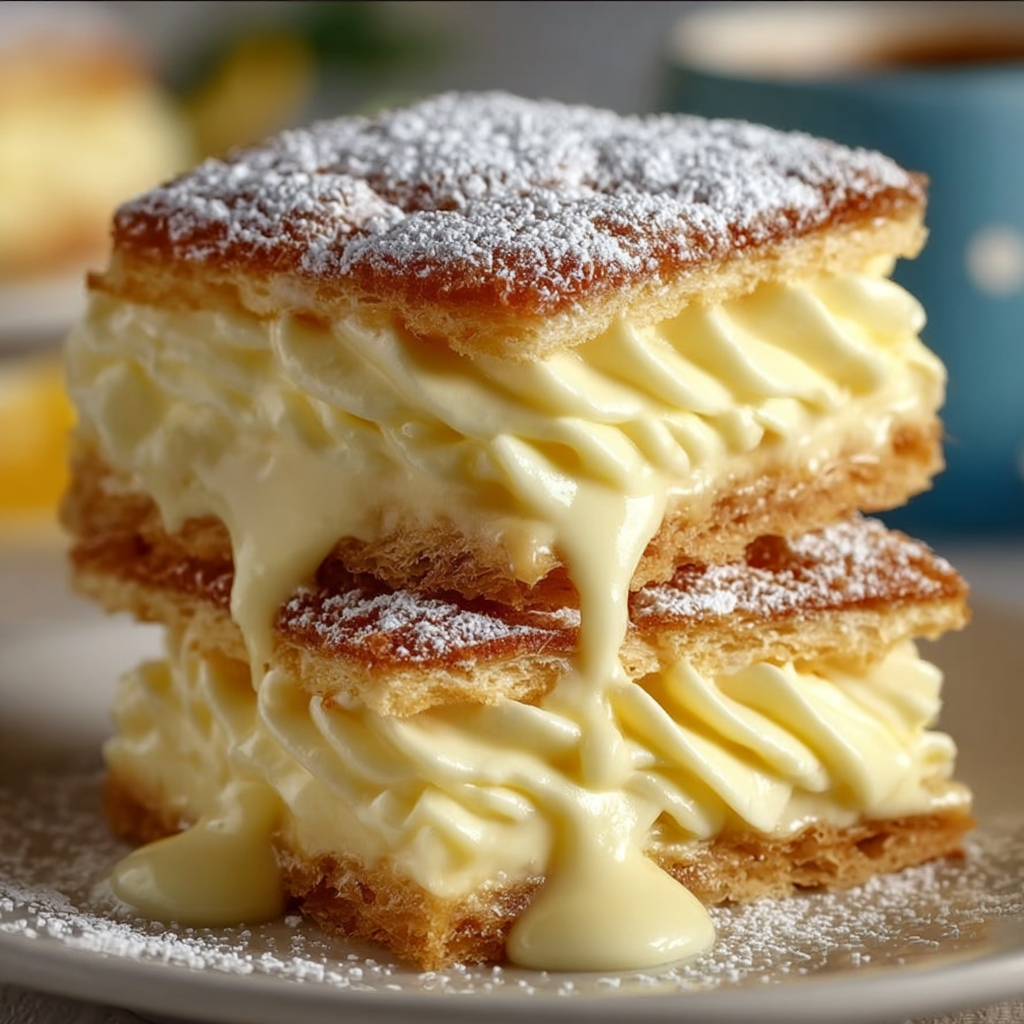
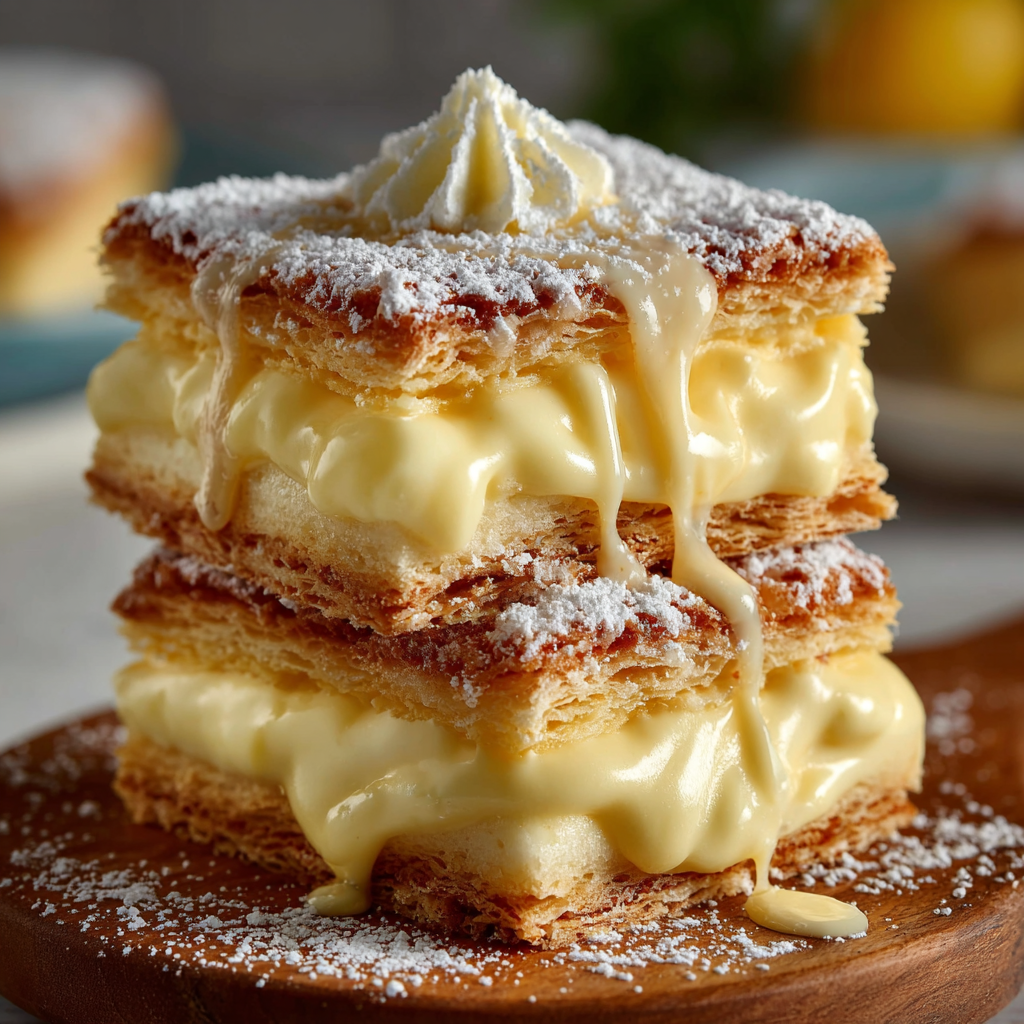
There's just something about Fluffy Vanilla Custard Cream Squares. Those layers of crisp flaky pastry with smooth dreamy custard sandwiched in the middle are pure joy. If bakery-style custard slices make you swoon, you'll be thrilled at how easy these are to whip up at home for special get-togethers.
Whenever these squares are chilling in our fridge, my crew can't stop peeking in to see if they're ready yet. I surprised my daughter with them on her birthday last year and they were completely gone before I blinked. Now we make them all the time for any celebration that needs a special treat but feels like home.
Irresistible Ingredients
- Powdered sugar: That classic snowy dusting on top plus a hit of sweetness
- Unsalted butter: Melts in at the end to make your custard extra glossy and smooth
- Pure vanilla extract: Go for the real stuff for that deep warm flavor, skip the fake if you can
- Egg yolks: Give the filling its golden color and rich texture—farm fresh if you can swing it
- Cornstarch: No watery mess here, this thickens it right up so you can slice it
- Granulated sugar: Keeps things just sweet enough and helps the custard brown perfectly
- Whole milk and heavy cream: This combo keeps your custard creamy, never thin
- Puff pastry sheets: Grab ones with real butter for the flakiest layers
Easy Instructions
- Chill and Serve:
- Once you’ve layered everything up, slide the whole thing into your fridge for four hours or leave it overnight so it's really set and easy to cut.
- Prep the Puff Pastry:
- Heat your oven to 400F and line a couple of trays with parchment. Put your puff pastry out flat (trim to fit if you have to) and poke holes all over with a fork so it doesn't puff up too much. Bake it until it’s golden and crisp—about 12 to 15 minutes. Chill it down, then trim one to fit the pan and save one for the top.
- Put It Together:
- Sit the first pastry layer at the bottom of an eight by eight pan. Pour your warm custard right on top, spreading it to the edges. Lay that second pastry on top and gently press to settle. Now to the fridge it goes.
- Make Your Custard:
- Mix sugar, cornstarch, and salt in a saucepan. Whisk in egg yolks (one at a time) for silky custard. Add milk and cream slowly, whisking the whole time so it stays lump-free. Heat on medium, keeping that whisk moving. Once it thickens and starts to bubble, pull it off the heat and stir in butter and vanilla so it gets shiny and super tasty. Let it cool just a bit, stirring so it doesn’t get any skin.
- Finishing Touch:
- Right before enjoying, dust the top with powdered sugar for that pro look. Use a sharp knife to cut tidy squares, wiping between each slice for clean edges. Serve cold and let everyone dig in!
 Pin it
I always go with cornstarch here. It thickens up smooth with no taste, so the custard is pure heaven. Every batch brings me back to baking marathons with my grandma, who believed dessert wasn’t dessert without a creamy custard. Some traditions just stick.
Storage Tips
Pop any leftovers in the fridge, covered, right in the pan. The custard stays perfect and won’t get soggy for three days. Freezing? Wrap everything tight in plastic, then foil. Freeze pieces up to a month. When you’re ready, thaw overnight in the fridge, then dust on more powdered sugar so it’s fresh.
Ingredient Substitutions
Dairy-free? Use your favorite plant milk and a vegan-friendly puff pastry. Half and half can stand in for both milk and cream if needed. No vanilla? Almond extract brings a fun twist. If you run out of cornstarch, arrowroot is a good backup.
Serving Suggestions
Stack up the squares on a big plate, sprinkle powdered sugar, and bring ‘em out. Add berries or a scoop of berry sauce for a fruity hit. Want to go extra? Serve with whipped cream or a swirl of chocolate sauce for some wow factor.
Cultural and Historical Context
These Vanilla Custard Cream Squares get their roots from European classics like Napoleons and Cremeschnitte. Folks all over the world claim their own version, but the combo of creamy filling and crisp layers always brings homey vibes. Find them in fancy French bakeries as millefeuille or in Eastern Europe as krempita—it’s that kind of old-school comfort food, wherever you are.
Seasonal Adaptations
Add fresh raspberries or strawberries in summer. Try lemon zest or a splash of orange blossom water in your custard. For autumn, dust on a bit of cinnamon or cardamom. Simple swaps, big flavor!
Success Stories
Anytime I make these, friends want the details. Family events? They’re the first thing to vanish. And with the easy pastry steps, even kids can help for a fun project on a lazy weekend.
Freezer Meal Conversion
Let them sit in the fridge overnight so they slice clean. Wrap every piece up tight, store flat, and freeze for a month tops. To eat, thaw in your fridge so they stay soft and creamy.
 Pin it
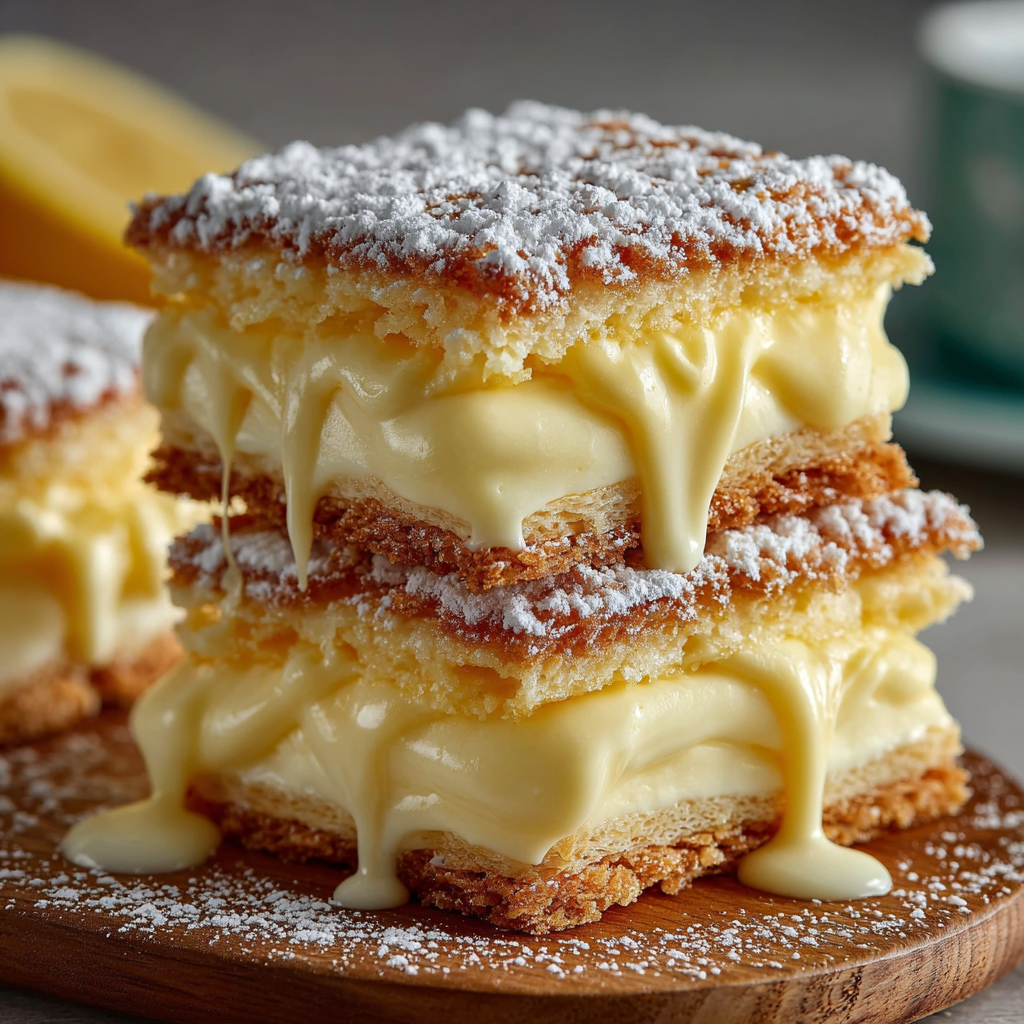
Honestly, these Vanilla Custard Cream Squares are a total hit at any party or potluck. There’s something about that creamy center and crackly pastry that’s just impossible to forget.
Frequently Asked Questions
- → How can I stop the pastry from getting soft?
Let those pastry sheets cool all the way before stacking things together. Pop the whole thing in the fridge once it's built, and it'll stay nice and crispy.
- → Could I swap the milk in the custard?
Whole milk makes it extra rich, but 2% or even plant-based milks will do in a pinch. Just keep in mind the filling might not turn out quite as silky.
- → How long before the custard is ready to eat?
You want to chill the dessert at least 4 hours in the fridge—overnight is best—so the filling can firm up and you'll get those clean, easy slices.
- → Any tricks for cutting perfect squares?
Grab your sharpest knife and give it a wipe between cuts. That way, you'll get neat little edges every time.
- → Can I make Vanilla Custard Cream Squares in advance?
Sure can! Put them together, chill overnight, and they'll be ready for your party or a sweet treat tomorrow. Super handy for planning ahead.