
 Pin it
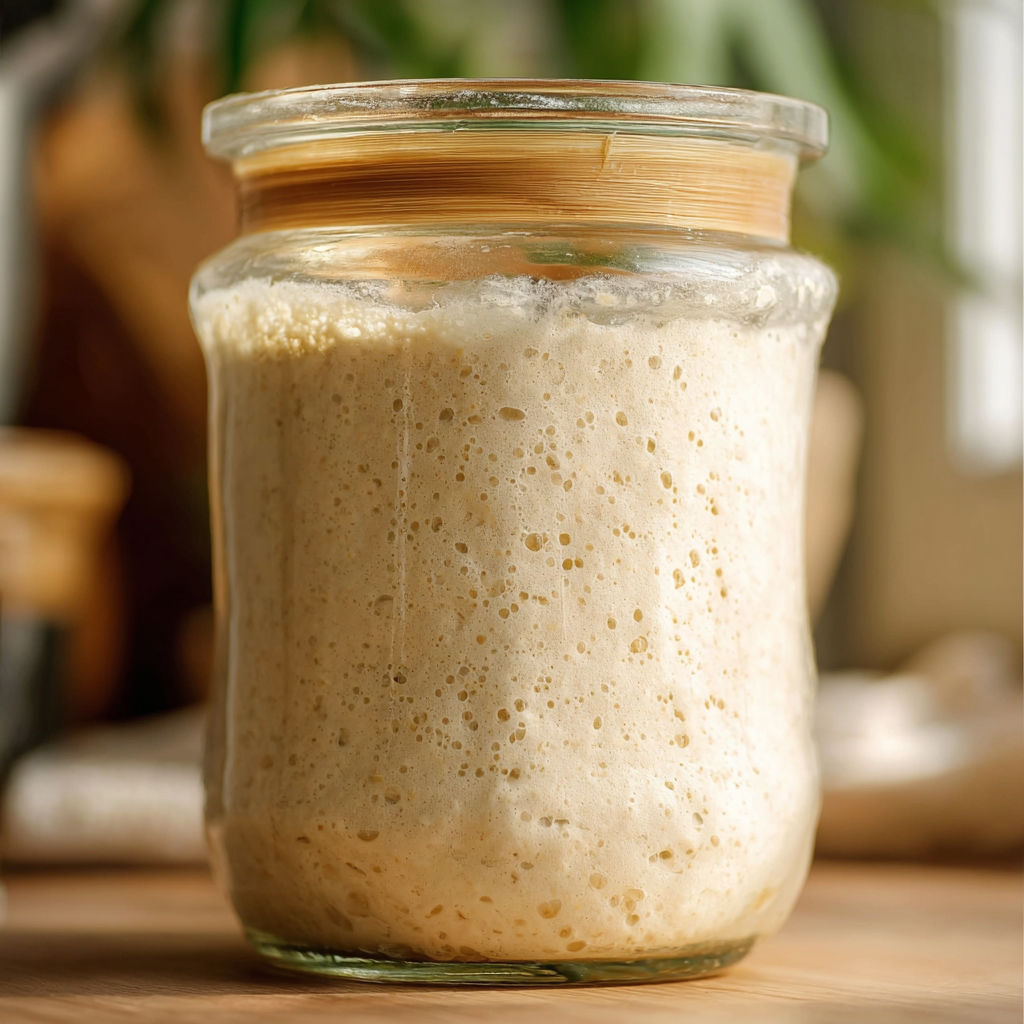
There is nothing quite like creating your own sourdough starter from scratch knowing you are capturing wild yeast and building the foundation for endless loaves of delicious homemade bread. It is a simple process that relies on patience and good ingredients and the rewards are absolutely worth the minimal daily effort.
This process always feels magical to me. I was skeptical my first time but after a week, that jar of bubbly starter was so lively and fragrant I never looked back. Baking with it makes every loaf feel extra special.
Ingredients
- Whole grain rye flour or whole wheat flour: The starter needs natural wild yeast and these flours contain plenty of it. Organic is best for the most active starter
- All-purpose flour: Used to maintain and feed the starter after day one. Choose unbleached and organic if possible for the strongest and healthiest culture
- Filtered water or spring water: Tap water with additives like chlorine can slow your starter. Use water at room temperature for best activity
Instructions
- Prepare Your Jar:
- Weigh your empty jar and jot down the number as a reference for future feeds and tracking. Mark the jar with your start date for easy progress checks
- Create the Initial Mixture:
- Add whole grain flour and room temperature filtered water to your jar. Stir thoroughly with a fork until very well mixed. The mixture should be thick and pasty. Scrape down the sides and cover with a loose-fitting lid then let it rest at room temperature out of direct sunlight for twenty four hours. Place a rubber band around the jar at the starter level so you can easily watch its growth
- Monitor the Starter:
- After the first day look for signs of tiny bubbles or subtle changes though often not much will happen yet. If it looks unchanged let it rest another twenty four hours at room temperature
- First Feeding and Removal:
- On day three remove and discard half of the mix so you have one hundred grams left in the jar. Add all-purpose flour and more room temperature water. Stir well scrape the sides cover loosely and let sit out for twenty four hours. Watch for bubbles and a bit more volume
- Second Feeding:
- On day four discard all but one hundred grams of starter. Add your feed of all-purpose flour and water stir completely and let rest for another day. If the starter seems like it is slowing give it time and continue the feeding schedule
- Strengthen the Starter:
- Repeat the discard and feed process on day five using all-purpose flour and water. Each time mix thoroughly scrape the jar cover loosely and rest at room temperature
- Build Activity:
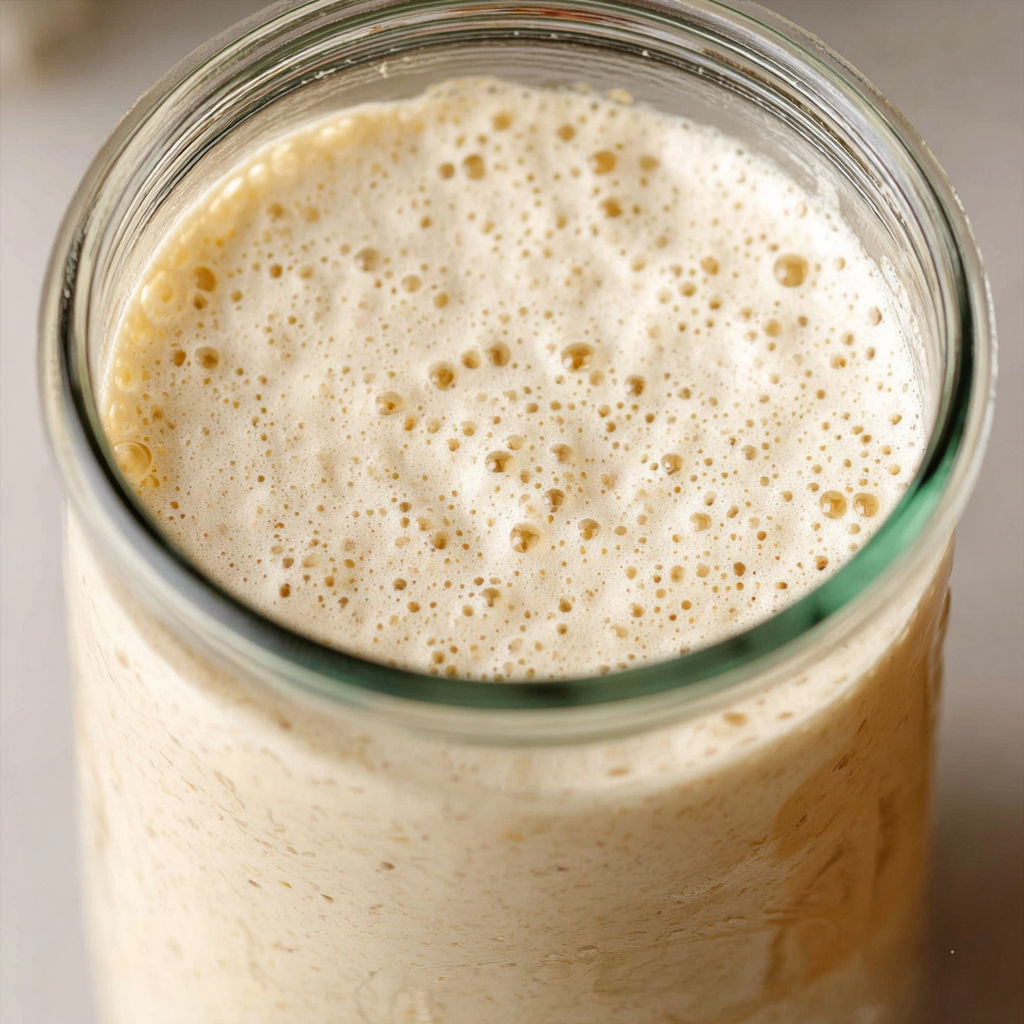
- By days six and seven your starter should be more active and should at least double in volume. Continue the discard and feed routine each day using all-purpose flour and water. Let it grow and keep observing for increased bubbles and pleasant aroma
- Check for Readiness:
- When the starter starts peaking between four to six hours after feeding and begins to recede after about twelve hours it is nearly ready. Drop a small scoop into a bowl of room temperature water. If it floats your starter is vigorous enough to bake with. If it sinks keep up the daily schedule and patience until it consistently passes the float test
- How to Maintain Your Starter:
- If you bake often keep the starter at room temperature discarding and feeding once every twenty four hours. For weekly use store in the fridge and feed just once a week letting it warm up at room temperature for an hour or two each time. When ready to bake take what you need at peak bubble activity give the starter a fresh feed and return the remainder to the fridge
 Pin it
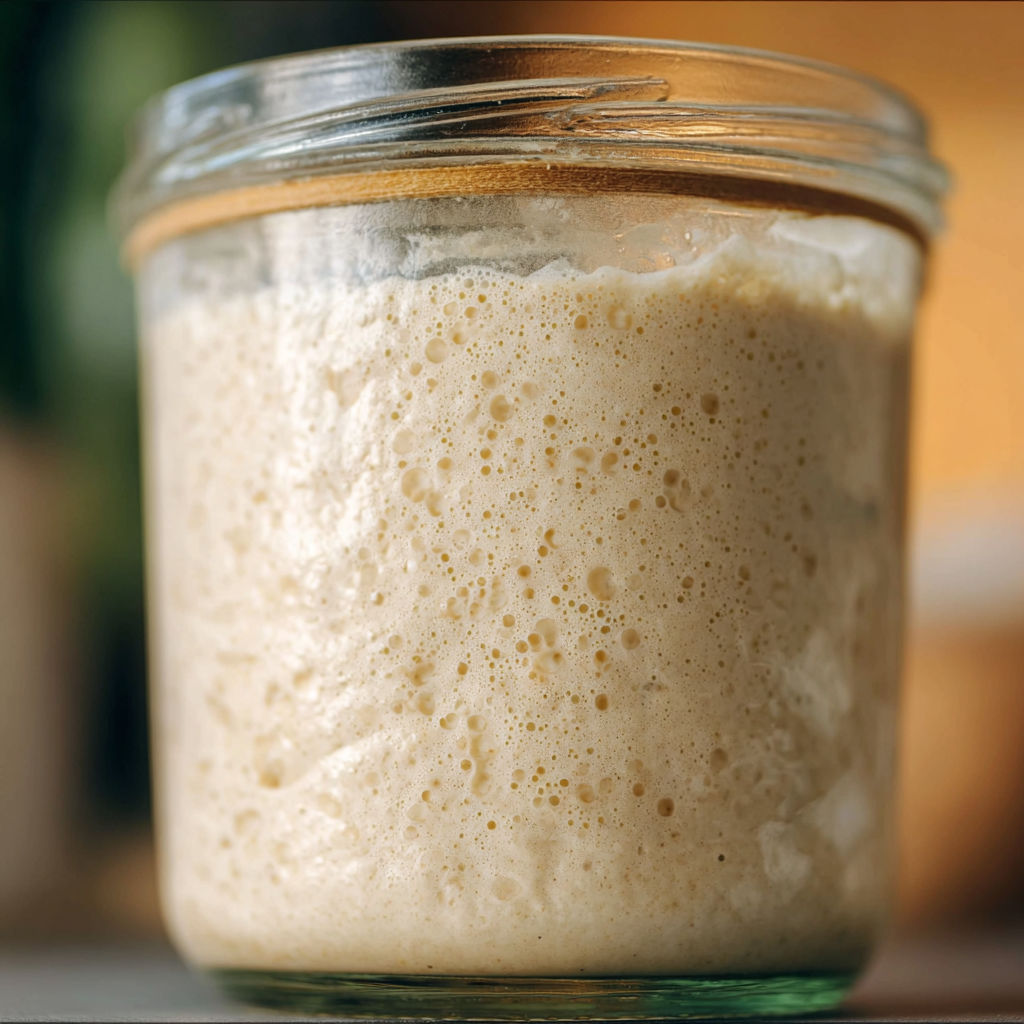
Honestly using whole grain flour for the first few days really made my starter robust. The earthy aroma on day four always reminds me of baking bread with my grandmother while she explained how sourdough has connected generations.
Storage Tips
Once your starter is bubbling and strong you can keep it refrigerated between uses. Always feed before refrigerating. If it sits for more than a week without use it may develop a dark liquid on top which is normal. Just pour it off and feed before baking again for best results.
Ingredient Substitutions
If you do not have whole grain rye or wheat for the initial start you can use all-purpose flour though fermentation may go a bit slower. Spring water gives the cleanest results but cool boiled tap water works in a pinch. Make sure your flour is fresh for the most reliable fermentation.
Serving Suggestions
A mature starter brings wonderful tangy flavor to classic sourdough loaves but do not stop there. Use it in pancakes muffins English muffins or even pizza crust. My favorite use after bread is adding a scoop to waffle batter for unbeatable texture and a gentle sourdough note.
Cultural and Historical Context
Sourdough starter has roots stretching back thousands of years. Long before packaged yeast people relied on wild yeast captured from flour and air to leaven bread. It is the foundation of delicious bread worldwide and every batch you create links you to a rich tradition of home baking.
 Pin it
Once you have an active sourdough starter the possibilities are endless. Keep nurturing it and enjoy baking with flavor and tradition for years to come.
Frequently Asked Questions
- → Why use whole grain flour for the initial mix?
Whole grain flours provide extra nutrients and wild yeasts that jumpstart fermentation, helping the mixture develop bubbles more rapidly.
- → What should the starter smell like during fermentation?
A healthy starter will develop a pleasantly sour, slightly fruity aroma as the beneficial microbes thrive.
- → How do I know when the starter is ready?
When the mixture doubles in volume and a spoonful floats in water, it's typically active and ready for baking projects.
- → What if my starter isn't bubbly by day 7?
Continue the regular feeding routine; variations in temperature or flour may mean it needs a few extra days to become active.
- → Can I store the starter in the refrigerator?
Yes, for infrequent baking, refrigerate and feed weekly. Allow it to come to room temperature before feeding for best results.