 Pin it
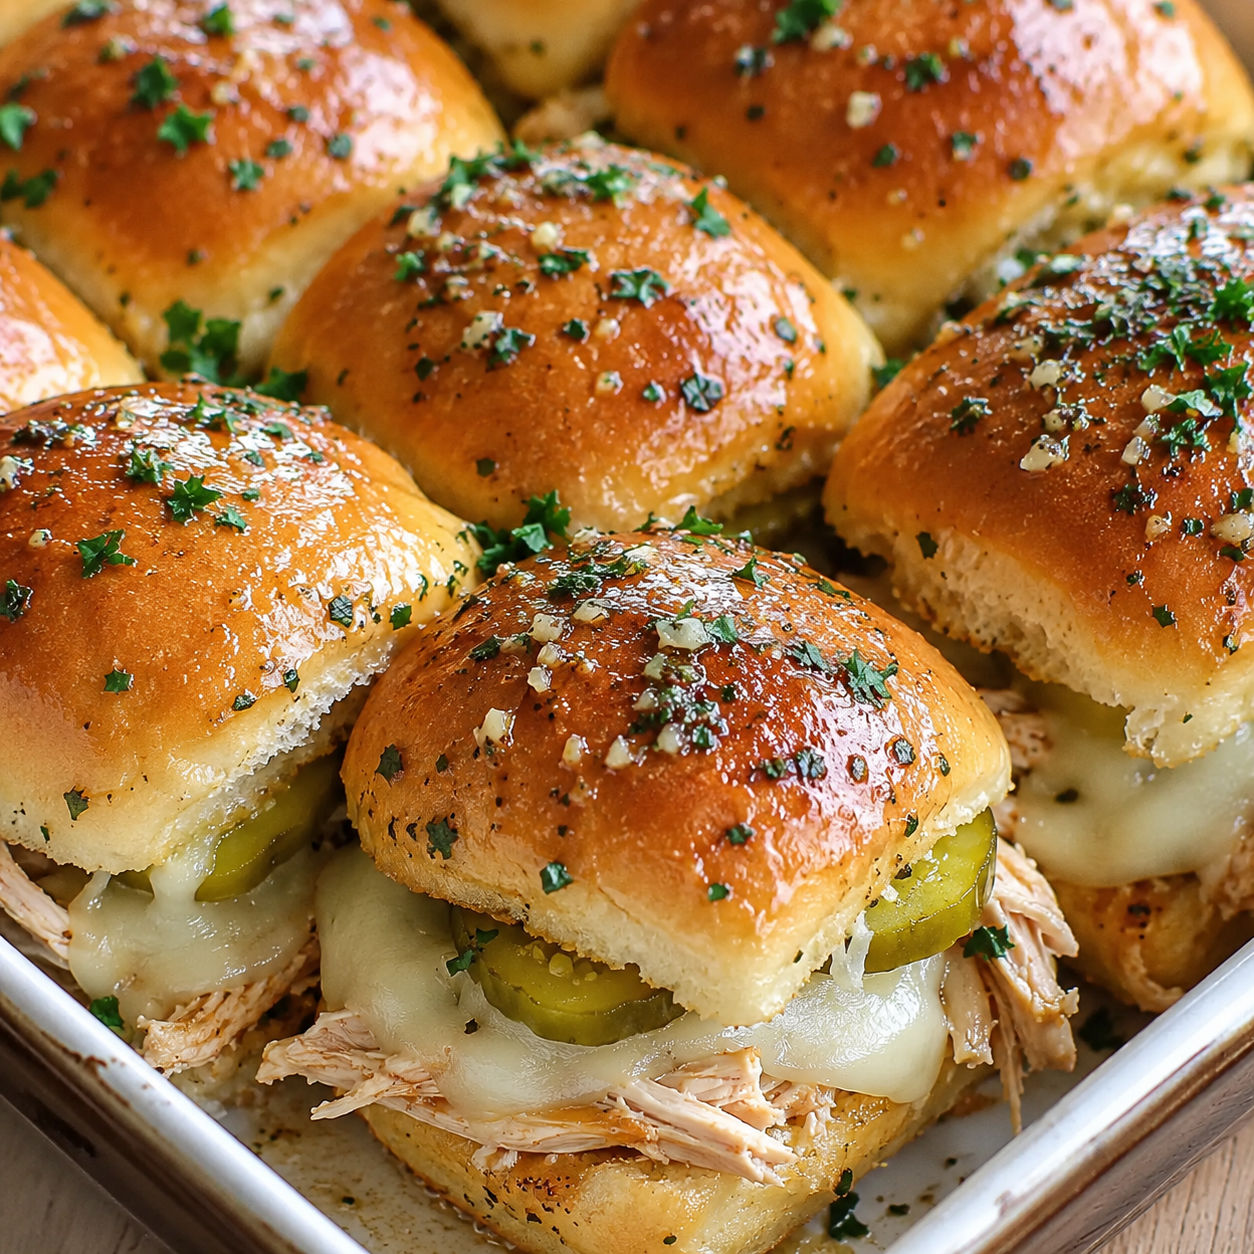
Easy Rotisserie Chicken Sliders with Garlic Herb Butter are what I make when I need real food fast and everyone is hovering near the kitchen. The chicken is already cooked, so the work is mostly slicing rolls, layering, brushing, and baking.
The garlic herb butter does more than make the tops shiny. It seeps into the cut edges, seasons the bread, and gives the sliders that warm bakery smell when they come out of the oven.
The Buttery Slider Lineup
Choose rolls that are soft but sturdy enough to hold warm chicken. Pull the rotisserie chicken into bite-size shreds so every slider gets a fair layer, and drain the pickles before they touch the bread.
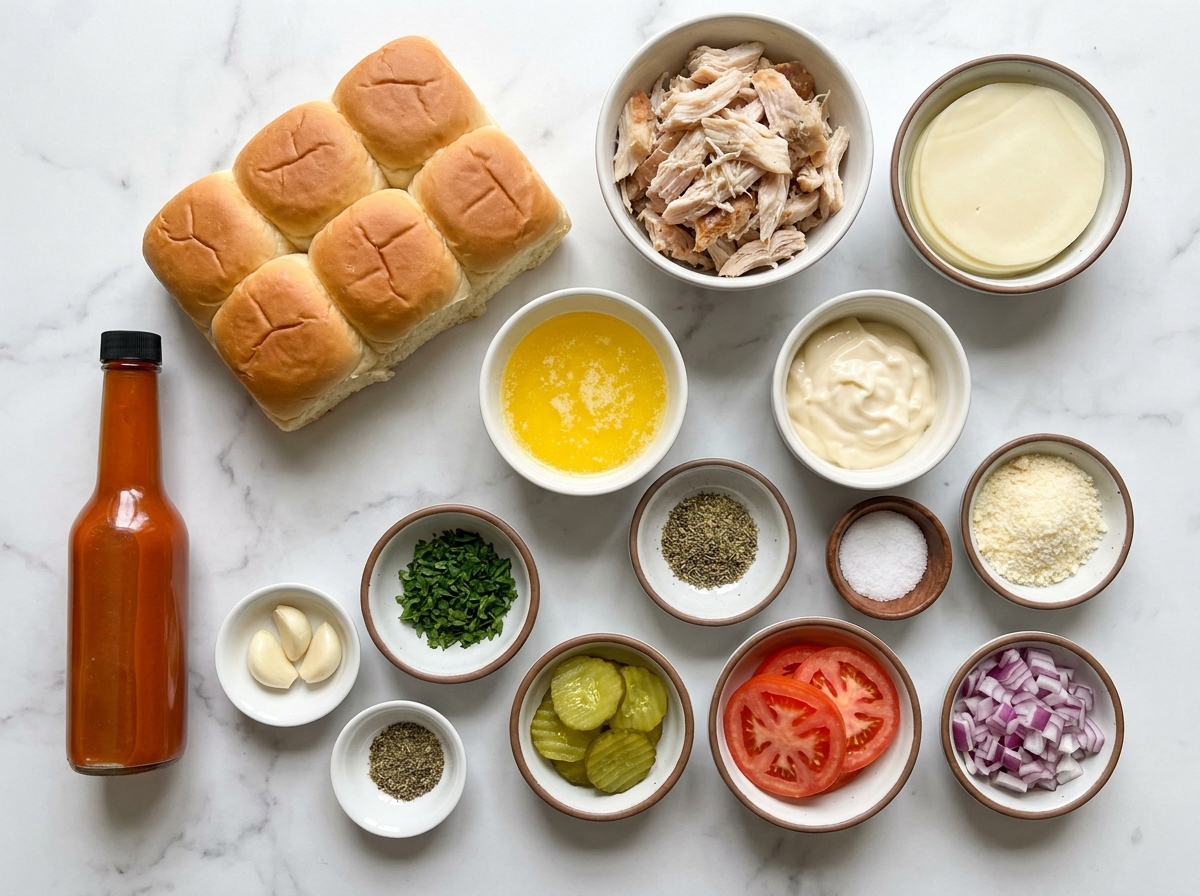
- Hawaiian rolls. Sweet, soft rolls bake into one pull-apart slab and balance the salty chicken and cheese.
- Rotisserie chicken. A warm shortcut with built-in seasoning and tender meat.
- Spicy mayo. Adds moisture and a small kick without turning the filling saucy.
- Provolone cheese. Melts into the chicken and helps hold the sliders together.
- Pickles. Bring crunch and acidity, which keeps the butter and cheese from tasting heavy.
- Tomato and red onion. Add freshness, color, and a little sharp bite.
- Garlic herb butter. Melts over the tops and bakes into a glossy, savory crust.
Rotisserie Chicken Sliders With Garlic Butter
- Heat the oven. Set the oven to 350°F and lightly grease a 9x13-inch baking dish so the rolls lift out cleanly.
- Slice the rolls. Keep the rolls connected and cut them in half horizontally with a serrated knife. Set the bottom half in the dish.
- Build the layers. Spread spicy mayo over the bottom rolls, then add chicken, cheese, pickles, tomato, and red onion in even layers.
- Mix the butter. Stir melted butter with grated garlic, parsley, Italian seasoning, and a pinch of salt until fragrant.
- Top and brush. Add the top half of the rolls and brush the garlic herb butter all over the surface, letting some run between the rolls.
- Bake until melted. Cover with foil and bake for 18-20 minutes. Uncover and bake 5-7 minutes more until the tops are golden.
Why Covered Baking Matters
The foil step is not busywork. It traps enough steam to warm the chicken and melt the cheese before the bread has a chance to dry out. Once the centers are hot, uncovering the pan gives the garlic herb butter time to toast the tops.
If you bake the sliders uncovered from the start, the rolls can brown while the cheese in the middle is still stubborn. I look for melted cheese at the edges and a little bubbling where the butter hits the pan.
Small Choices, Better Texture
Shredded chicken can turn dry if it is packed too tightly. Fluff it with your fingers before layering so the cheese melts through the gaps. If your rotisserie chicken came from the fridge, warm it for a minute or two in a covered bowl before building the sliders.
For more garlic butter dinner ideas, the Chicken Kiev with Garlic Butter leans richer and more classic, while Garlic Herb Butter Steak Sandwich uses the same buttered bread idea with beef.
Smart Swaps That Work
Use mozzarella for a softer pull, cheddar for sharper flavor, or pepper jack if you want heat. Turkey works in place of chicken, especially after a holiday meal. For a tangier slider, swap the spicy mayo for Dijon mayo and add extra pickles.
If you want a saucier tray, start with Baked Buffalo Chicken Sliders as the spicy version. Keep this garlic herb butter batch milder for mixed crowds, then serve hot sauce on the side.
Serving The Slider Tray
Let the pan rest for 5 minutes before cutting. That short pause keeps the filling from sliding out when you separate the rolls. A serrated knife works best because it saws through the glossy tops without pressing everything flat.
These are filling enough for dinner with a crisp salad or a tray of roasted vegetables. For a snack spread, pair them with Easy Garlic Butter Cheese Bombs and a bowl of pickles so people can build their plates fast.
Storing And Reheating
Refrigerate leftovers within 2 hours and keep them covered for up to 3 days. The USDA leftover safety guide recommends reheating leftovers to 165°F, which is easy to check in the center slider.
For the best texture, reheat covered at 325°F for 10-15 minutes, then uncover for a few minutes. The microwave works in a hurry, but the bread softens fast.
Summary
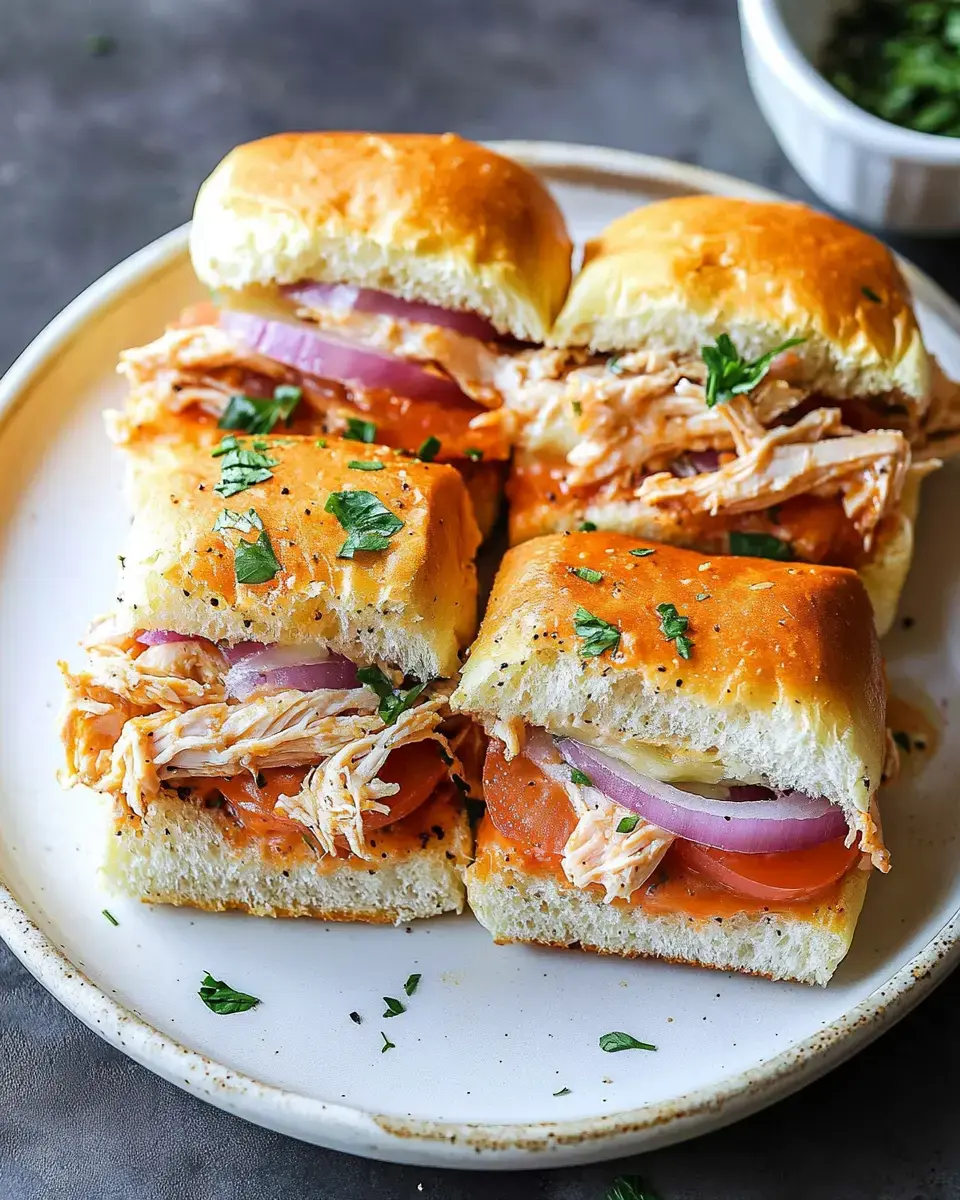
These sliders are best served hot, but they also reheat well when wrapped and warmed gently. Keep the tomato slices thin, drain the pickles, and do not skip the covered bake if you want soft centers with melted cheese.
FAQs
- Can I make rotisserie chicken sliders ahead of time?
Yes. Assemble the bottom rolls, chicken, cheese, and toppings up to 6 hours ahead. Cover and refrigerate, then brush with garlic herb butter right before baking so the tops stay soft rather than damp.
- What cheese melts best in these sliders?
Provolone melts smoothly and has enough flavor for rotisserie chicken. Mozzarella, Monterey Jack, or cheddar also work, but use thin slices or freshly shredded cheese so it melts before the rolls overbrown.
- How do I keep chicken sliders from getting soggy?
Drain pickles well and pat tomato slices with a paper towel. Put cheese both under and over the chicken if you want extra protection between the bread and juicy filling.
- Can I use leftover cooked chicken instead of rotisserie chicken?
Yes. Any tender cooked chicken works. If it seems dry, toss it with a spoonful of mayo or a little warm broth before layering it on the rolls.
- How long do leftover sliders last?
Store leftovers in an airtight container in the refrigerator for up to 3 days. Reheat covered at 325°F until hot in the center, then uncover for a few minutes to refresh the tops.
- Can I make these sliders spicy?
Stir hot sauce into the mayo or add thin jalapeno slices with the pickles. For a stronger heat, use pepper jack cheese and finish the baked sliders with a little extra hot honey.
