 Pin it
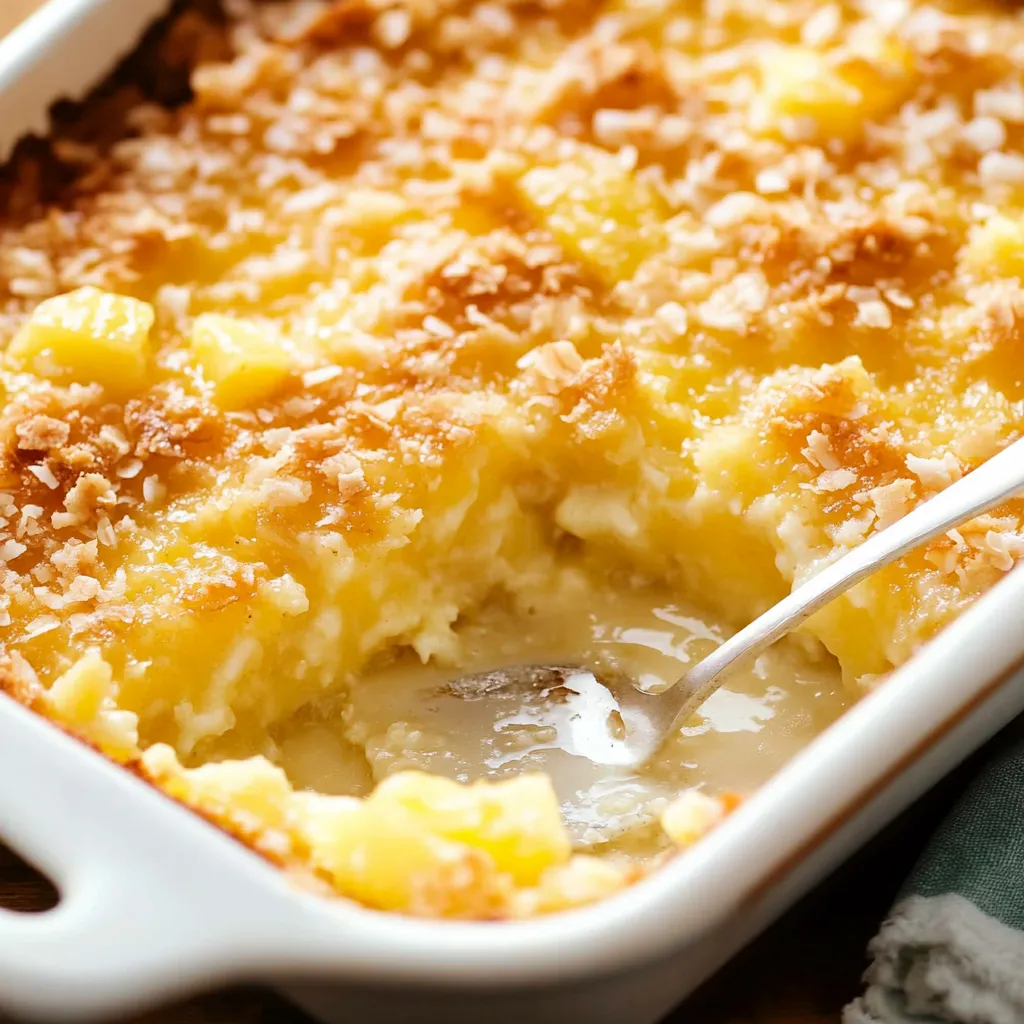
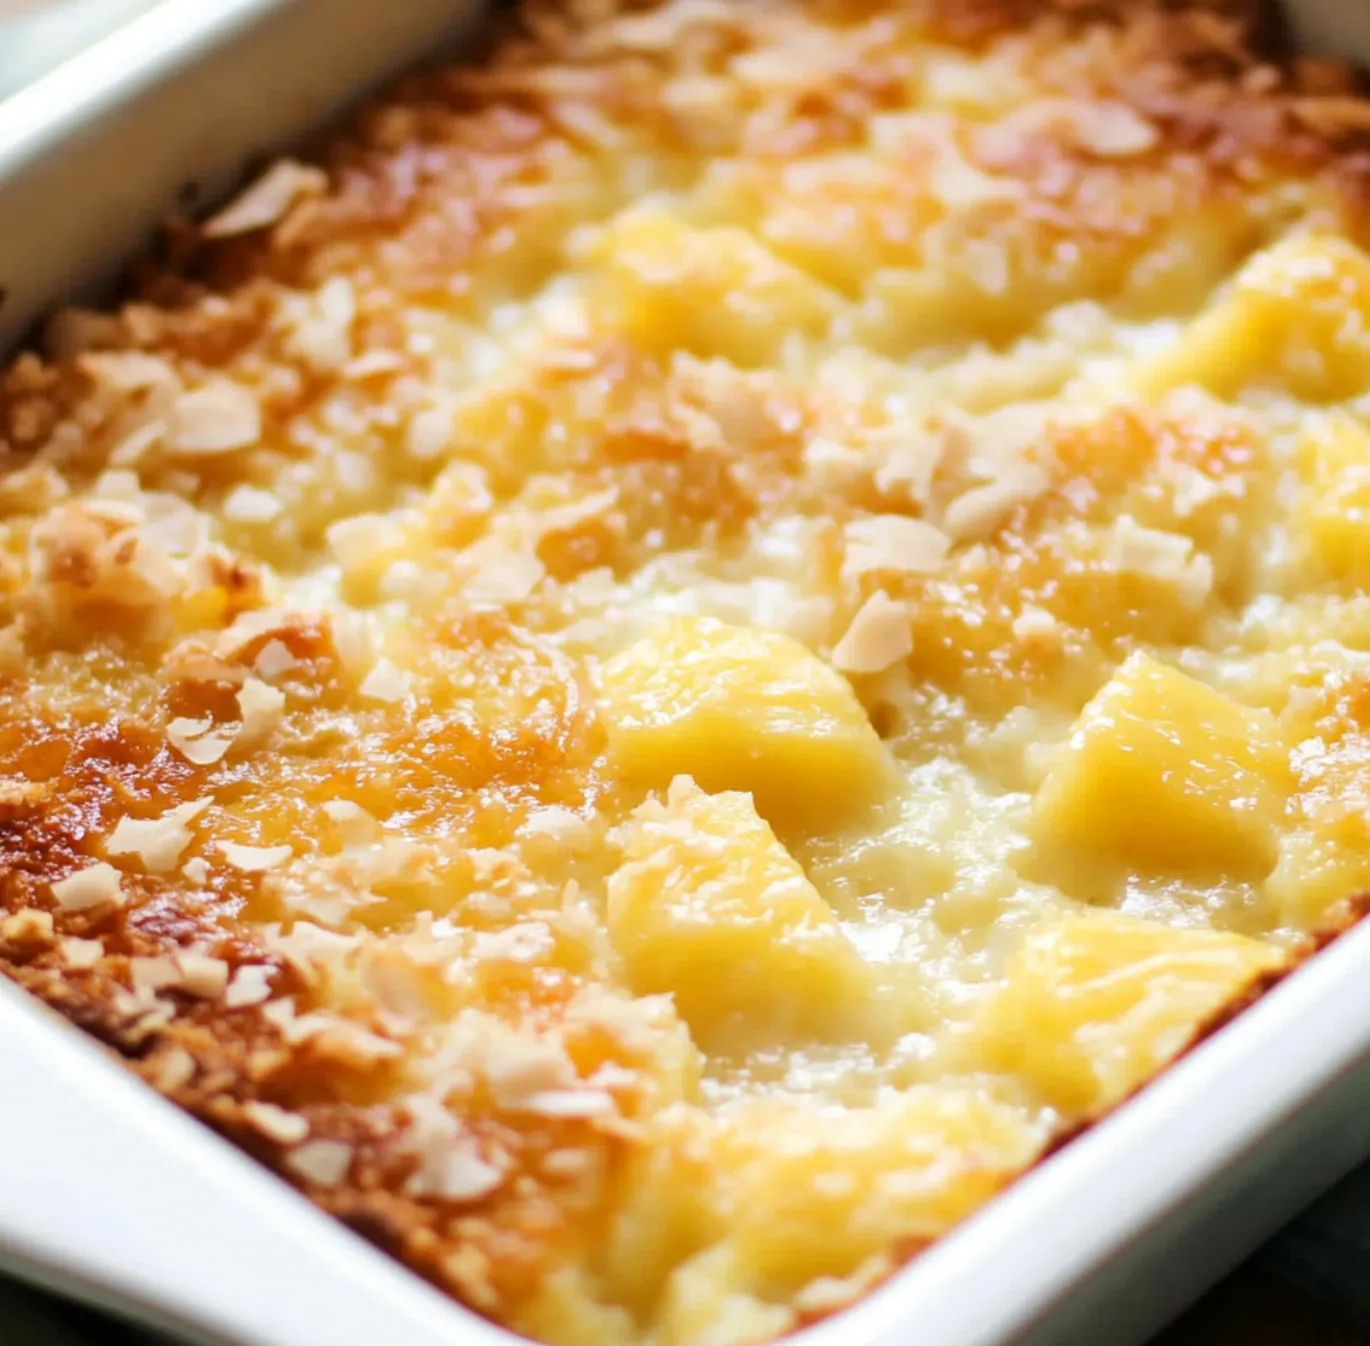
A beautifully golden, fruity dessert that practically makes itself - that's the magic of this Pineapple Dump Cake with Condensed Milk. The combination of sweet tropical pineapple, buttery cake mix, and rich condensed milk creates an irresistible treat that tastes like you spent hours in the kitchen, when in reality, it's mostly hands-off baking time.
Just last week, I brought this to an impromptu neighborhood gathering, and the pan was scraped clean within minutes. Even the "I don't like pineapple" crowd couldn't resist coming back for seconds.
Essential Ingredients and Selection Guide
- Crushed Pineapple: Choose canned pineapple in its own juice rather than syrup for balanced sweetness. The juice content is crucial for proper cake development
- Yellow Cake Mix: Traditional yellow mix creates that buttery, vanilla-rich flavor. The proteins in yellow cake mix help develop the perfect crust
- Butter: Use unsalted butter, melted just until liquid but not hot. This ensures even distribution and proper incorporation
- Sweetened Condensed Milk: Full-fat version provides the best caramelization and texture. Shake the can well before opening
- Shredded Coconut: Unsweetened coconut provides better texture control. Toast it lightly beforehand for enhanced flavor
Detailed Cooking Instructions
- First: Pan Preparation
- Start with a deep 9x13 baking dish - glass or ceramic works best for even heat distribution. While greasing isn't necessary due to the butter content, a light coating helps with serving. Ensure your oven rack is centered for optimal heat circulation.
- Second: Pineapple Layer
- Empty both cans of crushed pineapple with their juice into the pan, spreading to create an even layer. Use a spatula to push the fruit into corners and edges. This foundation layer provides moisture and flavor throughout the bake.
- Third: Building Layers
- Carefully sprinkle the dry cake mix over the pineapple, ensuring even coverage. Avoid dumping it all in one spot - use a gentle back-and-forth motion like falling snow. Pour condensed milk in a zigzag pattern, covering as much surface as possible.
- Fourth: Final Assembly
- Drizzle melted butter methodically across the entire surface, paying special attention to any dry spots. The butter is crucial for that golden, crispy top. Finally, scatter coconut evenly, creating a delicate layer that will toast during baking.
- Fifth: Baking Process
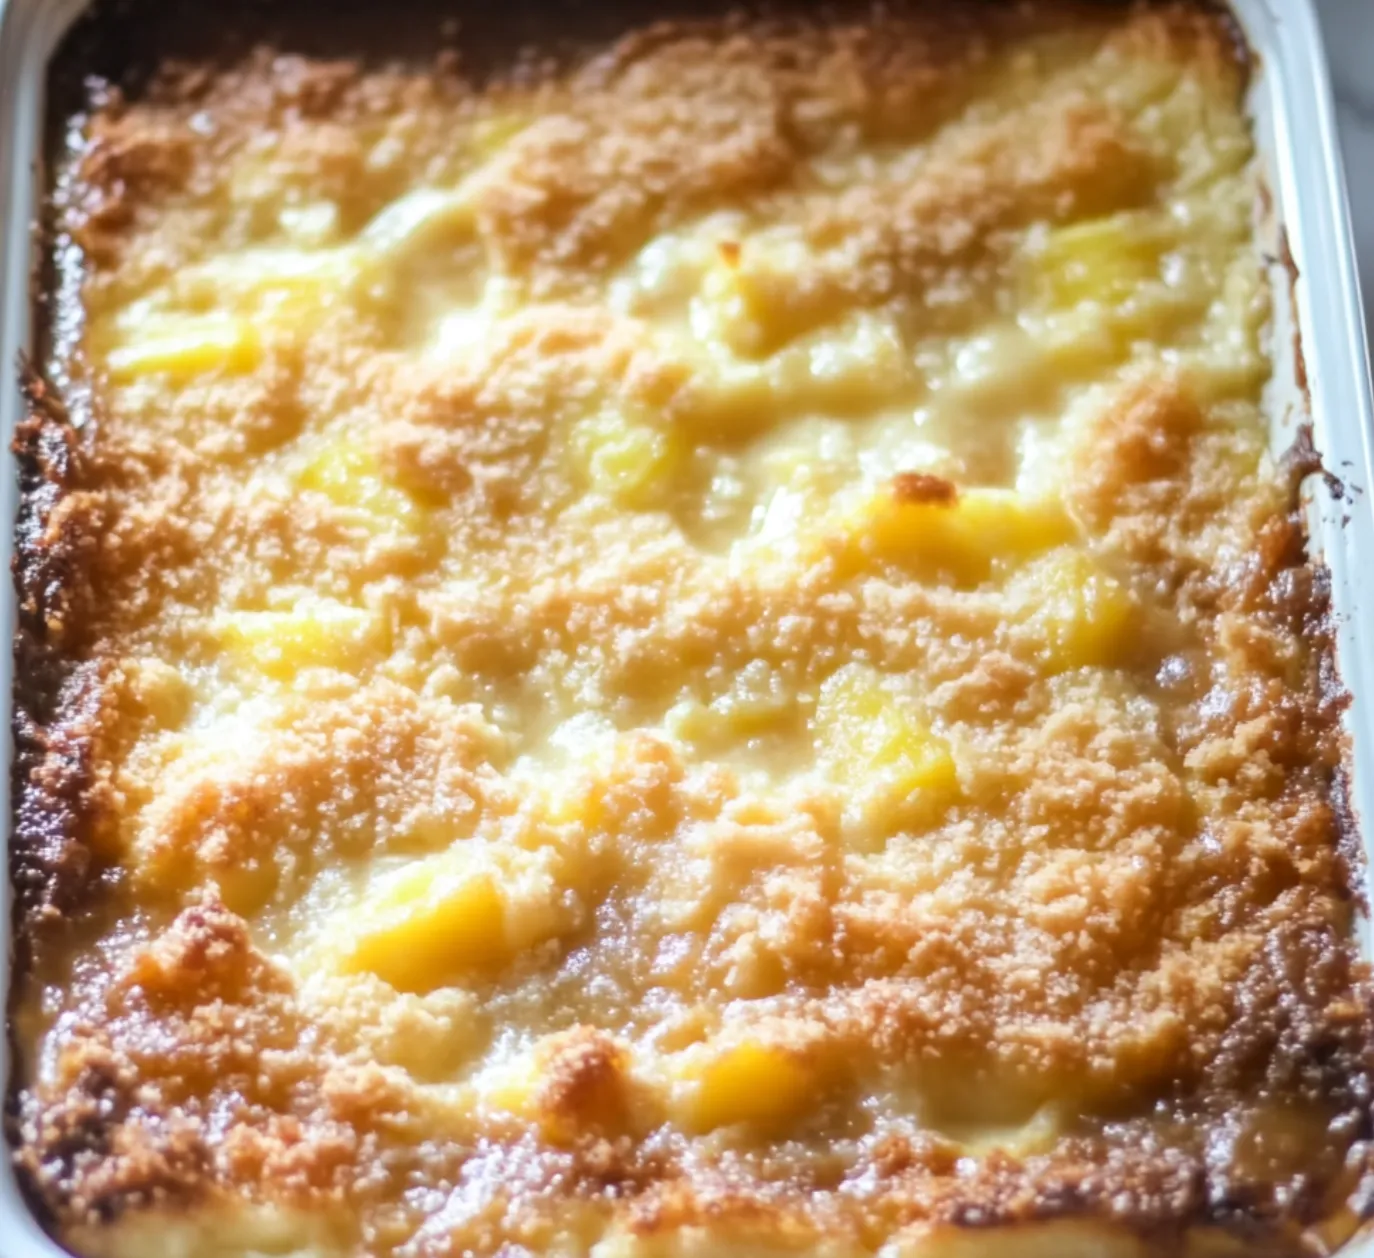
- Place in preheated 350°F oven. Watch for golden browning around 35 minutes, though total bake time is 45-50 minutes. The top should be evenly browned and slightly crispy when touched.
 Pin it
Understanding the Science
The magic happens as the cake mix absorbs the pineapple juice and condensed milk, creating distinct texture layers. The bottom becomes pudding-like while the top develops a buttery, crisp crust. This contrast makes every bite interesting.
Storage and Make-Ahead Tips
This cake stays fresh at room temperature for 2 days when covered. Refrigerate for up to 5 days, though the top loses some crispness. Individual portions can be frozen for up to 3 months - reheat in a 300°F oven until warm.
Serving Suggestions
Serve warm for maximum comfort or room temperature for easier slicing. Consider garnishing with:
- Freshly whipped cream
- Vanilla bean ice cream
- Caramel sauce drizzle
- Additional toasted coconut
Troubleshooting Common Issues
If the top browns too quickly, tent with foil. For extra crispiness, broil for the final 2 minutes under close supervision. If the mixture seems dry during baking, drizzle additional melted butter over dry spots.
Growing up, my grandmother would make a version of this cake whenever tropical fruits were on sale. She'd add a splash of dark rum to the pineapple layer - an adult variation I still make for special occasions.
This Pineapple Dump Cake embodies everything wonderful about casual baking - it's forgiving, flexible, and consistently delicious. Whether served at a potluck or enjoyed as a family dessert, it carries that perfect balance of homey comfort and special occasion worthy presentation. The combination of crispy top, fruity center, and comprehensive simplicity makes it a recipe you'll return to time and again.
 Pin it
Frequently Asked Questions
- → Why is it called a dump cake?
- It's called a dump cake because you simply dump the ingredients into the pan in layers - no mixing required!
- → Can I make this in a slow cooker?
- Yes, this cake can be adapted for a slow cooker, though cooking time and texture may vary slightly.
- → Why is the butter necessary?
- The butter is crucial for creating the signature crispy, golden top layer that makes dump cakes so delicious.
- → Can I use fresh pineapple instead of canned?
- Canned pineapple works best as it comes with juice that helps create the right moisture level in the cake.
- → How do I store leftover dump cake?
- Cover and store at room temperature for 1-2 days, or refrigerate for up to 5 days.
