
 Pin it
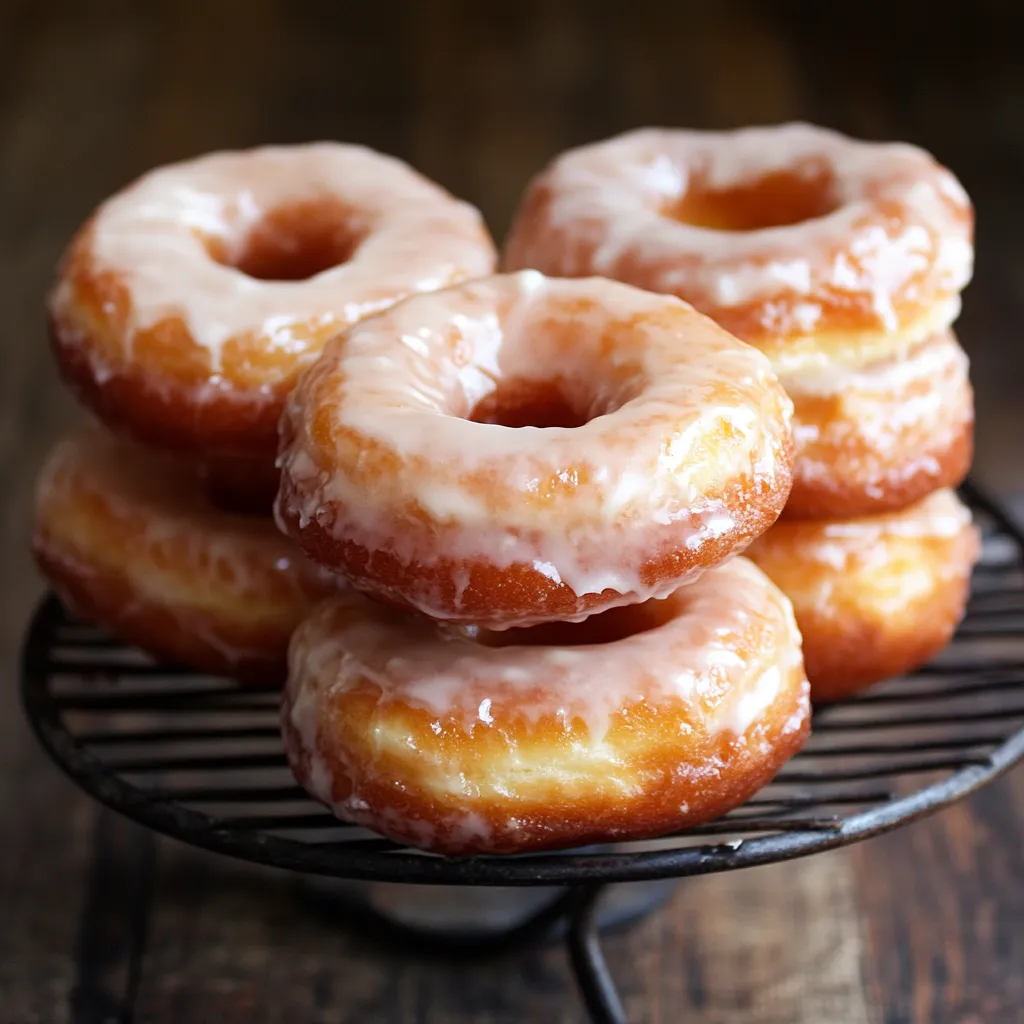
This old-fashioned sour cream doughnut recipe delivers the perfect bakery-style treat with that distinctive crackly exterior and tender cake-like interior. The tangy sour cream adds incredible moisture while giving these doughnuts their signature flavor that pairs perfectly with the sweet glaze.
I first made these doughnuts for a Sunday brunch with friends, and they disappeared within minutes. Now they've become my signature treat whenever someone needs cheering up or we have overnight guests.
- Cake flour: Provides a more delicate crumb than all-purpose flour which results in a lighter doughnut
- Baking powder: Gives just the right amount of rise without making them too cakey
- Nutmeg: Is the classic doughnut spice that gives these that authentic bakery flavor
- Room temperature butter: Must be cool but pliable for proper incorporation
- Egg yolks: Add richness and help create that golden color
- Sour cream: Is the star ingredient that provides moisture and tang
- Canola oil: Has a high smoke point ideal for frying at the proper temperature
- Powdered sugar: Creates that smooth, sweet glaze that sets perfectly
- Corn syrup: Helps give the glaze its signature shine and prevents crystallization
Step-by-Step Instructions
- Prepare the Dough:
- Mix the dry ingredients first to ensure even distribution of leavening agents and spices. This step is crucial for consistent flavor and texture throughout your doughnuts. Sifting removes any lumps that might affect the final texture.
- Cream Butter and Sugar:
- Beat these ingredients until they resemble wet sand which creates tiny air pockets. This step might seem minor but it's essential for achieving that perfect old-fashioned texture. Don't overbeat or the butter will become too soft.
- Add Yolks and Alternating Ingredients:
- The alternating method of adding dry ingredients and sour cream maintains the delicate balance of the batter. When adding the final portions, mix just until combined to avoid developing too much gluten which would make tough doughnuts.
- Chill the Dough:
- This hour of refrigeration is non-negotiable. The dough needs to firm up properly so it maintains its shape during cutting and frying. If your kitchen is particularly warm, you might need even longer chilling time.
- Roll and Cut:
- The half-inch thickness is crucial for proper cooking. Too thin and they'll be crispy throughout, too thick and they may not cook in the center. Use a gentle touch when rolling to avoid compressing the dough too much.
- Fry with Precision:
- Maintaining that 325°F temperature is critical. Too hot and they'll brown before cooking inside, too cool and they'll absorb excess oil. Watch the first batch carefully to gauge timing for your specific stove and pot combination.
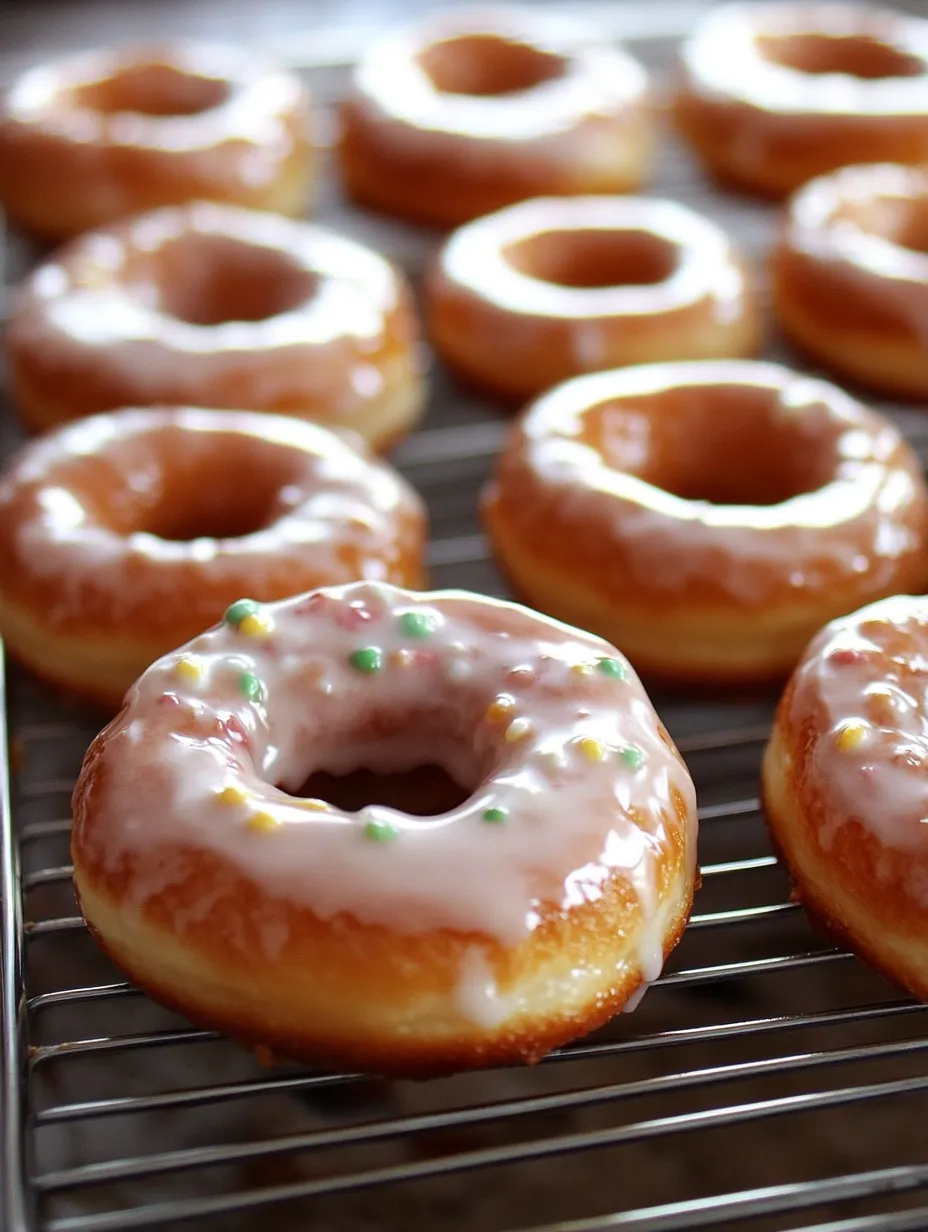
- Glaze While Warm:
- Dip each doughnut while still slightly warm for the best glaze adhesion. The slight heat helps the glaze spread evenly and create that perfect coating. Let them set completely for that characteristic crackly exterior.
 Pin it
The sour cream is truly what makes these doughnuts special. I've tried substituting yogurt and while it works in a pinch, nothing quite matches the richness and tang that real, full-fat sour cream provides. My grandmother used to make a version of these, calling them "church doughnuts" because she'd prepare the dough Saturday night to fry Sunday morning before services.
Storing Your Doughnuts
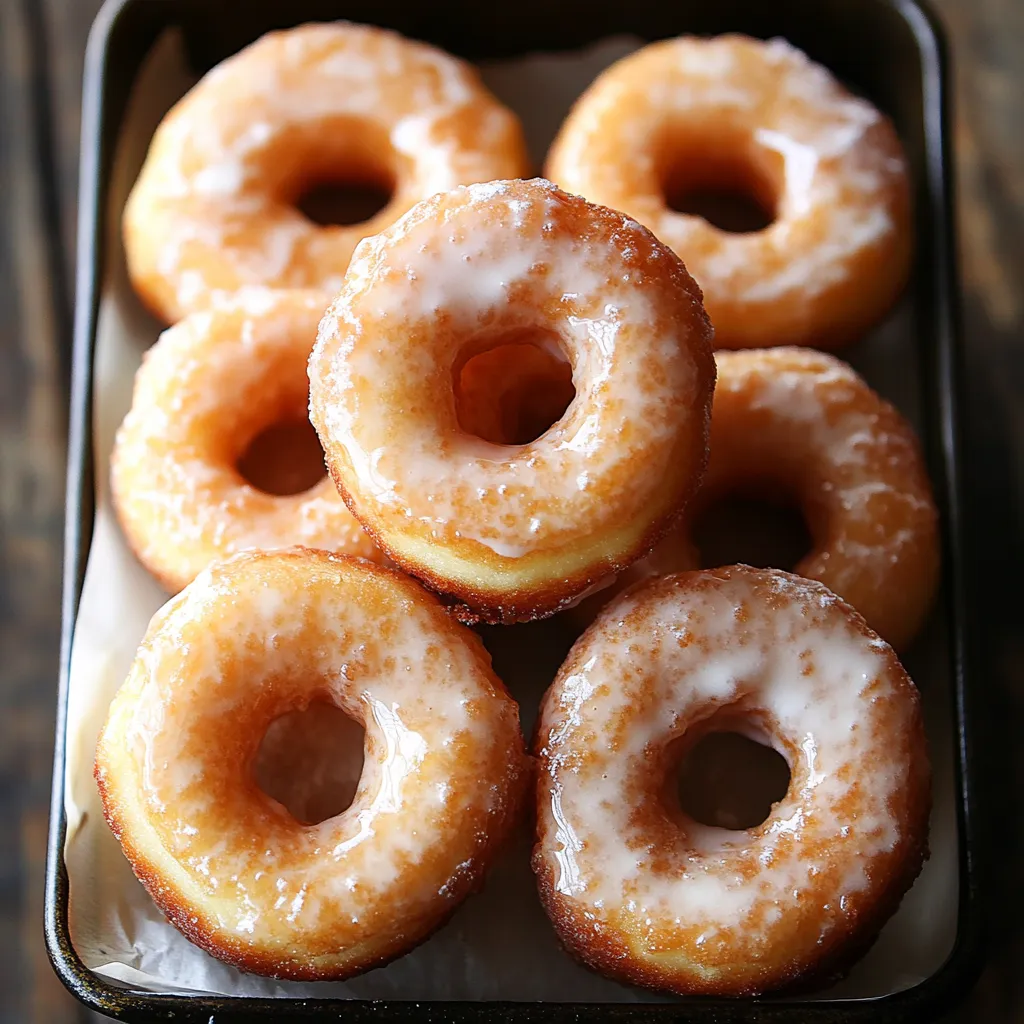
These old-fashioned sour cream doughnuts truly shine the day they're made, with that perfect contrast between the crisp exterior and tender interior. However, they can be stored in an airtight container at room temperature for up to two days. Avoid refrigerating as this speeds up staleness. To refresh day-old doughnuts, microwave for 8-10 seconds or place in a 300°F oven for about 5 minutes.
Variations To Try
The basic old-fashioned doughnut is a perfect canvas for creative flavors. Try adding lemon or orange zest to the dough for a citrus variation, or replace the vanilla in the glaze with almond extract. For chocolate lovers, add 3 tablespoons of cocoa powder to the dry ingredients and use chocolate milk in the glaze instead of water. During fall, cinnamon and a pinch of cloves make a wonderful seasonal variation.
 Pin it
Troubleshooting Your Doughnuts
Achieving perfect old-fashioned doughnuts can take practice. If your doughnuts are absorbing too much oil, your temperature might be too low or your dough might be too soft. If they're browning too quickly without cooking through, your oil is too hot. For doughnuts that don't crack properly during frying, try chilling the cut doughnuts for an additional 15-20 minutes before frying or increase your oil temperature slightly. The characteristic cracks form when the cold dough hits hot oil, creating that beautiful craggly surface.
Frequently Asked Questions
- → What makes these doughnuts old-fashioned?
Old-fashioned doughnuts are characterized by their cake-like texture, subtle nutmeg flavor, and a rich sour cream base. Unlike yeast-raised doughnuts, they're denser and have a crispy outer edge when fried.
- → Can I substitute sour cream in this doughnut recipe?
Yes, you can substitute sour cream with plain full-fat yogurt or Greek yogurt. However, sour cream provides the signature tang and tenderness that's ideal for these doughnuts.
- → Why is nutmeg used in doughnuts?
Nutmeg is a traditional spice used in doughnuts to enhance their warm, aromatic flavor. It adds depth and is a key component for classic doughnut taste.
- → How do I prevent doughnuts from absorbing too much oil?
Make sure the oil is heated to the right temperature (around 325°F). Frying at too low a temperature causes doughnuts to absorb more oil, while too high a temperature can burn them unevenly.
- → How should I store these doughnuts?
To keep doughnuts fresh, store them in an airtight container at room temperature for up to 2 days. For longer storage, avoid glazing them and freeze the unglazed doughnuts in an airtight container.
- → Why does the dough need to be chilled before frying?
Chilling the dough firms it up, making it easier to handle and shape. It also helps the dough maintain its structure during frying for better results.