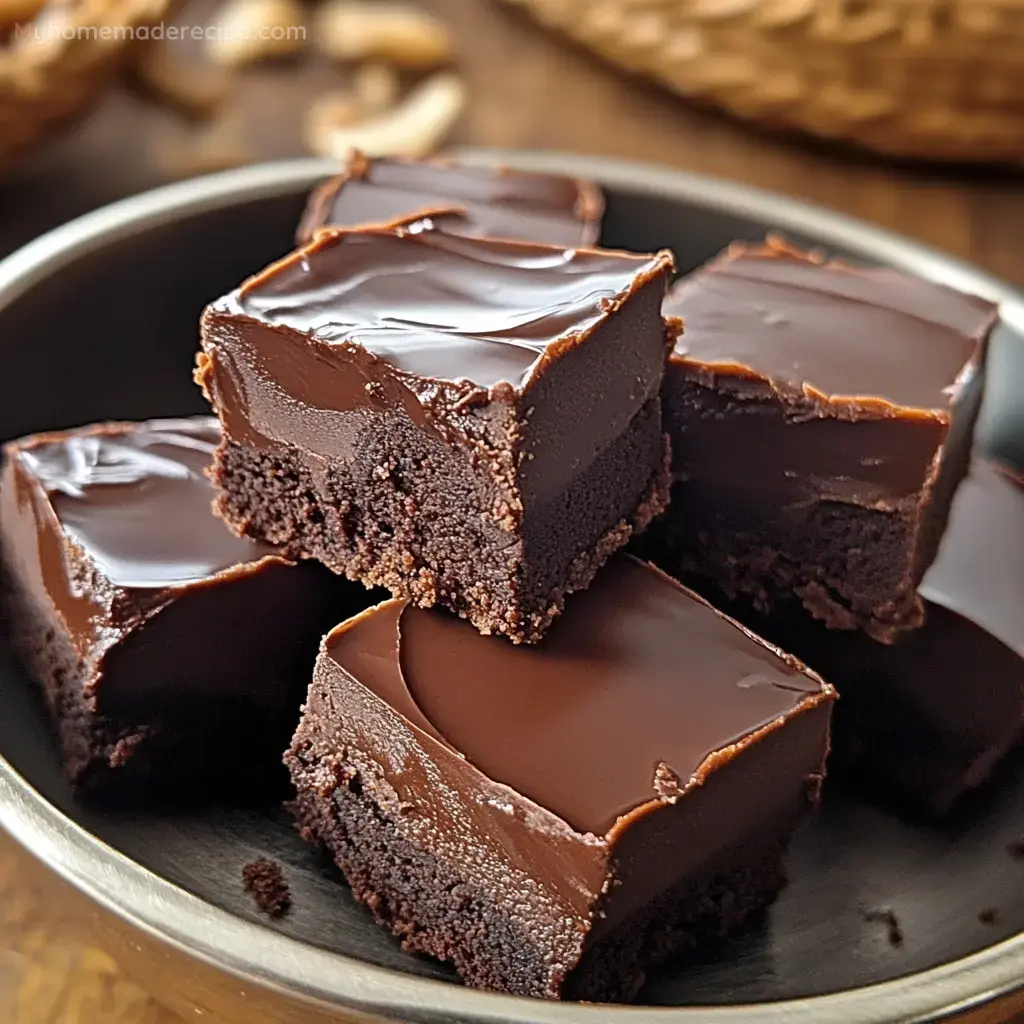
Old Fashioned Fudge is a delightful treat that brings rich, creamy chocolate goodness to any occasion. Whether you’re using it to top cakes and brownies or enjoying it as a standalone dessert, this fudge is sure to satisfy your sweet tooth. With just a few simple ingredients, this recipe brings back memories of traditional homemade fudge, cooked and beaten to perfection.
Let’s take a look at the ingredients you’ll need to make this delicious fudge.
INGREDIENTS
- Sugar: 2 cups of granulated sugar are the base of this fudge, providing sweetness and structure.
- Milk: 1/2 cup of milk adds moisture and richness to the mixture, helping to dissolve the sugar.
- Butter: 1/2 cup (1 stick) of unsalted butter gives the fudge a smooth, creamy texture and a rich flavor.
- Cocoa: 1/2 cup of cocoa powder adds deep chocolate flavor to the fudge.
- Salt: A pinch of salt (1/4 teaspoon) helps balance the sweetness and enhances the overall flavor.
- Vanilla Extract: 1 teaspoon of vanilla extract is added at the end to preserve its flavor and bring a warm, aromatic touch to the fudge.
INSTRUCTIONS
- Step 1: Mix the Dry Ingredients
- In a medium, heavy-bottomed pot, whisk together 2 cups of sugar, 1/2 cup of cocoa powder, and 1/4 teaspoon of salt until well combined. Using a whisk ensures the dry ingredients are evenly distributed.
- Step 2: Add the Wet Ingredients
- Switch to a wooden spoon and gradually stir in 1/2 cup of milk and 1/2 cup of unsalted butter (1 stick). Stir until the mixture is fully combined and the butter starts to melt.
- Step 3: Bring the Mixture to a Boil
- Over medium-high heat, bring the mixture to a full, rapid boil. Stir constantly to prevent the sugar from burning. Let the mixture boil for exactly 3 minutes and 45 seconds without stirring it down. This step is crucial for achieving the correct texture for the fudge.
- Step 4: Add Vanilla Extract
- Remove the pot from the heat and immediately stir in 1 teaspoon of vanilla extract to preserve its flavor. Let the mixture cool for about 5 minutes, but no longer.
- Step 5: Beat the Fudge
- Using a hand-held mixer or a stand mixer with a whisk attachment, beat the fudge on low speed, gradually increasing to high speed. Beat the mixture for 5-10 minutes until it becomes creamy, losing its shininess. The fudge will thicken and cling to the beaters as it reaches the desired consistency.
- Step 6: Spread and Serve
- Once the fudge reaches a creamy texture and begins to stiffen along the edges of the bowl, immediately pour and spread the icing on your cake, brownies, or into a pan for slicing into squares. Optionally, top with chopped nuts for added texture and flavor.
Serving and Storage Tips
- This Old Fashioned Fudge is best served immediately after it’s been spread and set. It works beautifully as a topping for cakes and brownies or can be sliced into squares and enjoyed as a standalone treat.
- If you have leftovers, store the fudge in an airtight container at room temperature for up to 5 days. You can also refrigerate it for a firmer texture, which will keep it fresh for up to 2 weeks.
- For longer storage, wrap the fudge tightly in plastic wrap or wax paper, then place it in an airtight container or freezer bag. It can be frozen for up to 3 months. To serve, let it thaw at room temperature for a few hours.
Helpful Notes
- If you want to add extra flavor or texture, try stirring in chopped nuts, such as pecans or walnuts, during the final beating stage.
- For a richer chocolate flavor, you can increase the amount of cocoa by a tablespoon or two, but keep in mind this may result in a slightly firmer fudge.
- If the fudge doesn’t set properly or remains too soft, it’s likely due to insufficient boiling time. Ensure the mixture boils for the full 3 minutes and 45 seconds without interruption.
Tips from well-known chefs
- Martha Stewart: Always use high-quality vanilla extract in fudge recipes, as it brings out the best in the chocolate and adds depth to the overall flavor.
- Ina Garten: Don’t rush the beating process—it’s essential for achieving the perfect creamy texture. Beat the fudge until it just starts to lose its sheen for the best results.
- Alton Brown: When making fudge, a heavy-bottomed pot is key to evenly distributing heat and preventing the sugar from burning.
 Pin it
