
 Pin it
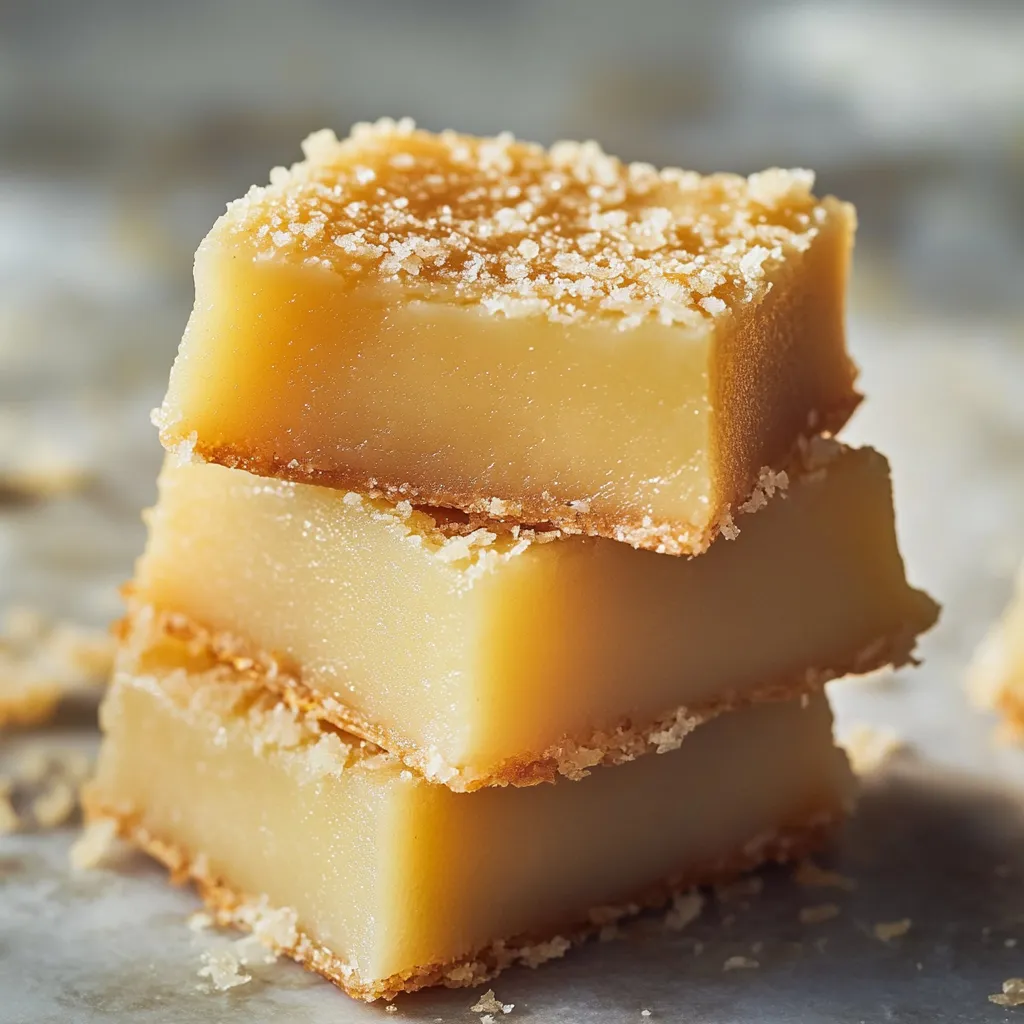
This cherished Hawaiian dessert transforms simple ingredients into a luxuriously chewy, coconut-scented treat that perfectly balances sweetness with texture. Each bite delivers the satisfaction of tender mochi wrapped in a golden, crispy crust that's simply irresistible.
Last week, I made this for my neighbor's luau-themed party, and everyone was amazed by how the coconut crust created such a beautiful contrast with the chewy interior. Even those who had never tried mochi before couldn't resist coming back for seconds.
Perfect Ingredient Selection
- Mochiko (Sweet Rice Flour): 1 box (16 ounces/454g), Creates the signature chewy texture and acts as the foundation of your mochi
- Unsalted Butter: 1 cup (226g), melted and cooled, Provides rich flavor and helps create that coveted crispy edge
- Granulated Sugar: 2 cups (400g), Balances the coconut and creates the perfect level of sweetness
- Whole Milk: 1 cup (240ml), Adds richness and helps create the custard-like texture
- Large Eggs: 4, room temperature, Acts as a binder and creates structure
- Unsweetened Coconut Milk: 1 can (13.5 ounces/400ml), Provides authentic tropical flavor and creamy texture
- Baking Powder: 2 teaspoons, Gives just enough lift without making it cakey
- Pure Vanilla Extract: 1 tablespoon, Enhances all other flavors
- Kosher Salt: 1 teaspoon, Balances sweetness and enhances coconut flavor
- Unsweetened Shredded Coconut: 1 cup (85g), Creates the magical crust
- Flaky Sea Salt: 1/2 teaspoon (optional), Adds sophistication and enhances flavor contrast
Crafting Your Mochi
- Preparation:
- Heat your oven to precisely 350°F (175°C). Generously butter a 9x13-inch metal baking pan, ensuring every corner is well-coated.
- Dry Foundation:
- Whisk together mochiko flour, sugar, baking powder, and kosher salt in a large bowl until completely combined and free of lumps.
- Wet Mixture:
- In a separate bowl, thoroughly whisk eggs until well beaten. Add milk and vanilla extract, combining until smooth and uniform.
- Creating Harmony:
- Pour your wet ingredients into the dry mixture, stirring thoroughly with a wooden spoon. Unlike regular baking, you can mix vigorously since mochiko is gluten-free.
- Final Assembly:
- Pour the melted butter and coconut milk into your mixture. Stir until you achieve a silky, uniform batter. The consistency should be smooth and pourable. Transfer to your prepared pan, tapping it firmly against the counter several times to release any trapped air bubbles. Sprinkle shredded coconut evenly across the top, followed by a light dusting of flaky sea salt if desired.
 Pin it
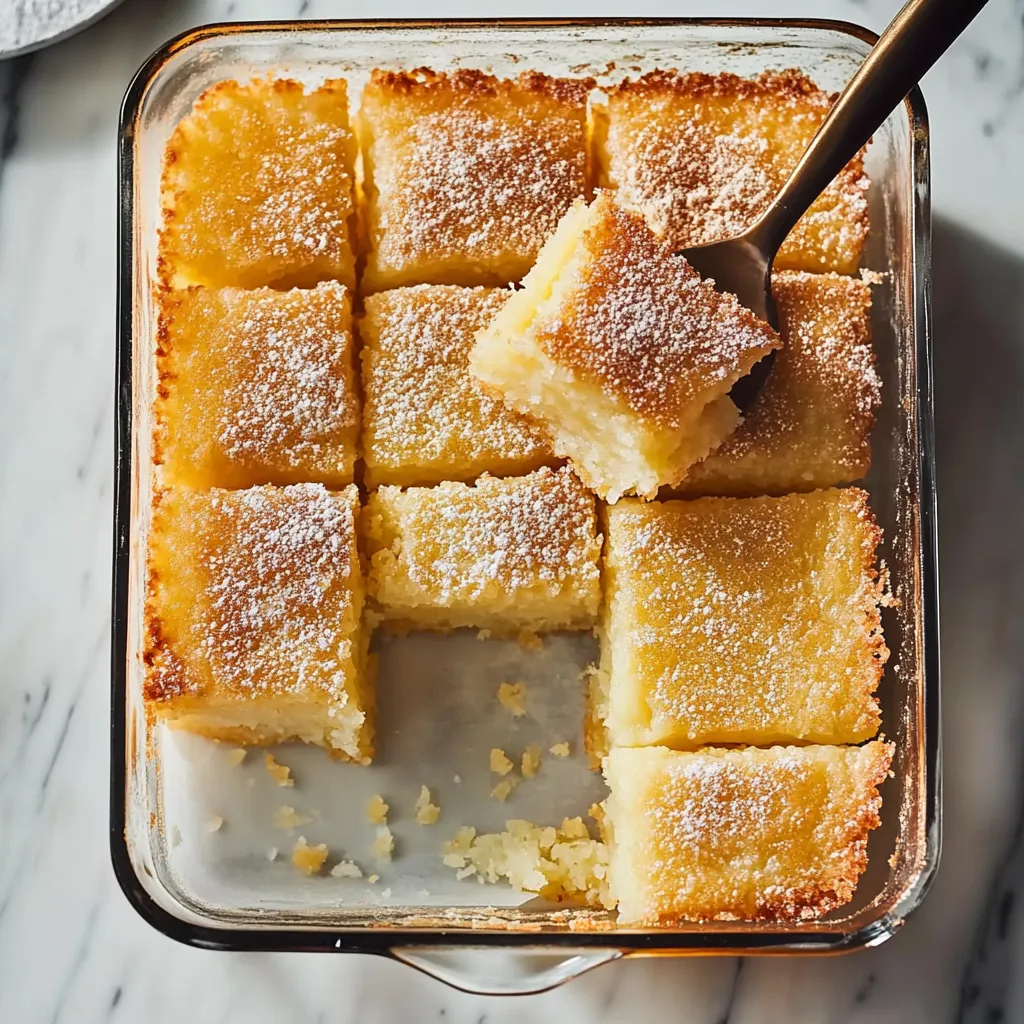
My family particularly treasures the corner pieces, where the edges create an extra chewy texture that perfectly contrasts with the tender center. I've learned to cut these pieces slightly larger to prevent good-natured squabbles over these prized portions.
Achieving Texture Perfection
The secret lies in watching your bake time carefully. The top should become golden brown while the center remains slightly jiggly. A slight wobble when gently shaken means it's ready to come out.
Bringing Flavors Together
Cool your mochi completely on a wire rack for about an hour before cutting. This resting period allows the texture to set properly and makes cutting infinitely easier.
Time Management Tips
Organize your ingredients before starting helps streamline the process beautifully. Having everything measured and ready ensures smooth preparation.
Serving Suggestions
Present your butter mochi cut into generous squares. While traditionally served plain, I love pairing it with fresh tropical fruits for casual gatherings.
Making It Your Own
Experiment with adding subtle flavor variations like almond extract or coconut extract to create your unique version while maintaining the classic texture.
Storage Success
Keep your mochi in an airtight container at room temperature for up to three days. The texture will change slightly but remain delightfully chewy.
 Pin it
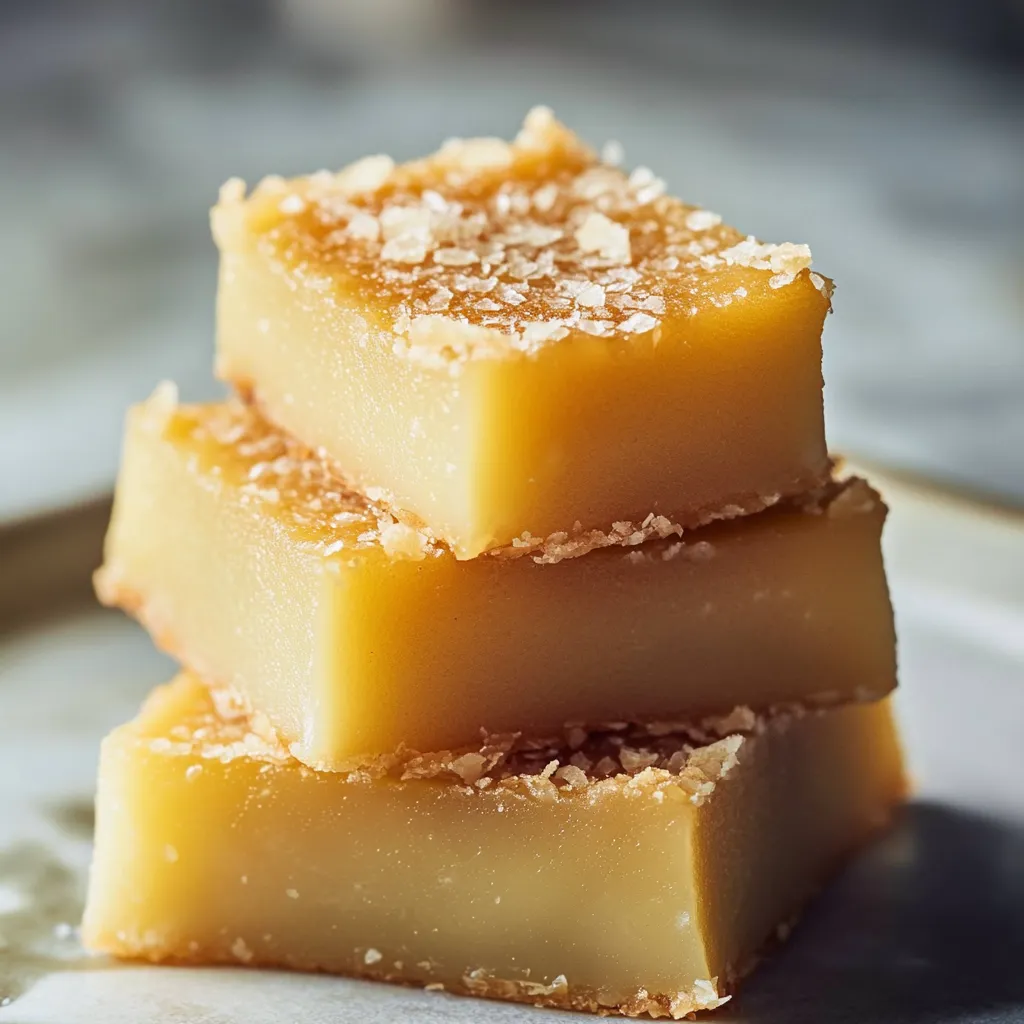
After countless batches of butter mochi throughout my years of baking, this recipe stands as my proudest achievement. The way it brings people together, creating moments of pure joy as they experience that first perfectly chewy bite, makes all the careful attention to detail worthwhile. Whether you're new to Hawaiian desserts or a longtime fan, this butter mochi recipe promises to deliver the authentic taste of aloha in every slice.
Frequently Asked Questions
- → What is mochiko flour and where can I find it?
- Mochiko flour is sweet rice flour, also known as glutinous rice flour. You can find it in Asian grocery stores or in the international aisle of many supermarkets.
- → Why do I need to use a plastic knife to cut the mochi?
- A plastic knife helps prevent sticking when cutting the mochi since the dessert has a very chewy, sticky texture.
- → Can I make this dairy-free?
- You can substitute the regular milk with more coconut milk and use coconut oil instead of butter for a dairy-free version.
- → How should I store butter mochi?
- Store in an airtight container at room temperature for up to 3 days, or in the refrigerator for up to a week.
- → Why did my mochi crack on top?
- Some cracking is normal and won't affect the taste. To minimize cracking, make sure your oven isn't too hot and let the mochi cool gradually.