
 Pin it
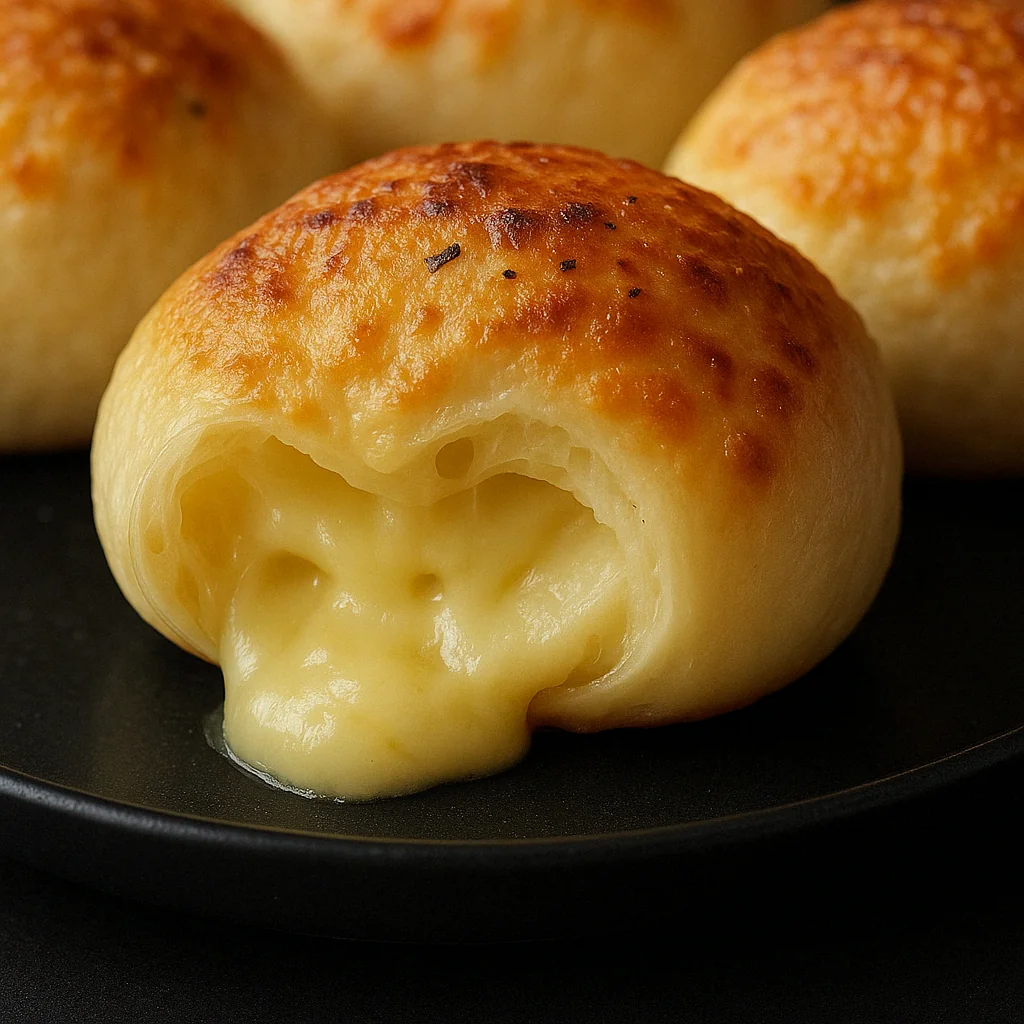
These irresistible golden cheese balls have become my signature party appetizer, stealing the spotlight at every gathering with their crispy exterior and gooey, cheesy center that creates the perfect pull apart moment.
I first made these cheese balls for a spontaneous game night with friends, and they disappeared faster than any store bought appetizer I had ever served. Now they're requested at every gathering, and I always make a double batch.
Ingredients
- Shredded cheddar cheese: provides the sharp, distinctive flavor that forms the backbone of these bites
- Grated mozzarella cheese: delivers that stretchy, photogenic cheese pull that makes these irresistible
- All purpose flour: binds everything together while helping create the perfect texture
- Baking powder: ensures the balls have a slight lightness rather than becoming too dense
- Garlic powder: infuses savory depth throughout every bite without overwhelming the cheese
- Black pepper: adds just enough heat to balance the richness of the cheeses
- Egg: acts as the crucial binder that holds everything together during frying
- Milk: provides moisture and helps create the perfect dough consistency
- Fresh parsley: optional but adds bright color contrast and fresh herbaceous notes
- Breadcrumbs: create that essential golden crispy exterior that shatters perfectly with each bite
- Vegetable oil: with its neutral flavor and high smoke point is ideal for achieving golden perfection
Step-by-Step Instructions
- Create the Cheese Mixture:
- Combine the cheddar and mozzarella cheeses with flour, baking powder, garlic powder, and black pepper in a large bowl. Mix thoroughly until all dry ingredients are evenly distributed throughout the cheese. The flour mixture should coat all the cheese shreds uniformly to ensure proper binding during cooking.
- Form the Dough:
- Pour the beaten egg and milk into the cheese mixture and stir with a wooden spoon or clean hands until everything comes together into a thick, slightly sticky dough. If using the optional parsley, gently fold it in at this stage. The dough should hold together when pressed but still have some elasticity from the cheese.
- Shape the Balls:
- Using a tablespoon or small cookie scoop, portion out the dough and roll between your palms to form balls approximately the size of a walnut, about 1 inch in diameter. Work quickly as the dough becomes harder to shape as the cheese warms in your hands. If the mixture becomes too sticky, refrigerate it for 10 minutes before continuing.
- Coat in Breadcrumbs:
- Roll each cheese ball in breadcrumbs, applying gentle pressure to ensure the crumbs adhere completely to the surface. Place the coated balls on a parchment lined tray, ensuring they don't touch each other. Refrigerate for 15 to 20 minutes to firm up, which is crucial for maintaining their shape during frying.
- Prepare for Frying:
- Heat vegetable oil in a deep, heavy bottomed pan until it reaches 350°F. The proper temperature is critical for these cheese balls to cook correctly. Too cool and they'll absorb excess oil, too hot and they'll brown before the interior melts properly. Use a thermometer for precision if available.
- Fry to Golden Perfection:
- Carefully lower several cheese balls into the hot oil, working in small batches to avoid overcrowding which would lower the oil temperature. Fry for 2 to 3 minutes, gently turning occasionally with a slotted spoon until they achieve an even golden brown color on all sides. The exterior should be crisp and deeply golden.
- Drain and Serve:
- Remove the fried cheese balls using a slotted spoon and transfer to a plate lined with paper towels to absorb excess oil. Allow them to cool slightly for 1 to 2 minutes before serving, as the interior will be molten hot. Serve while still warm to enjoy that perfect melty cheese interior.
The magical moment of cutting into these cheese balls has become a tradition in my home. I distinctly remember my nephew's eyes widening with delight the first time he saw the stretchy cheese pulling from one half to the other. That look of pure joy is why I make these time and again.
Make Ahead Options
These cheese balls can be fully prepared up to the breading stage and refrigerated for up to 24 hours before frying. This makes them perfect for entertaining as you can do most of the work well in advance. Simply arrange the breaded balls on a parchment lined tray, cover loosely with plastic wrap, and refrigerate. When ready to serve, bring them out while heating the oil, then fry as directed. The cold cheese balls may require an extra 30 seconds of frying time, but the results will be just as delicious.
Creative Dipping Sauces
While these cheese balls are certainly delicious on their own, pairing them with the right dipping sauce elevates them to new heights. My personal favorite is a simple marinara sauce warmed gently on the stovetop. The acidity from the tomatoes cuts through the richness of the cheese perfectly. For a spicier option, try a sriracha mayo by combining 1/4 cup mayonnaise with 1 tablespoon sriracha and a squeeze of lime juice. A honey mustard sauce also works wonderfully, offering a sweet and tangy complement to the savory cheese.
Troubleshooting Tips
If your cheese balls are flattening during frying, your dough might be too warm. Ensure they're properly chilled before frying and maintain the correct oil temperature. If cheese is leaking out during frying, your oil is likely too hot or the balls werent completely sealed when forming. Make sure to compact the dough tightly when rolling into balls. For a crispier exterior, you can double dip in egg and breadcrumbs. First coat in breadcrumbs, then dip again in beaten egg and roll in breadcrumbs a second time before refrigerating.
These golden cheese balls effortlessly steal the spotlight with their gooey, cheesy center and addictive crunch.
Frequently Asked Questions
- → Can I use other types of cheese?
Yes, you can substitute or mix other cheeses like parmesan or gouda for unique flavors alongside cheddar and mozzarella.
- → How do I make the cheese balls crispier?
To achieve extra crispiness, double coat the balls in breadcrumbs by dipping them in whisked egg before the second coating.
- → What oil is best for frying?
Use neutral oils with a high smoke point, such as vegetable oil, canola oil, or sunflower oil, for best results.
- → Can I bake these instead of frying?
Yes, place the coated balls on a parchment-lined baking tray and bake at 375°F (190°C) for 15–20 minutes, flipping halfway.
- → Can the cheese balls be frozen?
Yes, freeze the uncooked cheese balls on a tray until firm, then transfer to an airtight bag. Fry them directly from frozen, adding 1–2 minutes to the cooking time.