
 Pin it
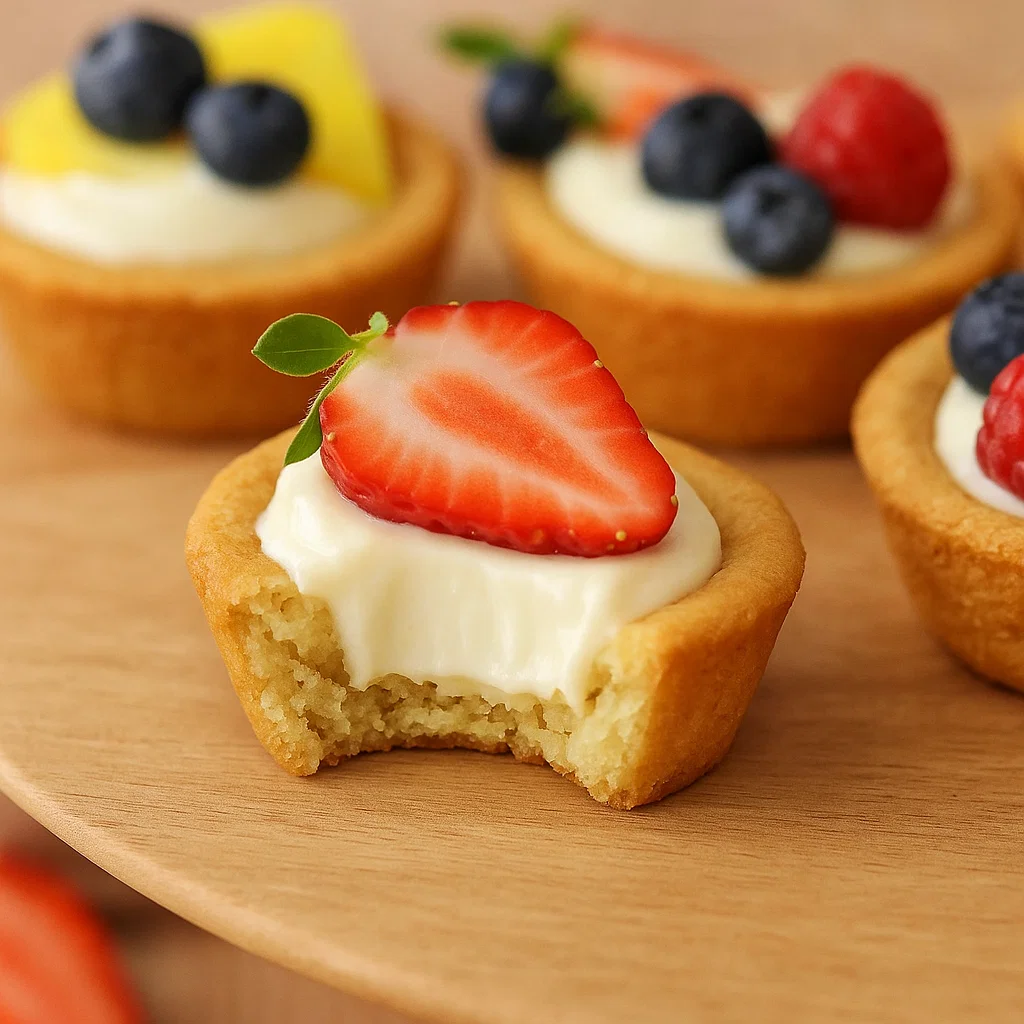
This cheesecake sugar cookie cup recipe transforms classic cookies into adorable dessert vessels filled with creamy cheesecake and topped with fresh fruit. The combination creates a perfect balance of textures and flavors that will impress at any gathering without the fuss of making a traditional cheesecake.
I first made these for my sister's baby shower and they disappeared faster than any other dessert on the table. The colorful fruit toppings create such a beautiful presentation that guests always think I spent hours in the kitchen.
Ingredients
- All purpose flour: Creates the perfect sturdy but chewy cookie base
- Cornstarch: Is the secret ingredient that keeps these cookies soft even after baking
- Room temperature butter: Ensures proper creaming with sugar for the right texture
- Cream cheese: Forms the tangy creamy filling that contrasts beautifully with the sweet cookie
- Fresh fruit: Adds brightness, color, and a healthy touch to balance the richness
Step-by-Step Instructions
- Prepare the cookie cups:
- Start by spraying your cupcake pan thoroughly with non stick spray. This is crucial for easy removal later. Preheat your oven to 350°F to ensure even baking. While small details like this seem minor they make a huge difference in the final result.
- Mix the dry ingredients:
- Combine flour baking soda cornstarch and salt in a medium bowl. Whisking these ingredients separately ensures they distribute evenly throughout the dough. The cornstarch is particularly important as it gives these cookies their signature soft texture.
- Cream butter and sugar:
- Beat the butter and sugar together for a full 2 to 3 minutes until the mixture becomes noticeably lighter in color and fluffier in texture. Many home bakers rush this step but this creaming process incorporates air that helps create the perfect cookie structure.
- Add wet ingredients:
- Mix in the egg and vanilla extract until fully incorporated. The egg provides structure while the vanilla adds warmth and depth to the flavor profile. Be sure to scrape down the sides of your bowl to ensure everything mixes evenly.
- Combine wet and dry ingredients:
- Add the flour mixture to your butter mixture and mix just until combined. Overmixing at this stage will develop too much gluten resulting in tough cookies rather than tender ones. The dough will be thick and slightly sticky.
- Form the cookie cups:
- Take approximately 2 tablespoons of dough and press it into each cupcake well creating a cup shape that extends halfway up the sides. Using your fingers or the back of a measuring spoon helps create an even thickness throughout.
- Bake to perfection:
- Bake for 7 to 10 minutes watching carefully for the edges to turn just slightly golden. The centers may look slightly underdone which is perfect as they will continue cooking from residual heat after removal from the oven.
- Shape and cool:
- After cooling for about 5 minutes in the pan transfer to a cooling rack. If the centers have puffed up use the end of a wooden spoon to gently press down creating more room for the filling. Allow to cool completely before filling.
- Prepare the cheesecake filling:
- Beat room temperature cream cheese with powdered sugar and vanilla until smooth and creamy. Room temperature cream cheese is essential to avoid lumps in your filling. The mixture should be thick enough to hold its shape but soft enough to pipe.
- Assemble and finish:
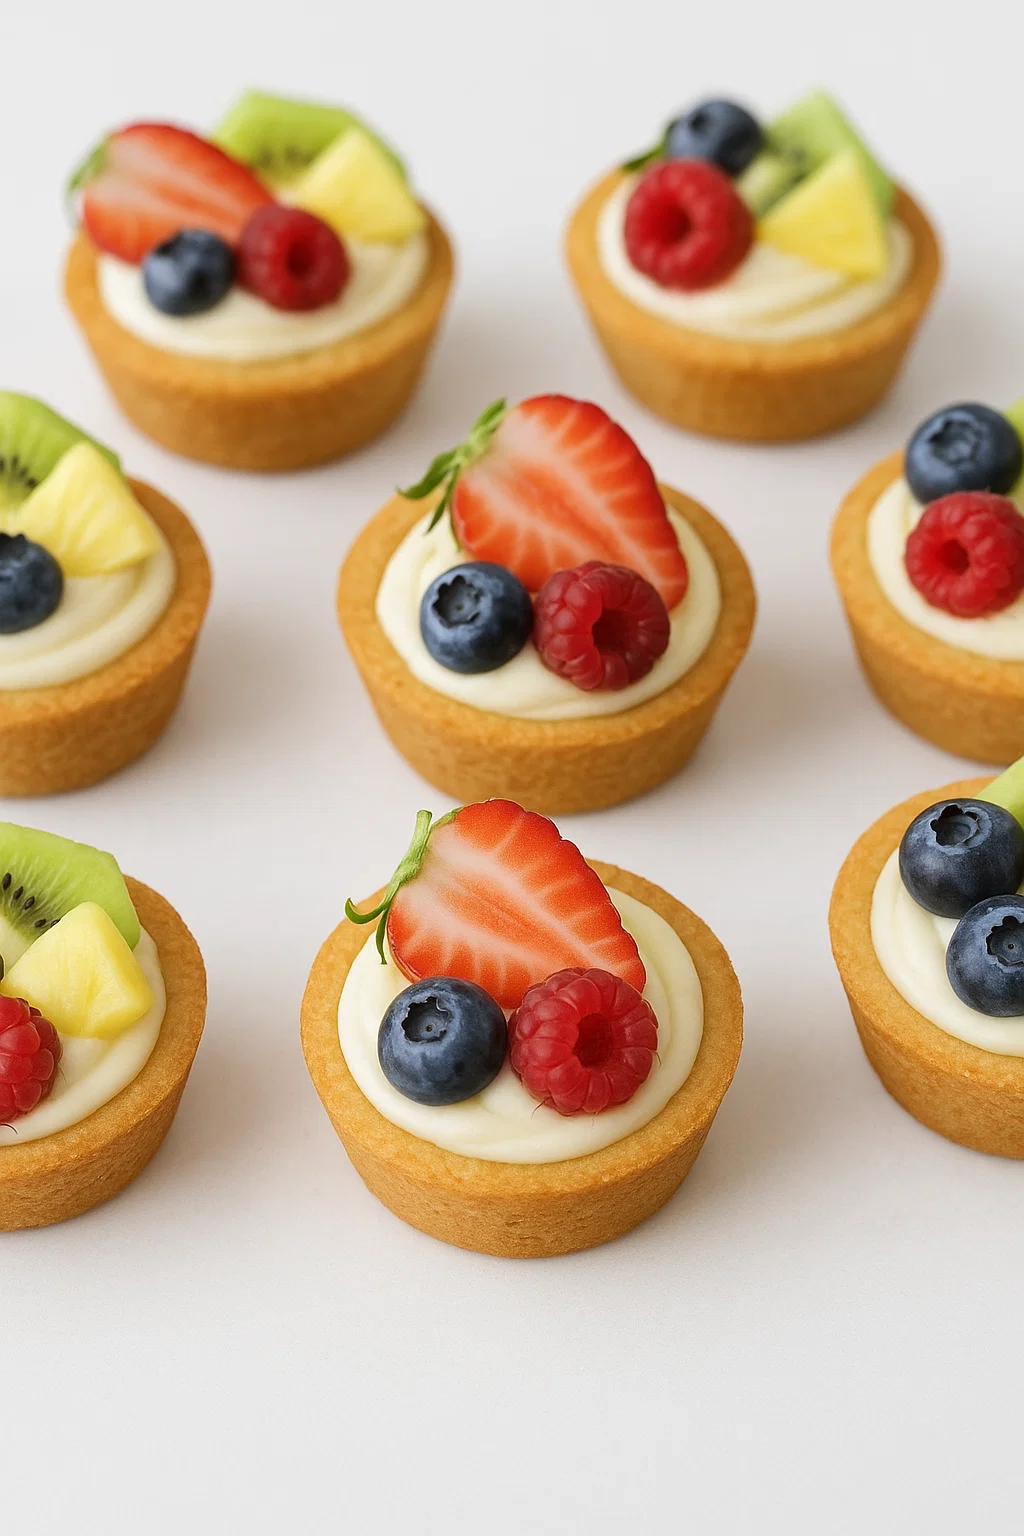
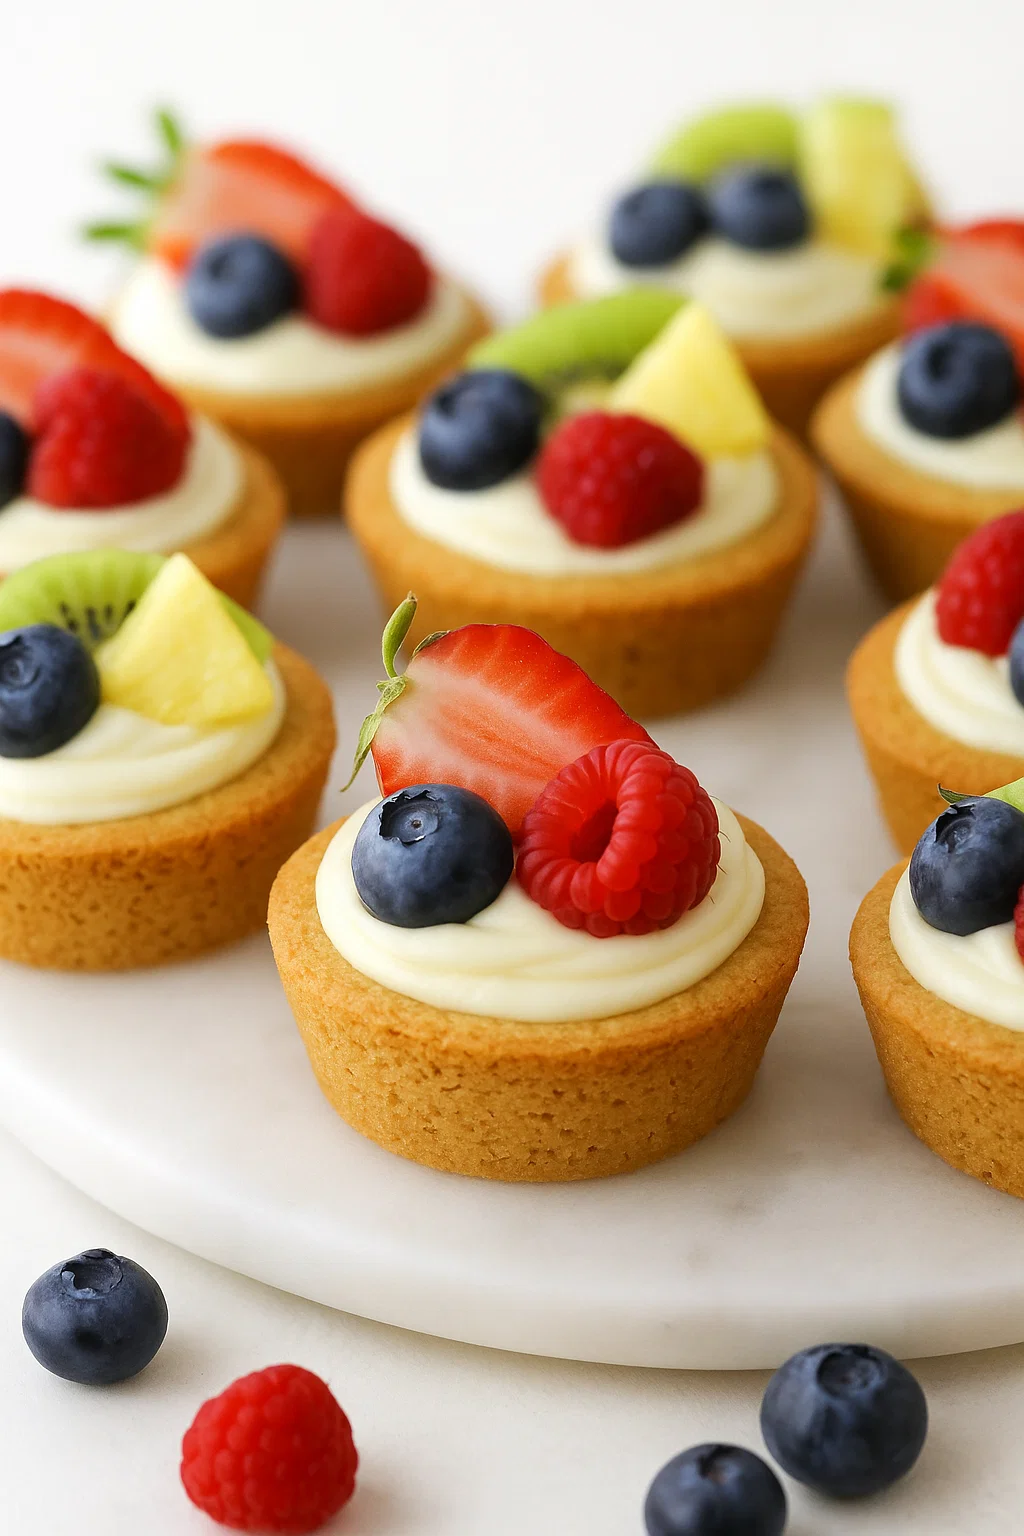
- Fill each cooled cookie cup with the cheesecake mixture either by piping with a pastry bag or simply spooning it in. Top with your choice of fresh fruits arranging them in an attractive pattern. The brightness of berries pairs particularly well with the creamy filling.
 Pin it
These cookie cups remind me of summer afternoons spent picking berries with my grandmother. She taught me that the simplest desserts often make the most lasting impressions especially when made with seasonal fresh ingredients and a bit of love.
Make Ahead Options
These cookie cups work wonderfully for entertaining because you can break the preparation into stages. The unfilled cookie cups can be baked up to 3 days in advance and stored in an airtight container at room temperature. The cheesecake filling can be made 1 day ahead and refrigerated separately. Simply bring the filling to room temperature for about 20 minutes before piping for easier handling then top with fresh fruit just before serving.
Fruit Selection Tips
While any fresh fruit works beautifully atop these cookie cups consider both flavor and practicality when making your selections. Berries like strawberries raspberries and blueberries offer vibrant colors without excess moisture. Kiwi provides stunning green contrast but slice it thinly and pat dry with paper towels to prevent sogginess. Avoid very juicy fruits like watermelon or overly ripe peaches which can make the filling runny. For special occasions try arranging the fruit in patterns or creating an ombré effect with different colored berries.
 Pin it
Creative Variations
The versatility of this recipe allows for countless personalized adaptations. For a chocolate version add 1/4 cup cocoa powder to the cookie dough and reduce the flour by the same amount. During fall replace the fruit with a sprinkle of cinnamon and tiny cubes of cooked apples tossed in caramel. For a tropical twist fold 1/2 teaspoon coconut extract into the filling and top with diced mango and pineapple. You can even turn these into holiday treats by coloring the filling with food coloring and using seasonal fruit or sprinkles that match your celebration theme.
Frequently Asked Questions
- → Can I make the cookie cups ahead of time?
Yes, the cookie cups can be baked a day or two in advance. Store them in an airtight container at room temperature and add the cheesecake filling and fruit just before serving.
- → What fruits work best as toppings?
Fresh fruits like strawberries, blueberries, kiwi, raspberries, or mango work wonderfully. Choose fruits that are firm and do not release too much juice.
- → Can I use a different filling instead of cheesecake?
Yes, you can use whipped cream, chocolate mousse, or a yogurt-based filling if preferred. Adjust sweetness to your taste.
- → How should I store the assembled cookie cups?
Store the assembled cookie cups in an airtight container in the fridge for up to 3-4 days. The freshness of the fruit may vary, so it's best to consume them sooner.
- → Can I freeze the cookie cups?
The cookie cups can be frozen without the filling. Once cooled, wrap them tightly in plastic wrap and store in an airtight container. Thaw and add filling and fruit when ready to serve.
- → How do I prevent the cookie cups from losing their shape?
When shaping the dough in the cupcake pan, ensure an even thickness around the edges. If the center rises during baking, press it down gently while warm using the back of a spoon.