 Pin it
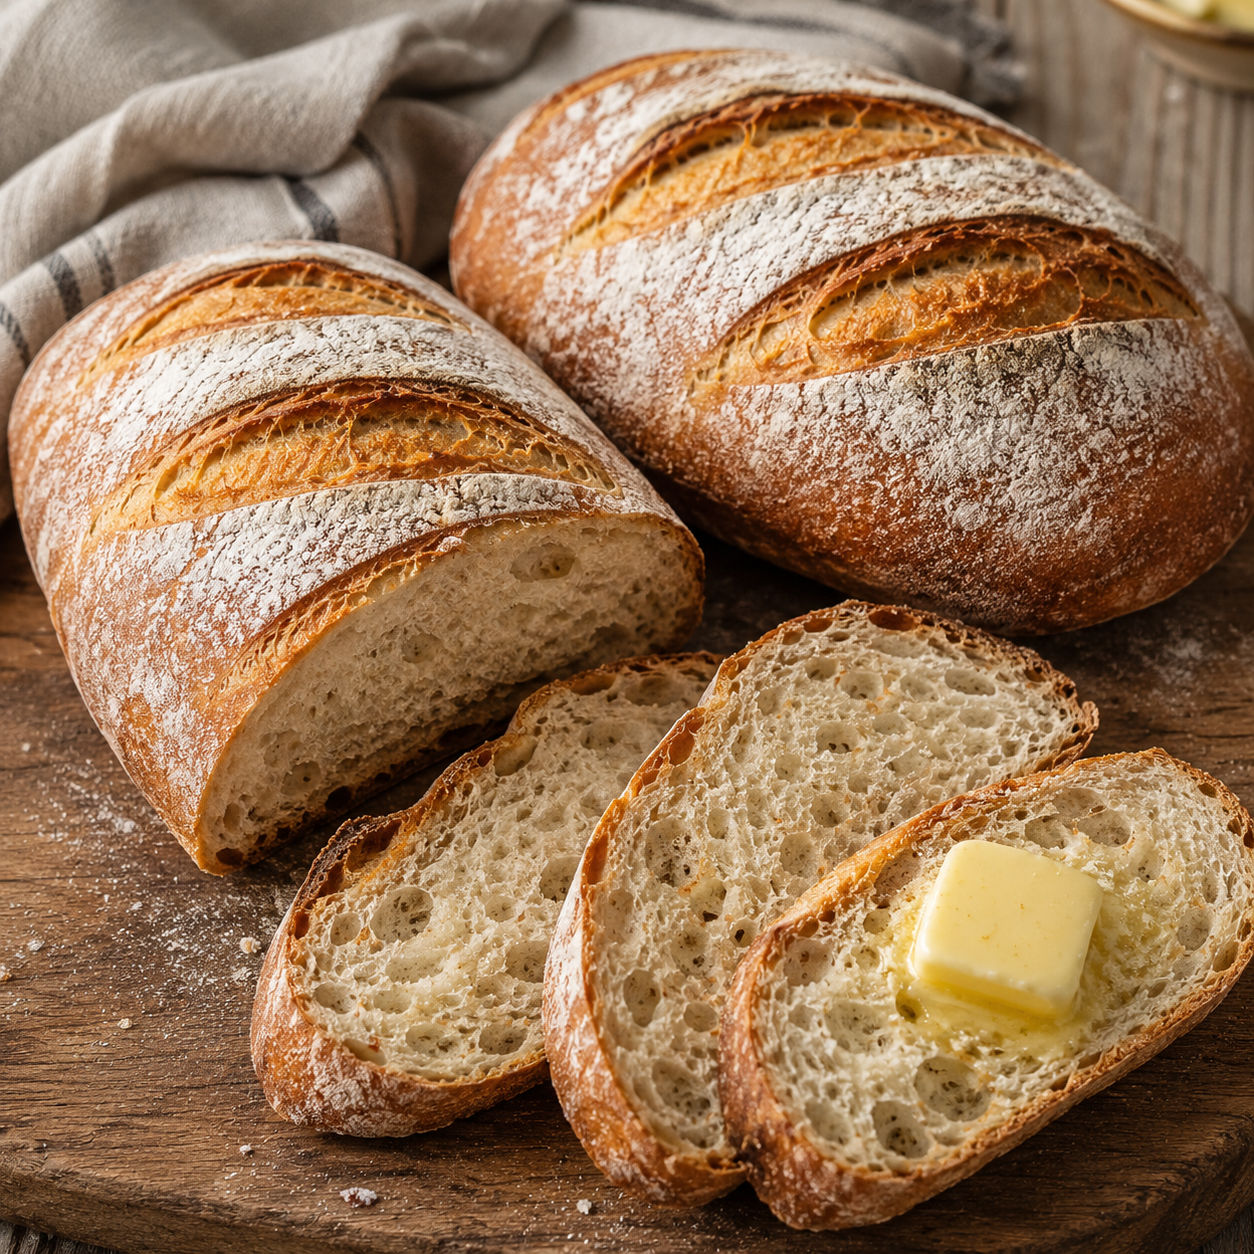
This easy recipe for making delicious homemade bread is the one I reach for when I want real bread without a fussy starter or special pan. The dough starts rough and sticky, then turns smooth under your hands in a few minutes.
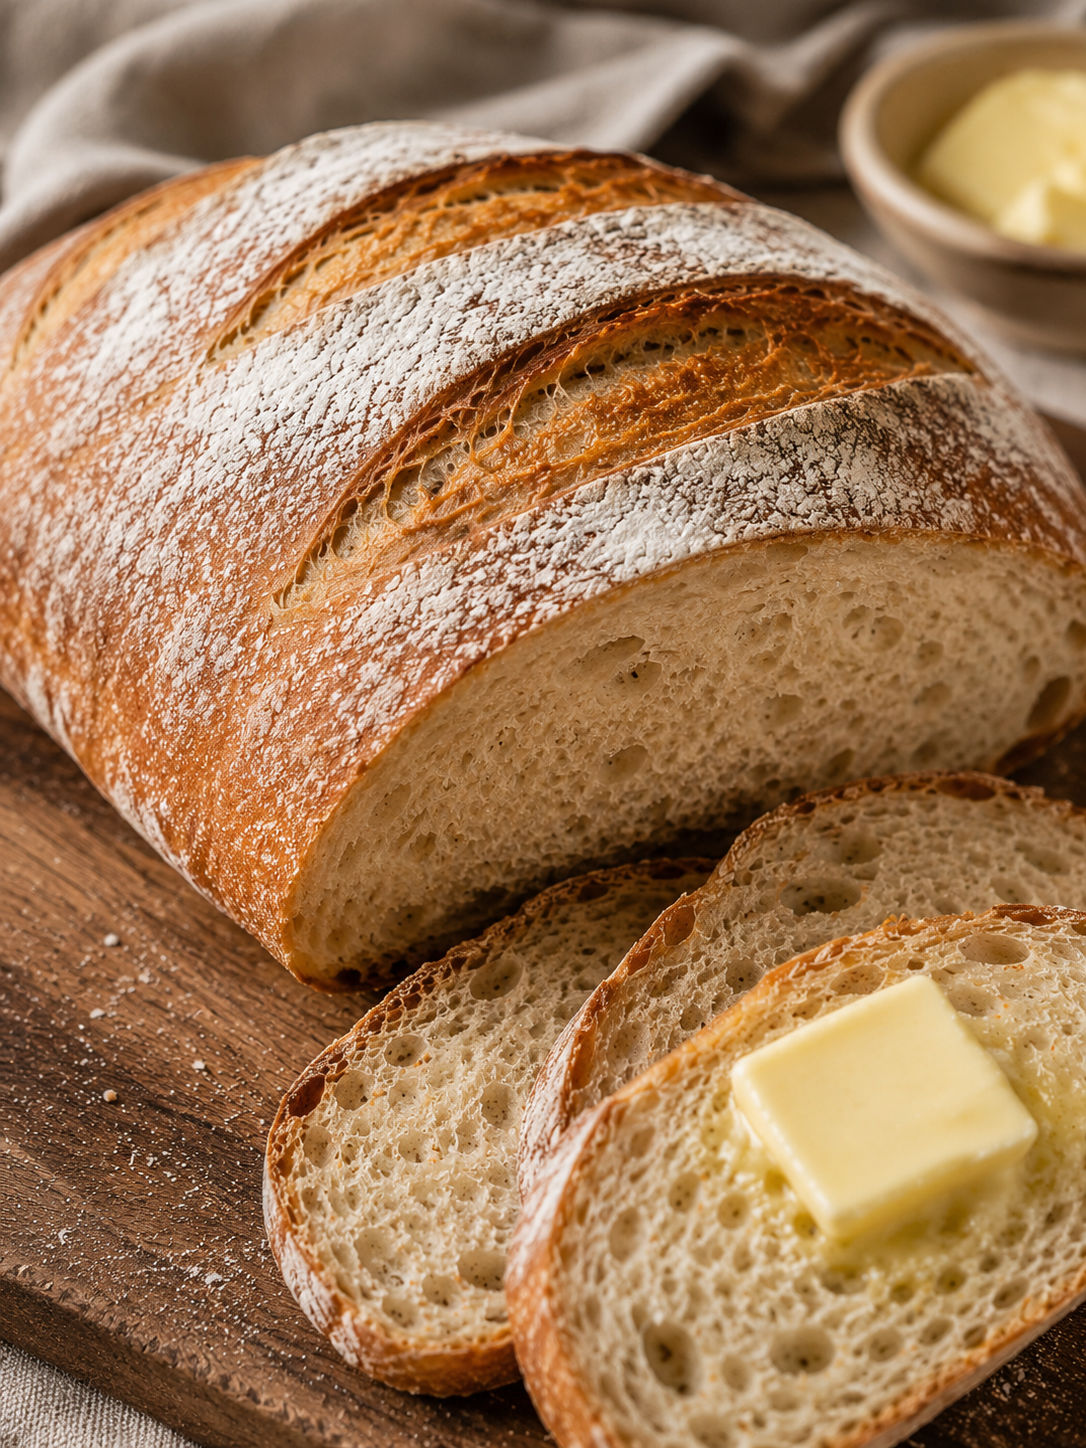
You get two rustic loaves with a crisp crust and a soft, chewy middle. They slice well for toast, tear nicely beside soup, and make the kitchen smell like you did more work than you actually did.
What Makes The Loaf Work
The ingredient list is short, so each piece matters. Use fresh yeast, warm water, and flour that has enough strength to build a chewy crumb.
- Bread flour. Builds structure and gives the loaf its chewy bite. All-purpose flour works too, but the bread will be a little softer.
- Instant yeast. Lifts the dough without needing a separate proofing step. Fresh yeast makes the rise faster and more dependable.
- Granulated sugar. Feeds the yeast and helps the crust brown without making the bread taste sweet.
- Fine salt. Seasons the dough and keeps the yeast from racing too fast.
- Warm water. Hydrates the flour and wakes up the yeast. It should feel warm, not hot.
- Olive oil. Keeps the crumb tender and adds a light savory note.
- Cornmeal. Dusts the pan so the loaves release cleanly and get a little crunch underneath.
Shape, Rise, And Bake
- Mix the dough. Stir flour, yeast, sugar, and salt in a large bowl, then add warm water and olive oil. Mix until no dry patches remain and the dough looks shaggy.
- Knead until smooth. Turn the dough onto a lightly floured counter and knead for 6-8 minutes. It should feel elastic and slightly tacky, not dry.
- Let it rise. Place the dough in an oiled bowl, cover it, and let it rise until doubled. This usually takes 1-1 1/2 hours.
- Form two loaves. Gently press out the air, divide the dough in half, and shape each piece into a short log. Set them on a cornmeal-dusted baking sheet.
- Proof and slash. Cover loosely and let the loaves puff for 35-45 minutes. Dust with flour and make a few shallow diagonal cuts on top.
- Bake until golden. Bake at 425°F for 25-30 minutes, until the crust is well browned and the loaves sound hollow. Cool on a rack before slicing.
Keep The Dough Tacky
The biggest mistake with beginner bread is adding too much flour. A good dough should cling a little to your fingers at first. As you knead, the flour absorbs water and the surface gets smoother. If you keep dusting the counter every time it sticks, the finished loaf turns tight and dry.
Use just enough flour to keep the dough moving. A bench scraper helps more than another handful of flour. If you like this style of everyday loaf, the site already has a classic bread recipe that follows a similar simple rhythm.
The Rise Tells You More
Timing is useful, but the dough is in charge. A warm kitchen can double the dough in an hour. A cool room may need closer to two. Look for dough that has grown noticeably and feels airy when you press it gently.
For the second rise, do not wait for the loaves to double completely. They should look puffy and spring back slowly when touched. If they collapse under your finger, they have gone too far. King Arthur Baking has a helpful ingredient weight chart if you prefer measuring flour by grams for more consistent dough.
Crust Without A Dutch Oven
You can make good crusty homemade bread on a regular sheet pan. The key is heat and a little steam at the start. Put a metal pan on the lower oven rack while the oven preheats. When the loaves go in, pour in a cup of hot water and close the door quickly.
The steam keeps the surface flexible for the first few minutes, so the bread can expand before the crust sets. That is what gives you a higher loaf and those pretty slashes on top. If you want a flatter stovetop bread for wraps or dipping, try easy homemade naan bread next.
Serve It While It Shines
Warm bread is hard to resist, but give it at least 20 minutes before slicing. The crumb finishes setting as it cools. Cut too soon and the inside can turn gummy, even when the loaf is fully baked.
Serve thick slices with butter, jam, soup, stew, or a swipe of garlic sauce. Day-old slices make sturdy toast, grilled cheese, and croutons. For something more loaded and snacky, this loaf sits nicely beside cheesy garlic bread or a pan of sourdough discard focaccia bread.
Storage That Keeps Texture
Once the bread is fully cool, wrap it in a clean towel or keep it in a paper bag if you like a crisp crust. For a softer crust, use a plastic bag. Either way, room temperature is better than the refrigerator, which dries bread out quickly.
Freeze what you will not eat within 2 days. I like to slice one loaf first, then freeze the slices with parchment between small stacks. They go straight into the toaster and taste much fresher than bread that sat on the counter all week.
Summary
Homemade bread is mostly patience. Keep the dough slightly tacky, give it time to rise, and cool it before slicing for the best texture.
FAQs
- Can I use all-purpose flour instead of bread flour?
Yes. Bread flour gives a chewier crumb and a higher rise, but all-purpose flour still makes a good loaf. Start with the lower amount of flour and add more only if the dough is too wet to handle.
- Can I use active dry yeast?
Yes. Use the same amount as instant yeast. If your yeast is older, stir it into the warm water with the sugar and let it sit for 5-10 minutes until foamy before mixing the dough.
- Why did my bread not rise?
The usual causes are old yeast, water that was too hot, or a cold kitchen. Yeast likes warm water around 100°F to 110°F. If the room is chilly, let the dough rise in a turned-off oven with the light on.
- How do I know homemade bread is fully baked?
The crust should be deep golden and the loaf should sound hollow when tapped on the bottom. For the most reliable check, use an instant-read thermometer. The center should be about 190°F.
- How should I store homemade bread?
Keep the cooled loaf wrapped at room temperature for 2 days. For longer storage, slice it and freeze it in a sealed bag. Toast slices straight from frozen or thaw them at room temperature.
- Can I make this dough ahead?
Yes. After the first rise, shape the loaves and refrigerate them covered overnight. Let them sit at room temperature while the oven heats, then bake when they look puffy.
- Can I turn this into rolls?
Yes. Divide the dough into 12-16 pieces after the first rise, shape them into tight balls, and let them rise until puffy. Bake at 425°F for about 15-18 minutes, depending on size.
