
 Pin it
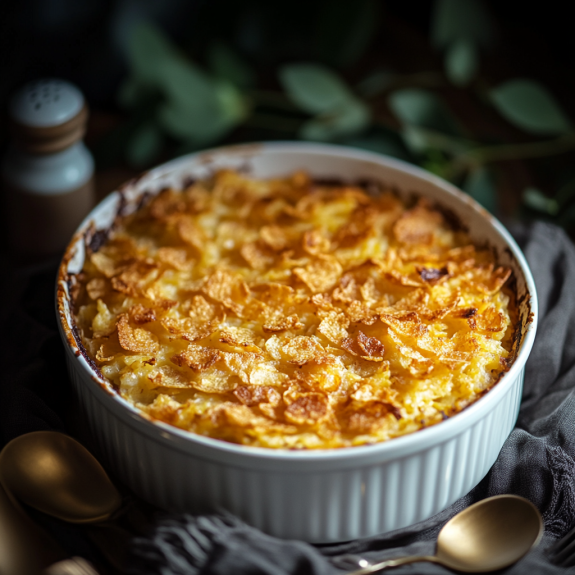
This hash brown casserole has been my absolute favorite potluck contribution for years, always disappearing first at family gatherings. The combination of creamy potatoes with that irresistible crunchy topping creates the ultimate comfort food that pleases everyone from picky kids to discerning adults.
I first made this casserole for a Christmas morning breakfast when I was desperate for something that would feed my entire extended family. The dish was such a hit that it's now expected at every holiday gathering we have.
- Frozen shredded hash browns: these provide the perfect texture and save significant prep time
- Shredded cheddar cheese: use a sharp variety for more pronounced flavor
- Cream of chicken soup: creates a rich base for the casserole
- Sour cream: adds tanginess and creaminess to balance the dish
- Onion powder: provides aromatic flavor without the texture of fresh onions
- Salt and pepper: essential for enhancing all other flavors
- Butter: enriches the entire dish and helps crisp the topping
- Corn flakes: create the signature crunchy top layer that makes this dish special
Step-by-Step Instructions
- Prepare the Oven:
- Preheat your oven to 350 degrees Fahrenheit. This moderate temperature allows the casserole to cook through evenly without burning the topping. Take a moment to lightly grease a 9×13 inch baking pan, ensuring every corner is coated to prevent sticking.
- Mix the Base:
- In a large bowl, combine your thawed hash browns, shredded cheddar cheese, cream of chicken soup, sour cream, onion powder, salt, pepper, and half cup of melted butter. Stir thoroughly until every ingredient is evenly distributed. The mixture should have a consistent appearance with no pockets of single ingredients. Transfer this mixture to your prepared baking pan, spreading it evenly to all corners.
- Create the Crispy Topping:
- In a separate bowl, gently crush the corn flakes using your hands. You want pieces small enough to form a cohesive topping but not so crushed that they lose their texture. Pour the remaining quarter cup of melted butter over the crushed corn flakes and toss until every piece is lightly coated. This butter coating ensures your topping will become golden and crispy. Distribute this mixture evenly across the top of your hash brown mixture.
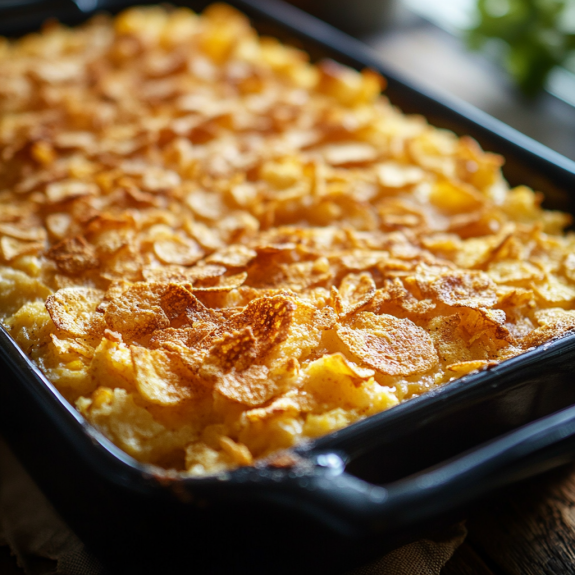
- Bake to Perfection:
- Cover the dish with aluminum foil and bake for 45 minutes. The foil prevents the topping from burning while the casserole cooks through. After this initial cooking period, remove the foil and continue baking for an additional 5 to 10 minutes. Watch carefully during this final stage until the corn flakes achieve a beautiful golden brown color and crispy texture.
 Pin it
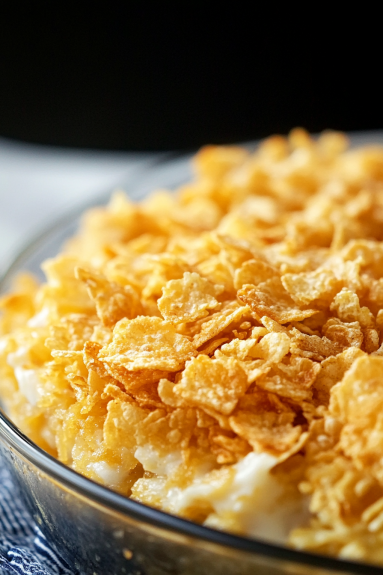
The humble corn flake topping is what truly elevates this dish from good to unforgettable. My grandmother first introduced me to this technique decades ago, claiming it was her secret to getting even vegetable-hating kids to clean their plates at church potlucks. To this day, I still feel a wave of nostalgia whenever that distinctive crunch gives way to the creamy potato mixture beneath.
Make It Your Own
This versatile casserole welcomes customization. You can transform it by adding diced ham, crumbled bacon, or browned sausage for a protein boost. Vegetarians might enjoy mixing in sautéed mushrooms or bell peppers. For those who enjoy heat, adding a dash of hot sauce or diced jalapeños to the base mixture creates a delightful kick that contrasts beautifully with the creamy elements.
 Pin it
Storage Solutions
Leftovers of this hash brown casserole maintain their quality surprisingly well. Store any remaining portions in an airtight container in the refrigerator for up to three days. When reheating, use a conventional oven rather than a microwave if possible. This helps maintain some of the textural contrast between the creamy base and crispy topping. For best results, reheat covered at 325 degrees for about 20 minutes, then uncover for the final 5 minutes to re-crisp the topping.
Make-Ahead Magic
One of the greatest advantages of this casserole is its make-ahead flexibility. Prepare the entire base mixture and store it covered in the refrigerator for up to 24 hours before baking. Keep the corn flake topping separate in a plastic bag or container until just before baking. For longer storage, the assembled base can be frozen for up to three months. When ready to serve, allow it to thaw overnight in the refrigerator, add the fresh corn flake topping, and bake as directed, adding about 10 extra minutes to the covered baking time.
Holiday Tradition
This casserole has deep roots in American midwestern cuisine, where it frequently appears at holiday tables, family reunions, and church suppers. Its popularity exploded in the 1950s when convenience foods like frozen potatoes and condensed soups became widely available. The genius combination of these items created a dish that was both accessible and comforting. Today, this recipe continues to be passed down through generations, with each family adding their own special touches.
Frequently Asked Questions
- → Can I use fresh potatoes instead of frozen hash browns?
Yes! Grate fresh potatoes and soak them in water to remove excess starch. Drain and pat dry before using in the recipe.
- → Can I replace cream of chicken soup for a vegetarian option?
Absolutely! Use cream of mushroom soup or make a homemade roux with vegetable broth and milk for a vegetarian-friendly substitute.
- → How do I ensure the topping stays crispy?
To keep the corn flakes crispy, bake uncovered for the last 10 minutes of cooking and avoid adding too much butter.
- → Can I make this casserole ahead of time?
Yes! Assemble the casserole without the topping and store it in the refrigerator. Add the topping and bake when ready to serve.
- → What other toppings can I use instead of corn flakes?
You can substitute corn flakes with crushed crackers, breadcrumbs, or even crispy fried onions for a different texture.
- → How long does the casserole last in the fridge?
Store leftovers in an airtight container in the refrigerator for up to 3 days. Reheat in the oven or microwave before serving.