 Pin it
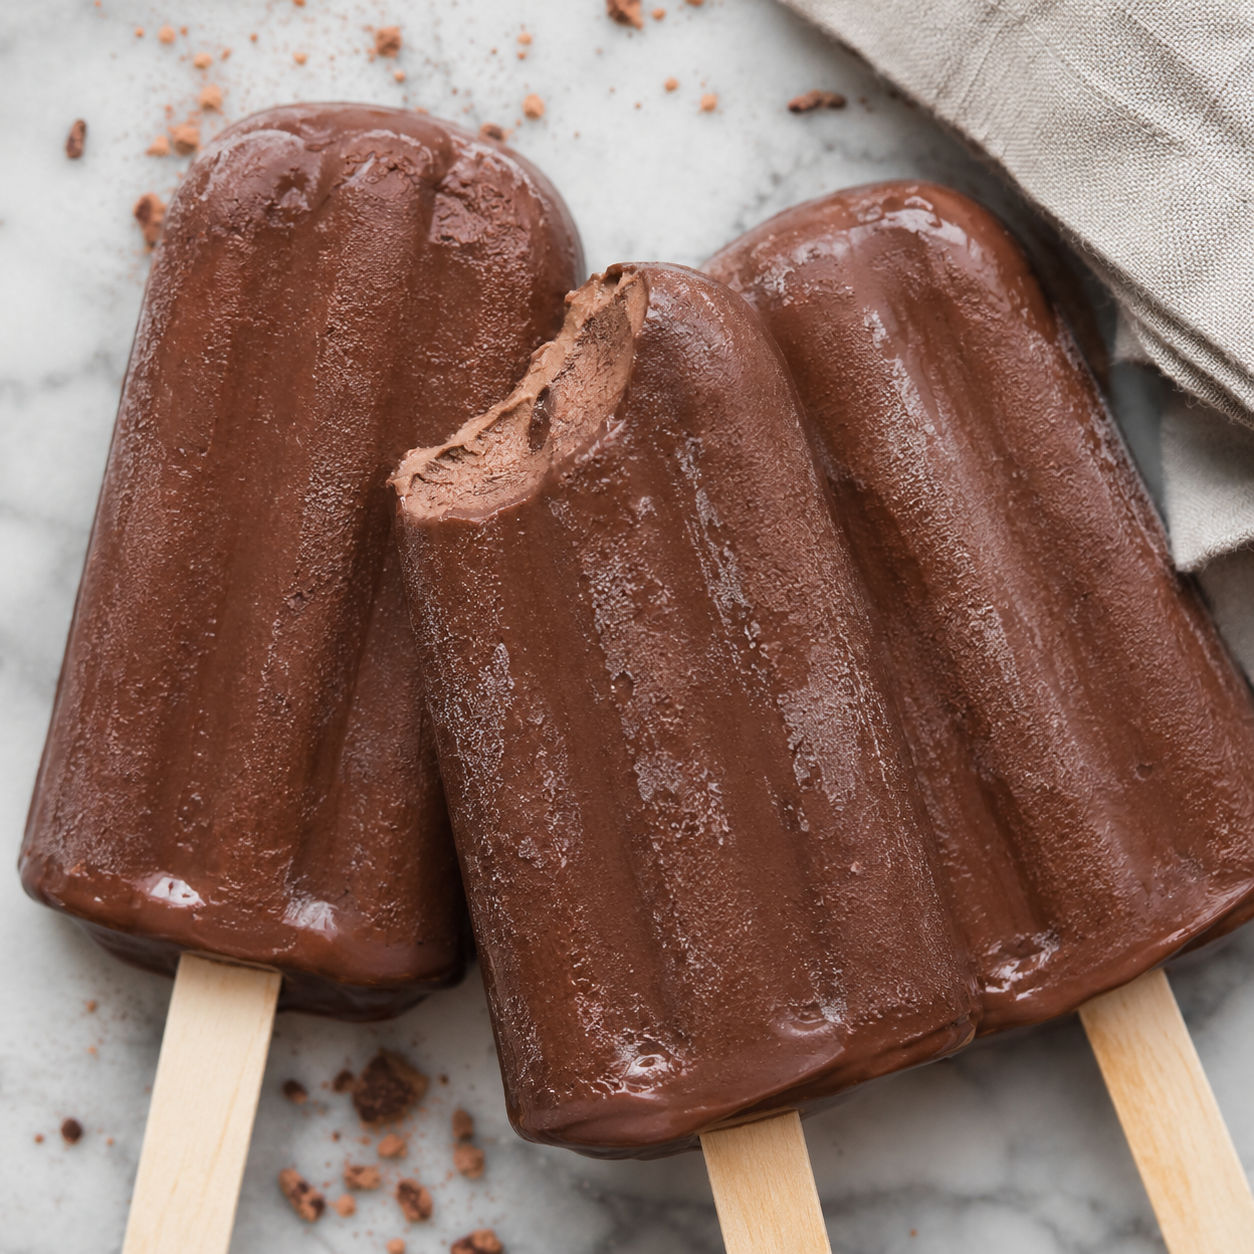
These easy creamy chocolate popsicles with three ingredients are the kind of freezer treat I make when I want dessert handled before dinner even starts. The mixture takes about ten minutes, then the freezer does the rest.
Coconut cream gives them body. Sweetened condensed coconut milk keeps them smooth and scoop-shop rich. Cocoa powder brings the deep chocolate flavor without needing melted chocolate or a long ingredient list.
Three-Ingredient Chocolate Base
Use the richest coconut cream you can find and shake or stir it well before measuring. Cocoa powder should smell bold and chocolatey, not dusty or flat.
The sweetened condensed coconut milk is doing more than sweetening. It helps the popsicles freeze with a softer bite instead of turning into chocolate ice.
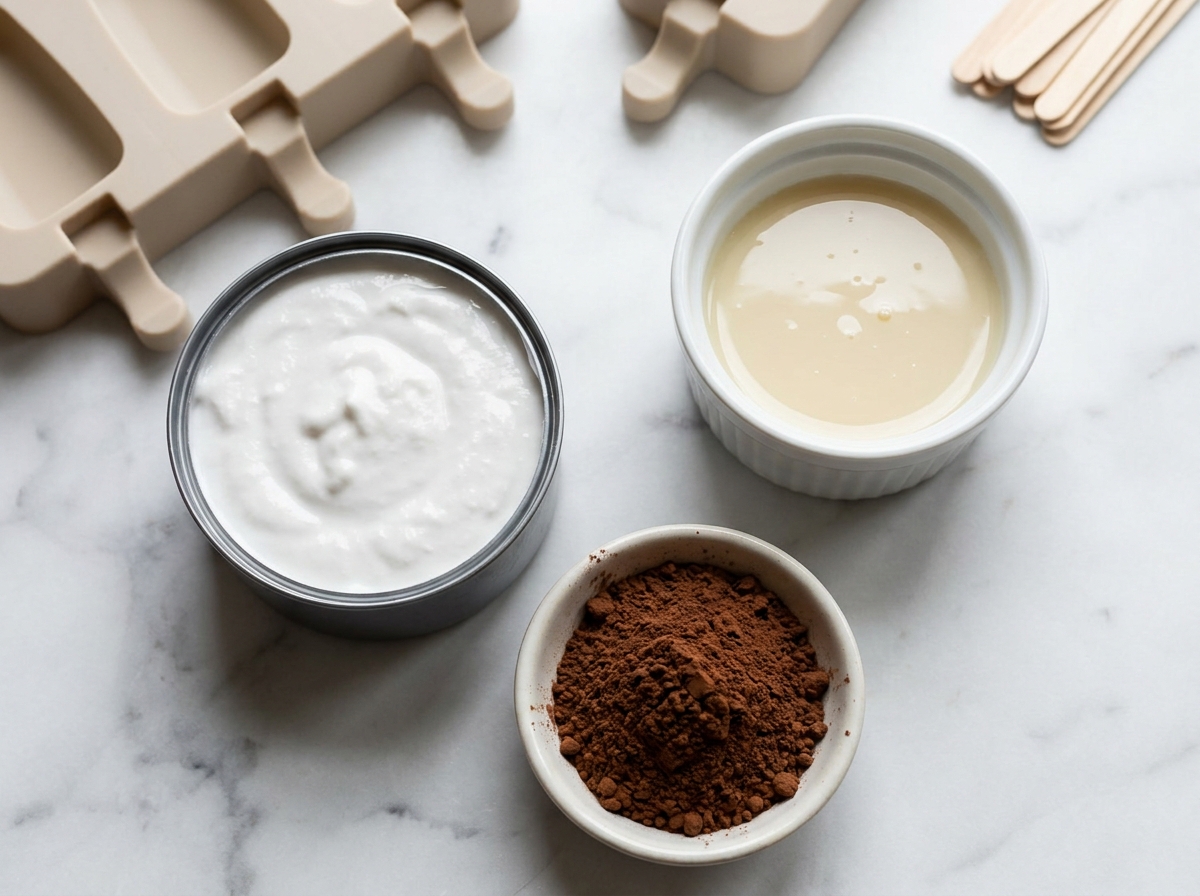
- Coconut cream. Gives the popsicles their rich body and keeps the frozen texture creamy.
- Sweetened condensed coconut milk. Adds sweetness and helps the popsicles freeze with a fudgy bite.
- Cocoa powder. Brings deep chocolate flavor without adding extra fat or chunks.
Freeze Them Smooth
- Whisk the base. Add the coconut cream, sweetened condensed coconut milk, and cocoa powder to a small saucepan. Whisk until the cocoa is mostly absorbed.
- Warm gently. Set the pan over low heat for 3-5 minutes, whisking often, until the mixture looks glossy and pourable. Do not boil it.
- Fill the molds. Pour the chocolate mixture into popsicle molds, leaving a little space at the top for expansion. Insert sticks and tap the mold to release air bubbles.
- Freeze solid. Freeze for at least 4 hours, or until the popsicles feel firm all the way through.
- Unmold and serve. Dip the outside of the mold briefly in warm water, then pull gently. Let the popsicles sit for 1 minute before eating for the creamiest bite.

Why Warming Helps
You are not cooking the mixture like pudding. You are only warming it enough to dissolve the cocoa into the fat and sugar. That small step makes the finished popsicles smoother and darker.
If you skip the heat, the cocoa can cling in tiny dry specks. A blender can fix that too, but a saucepan gives you more control and fewer dishes if your cocoa is stubborn. For a spoonable chocolate dessert with a similar creamy feel, try thick creamy chocolate protein pudding.
The Best Mold Size
This recipe makes about 8 standard popsicles. If your molds are small, you may get 10. If they are wide and thick, expect 6.
Silicone molds release the easiest. Rigid plastic molds work too, but they need a quick dip in warm water. Do not soak them for too long or the outer layer will melt before the center loosens.
Flavor Tweaks That Work
The base is intentionally simple, but it can handle a few small changes. A pinch of fine salt makes the chocolate taste stronger. A splash of vanilla rounds out the cocoa. Neither is required, so leave them out if you want a strict three-ingredient recipe.
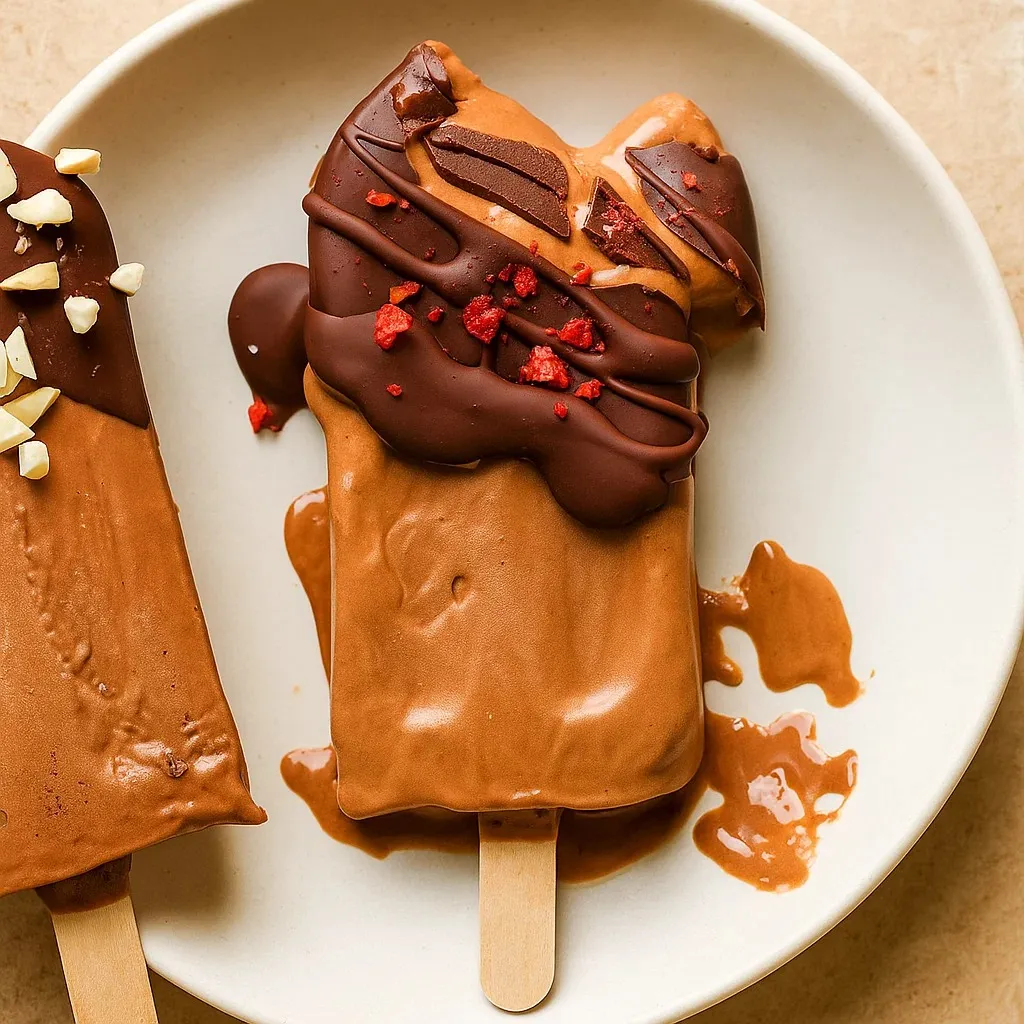
For a more dessert-shop finish, dip the frozen pops in melted dark chocolate and return them to the freezer for a few minutes. That moves the recipe beyond three ingredients, but it is good for parties. If chocolate treats are your thing, dark chocolate raspberry bites are another easy freezer-friendly option.
Storage Without Freezer Burn
Once the popsicles are frozen hard, unmold them and wrap each one in parchment or plastic wrap. Slide them into an airtight freezer bag and press out extra air. This protects the surface from ice crystals and freezer smells.
The USDA freezing guide is helpful if you want a refresher on freezer safety. For best flavor, eat these within 2 weeks.
Serving Them Just Right
These taste best after a short rest at room temperature. One minute is usually enough. The outside softens slightly and the cocoa flavor comes forward.
Serve them after grilled dinners, with berries, or beside a small cookie plate. For a richer chocolate spread, pair them with moist chocolate cupcakes and keep the popsicles as the cold bite on the table.
Summary
Keep the base smooth, freeze it fully, and let each pop sit at room temperature for a minute before eating for the creamiest texture.
FAQs
- Can I make these chocolate popsicles without coconut cream?
Yes, if you do not need them dairy-free. Heavy cream gives a very similar creamy texture. Full-fat Greek yogurt also works, but the popsicles will taste tangier and a little less fudgy.
- Can I use regular sweetened condensed milk?
Yes. Regular sweetened condensed milk works in the same amount as condensed coconut milk. The popsicles will no longer be dairy-free or vegan, but they will still freeze creamy.
- Why are my popsicles icy instead of creamy?
The usual cause is a low-fat base or cocoa that was not fully blended. Use full-fat coconut cream and whisk until the cocoa is completely smooth. A brief warm-up on low heat helps the fat, sugar, and cocoa come together.
- How long do homemade chocolate popsicles take to freeze?
Plan on at least 4 hours for standard molds. Thicker molds may need 6 hours. If the stick wiggles when you tug gently, give them more time.
- How long can I store these in the freezer?
They taste best within 2 weeks. Once frozen solid, unmold them and wrap each one or store them in an airtight freezer bag. The USDA notes that freezing keeps food safe when held properly, but quality drops over time.
- Can I add mix-ins and still keep the texture smooth?
Small additions work best. Try mini chocolate chips, finely chopped toasted almonds, or a tiny pinch of salt. Avoid watery fruit pieces because they freeze hard and can make the popsicle feel icy.
- What can I serve with chocolate popsicles?
They are good on their own, but fresh raspberries, sliced strawberries, or a small bowl of crushed cookies make them feel more like dessert. For another cold, creamy option, try creamy protein pudding.
