 Pin it
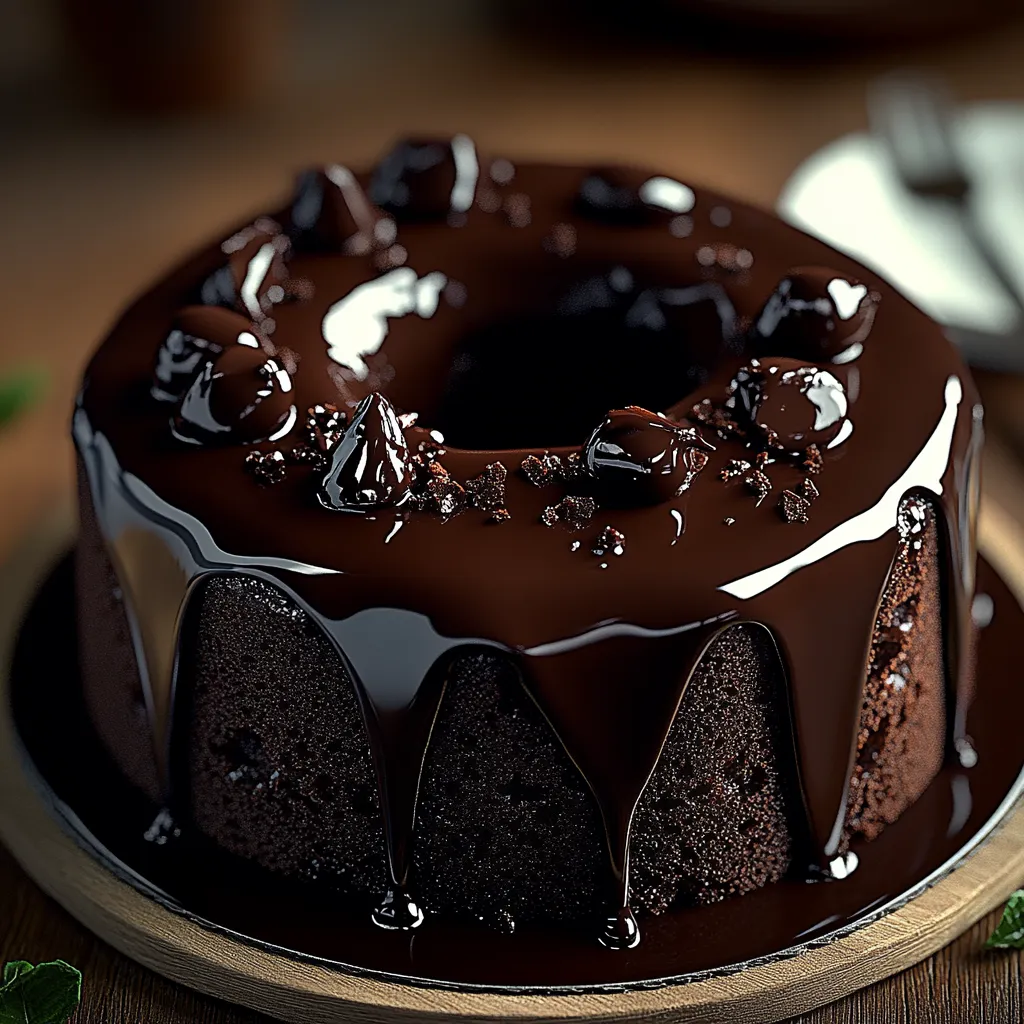
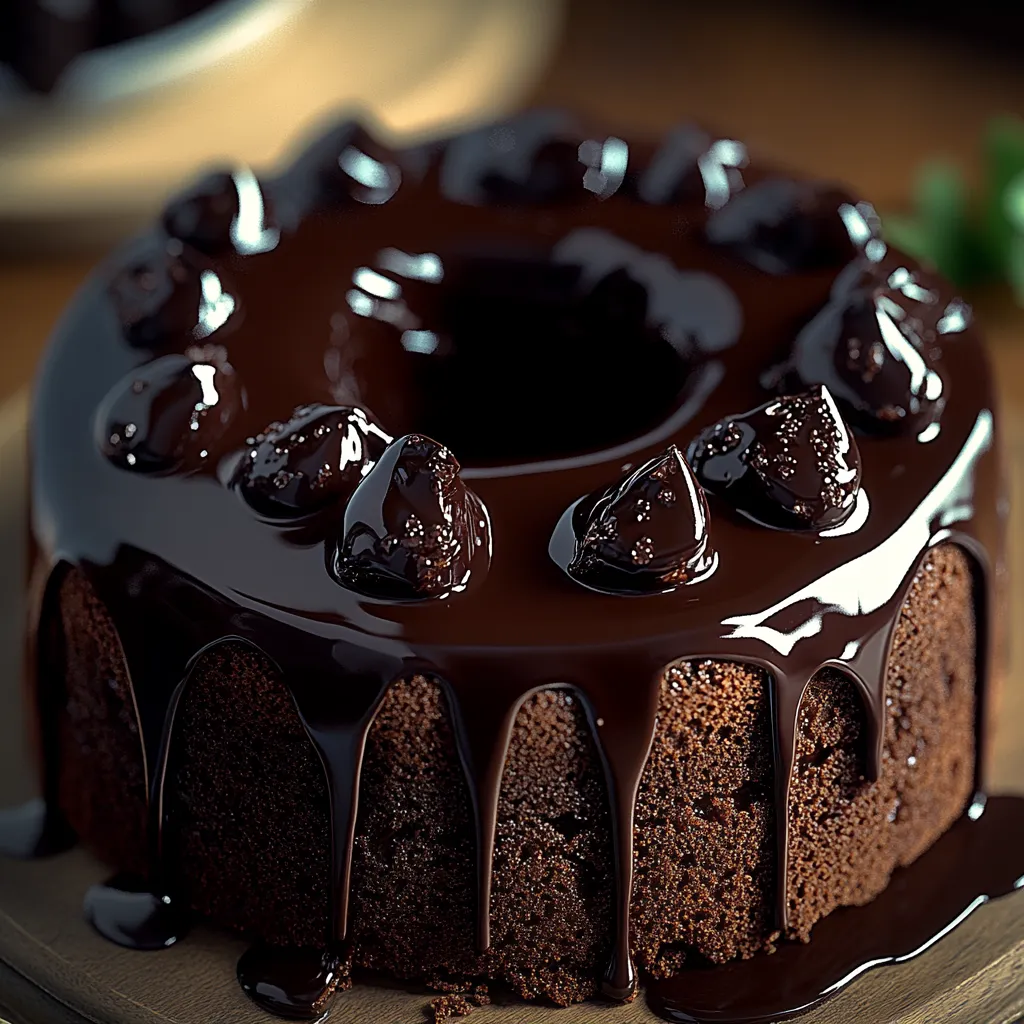
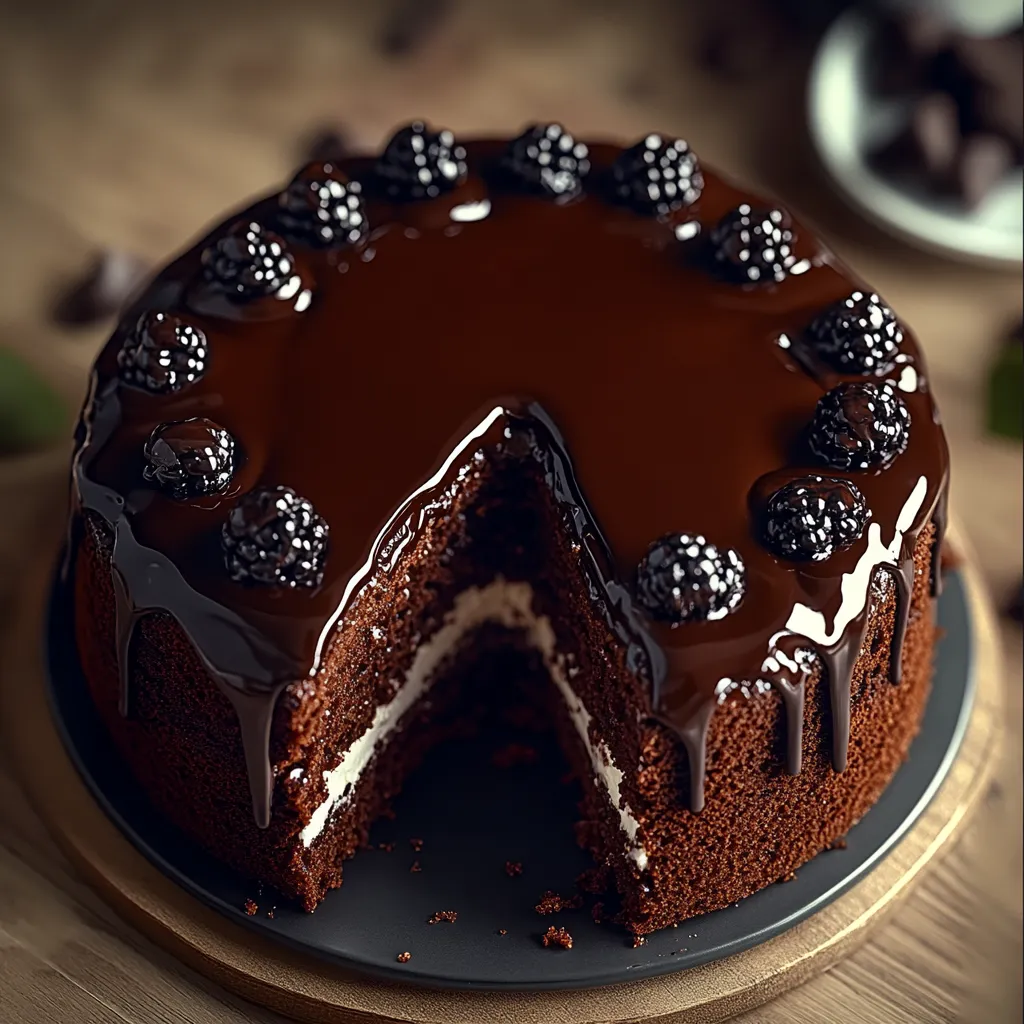
This Nestlé Toll House Death by Chocolate Cake delivers pure chocolate indulgence in every bite. The combination of cocoa powder and chocolate chips creates layers of flavor that intensify as you enjoy each forkful. Rich buttermilk keeps the crumb incredibly moist while providing subtle tanginess that balances the sweetness perfectly. Finished with velvety chocolate frosting, this cake creates the ultimate chocolate experience that satisfies the most serious chocolate cravings while remaining surprisingly simple to create.
I first made this cake for my husband's birthday after hearing about his childhood love for all things chocolate. The expression on his face after the first bite told me this recipe would become our family tradition. Now our children request it for their birthdays too, claiming no other chocolate cake compares to this intensely flavored version. Even guests who typically decline dessert find themselves asking for seconds.
Essential Elements
- Chocolate Chips: Creates melty pockets throughout the cake while adding texture. Nestlé Toll House Semi-Sweet provides optimal melt and flavor balance.
- Cocoa Powder: Delivers intense chocolate flavor throughout the batter. Dutch-processed varieties create darker color and smoother taste.
- Butter: Provides richness and proper structure. Use unsalted varieties at room temperature for best incorporation.
- Buttermilk: Creates tender crumb with subtle tanginess. Full-fat versions deliver superior moisture and flavor.
- Vanilla Extract: Enhances chocolate notes with complementary warmth. Pure rather than imitation varieties offer cleaner flavor.
Baking Method
- Preparing your workspace
- Preheat oven thoroughly to 350°F ensuring consistent temperature. Prepare baking pan by greasing completely, then dusting with cocoa powder rather than flour for a seamless chocolate appearance. Gather all ingredients measured and ready before beginning the mixing process.
- Creating chocolate foundation
- Whisk flour, cocoa powder, baking soda, and salt in a medium bowl until completely combined with no visible streaks. This thorough incorporation ensures even chocolate flavor and proper leavening throughout the finished cake.
- Developing flavor base
- Cream butter and sugar in a large bowl using an electric mixer until noticeably lighter in color and fluffy in texture. This process incorporates air, creating essential structure. Add eggs one at a time, beating well after each addition until fully incorporated. Introduce vanilla extract and continue mixing until completely blended.
- Combining components
- Add dry ingredients alternately with buttermilk, beginning and ending with the flour mixture. Mix just until combined after each addition, avoiding overmixing which develops gluten. Fold chocolate chips gently into the batter, ensuring even distribution throughout without deflating the structure.
- Perfecting baking process
- Pour batter into the prepared pan, smoothing the top gently with a spatula. Bake in the center rack position until a toothpick inserted in the center comes out with a few moist crumbs but no wet batter. Cool in the pan for ten minutes before transferring to a wire rack for complete cooling before frosting.
 Pin it
My family particularly enjoys this cake served slightly warm with vanilla ice cream, creating a temperature contrast that enhances the chocolate experience. My daughter always requests extra chocolate chips sprinkled between cake layers, claiming it creates treasure pockets throughout each slice. We discovered that serving thin slices with fresh berries allows everyone to appreciate the intense chocolate flavor without overwhelming even those with milder sweet preferences.
Temperature Management
Achieving perfect texture begins with understanding how temperature affects each component of this chocolate masterpiece. Room temperature butter incorporates air properly during creaming, creating essential structure while eggs at a similar temperature create proper emulsion preventing separation. During baking, maintaining consistent oven temperature allows for even rising without doming or sinking. The final cooling stage proves equally critical, allowing the cake to set completely before frosting application. For serving, consider slight warming of individual slices to enhance chocolate chip meltiness while maintaining structural integrity.
Presentation Perfection
Transform this already impressive chocolate cake into a memorable dessert experience through thoughtful presentation. Create a bakery-worthy appearance by piping a decorative border around the cake edge using additional frosting in a piping bag. For special occasions, arrange fresh raspberries in a circular pattern atop the cake, creating a vibrant color contrast against the deep chocolate background. Consider dusting with fine cocoa powder just before serving for a professional appearance or add chocolate curls created by running a vegetable peeler along the edge of a chocolate bar for elegant height and texture.
Flavor Adaptations
Customize this versatile chocolate foundation to create entirely new experiences while maintaining the beloved chocolate intensity. Create a mocha variation by adding two tablespoons of instant espresso powder to the dry ingredients, intensifying chocolate notes through coffee undertones. For autumn gatherings, incorporate cinnamon and a small amount of cayenne into the batter, creating a Mexican chocolate-inspired warmth. Special celebrations merit transformative additions like orange zest paired with Grand Marnier substituted for a portion of the vanilla extract, creating a sophisticated chocolate orange variation that elevates the original concept while honoring its chocolate-centered foundation.
Storage Science
Maximize enjoyment beyond the initial serving through proper storage techniques understanding how chocolate flavors mature over time. Store at room temperature under a cake dome or in an airtight container where flavors actually intensify during the first twenty-four hours as ingredients meld completely. For longer preservation, wrap individual slices in plastic followed by foil before freezing up to three months. Thaw frozen slices overnight in the refrigerator, then bring to room temperature or warm slightly before serving to restore freshly baked texture and flavor profiles.
 Pin it
This Nestlé Toll House Death by Chocolate Cake represents chocolate perfection for good reason. The combination of multiple chocolate elements creates remarkable depth while the straightforward preparation welcomes bakers of all experience levels. What makes it truly special is how it transforms simple ingredients into something that feels genuinely indulgent without requiring specialized techniques or equipment. While some desserts sacrifice flavor for simplicity or require complicated methods for impressive results, this cake achieves the perfect balance, creating a memorable chocolate experience accessible to anyone craving serious chocolate satisfaction.
Frequently Asked Questions
- → Can I make this Death by Chocolate Cake without coffee?
- Yes, you can substitute the brewed coffee with hot water or hot milk. The coffee enhances the chocolate flavor without adding coffee taste, but the cake will still be delicious without it.
- → How do I store leftovers of this chocolate cake?
- Store leftovers in an airtight container at room temperature for up to 3 days. You can also refrigerate for up to a week. Warm individual slices in the microwave for 15-20 seconds before serving.
- → Can I freeze this Death by Chocolate Cake?
- Absolutely! Freeze the whole cake or individual slices wrapped tightly in plastic wrap and then foil for up to 3 months. Thaw overnight in the refrigerator and warm before serving.
- → What can I use instead of a bundt pan?
- If you don't have a bundt pan, you can use a 9x13 inch baking dish or two 9-inch round cake pans. Adjust baking time - it will likely be 30-35 minutes for these alternatives.
- → Why did my cake stick to the bundt pan?
- To prevent sticking, thoroughly grease the pan with butter or shortening and dust with cocoa powder (instead of flour for a chocolate cake). Let the cake cool for exactly 10 minutes before removing - too short and it falls apart, too long and it sticks.
