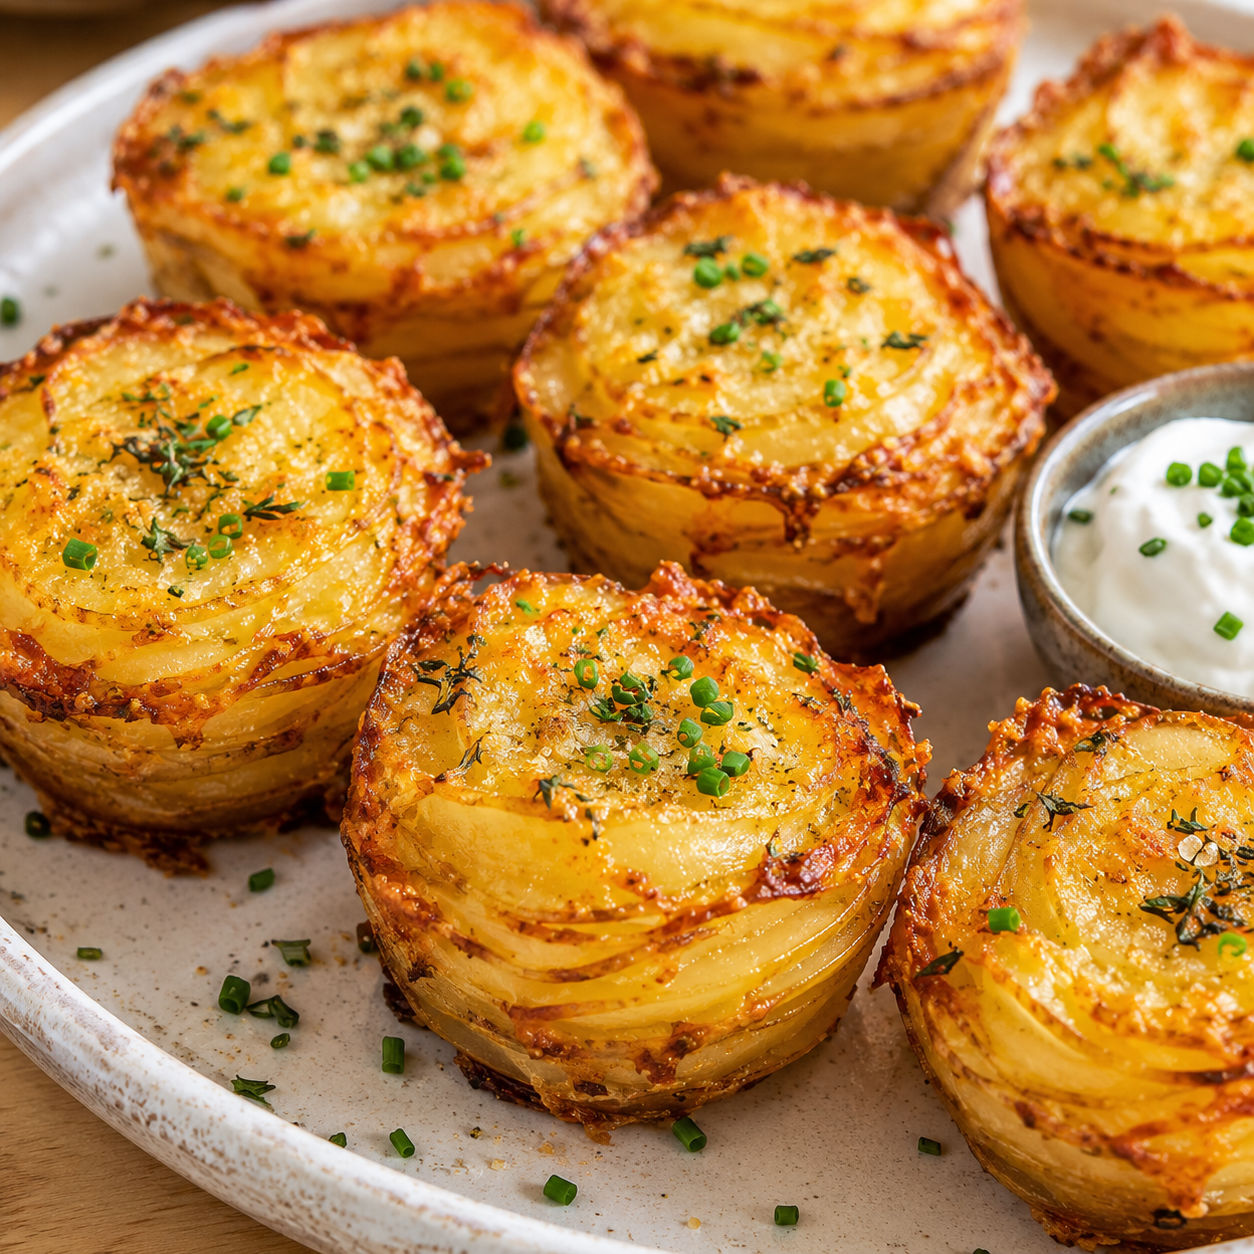
 Pin it
Crispy Stacked Potatoes look a little fancy, but the method is simple once the potatoes are sliced thin. A muffin tin keeps each stack upright so the edges can brown while the centers steam until tender.
I like these for a roast chicken dinner, a holiday table, or any meal that needs a potato side with more texture than mashed potatoes. The key is even slicing and enough fat between the layers, not complicated technique.
Thin slices, big payoff
Choose potatoes that are similar in width so the stacks bake evenly. Scrub them well, especially if you keep the peel on, and follow basic produce handling guidance from the FDA produce safety guide.
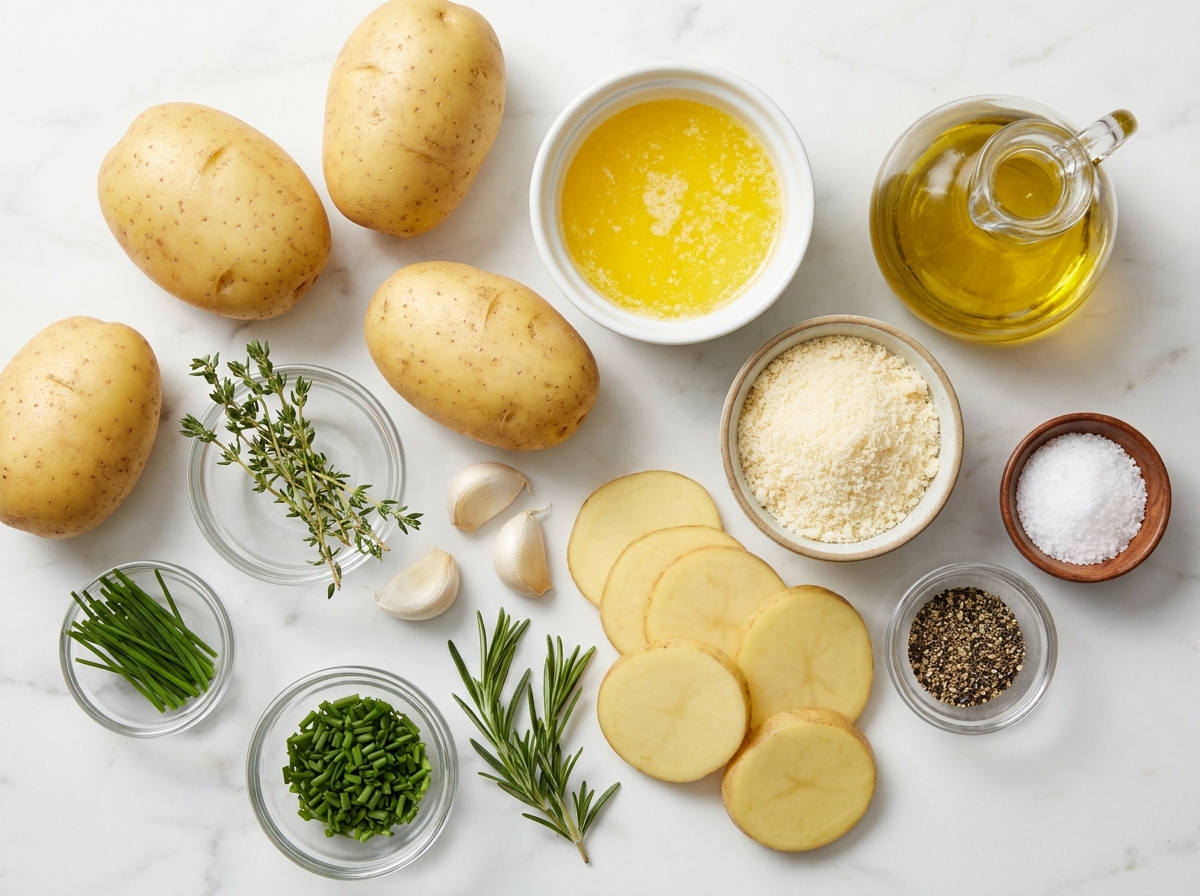
- Yukon Gold potatoes. They bake creamy inside and hold their round shape in the muffin tin.
- Unsalted butter. It coats the layers and helps the edges brown.
- Olive oil. A little oil raises the browning power and keeps the butter from tasting heavy.
- Garlic. Fresh garlic gives the stacks a warm savory smell without needing a sauce.
- Parmesan cheese. It melts into salty, crisp bits around the top and edges.
- Fresh thyme and rosemary. These herbs make the potatoes taste roasted and fragrant.
- Chives. A fresh finish that cuts through the richness.
Stack, bake, crisp
- Heat the oven. Set the oven to 400°F and grease a standard 12-cup muffin tin well so the edges release cleanly.
- Slice the potatoes. Cut the potatoes into very thin rounds, about 1/16 to 1/8 inch thick. Even slices matter more than speed here.
- Season every layer. Toss the potato slices with melted butter, olive oil, garlic, Parmesan, herbs, salt, and pepper until the slices are glossy.
- Build the stacks. Layer the slices into the muffin cups, using the larger rounds on the bottom and filling each cup slightly above the rim.
- Bake until tender. Bake for 35-40 minutes, until a knife slides through the center and the tops are golden.
- Finish and serve. Let the stacks rest for 5 minutes, loosen the edges with a thin knife, then lift them out and sprinkle with chives.
The slicing really matters
The difference between crisp potato stacks and dense little towers is the thickness of the slices. Aim for thin rounds that bend slightly when you pick them up. If the slices are thick, the outside browns before the center has time to soften. A mandoline makes this fast, but a sharp knife works if you stay steady.
Do not rinse the slices after cutting. The surface starch helps the layers cling and gives the edges a better bite. This is the same reason thin-sliced sides like Sliced Baked Potatoes Longhorn get such good texture when the cuts stay close together.
How to get crisp edges
Fat needs to touch the potato slices, not just the outside of the stack. Toss with your hands so the butter mixture gets between the rounds. If the bowl looks dry, add another teaspoon of olive oil. The potatoes should look shiny but not pooled in grease.
The muffin tin does two jobs. It holds the stacks upright and exposes the top edges to dry oven heat. Bake until the centers are tender first, then chase the color. If you want a deeper crust, add a final sprinkle of Parmesan and broil for 1-2 minutes. Watch closely. Cheese goes from golden to scorched fast.
Flavor swaps worth making
Parmesan and thyme are classic, but this recipe takes well to small changes. Swap rosemary for sage if you are serving these with turkey or pork. Use Gruyere for a nuttier stack, or add a pinch of smoked paprika for a warmer color and a little campfire flavor.
If you want a bolder potato side, serve these beside Cowboy Butter Potatoes Oven or borrow the lemony finish from Greek Roast Potatoes Lemon Feta. For a simpler all-potato spread, add Mashed Potatoes Roasted Garlic and let guests pick creamy or crispy.
Serving and storage notes
These are best hot, about 5 minutes after they leave the oven. That short rest helps them hold together, but the edges are still crisp. Serve two stacks per person for a normal side, or one each if the meal has several other dishes.
Leftovers keep in an airtight container in the fridge for up to 4 days. Reheat on a sheet pan at 375°F until hot and crisp again. If you are planning for a holiday meal, slice the potatoes and grate the cheese earlier in the day. Wait to season and stack until just before baking so the potatoes do not release too much moisture.
Summary
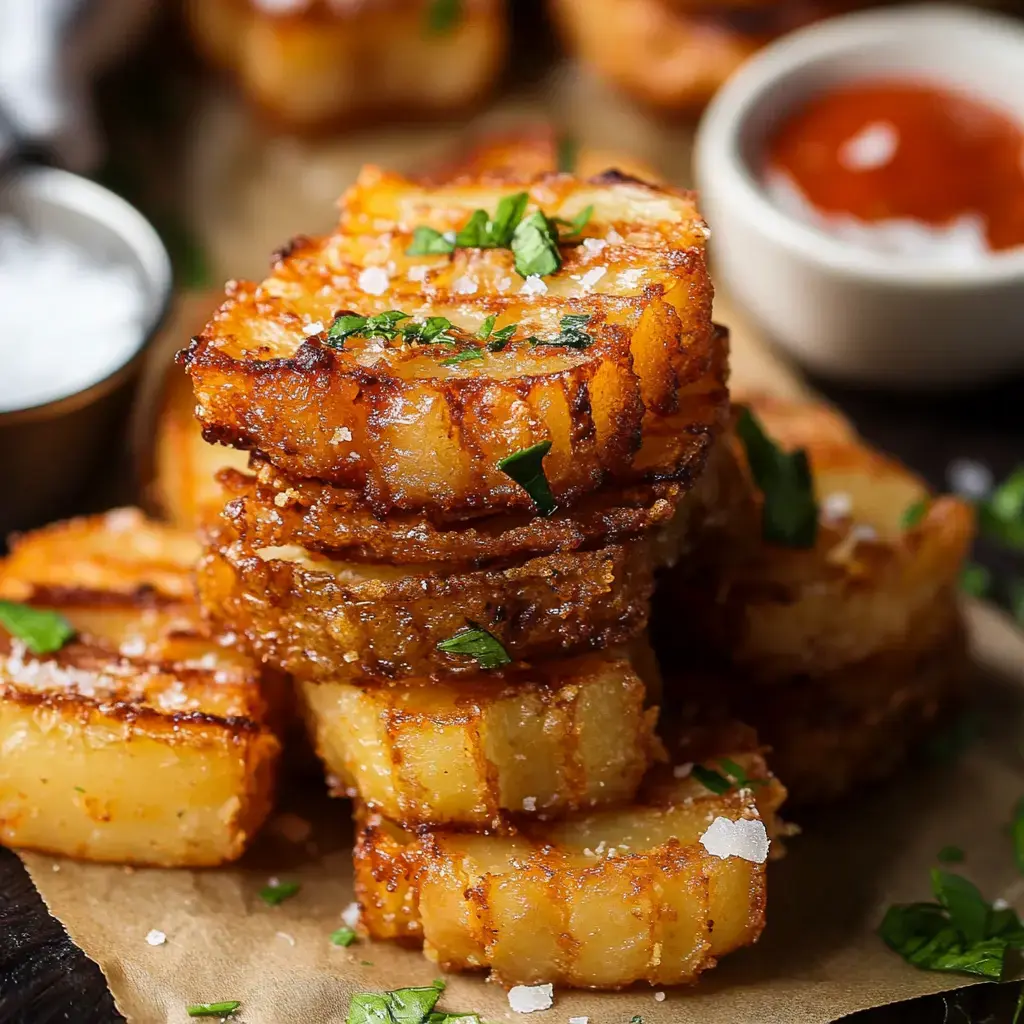
Serve these potato stacks hot from the oven while the edges are at their crispiest.

FAQs
- What potatoes work best for Crispy Stacked Potatoes?
Yukon Gold potatoes are my first choice because they slice neatly and bake up creamy in the middle. Russets also work, but they are starchier and can break more easily if sliced too thin.
- Can I make potato stacks without a mandoline?
Yes, but use a very sharp knife and take your time. The slices should be about 1/16 to 1/8 inch thick so they cook evenly and stack without leaving raw centers.
- Can I make these ahead?
You can slice and toss the potatoes up to 2 hours ahead, then keep them covered in the butter mixture. For the best texture, bake them close to serving time because the crisp edges soften as they sit.
- How do I reheat leftover potato stacks?
Reheat them on a sheet pan at 375°F for 10-12 minutes. Skip the microwave if you want crisp edges, since it softens the potatoes and can make them greasy.
- Can I leave out the cheese?
Yes. The stacks will still crisp if the potatoes are well coated with butter and oil. Add a little extra salt, garlic, and herbs to make up for the savory flavor Parmesan brings.
- Why are my potato stacks not crispy?
The slices may be too thick, the muffin cups may be overcrowded, or the potatoes may need a few more minutes uncovered. Let the tops get deep golden, and use the broiler briefly if the centers are tender but the edges are pale.
