 Pin it
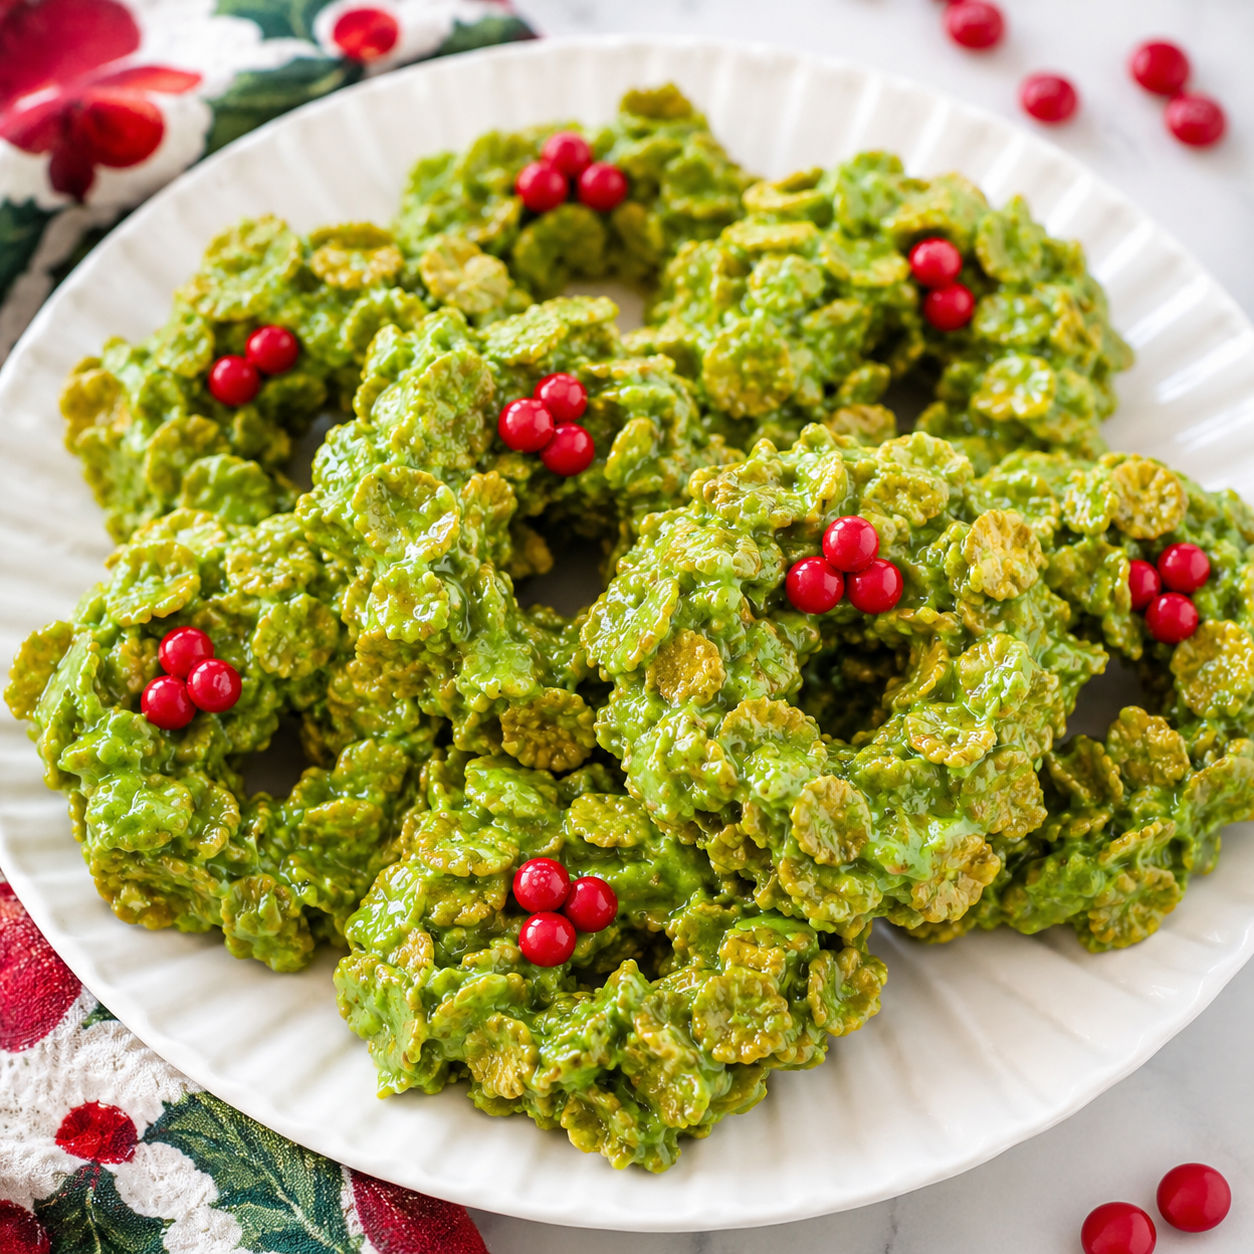
Easy Christmas Cornflake Wreath Treats are the kind of no-bake cookie that makes a kitchen feel busy in the best way. They are sticky, crunchy, bright green, and just fussy enough to feel like a holiday project without turning into an all-afternoon job.
I like them for cookie trays because they break up all the beige and chocolate with color. The marshmallow coating sets around the cornflakes, so each bite has a soft chew first and then a little crackle from the cereal.
What makes them hold
The ingredient list is short, so use fresh cornflakes and marshmallows that still feel soft in the bag. Old marshmallows can melt unevenly and make the coating stringy instead of smooth.
Gel food coloring gives the brightest green with the least liquid. Liquid color works too, but add it slowly so the coating does not loosen too much.
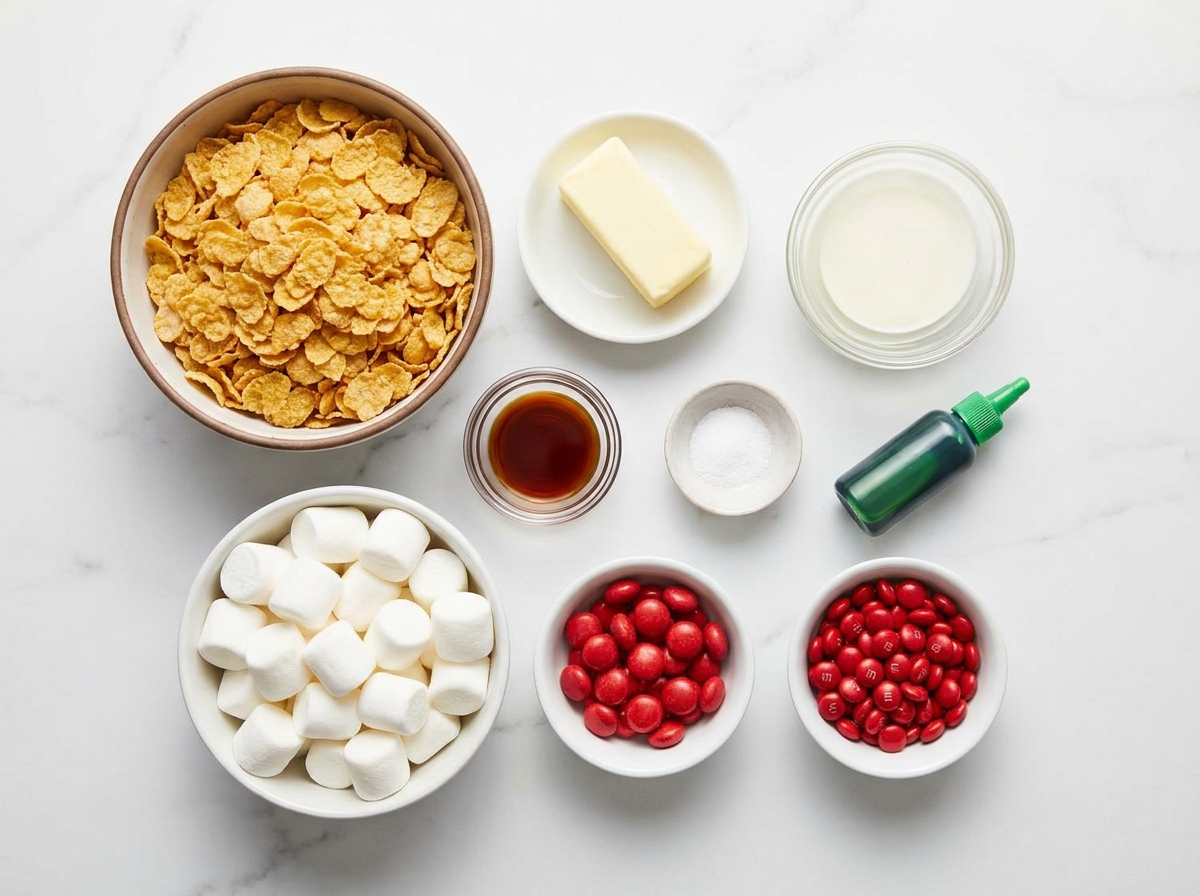
- Cornflakes. Give the wreaths their crinkled pine-needle look and a light crunch.
- Marshmallows. Melt into the sweet glue that holds every flake together.
- Unsalted butter. Adds richness and keeps the coating soft enough to bite cleanly.
- Vanilla extract. Rounds out the marshmallow sweetness with a warm bakery note.
- Green food coloring. Turns the mixture into a Christmas wreath shade without changing the texture much.
- Red candies. Stand in for little holly berries and make the wreaths pop on a cookie tray.
Christmas Cornflake Wreath Treats Steps
- Prep the trays. Line two baking sheets with parchment or wax paper before the pot goes on the stove. The mixture firms quickly, so you want the landing spot ready.
- Melt the coating. Melt butter in a large pot over low heat, then stir in the marshmallows until smooth and glossy. Keep the heat gentle so the sugar does not scorch.
- Tint and flavor. Take the pot off the heat. Stir in vanilla and green food coloring until the color looks even.
- Fold in cornflakes. Add the cereal and turn it with a greased spatula until every flake is coated. Use a folding motion so the flakes stay craggy, not crushed.
- Shape the wreaths. Scoop small mounds onto the lined sheets. With lightly buttered fingers, make a hole in the center and nudge each mound into a wreath.
- Add the berries. Press red candies into the warm wreaths right away. Let them set at room temperature until firm.
The sticky part matters
These wreaths are easiest to shape in the first 8-10 minutes after the cereal goes in. Warm marshmallow bends around your fingers. Cool marshmallow pulls into strings and leaves rough gaps.
I set out a tiny bowl of softened butter and swipe my fingertips between every few wreaths. Cooking spray works too, but use a light hand. Too much oil can make the surface look slick.
If kids are helping, give them the candy job while an adult shapes. It keeps the rhythm moving and lets them decorate without handling the hottest mixture.
Color without overdoing it
Start with less green than you think. The color gets deeper once the cornflakes are coated because the yellow cereal warms it up. Add a drop or two more only after you stir well.
If you use liquid food coloring, the FDA color additives guide is a useful reference for how food colors are regulated in the United States. For the prettiest batch, gel color is still my pick. It gives a cleaner evergreen shade without needing much.
Candy and cereal swaps
Red hots look classic and add a little cinnamon snap. Mini red candy-coated chocolates taste milder, which is better for younger kids. Diced red gumdrops also work, but press them in firmly because they are heavier.
You can use crispy rice cereal in a pinch, though the finished treats will look more like Grinch Rice Krispie treats than wreaths. For another red-and-green cookie tray option, add Christmas sugar cookie bars beside these so the platter has both chewy and frosted pieces.
Storage that keeps crunch
Store the wreaths in a sealed container at room temperature for up to 5 days. Parchment between layers keeps the red candies from smearing and stops the wreaths from grabbing onto each other.
The fridge is not my first choice because it can make the cereal taste stale faster. If your kitchen is warm, a short chill is fine, then move them back to room temperature before serving. For general make-ahead handling, the USDA leftovers guide has practical storage basics.
Building a holiday tray
These treats look best when they have a little space around them. Put them near pale cookies, fudge, or mints so the green stands out instead of disappearing into a pile.
I like pairing them with homemade butter mints because both are small, bright, and easy to grab. If you want a taller centerpiece, tuck a few around Christmas tree cupcakes right before serving.
Summary
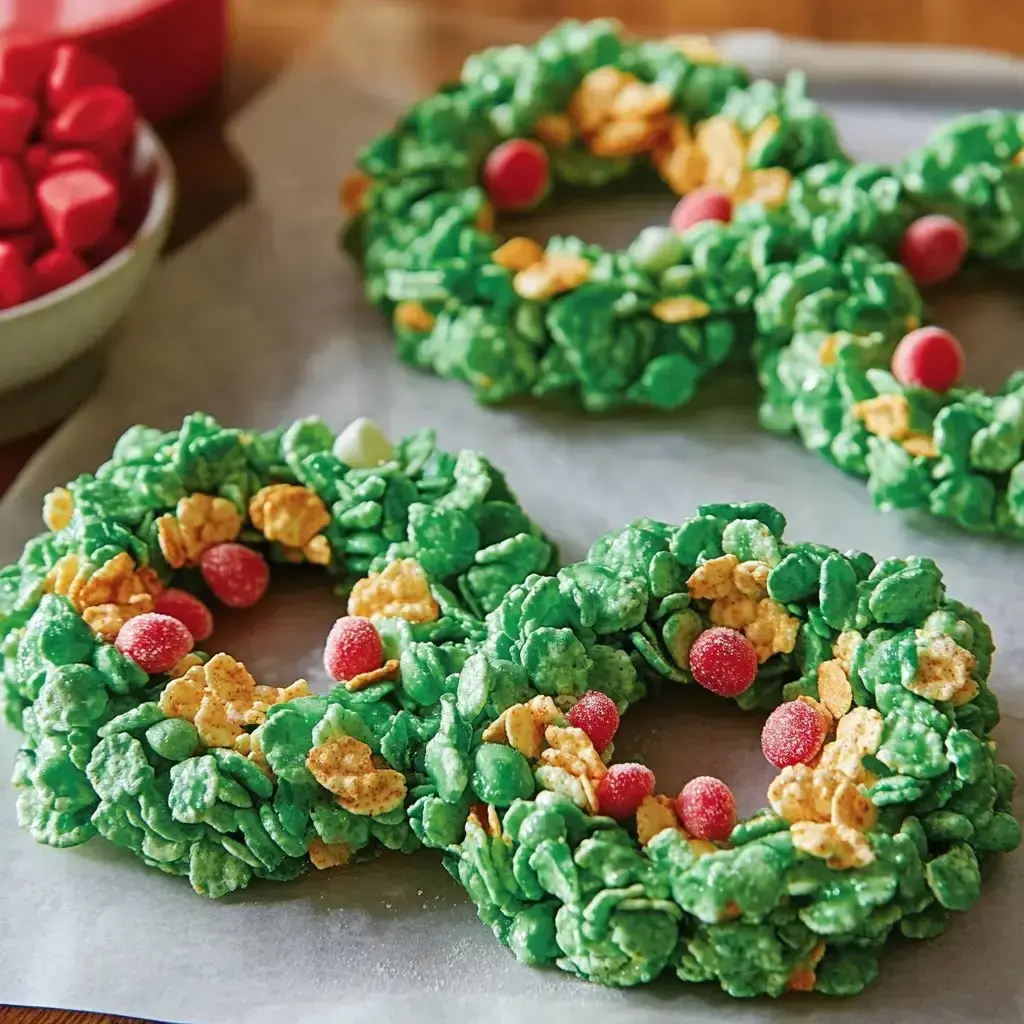
Easy Christmas Cornflake Wreath Treats are fast, colorful, and built for holiday cookie trays. Shape them while warm, decorate right away, and store them with parchment so they stay neat.
FAQs
- Can I make Christmas cornflake wreath treats ahead of time?
Yes. Make them 1-2 days ahead and store them in an airtight container at room temperature. Put parchment between layers so the candies and marshmallow coating do not stick.
- Why are my cornflake wreaths too sticky to shape?
The mixture is supposed to be sticky, but it should still hold its shape. Lightly butter your hands or spray them with cooking spray, then work while the mixture is warm. If it gets too firm in the pot, warm it over very low heat for a minute.
- Can I use mini marshmallows instead of large marshmallows?
Yes. Use a 10 oz bag of mini marshmallows in place of large marshmallows. They melt quickly, so stir often and keep the heat low to avoid scorching.
- What can I use instead of red hots?
Mini red candy-coated chocolates, red sprinkles, small cinnamon candies, or chopped red gumdrops all work. Press them in while the wreaths are still warm so they attach before the coating sets.
- Are cornflake wreath treats gluten-free?
Not always. Many cornflake cereals contain malt flavoring, which is not gluten-free. Use a certified gluten-free cornflake cereal if you need the treats to be safe for a gluten-free table.
- How long do cornflake wreaths take to set?
They usually firm up in 30-45 minutes at room temperature. A cool kitchen helps. Avoid stacking them until they feel dry on the outside and hold their shape when lifted.
