 Pin it
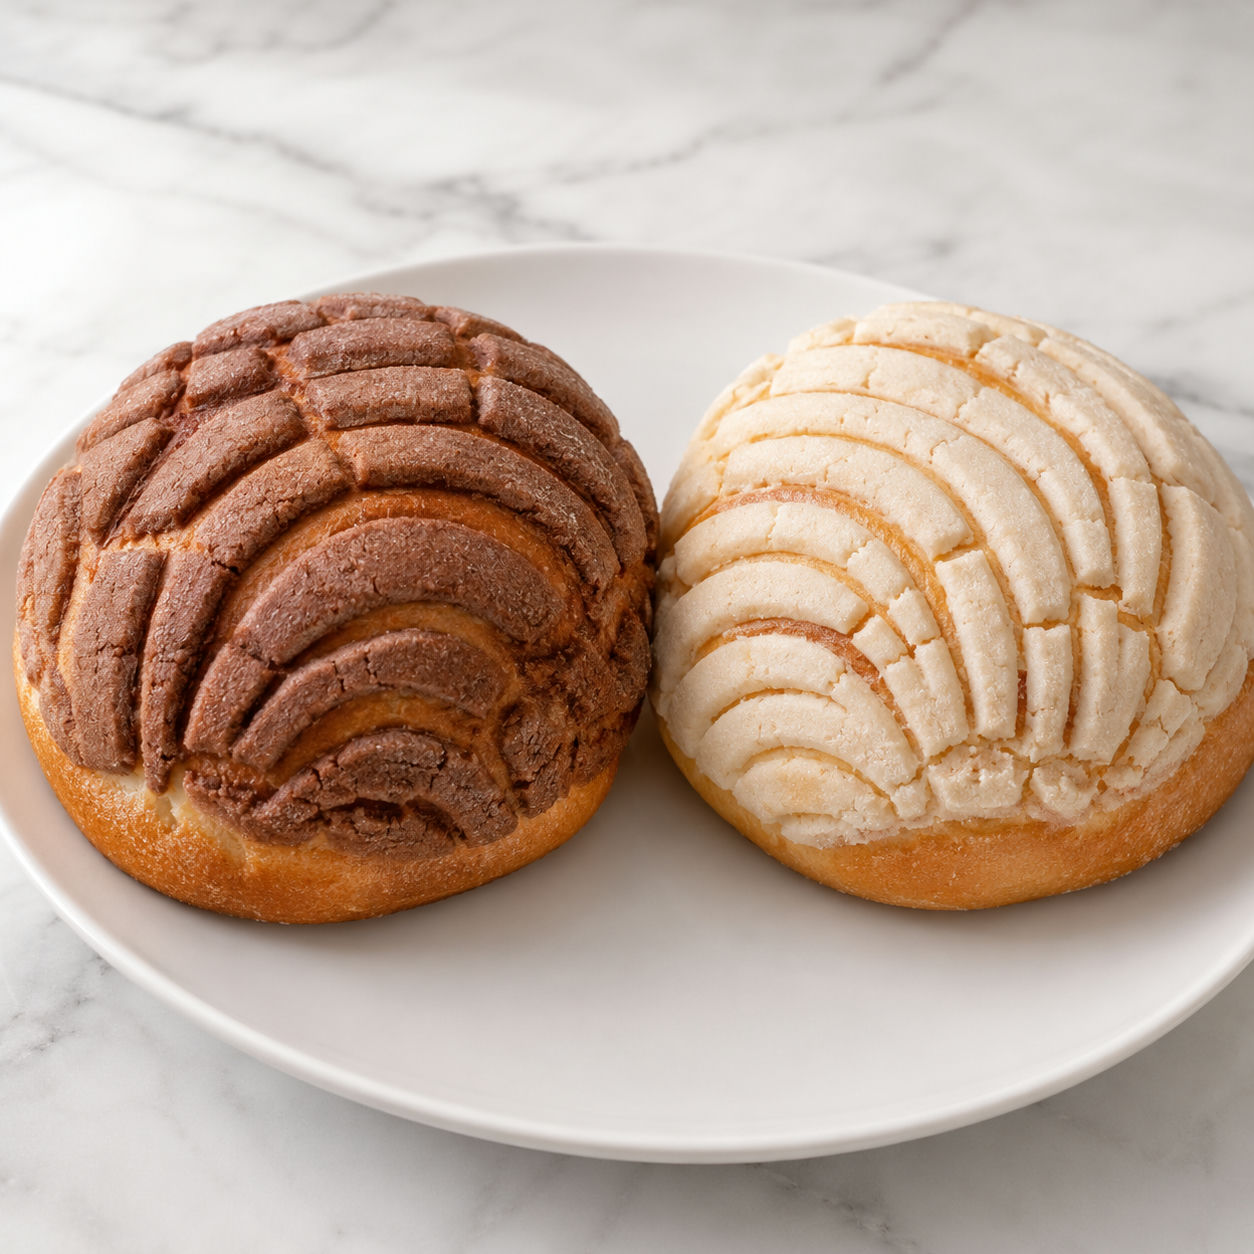
Conchas are the bread every Mexican panaderia smells like on a weekend morning. That soft, slightly sweet dough paired with a crumbly, cookie-like sugar shell is one of those combinations that just works, and once you understand how each part behaves, making them at home is a genuinely satisfying project.
The dough is an enriched milk bread, similar to brioche but lighter and less buttery. The topping is a short paste of shortening, powdered sugar, and flour that bakes into a pale, crisp shell. Scoring it into the classic pattern before the second rise is the part that looks intimidating but is really just a few confident strokes with a sharp knife.
This recipe makes 12 full-size conchas. I keep half the topping plain vanilla and mix cocoa into the other half for the classic two-tone tray. Pink is traditional too and a single drop of red gel coloring handles it.
Dough and shell, ingredient by ingredient
The ingredient list is short and mostly pantry staples. What matters is that the butter is properly softened before it goes in and that the yeast is actually active before you start mixing. Check the expiration date on your packet and bloom it in warm milk first. A dead packet means a flat batch and there is no fixing it halfway through.
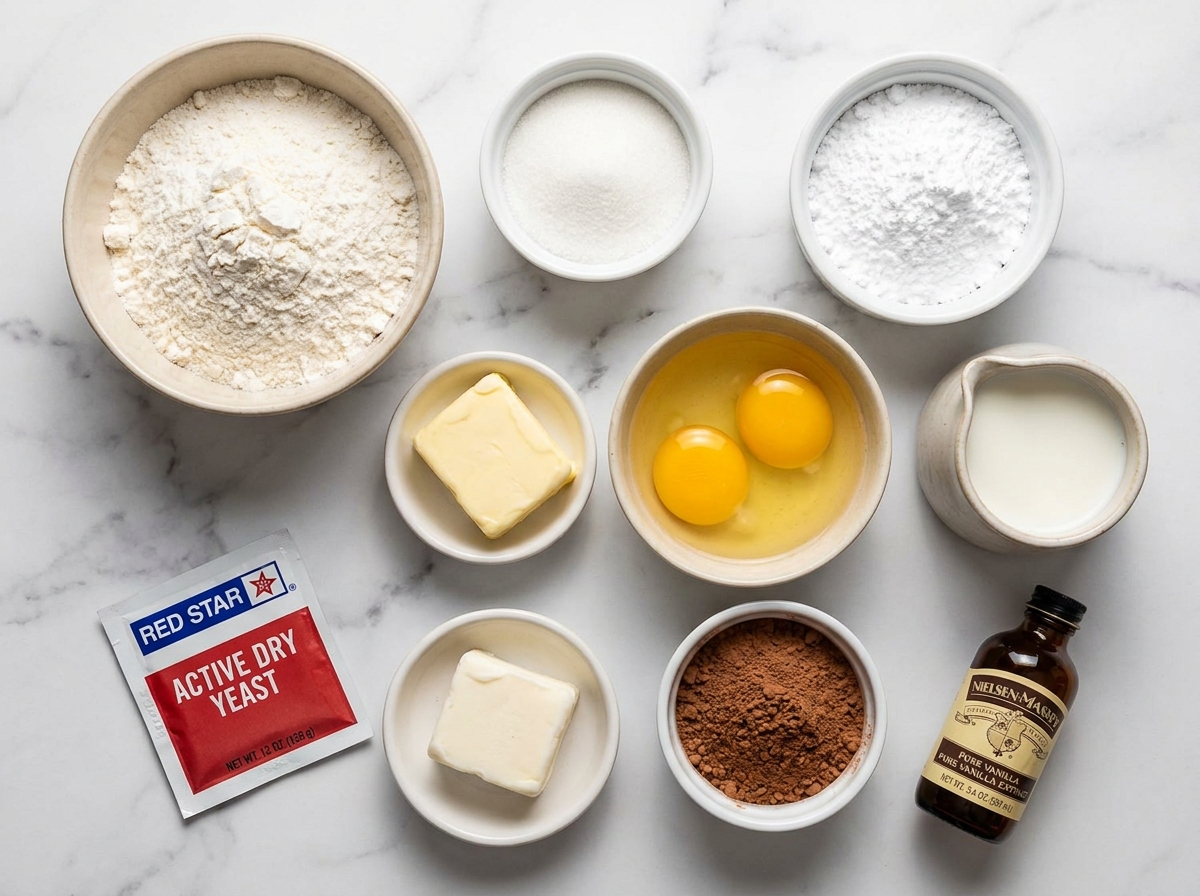
- Bread flour. Higher protein than all-purpose, it gives the buns structure without making them tough. All-purpose works in a pinch but the crumb will be a bit more tender and less chewy.
- Active dry yeast. Bloomed in warm milk before mixing, it lifts the dough through two slow rises. Fresh yeast works too at about 21g for this batch.
- Whole milk. Warmed to about 110°F (43°C), it activates the yeast and keeps the crumb soft. Skim milk works but whole gives a richer result.
- Eggs. Two whole eggs add richness and help the dough hold together cleanly during shaping.
- Unsalted butter. Worked in after the dough is partly developed, it enriches the crumb without making the dough greasy or heavy.
- Granulated sugar. Modest in the dough; more goes into the topping where sweetness is the whole point.
- Vegetable shortening. The fat in the concha shell. It produces that slightly dry, crumbly texture that sets the topping apart from a standard cookie.
- Powdered sugar. Dissolves smoothly into the shortening for a lump-free topping paste that presses cleanly.
- All-purpose flour (for the topping). Thickens the paste enough to hold its shape and the scored pattern during baking.
- Vanilla extract. Goes into both the dough and the white topping for a warm, subtle background flavor.
- Unsweetened cocoa powder. For the chocolate version of the shell. Two tablespoons per half-batch of topping is the right amount.
Making the dough and shaping the buns
- Bloom the yeast. Combine the warm milk, warm water, 1 teaspoon of sugar, and the yeast in a small bowl. Stir gently and let sit for 5 to 10 minutes until the mixture is foamy and smells yeasty. If nothing happens, the yeast is dead and needs replacing.
- Mix the dough. Whisk the flour, remaining sugar, and salt together in a large bowl. Add the eggs, vanilla, and the yeast mixture. Mix until a shaggy dough forms, then knead briefly on a lightly floured surface until it comes together into one mass.
- Work in the butter. Add the softened butter a few pieces at a time, kneading between additions. Continue kneading for 8 to 10 minutes by hand or 6 to 7 minutes in a stand mixer on medium with a dough hook. The dough will feel sticky at first and then gradually smooth out into something soft, elastic, and only slightly tacky.
- First rise. Shape the dough into a ball and place it in a lightly oiled bowl. Cover with plastic wrap and let rise in a warm spot for 1.5 to 2 hours until doubled.
- Make the topping. Beat the shortening, powdered sugar, flour, and vanilla together until smooth and pliable. Divide in half. Mix the cocoa powder into one half for chocolate topping. For pink, add a drop of red gel coloring to the plain half. Roll each portion between two sheets of plastic into 1/4-inch-thick sheets and cut into 3-inch rounds.
- Shape and top. Punch down the risen dough and divide into 12 equal pieces (about 75g each). Roll each into a smooth, tight ball and place on parchment-lined baking sheets with 3 inches between each. Press a topping disc gently over each ball so it drapes over the top without sliding down the sides.
- Score the pattern. Use a sharp paring knife or a concha cutter to score the shell pattern into the topping, cutting about 1/8 inch deep. Do this before the second rise so the lines stay defined.
- Second rise and bake. Cover the trays loosely and let the buns rise for 45 to 60 minutes until visibly puffed. Preheat the oven to 350°F (175°C) during the last 20 minutes. Bake for 18 to 22 minutes until the bottoms are golden and the topping is set but still pale. Cool on a rack for at least 15 minutes before eating.
Why butter goes in last, not first
Adding butter at the start of mixing coats the flour proteins and prevents gluten from forming. The result is a dense, flat bread. Working it in after the dough is already mixed, what bakers call delayed enrichment, lets the gluten network develop first so it can absorb the fat without collapsing. It takes patience. The dough looks greasy and shaggy for a few minutes and then it comes together. Keep kneading and trust the process.
King Arthur Baking has a thorough guide on how yeast works and how temperature affects rise times, worth reading if this is your first enriched dough. The same delayed-enrichment method also applies to our traditional hot cross buns, a natural next project once you are comfortable with this one.
Scoring the shell cleanly
A concha cutter is the traditional tool and inexpensive to find online, but a sharp paring knife works fine. The classic pattern is five to eight curved lines radiating from the center, like the ribs of a scallop shell. A crosshatch grid and a simple sunburst are both traditional too.
Press the knife just deep enough to cut through the topping and barely nick the dough surface, about 1/8 inch. Too deep and the topping cracks apart during the second rise. Too shallow and the pattern disappears as the shell bakes flat. Score right after pressing on the topping disc, not after the second rise, so the cuts stay sharp and defined in the oven.
Color variations that work
Traditional panaderias offer white, chocolate brown, and pink. All three start from the same base topping paste. Cocoa powder handles chocolate and gel food coloring handles pink. Gel coloring mixes in more evenly than liquid and will not thin out the paste.
For something beyond the classics, replace 1 tablespoon of flour in the topping with freeze-dried strawberry powder for a pink strawberry shell, or swap in 1.5 teaspoons of matcha powder for a green tea version. Both work because the fat-and-sugar structure stays the same. If you are already in a sweet-baking mood, the dulce de leche cinnamon rolls use a similar enriched dough and pair well on the same weekend baking day.
Make-ahead strategy for fresh morning conchas
Conchas are best the day they come out of the oven. By the next morning the shell softens and loses its snap. If you want fresh conchas without same-day effort, do the first rise overnight in the fridge. The cold slows fermentation and even builds a bit more flavor in the dough. Pull it out in the morning, shape and top the buns while the dough is still cold (firm dough rounds much more easily), then let them sit at room temperature to complete the second rise before baking.
Baked conchas freeze well for up to a month. Freeze in a single layer first so they don't stick together, then bag them. Reheat from frozen in a 300°F oven for about 10 minutes. The texture holds up surprisingly well. If you are planning a big weekend baking session, the red velvet cinnamon rolls are another enriched dough that freezes beautifully and pairs well alongside a tray of conchas.
Troubleshooting flat or sliding topping
The two most common problems are buns that spread flat and topping that slides off the sides. Flat buns almost always mean over-proofing. Watch for the dough to roughly double in volume, not to hit a specific time. If the shaped buns smell strongly of yeast and feel very airy and jiggly, the second rise has gone too far and the buns will spread sideways in the oven.
Topping that slides comes from two things: the disc was uneven and thicker on the edges, or the kitchen was too warm when you applied it. Roll the topping to a consistent 1/4 inch throughout and chill the discs briefly before pressing them on. Serious Eats covers the food science behind enriched dough structure and proofing behavior in detail if you want a deeper understanding of what is happening inside the dough.
FAQs
- Can I use instant yeast instead of active dry yeast?
Yes. Use the same amount and skip the blooming step entirely. Mix the instant yeast directly into the dry flour mixture and proceed. Rise times may run slightly shorter, so watch the dough rather than the clock. A doubled volume is the cue, not a fixed number of minutes.
- Why did my conchas spread flat instead of puffing up?
The most common cause is over-proofing. Enriched doughs rise faster than lean doughs and if the second rise goes too far the buns will spread sideways in the oven rather than hold their shape. Watch for a visibly puffed but firm feel. If the buns feel very airy and jiggly when you nudge the tray, they have gone too far. Dead or sluggish yeast can also cause this; always bloom active dry yeast first to confirm it is alive.
- How do I store leftover conchas?
Keep them in an airtight container at room temperature for up to two days. After that the shell softens and the crumb dries out noticeably. A quick 10 seconds in the microwave or 5 minutes in a 300°F oven brings them back reasonably well. Avoid the fridge as cold air stales bread faster than room temperature storage does.
- Can I make the dough overnight in the fridge?
This is actually a great approach. After the first rise, punch the dough down, cover it tightly, and refrigerate overnight. The next morning, shape the buns cold; the firm dough is much easier to handle and round cleanly. Add the topping, then let the shaped buns sit at room temperature and complete the second rise before baking. The slow cold ferment also adds a subtle depth of flavor.
- Can I substitute butter for the shortening in the topping?
You can, though the texture will shift. Butter topping tends to spread more during baking and loses some of the dry, crumbly quality that makes the traditional shell distinct. A half-and-half mix of butter and shortening is a good middle ground. Keep the topping discs well chilled before pressing them onto the buns so they hold their shape on the way to the oven.
- Can I freeze baked conchas?
They freeze well for up to a month. Let them cool completely, freeze in a single layer on a tray until solid, then transfer to a zip bag. Reheat from frozen in a 300°F oven for about 10 minutes. The shell will not be quite as crisp as fresh-baked but the bread stays soft and the flavor holds up well.
- What do I serve conchas with?
The classic pairing is Mexican hot chocolate or a strong coffee with warm milk, the kind of combination you find at every panaderia counter. They also work alongside a full breakfast spread or tucked into a bag for school mornings. Conchas are not meant to be fussy; eating them warm with nothing else is the point.
