 Pin it
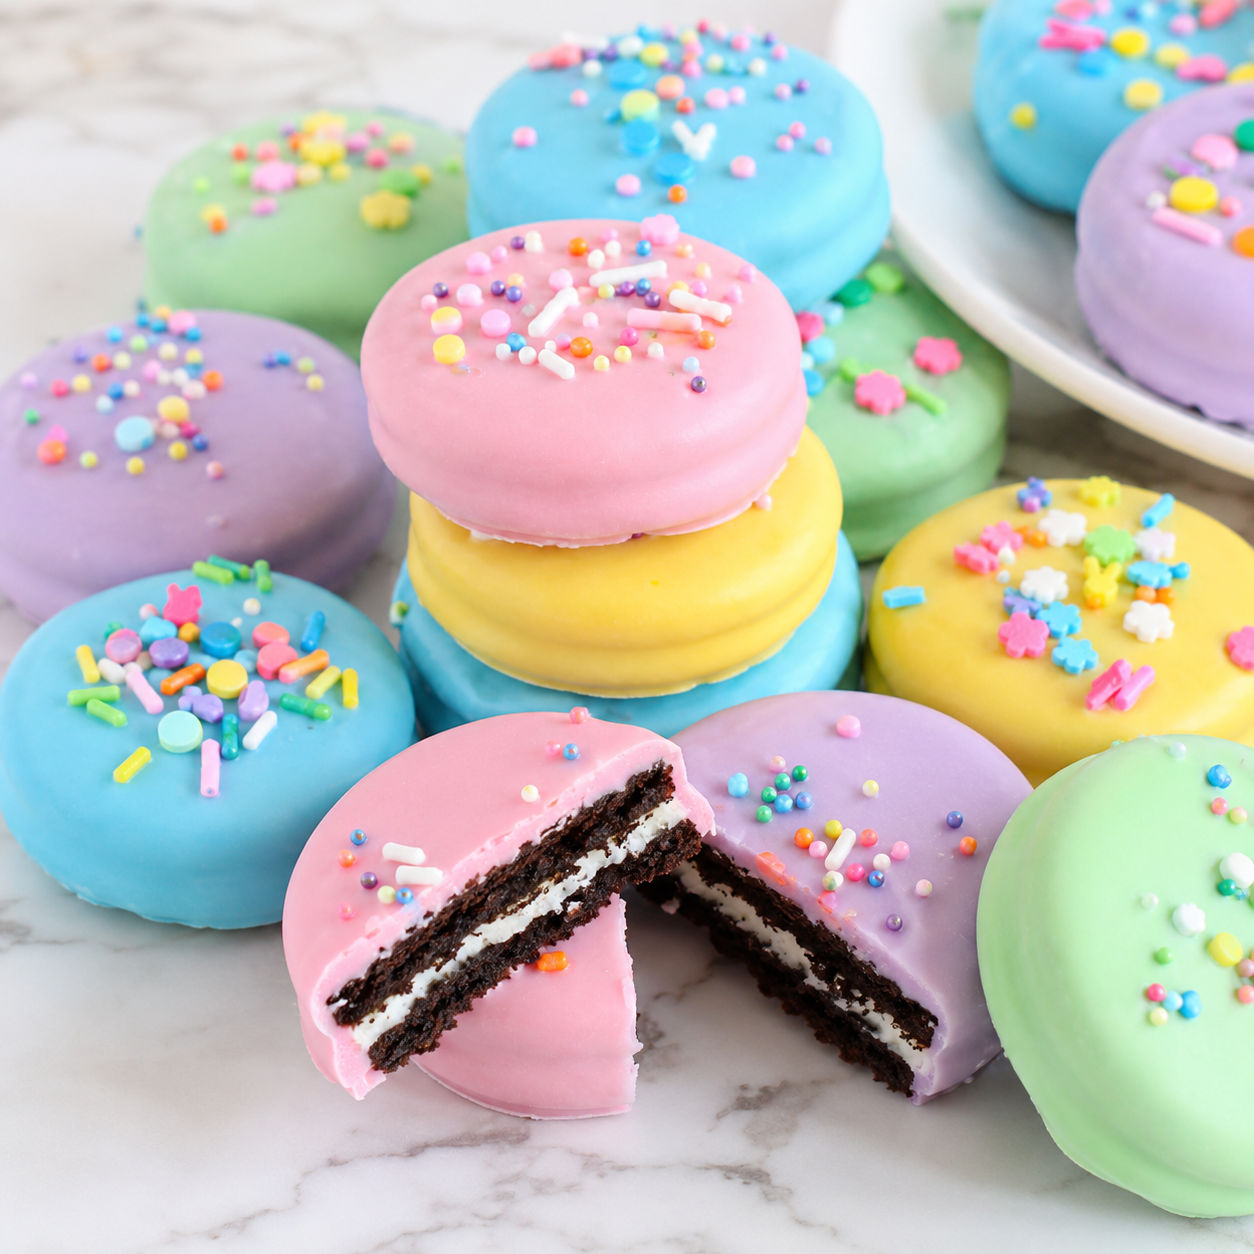
Chocolate Covered Easter Oreos are the kind of treat that looks like it came from a candy shop, but the work is mostly melting, dipping, and letting the cookies set. The crisp cookie center stays hidden under a smooth pastel shell, so every bite has that snap of coating followed by the familiar Oreo crunch.
I like them for Easter trays because they hold up better than frosted cupcakes and travel well in little treat bags. They are also easy to decorate with kids if you set out the sprinkles first and keep the melted coating in small bowls.
Chocolate Covered Easter Oreos Lineup
You only need a handful of baking-aisle ingredients, so choose ones that melt smoothly and taste good on their own. Candy melts or vanilla almond bark are easier than true chocolate because they set with a clean shell and do not need tempering.
- Oreo cookies. They bring the crisp chocolate cookie and creamy center that make these taste familiar right away.
- White candy coating. This melts into the smooth dipping layer and gives you a blank base for pastel colors.
- Pastel candy colors. Oil-based candy color keeps the coating fluid and lets you tint small batches pink, yellow, blue, green, or lavender.
- Spring sprinkles. They add color and a little crunch before the coating has a chance to set.
- Neutral oil. A tiny amount loosens thick coating without changing the flavor much.
- Lollipop sticks. These are optional, but they turn the cookies into easy party favors.
Dip And Decorate Cleanly
- Prep the tray. Line a rimmed baking sheet with parchment paper and set out sprinkles before you melt anything, because the coating firms quickly.
- Melt the coating. Warm the candy coating in short microwave bursts, stirring after each one, until smooth and fluid.
- Tint small bowls. Divide the coating into bowls and stir in oil-based candy color until each shade looks softly pastel.
- Dip the cookies. Lower one Oreo into the coating, lift it with a fork, and tap the fork on the bowl so the extra coating falls away.
- Add sprinkles fast. Slide the coated cookie onto parchment and decorate while the surface is still wet.
- Let them set. Chill the tray for 15-20 minutes, then store the cookies once the coating feels firm and dry to the touch.
Smooth Coating Without Trouble
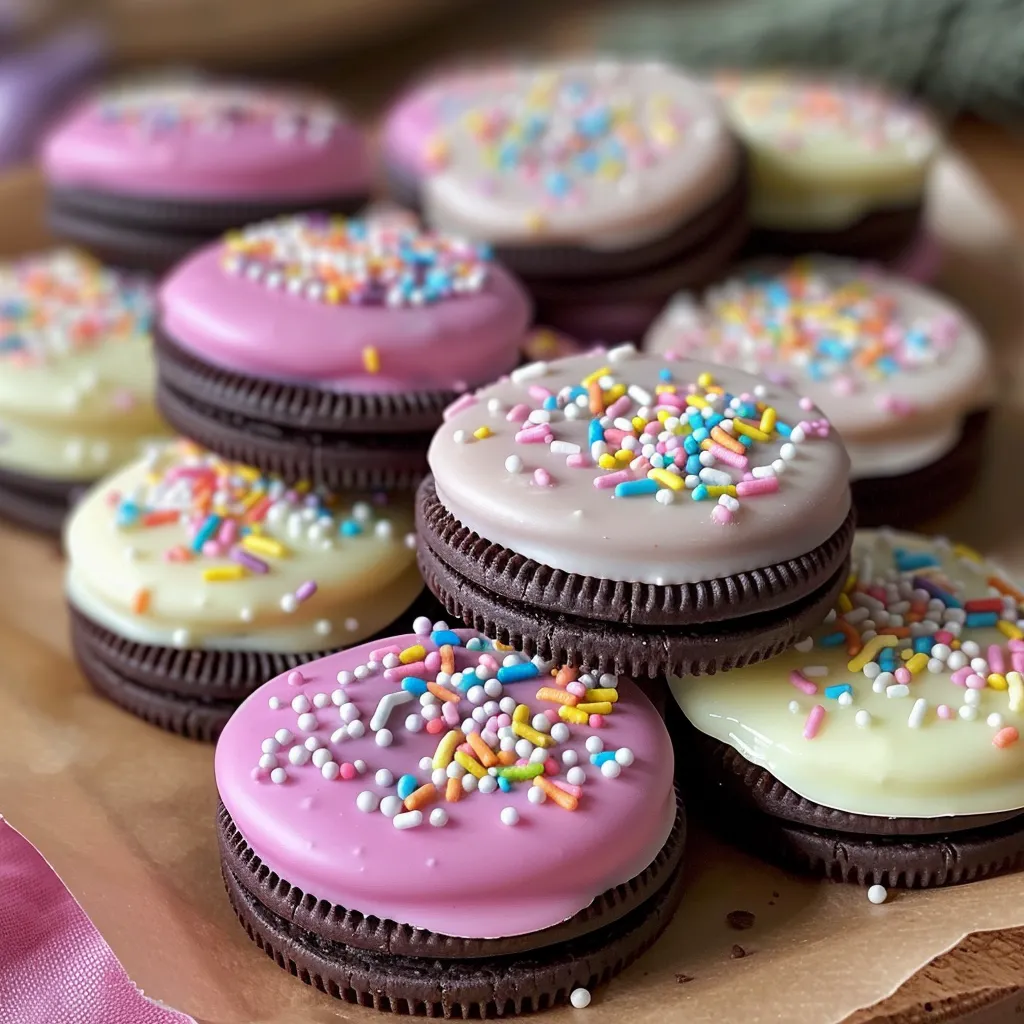
The cleanest dipped cookies come from coating that is warm, fluid, and not overheated. Melt candy coating in 20-30 second bursts, then stir longer than you think you need to. The bowl often has enough heat left to finish melting the last few pieces. If the coating feels heavy, add 1/2 teaspoon neutral oil and stir before adding more.
A fork gives you more control than tongs. Let the cookie sit on the fork, not pierced by it, then tap the handle gently against the bowl. That tapping step is what keeps the bottoms from turning into thick puddles. If you like colorful holiday dipping projects, the same pace works for Easter pretzels and other small treats.
Color Choices That Stay Pretty
Pastels look best when the coating is still mostly white. Start with a tiny amount of oil-based candy color, stir, then decide if it needs more. Strong colors can turn muddy fast, especially purple and green. If you only have regular gel food coloring, test it in a spoonful of coating before coloring the whole bowl. Some gels can make the coating seize.
For a tray that looks balanced, dip some cookies in solid colors and drizzle a few with a contrasting shade. Use a spoon or a small piping bag for thin lines. Add sprinkles right after dipping or right after drizzling. Once the shell sets, sprinkles will roll off instead of sticking.
Easy Ways To Change Them
Regular Oreos give you the classic chocolate-cookie flavor, but Golden Oreos make a softer vanilla version that looks bright under pastel coating. Double Stuf cookies work too, although the thicker center can make them a little more fragile when dipped. If a cookie cracks, save it for snacking and dip a whole one.
You can skip the sticks for a cleaner platter, or add sticks for party favors. To make pops, dip the end of the stick in melted coating, press it gently into the cream center, and let it set before coating the whole cookie. For a fuller Easter dessert table, pair these with Easter Oreo egg truffles or a larger centerpiece like chocolate Easter egg nest cake.
Storage And Serving Notes
Once the coating is firm, keep the cookies in an airtight container with parchment between layers. They hold well at cool room temperature for about a week. If your kitchen runs warm, refrigerate them for up to two weeks, then let them stand for 5 minutes before serving so the coating is not too cold to bite.
For gifting, package each cookie only after the coating has fully set. A bakery box works better than a deep container because the decorated tops will not rub as much. For general kitchen handling and cleanup habits, the FDA kitchen food-safety guide is a useful refresher.
Serving Them On Easter
These cookies are sweet, so they work best in small portions with coffee, milk, or a fruit platter. I like stacking them on a low cake stand where the colors show, with a few cookies cut in half so guests can see the Oreo center. They also fit neatly into lunchbox-style dessert trays for egg hunts and school parties.
If you want more chocolate on the same table, add something with a different texture. Chocolate covered cherries bring a juicy center, while these Oreos stay crisp. That contrast keeps the dessert spread from feeling like the same bite repeated.
FAQs
- Can I use regular chocolate instead of candy melts?
Yes, but plain chocolate behaves differently. For a firm, shiny finish it should be tempered, while candy melts and almond bark are designed to set without that extra step. If using white chocolate chips, add a little coconut oil and expect a softer coating.
- Why did my coating get thick or grainy?
The coating was likely overheated or touched by water. Melt it in short bursts and stir often. If it is only a little thick, stir in 1/2 teaspoon neutral oil at a time until it loosens.
- Can I make Chocolate Covered Easter Oreos ahead?
Yes. Make them 2-4 days ahead and store them in a cool spot in an airtight container. Add parchment between layers so the decorated tops stay neat.
- Do these need to be refrigerated?
They do not need long refrigeration once the coating is set, but a short chill helps them firm up fast. Store them at cool room temperature unless your kitchen is warm. In a warm room, use the refrigerator and let them sit out for a few minutes before serving.
- Can I use Golden Oreos?
Golden Oreos work very well. They give the cookies a lighter vanilla flavor and look pretty under pale yellow, pink, or blue coating. Any sandwich cookie with a firm filling can be dipped the same way.
- How do I package these for Easter baskets?
Let the coating set completely first. Slip each cookie into a small cellophane treat bag or stack a few in a bakery box with parchment between layers. Keep them away from direct sun so the coating does not soften.
