
 Pin it
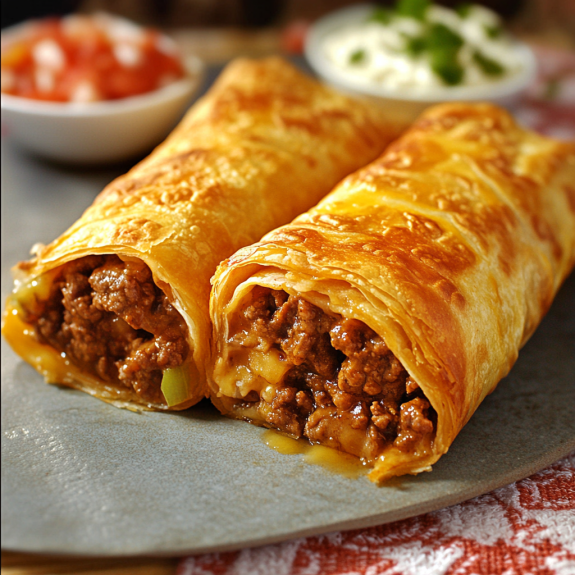
This hearty beef and cheese chimichanga recipe transforms simple ingredients into a restaurant-worthy meal that'll have your family requesting it weekly. The crispy exterior gives way to a savory, spiced beef filling that perfectly balances with the melty cheese and zesty sauce topping.
I first made these chimichangas when hosting an impromptu gathering with friends. Everyone was so impressed that they thought I had ordered from our favorite Mexican restaurant. Now it's become my go-to recipe whenever we need a guaranteed crowd-pleaser.
Ingredients
- Ground beef: 1½ pounds provides the hearty protein base
- Refried beans: Adds creaminess and helps bind everything together
- Medium onion: Chopped for essential aromatic flavor
- Minced garlic: Brings depth to the filling
- Chili powder: Provides authentic Mexican flavor profile
- Cumin: Adds earthy warmth to the spice blend
- Oregano: Brings herbaceous notes that complement the spices
- Large flour tortillas: Look for the 10 inch size for proper folding
- Tomato sauce: Creates the base for both filling and topping
- Diced green chilis: Provide mild heat and authentic flavor
- Chopped jalapeños: Add adjustable spiciness to the sauce
- Shredded taco blend cheese: Use freshly shredded for best melting
- Salt and pepper: For seasoning to taste
- Oil for frying: Canola or vegetable oil works best
Step-by-Step Instructions
- Brown the beef:
- Cook ground beef in a skillet over medium high heat until completely browned. This should take about 5 7 minutes with occasional stirring to break up larger chunks. Once fully cooked, drain excess fat to prevent greasy chimichangas.
- Create the filling mixture:
- Add refried beans, chopped onion, minced garlic, ½ cup tomato sauce, and all seasonings to the cooked beef. Stir thoroughly while cooking for 5 minutes over medium heat. This step allows the flavors to meld together and the onions to soften slightly.
- Prepare tortillas:
- Warm tortillas in the microwave for 20 30 seconds until pliable. This critical step prevents cracking when you fold them. Be careful not to overheat as they may become too soft to handle.
- Heat the frying oil:
- Pour about an inch of oil into a deep sided skillet and heat over medium high heat. The ideal temperature is around 350°F. If you drop a small piece of tortilla in, it should bubble moderately but not burn instantly.
- Assemble chimichangas:
- Place approximately ⅓ cup of filling in the center of each warmed tortilla. Fold one end over the filling, tuck in both sides, then roll to close completely. Secure with a toothpick through the seam. This tight wrapping prevents filling from escaping during frying.
- Fry until golden:
- Carefully place assembled chimichangas in hot oil and fry until golden brown and crispy, about 2 3 minutes per side. Work in batches to avoid overcrowding, which lowers oil temperature and results in soggy chimichangas.
- Drain excess oil:
- Remove fried chimichangas and place on paper towel lined tray to absorb excess oil. Allow to cool slightly for 3 5 minutes, which also helps them maintain their shape when served.
- Prepare the sauce:
- Combine remaining tomato sauce, green chilis, and jalapeños in a saucepan. Heat over medium heat until warm, about 5 minutes, stirring occasionally. Season with salt and pepper to taste.
- Serve and garnish:
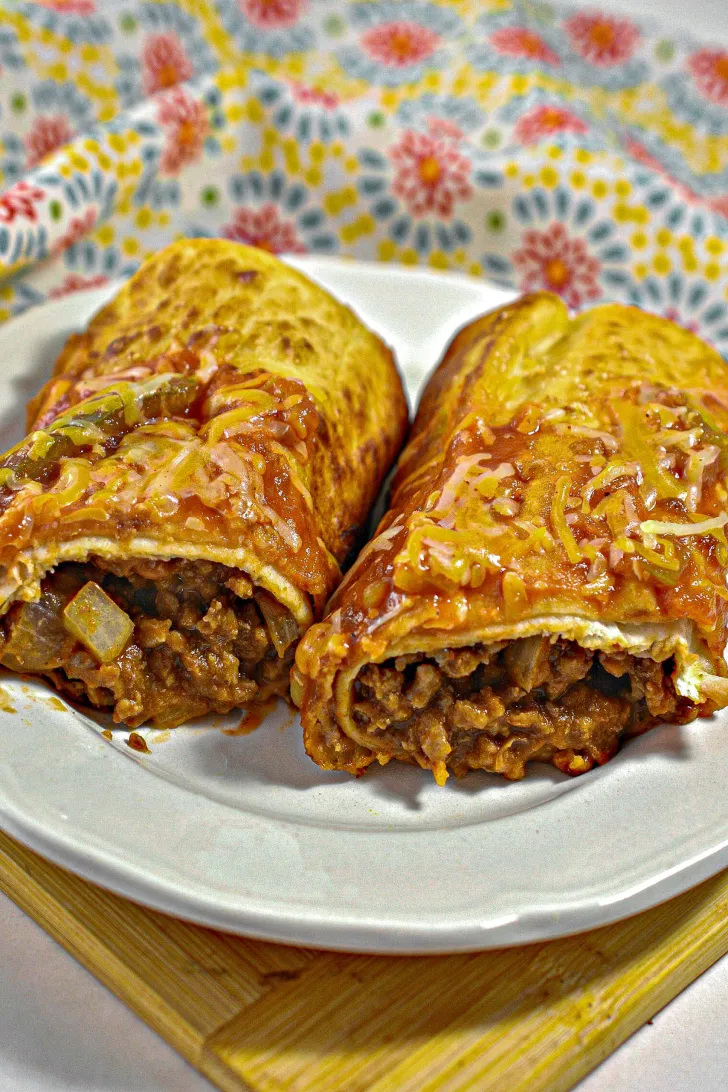
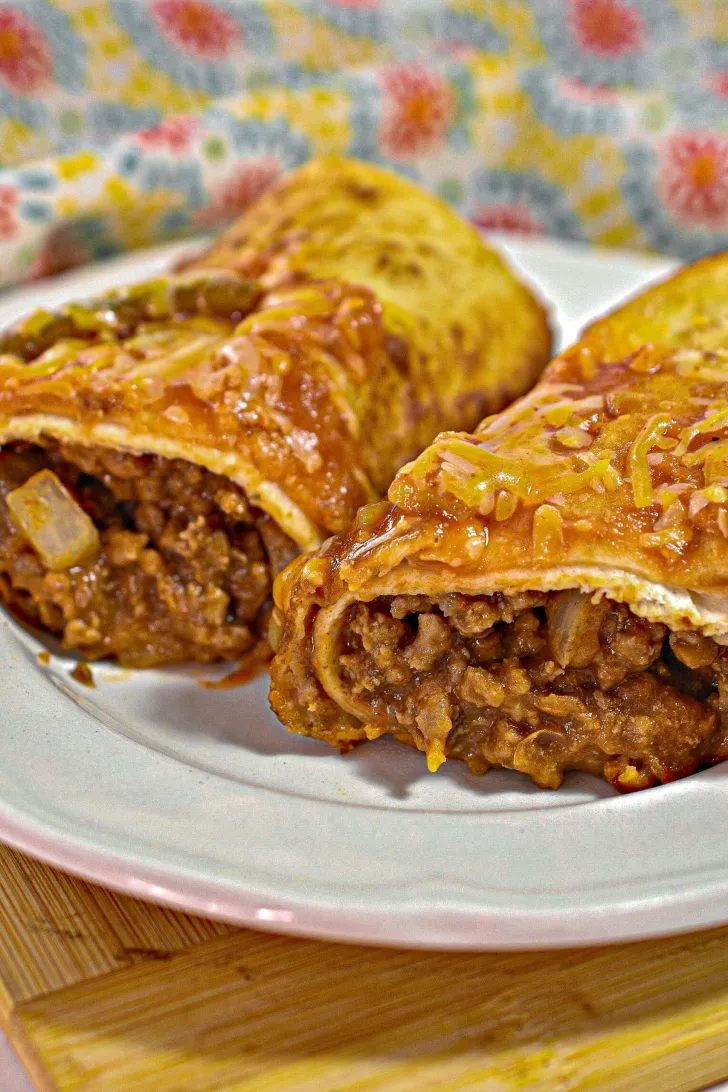
- Remove toothpicks, place chimichangas on plates, ladle warm sauce over top, and sprinkle generously with shredded cheese. The heat from the sauce and chimichangas will melt the cheese perfectly.
 Pin it
The flavor secret in this recipe is definitely the combination of chilis and jalapeños in the sauce. My family was initially skeptical about the heat level, but the refried beans and cheese balance it perfectly. During our last game night, these chimichangas disappeared faster than any other dish I served.
Make Ahead Options
These chimichangas are perfect for meal prep. You can prepare the filling up to two days in advance and store it in an airtight container in the refrigerator. When ready to serve, simply reheat the filling, assemble, and fry as directed. You can also completely assemble the chimichangas, wrap them individually in plastic wrap, and refrigerate for up to 24 hours before frying. This makes them perfect for busy weeknights or entertaining.
Baked Alternative
If you prefer a healthier version with less oil, these chimichangas can be baked instead of fried. Preheat your oven to 400°F and place the assembled chimichangas on a baking sheet. Brush them lightly with oil on all sides, then bake for 20 25 minutes until golden and crispy. The texture will be slightly different than fried, but still delicious and with significantly less fat.
Serving Suggestions
Transform these chimichangas into a complete Mexican feast by serving them with traditional sides. Spanish rice, black beans, guacamole, and fresh pico de gallo create a restaurant worthy spread. For a refreshing contrast to the rich chimichangas, offer a simple cabbage slaw dressed with lime juice and cilantro. Consider setting up a toppings bar with sour cream, extra cheese, diced avocado, and different hot sauces so everyone can customize their plate.
 Pin it
Kitchen Equipment Notes
Using the right equipment makes this recipe much easier to execute. A large 12 inch skillet with high sides works best for frying, as it maintains oil temperature and reduces splatter. A candy thermometer helps ensure your oil stays at the optimal frying temperature of 350°F. For draining, a wire cooling rack placed over paper towels works even better than paper towels alone, as it allows air to circulate and keeps the bottom of the chimichangas crispy.
Frequently Asked Questions
- → What ground beef is best for chimichangas?
Choose lean ground beef (such as 85% lean) to reduce excess grease while retaining flavor for the filling.
- → Can I bake instead of frying chimichangas?
Yes, preheat the oven to 400°F, place chimichangas seam-side down on a baking sheet, brush with oil, and bake until golden brown.
- → What toppings pair well with chimichangas?
Top with shredded cheese, sour cream, guacamole, chopped cilantro, or fresh salsa for added flavor.
- → Can I make chimichangas ahead of time?
You can prepare the filling and store it in the refrigerator for 1-2 days. Assemble and fry them when ready to serve.
- → How do I keep chimichangas crispy?
Serve them immediately after frying and avoid overloading them with sauce to maintain their crispness.