
 Pin it
The Importance of Homemade Whipped Cream
Homemade whipped cream is more than just a topping; it's an essential component that can transform ordinary desserts into extraordinary ones. Imagine a slice of pie, a scoop of ice cream, or a warm cup of hot chocolate without the rich, creamy texture of freshly whipped cream—it's just not the same. Homemade whipped cream enhances the flavor and presentation of desserts like cakes, pies, and ice cream sundaes, making them more appealing and indulgent. One of the significant benefits of homemade whipped cream is the use of fresh ingredients. Unlike store-bought canned whipped cream, which is often laden with preservatives and artificial flavorings, homemade whipped cream is made with natural ingredients. This means you can avoid the chemical additives and enjoy a cleaner, fresher taste. Additionally, you have the flexibility to adjust the sweetness and flavor to your liking, making it a perfect fit for any dessert.Basics of Making Whipped Cream
Making whipped cream is a fundamental technique in baking and cooking that every beginner should master. It's part of our "Basics" series aimed at helping you develop your culinary skills from the ground up. Whipped cream is one of those simple yet versatile elements that can elevate a wide range of desserts and beverages. With a little practice, you'll find that whipping cream becomes second nature, and you'll be able to create perfect, fluffy peaks every time.The Cold Truth: Importance of Temperature
The temperature of your ingredients and equipment is crucial when making whipped cream. Cold ingredients and utensils are essential for achieving the right consistency. Here are some tips to ensure you're starting with the right conditions:
Chill Your Equipment: Place the mixing bowl and whisk attachment in the freezer for at least 15-30 minutes before starting. If you're using a hand mixer, make sure the beaters are also chilled. This step is vital because cold equipment helps to whip the cream more efficiently and prevents it from becoming too warm and runny.
Use Very Cold Heavy Whipping Cream: The cream itself should be very cold. Heavy whipping cream or heavy cream works best because it has a high fat content (typically 30%-36%), which is necessary for it to whip up properly. If your cream is not cold enough, it won't whip as well, and you might end up with a watery or over-whipped consistency.
Quick Tips and Volume Increase
Here are some quick tips to keep in mind when making homemade whipped cream:
Volume Increase: Remember that 1 cup of heavy whipping cream will double in volume when whipped, resulting in about 2 cups of whipped cream. This is useful to know when planning how much cream to use for your recipe.
Right Type of Cream: Always use heavy whipping cream or heavy cream for the best results. Whipping cream, which has a lower fat content, will not whip as well and may result in a less stable and less fluffy texture.
Ingredients
Heavy Whipping Cream (or Heavy Cream): The high fat content in heavy cream ensures it can whip into stiff peaks.
- 1 cup heavy whipping cream
- 2 tbsp powdered sugar or granulated sugar
- 1 tsp pure vanilla extract
Instructions
- Preparing the Equipment:
- Chill the bowl and whisk attachment in the freezer for 15 minutes.
- Preparing the Mixture:
- Combine cold heavy whipping cream with sugar and vanilla extract.
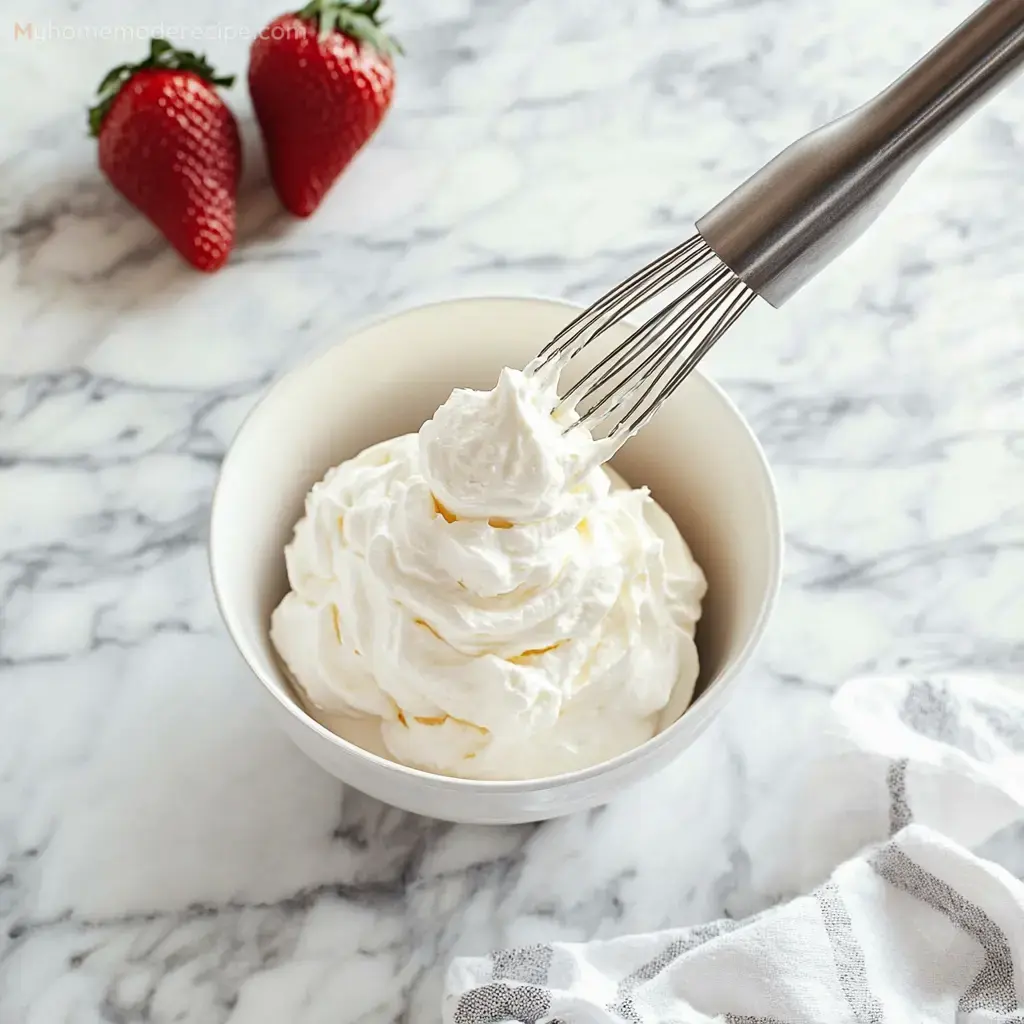
- Whipping:
- Start whipping at medium speed, then increase to medium-high speed until soft or stiff peaks form. Stop and scrape sides to ensure even whipping.