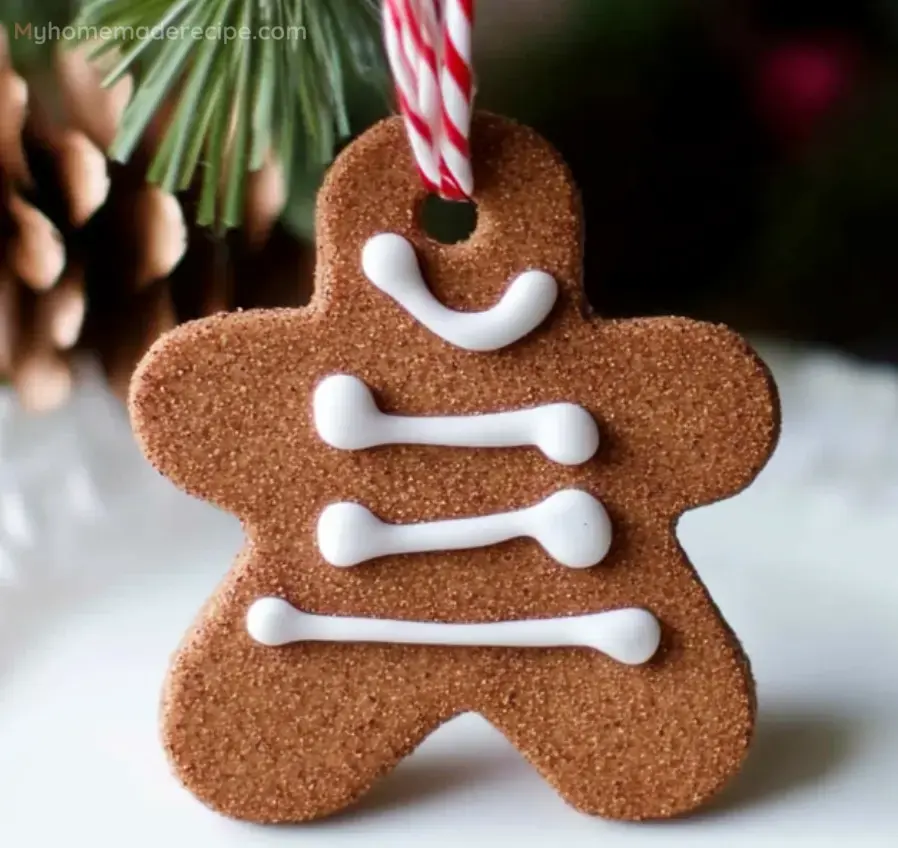
These Cinnamon Ornaments are a delightful holiday DIY project, combining applesauce, cinnamon, and glue for a simple, fragrant decoration. Perfect for crafting with kids, they add a homemade touch to any Christmas tree!
Ingredients
- Applesauce (3/4 cup): Adds moisture and helps bind the ingredients together for the dough.
- Cinnamon (1 cup): Provides the signature scent and color for these ornaments.
- Liquid Glue (1/8 cup): Helps to harden the ornaments, ensuring they last through the season.
- Extra Cinnamon: Used for dusting the surface to prevent sticking when rolling out the dough.
- Christmas Cookie Cutters: For cutting festive shapes like stars, trees, and snowflakes.
- Straw: Used to poke holes in the ornaments for hanging.
- Ribbon: To hang the ornaments on the tree, adding a festive finishing touch.
Instructions
- Step 1: Mix Ingredients
- In a large bowl, combine applesauce, cinnamon, and glue. Mix until well combined, adjusting with more applesauce if too dry or more cinnamon if too wet. The dough should come together as a ball and not be crumbly.
- Step 2: Roll Out the Dough
- On a lightly dusted surface with extra cinnamon, roll out the dough to about 1/4 inch thickness. Dusting with cinnamon helps prevent the dough from sticking.
- Step 3: Cut Out Shapes
- Use Christmas-themed cookie cutters to cut out shapes from the dough, creating stars, trees, snowflakes, or any desired festive shapes.
- Step 4: Add Holes for Hanging
- While the dough is still moist, use a straw to poke a hole near the top of each ornament. This hole will be used to add a ribbon for hanging later.
- Step 5: Bake
- Place the ornaments on a parchment-lined baking sheet and bake in a preheated oven at 200°F for 30 minutes.
- Step 6: Air Dry
- After baking, let the ornaments air dry for 24-48 hours to ensure they harden completely.
- Step 7: Decorate and Hang
- Once dry, add ribbons through the holes for hanging. Optionally, decorate with puffy paint for added festive flair, then enjoy your ornaments on the tree!
Serving and Storage Tips
- These ornaments are meant for decoration, not consumption. Keep them in a cool, dry place to maintain their scent and structure.
- Store unused ornaments in an airtight container to preserve their fragrance for next season.
Helpful Notes
- Adjust the dough’s consistency by adding small amounts of applesauce or cinnamon as needed.
- Make sure the ornaments are fully dry before adding any decorations or hanging to prevent breakage.
- Use natural applesauce for best results, as it tends to mix better with the cinnamon.
Tips from Well-Known DIY Crafters
- DIY expert Martha Stewart recommends adding a few drops of essential oils to the dough for an extra-strong scent.
- Crafter Kristin Gambaccini suggests dusting with cinnamon after baking to refresh the fragrance.
- DIY blogger Ana White recommends keeping ornaments in a cool, dry space to prolong their lifespan.
Why You'll Love This Craft
- A fun and easy project for both kids and adults during the holiday season.
- Inexpensive and made with simple ingredients you might already have on hand.
- Brings a warm, cinnamon scent that fills the room and adds holiday cheer.
- Perfect for adding a handmade touch to your Christmas tree decorations.
Variations
- Add a few drops of clove or nutmeg essential oil for a spiced scent variation.
- Decorate with glitter or metallic paint for a sparkling holiday look.
- Use different shaped cookie cutters to create a variety of festive ornaments.
- Incorporate a touch of red food coloring to add a warm hue to the ornaments.
 Pin it
