 Pin it
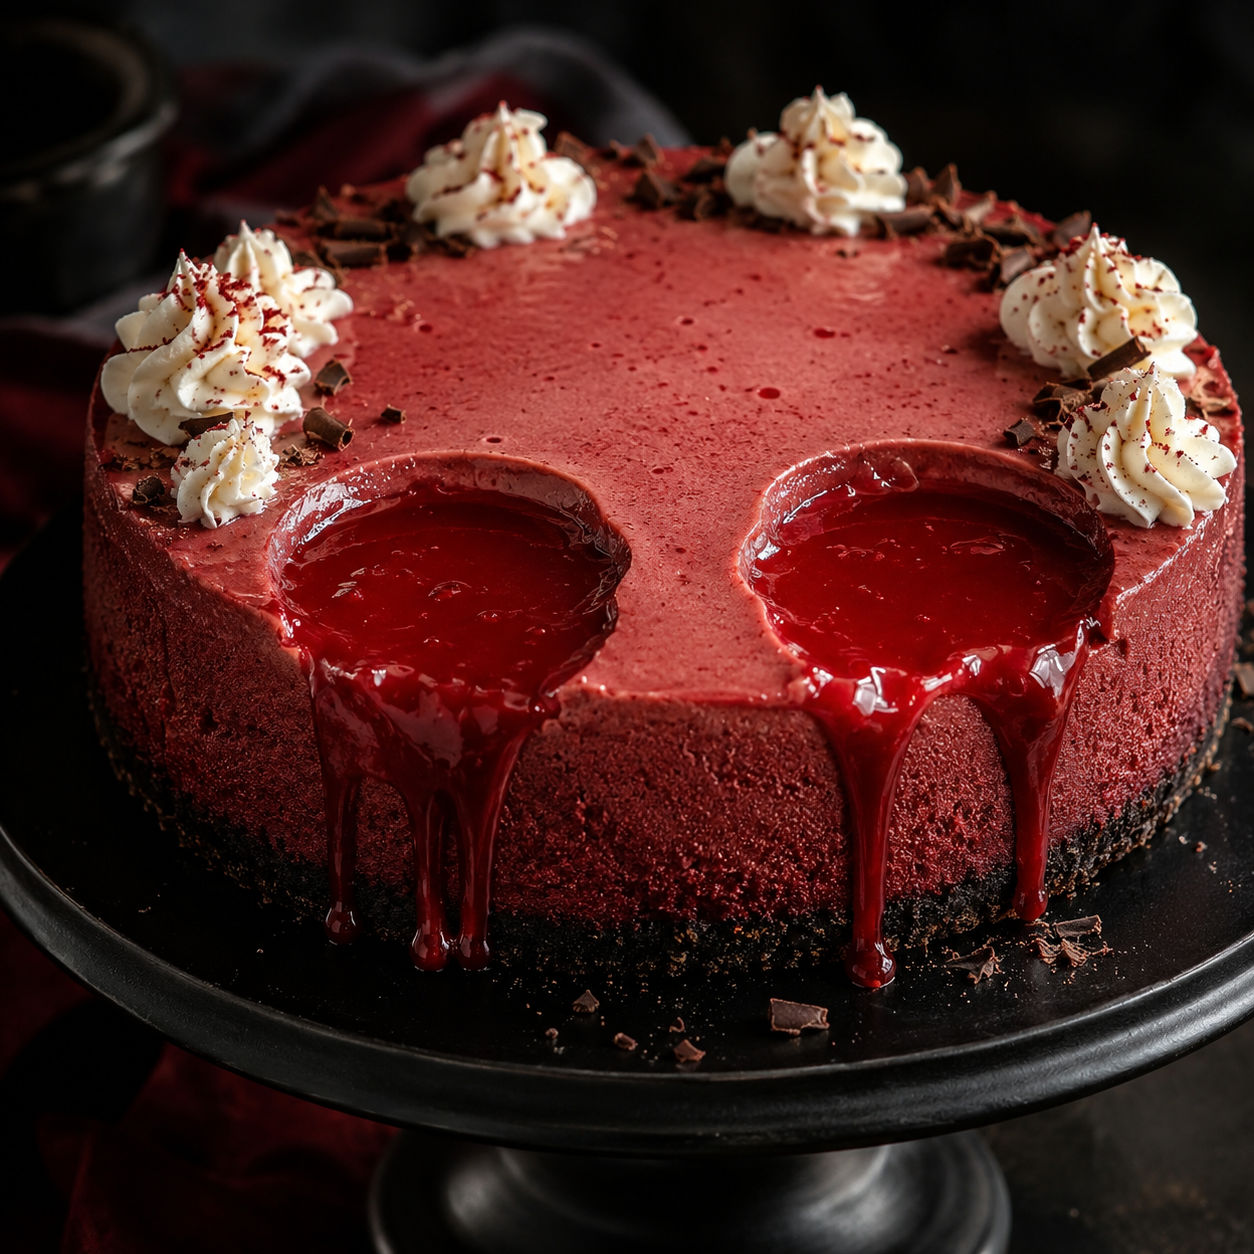
Vampire Bite Red Velvet Cheesecake is the kind of dessert that makes people stop before they take a slice. The inside is creamy and cocoa-kissed, the crust is dark and buttery, and the raspberry sauce gives it that red drip without making the whole cake too sweet.
I like this for Halloween because most of the work happens the day before. Bake it, chill it, then add the bite marks right before serving while the sauce is glossy and thick.
Vampire Bite Red Velvet Cheesecake Ingredients
Use full-fat cream cheese and sour cream here. Low-fat dairy can bake up thin and slightly chalky, which is not what you want in a cheesecake meant to slice clean.
Gel food coloring gives the strongest red with the least extra liquid. For the sauce, fresh or frozen raspberries both work as long as you strain the seeds.
- Chocolate cookie crumbs. Make a dark, crisp base that tastes like cocoa without fighting the filling.
- Unsalted butter. Holds the crust together and keeps the flavor clean.
- Cream cheese. Gives the cheesecake its dense, smooth body.
- Granulated sugar. Sweetens the filling and helps it bake with a tender texture.
- Sour cream. Adds tang and softens the richness of the cream cheese.
- Eggs. Set the filling so it slices neatly after chilling.
- Cocoa powder. Brings the mild chocolate note that makes red velvet taste like itself.
- Red gel food coloring. Gives the filling its deep red shade without watering it down.
- Vanilla and salt. Round out the cocoa and dairy flavors.
- Raspberries, lemon, and cornstarch. Cook into a glossy sauce that drips like bite marks but tastes bright and fresh.
Bake, Chill, Then Bite
- Set up the pan. Heat the oven to 325 F and wrap the outside of a 9-inch springform pan tightly with foil. Line the bottom with parchment so the crust releases cleanly.
- Make the crust. Mix chocolate cookie crumbs with melted butter, press firmly into the pan, and bake for 10 minutes. Let it cool while you make the filling.
- Mix the filling. Beat cream cheese and sugar until smooth, then mix in sour cream, cocoa, food coloring, vanilla, flour, and salt. Add the eggs one at a time on low speed so you do not whip in extra air.
- Bake gently. Pour the batter over the crust and set the pan in a roasting pan. Add hot water halfway up the outside and bake until the edges are set and the center still jiggles, about 55-65 minutes.
- Cool slowly. Turn off the oven, crack the door, and let the cheesecake rest inside for 1 hour. Cool to room temperature, then chill at least 6 hours.
- Make the sauce. Simmer raspberries, sugar, and lemon until broken down. Stir in the cornstarch slurry, cook until glossy, then strain and cool.
- Add the bite marks. Poke two small holes near the center with a skewer. Spoon raspberry sauce into the holes and let it run down the top and sides.
Keep the Filling Smooth
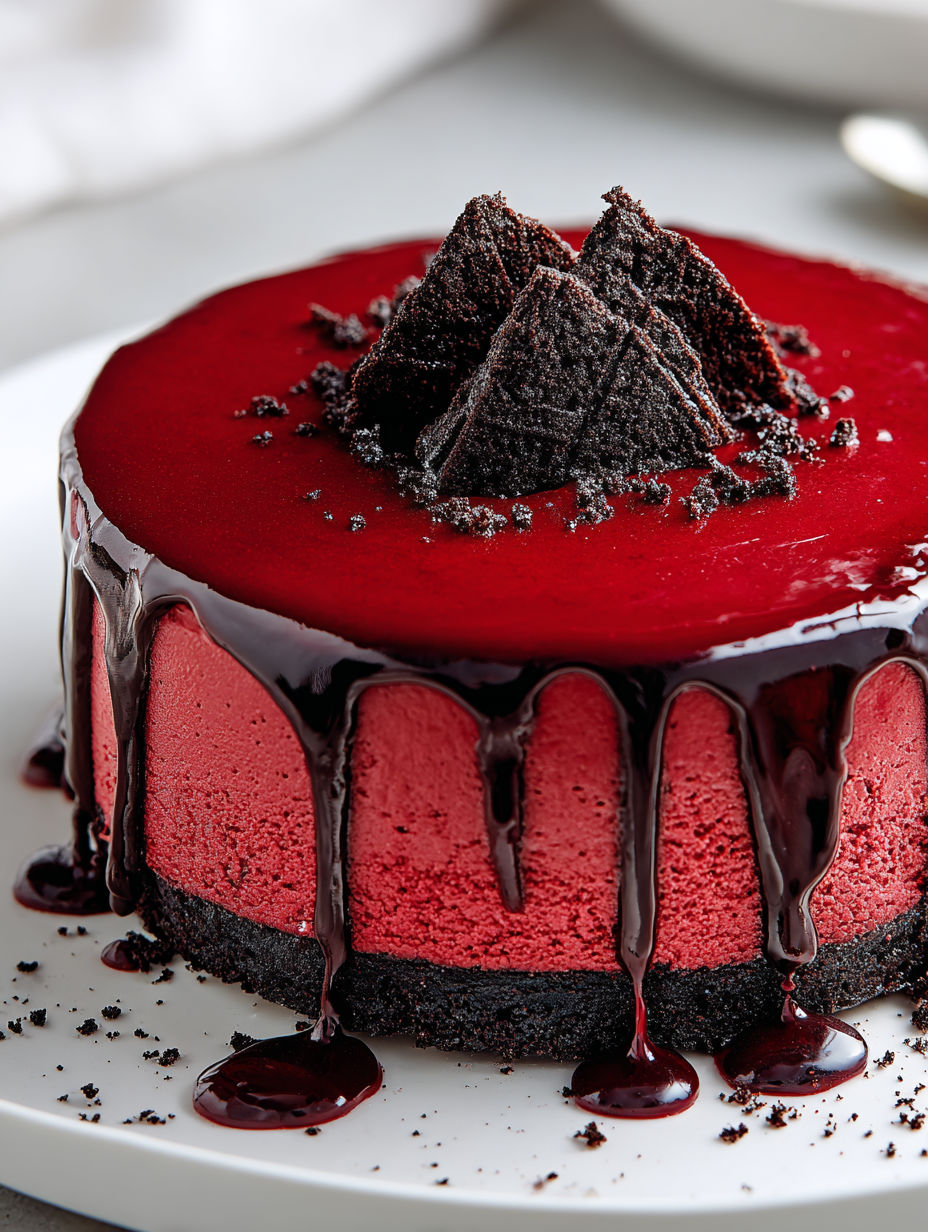
Cheesecake rewards patience more than strength. Start with truly softened cream cheese, not cold blocks that have sat out for ten minutes. When the dairy is cool in the center, little lumps hide in the batter and stay there after baking.
Once the eggs go in, keep the mixer low. Too much air makes the cake rise, puff, and fall. That is when cracks show up. A water bath helps because the heat around the pan stays gentle and moist. If you want a deeper read on cheesecake texture, the baking guides at King Arthur Baking are a useful reference.
Make the Drips Look Real
The vampire bite effect works best when the raspberry sauce is cool but still spoonable. If it is hot, it slides everywhere and stains the top in a wide puddle. If it is too cold, it sits in a blob. Aim for the texture of loose jam.
Poke the holes after the cheesecake is unmolded and chilled. I use a skewer and twist it gently so the sauce has somewhere to settle. For a sweeter fruit finish, the same red velvet and berry pairing shows up nicely in Red Velvet Strawberry Cheesecake and Strawberry Cheesecake Red Velvet Cupcakes.
Party Timing That Works
Bake the cheesecake the night before. It needs time to chill all the way through, and a cold cheesecake is much easier to decorate. The raspberry sauce can also be made ahead and kept covered in the fridge.
For a dessert table, add the bite marks after the cake is on its serving plate. That way the drips land naturally and you do not have to move it again. If you are building a full spooky spread, pair it with No Bake Halloween Cheesecake or small pieces of Vampire Fudge.
Slicing and Storing
For clean slices, dip a long knife in hot water, wipe it dry, and cut straight down. Wipe between every slice. It sounds fussy, but it takes less than a minute and keeps the red filling from smearing into the pale sauce edges.
Keep this cheesecake refrigerated until serving because it contains eggs and dairy. The FDA egg safety guidance is a good reminder for baked desserts that still need cold storage. Leftovers keep for up to 5 days, tightly covered. Freeze plain slices for up to 2 months, then add fresh sauce after thawing.
Summary
Serve this chilled and slice with a warm clean knife for the sharpest red velvet layers.

FAQs
- Can I make Vampire Bite Red Velvet Cheesecake ahead of time?
Yes. Bake and chill the cheesecake one day ahead for the cleanest texture. Add the raspberry bite marks within a few hours of serving so the drips stay glossy.
- Can I use strawberry sauce instead of raspberry?
Yes. Strawberry sauce is sweeter and a little softer, so cook it until it coats a spoon before cooling. Cherry sauce also works if you want a deeper red color.
- Why did my cheesecake crack?
Cracks usually come from overmixing, sudden temperature changes, or baking too long. Use room-temperature ingredients, mix on low once the eggs go in, and cool the cheesecake slowly in the turned-off oven.
- Do I have to use a water bath?
A water bath gives the smoothest top and gentlest heat. If you skip it, place a pan of hot water on the lower oven rack and watch the cheesecake closely near the end.
- Can I make this without food coloring?
Yes, but it will look more like chocolate cheesecake than red velvet. The flavor still works because the cocoa, vanilla, cream cheese, and raspberry sauce carry the recipe.
- How should I store leftovers?
Keep slices covered in the refrigerator for up to 5 days. For longer storage, freeze plain slices without extra sauce, then thaw overnight in the fridge.
