
 Pin it
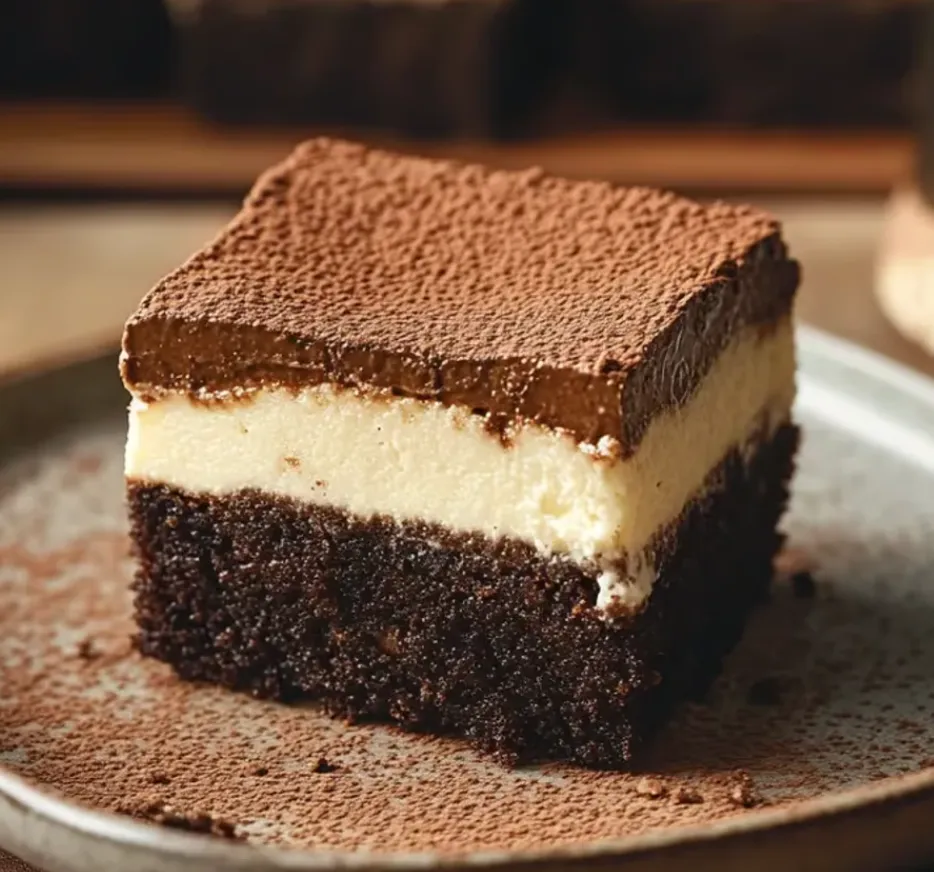
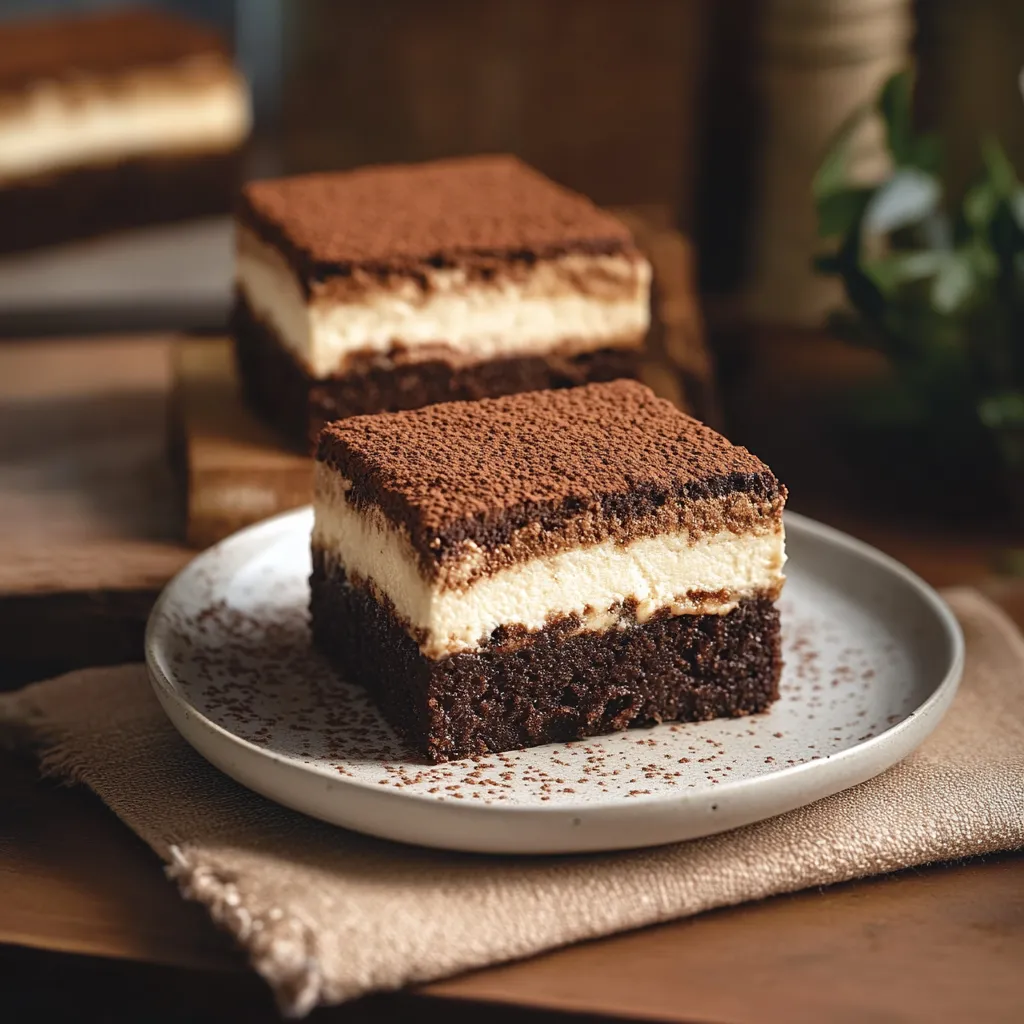
This decadent fusion dessert combines the rich, fudgy texture of classic brownies with the sophisticated flavors of Italian tiramisu. Perfect for when you're craving something indulgent that will impress even the most discerning dessert lovers.
I first made these tiramisu brownies for a dinner party when I couldn't decide between serving brownies or tiramisu. The combination was such a hit that guests were fighting over the last pieces and requesting the recipe before they even left my home.
Ingredients
- Dark or semi-sweet chocolate: Offers richness and depth that milk chocolate simply cannot match
- Natural cocoa powder: Provides that classic brownie flavor without being too bitter
- Unsalted butter: Creates a moist texture and allows you to control the salt level
- Large eggs: At room temperature incorporate better giving your brownies the perfect structure
- Granulated sugar: Provides sweetness while brown sugar adds moisture and a subtle caramel note
- All-purpose flour: Keeps the brownies tender while providing just enough structure
Step-by-Step Instructions
- Prepare the Brownie Base:
- First prepare your baking pan by lining it with parchment paper leaving some overhang for easy removal later. Preheat your oven to 350°F (175°C). In a heatproof bowl, combine the chopped chocolate, cocoa powder, and butter. Melt this mixture using a double boiler or in short bursts in the microwave, stirring frequently until completely smooth. Allow the mixture to cool slightly so it won't cook the eggs when combined.
- Mix the Wet Ingredients:
- In a large bowl, whisk together the eggs and both sugars until the mixture becomes lighter in color and slightly thickened. This aerates the batter which helps create that perfect brownie texture. Gradually add the cooled chocolate mixture to the egg mixture, whisking constantly to ensure everything is well incorporated.
- Add the Dry Ingredients:
- Gently fold the flour into the chocolate mixture using a rubber spatula. Be careful not to overmix as this can develop the gluten in the flour and result in tough brownies. Stop mixing as soon as no dry streaks remain in the batter.
- Bake the Brownies:
- Pour the brownie batter into your prepared pan and spread it evenly using an offset spatula. Bake for approximately 25-30 minutes or until a toothpick inserted in the center comes out with a few moist crumbs but not wet batter. Allow the brownies to cool completely before adding the tiramisu layers.
- Create the Mascarpone Cream:
- In a large mixing bowl, add the mascarpone cheese. Use an electric hand mixer to beat the mascarpone just until loosened and creamy. Add the whipping cream, powdered sugar, and vanilla extract. Beat until the mixture thickens, about 5-10 minutes. If you tilt the bowl, the mixture should just barely move and slide around the bowl. Set aside.
- Prepare the Ladyfinger Soak:
- In a shallow bowl or tall cup, stir together espresso powder, hot water, and coffee liqueur. Dip each ladyfinger into the espresso soak very briefly, only about 1 second on each side, and let the excess drip off. They should not be completely soaked through otherwise they'll become mushy and fall apart. Arrange the soaked ladyfingers in rows on top of the brownie layer.
- Assemble the Dessert:
- Add the mascarpone cream on top of the ladyfinger layer. Use an offset spatula to smooth the cream into an even layer. Chill the tiramisu brownies in the fridge for about 1 hour before slicing to allow the cream to set and ladyfingers to soften.
- Finish and Serve:
- Right before slicing, use a fine mesh sieve to dust the top of the tiramisu with cocoa powder. Lift the entire sheet of tiramisu brownies out of the pan by pulling up on the parchment paper overhangs. Slice into squares with a large knife, wiping the knife in between each cut for clean-looking slices.
 Pin it
The mascarpone cream is truly the heart of this dessert. I remember watching my Italian grandmother carefully folding her mascarpone mixture, explaining that patience was the secret to the perfect consistency. Now whenever I make these brownies, that memory comes rushing back with each creamy bite.
Make-Ahead Tips
These tiramisu brownies actually taste better after sitting overnight in the refrigerator. The flavors have time to meld together and the ladyfingers soften to the perfect texture. You can make them up to two days in advance, but wait to dust with cocoa powder until right before serving for the most visually appealing presentation.
Ingredient Substitutions
If mascarpone cheese is unavailable or too expensive, you can substitute with cream cheese mixed with a small amount of heavy cream. While not traditional, it provides a similar tangy richness. For a non-alcoholic version, simply omit the coffee liqueur and replace with additional espresso or even chocolate syrup for a mocha variation.
Serving Suggestions
For an elevated presentation, serve these brownies with a small scoop of vanilla gelato on the side and a light dusting of shaved chocolate. If serving at a dinner party, pair with small espresso cups for an authentic Italian experience. These brownies also make an excellent dessert for a brunch gathering alongside freshly brewed coffee.
 Pin it
A dessert masterpiece that blends two classics into one—it will leave your guests craving more!
Frequently Asked Questions
- → Can I make tiramisu brownies ahead of time?
Yes, these tiramisu brownies can be made 1-2 days ahead. Store them covered in the refrigerator, but wait to dust with cocoa powder until just before serving for the best presentation.
- → Can I omit the coffee liqueur?
Absolutely! The coffee liqueur is optional. You can simply use the espresso soaking mixture without it, and the brownies will still have that classic tiramisu flavor.
- → How should I store leftover tiramisu brownies?
Store any leftover tiramisu brownies in an airtight container in the refrigerator for up to 3-4 days. The mascarpone cream layer needs to be kept cold.
- → Can I freeze tiramisu brownies?
While the brownie layer freezes well, the mascarpone cream and ladyfinger layers don't freeze as successfully. It's best to enjoy these fresh or refrigerated rather than freezing.
- → What if I can't find ladyfingers?
If ladyfingers aren't available, you can substitute with thinly sliced pound cake or sponge cake. Lightly toast the slices before soaking in the coffee mixture to help them maintain structure.
- → Can I use instant coffee instead of espresso powder?
Yes, instant coffee can be substituted for espresso powder, though you may want to use a bit more (about 1 tablespoon) to achieve the same intensity of coffee flavor.