 Pin it
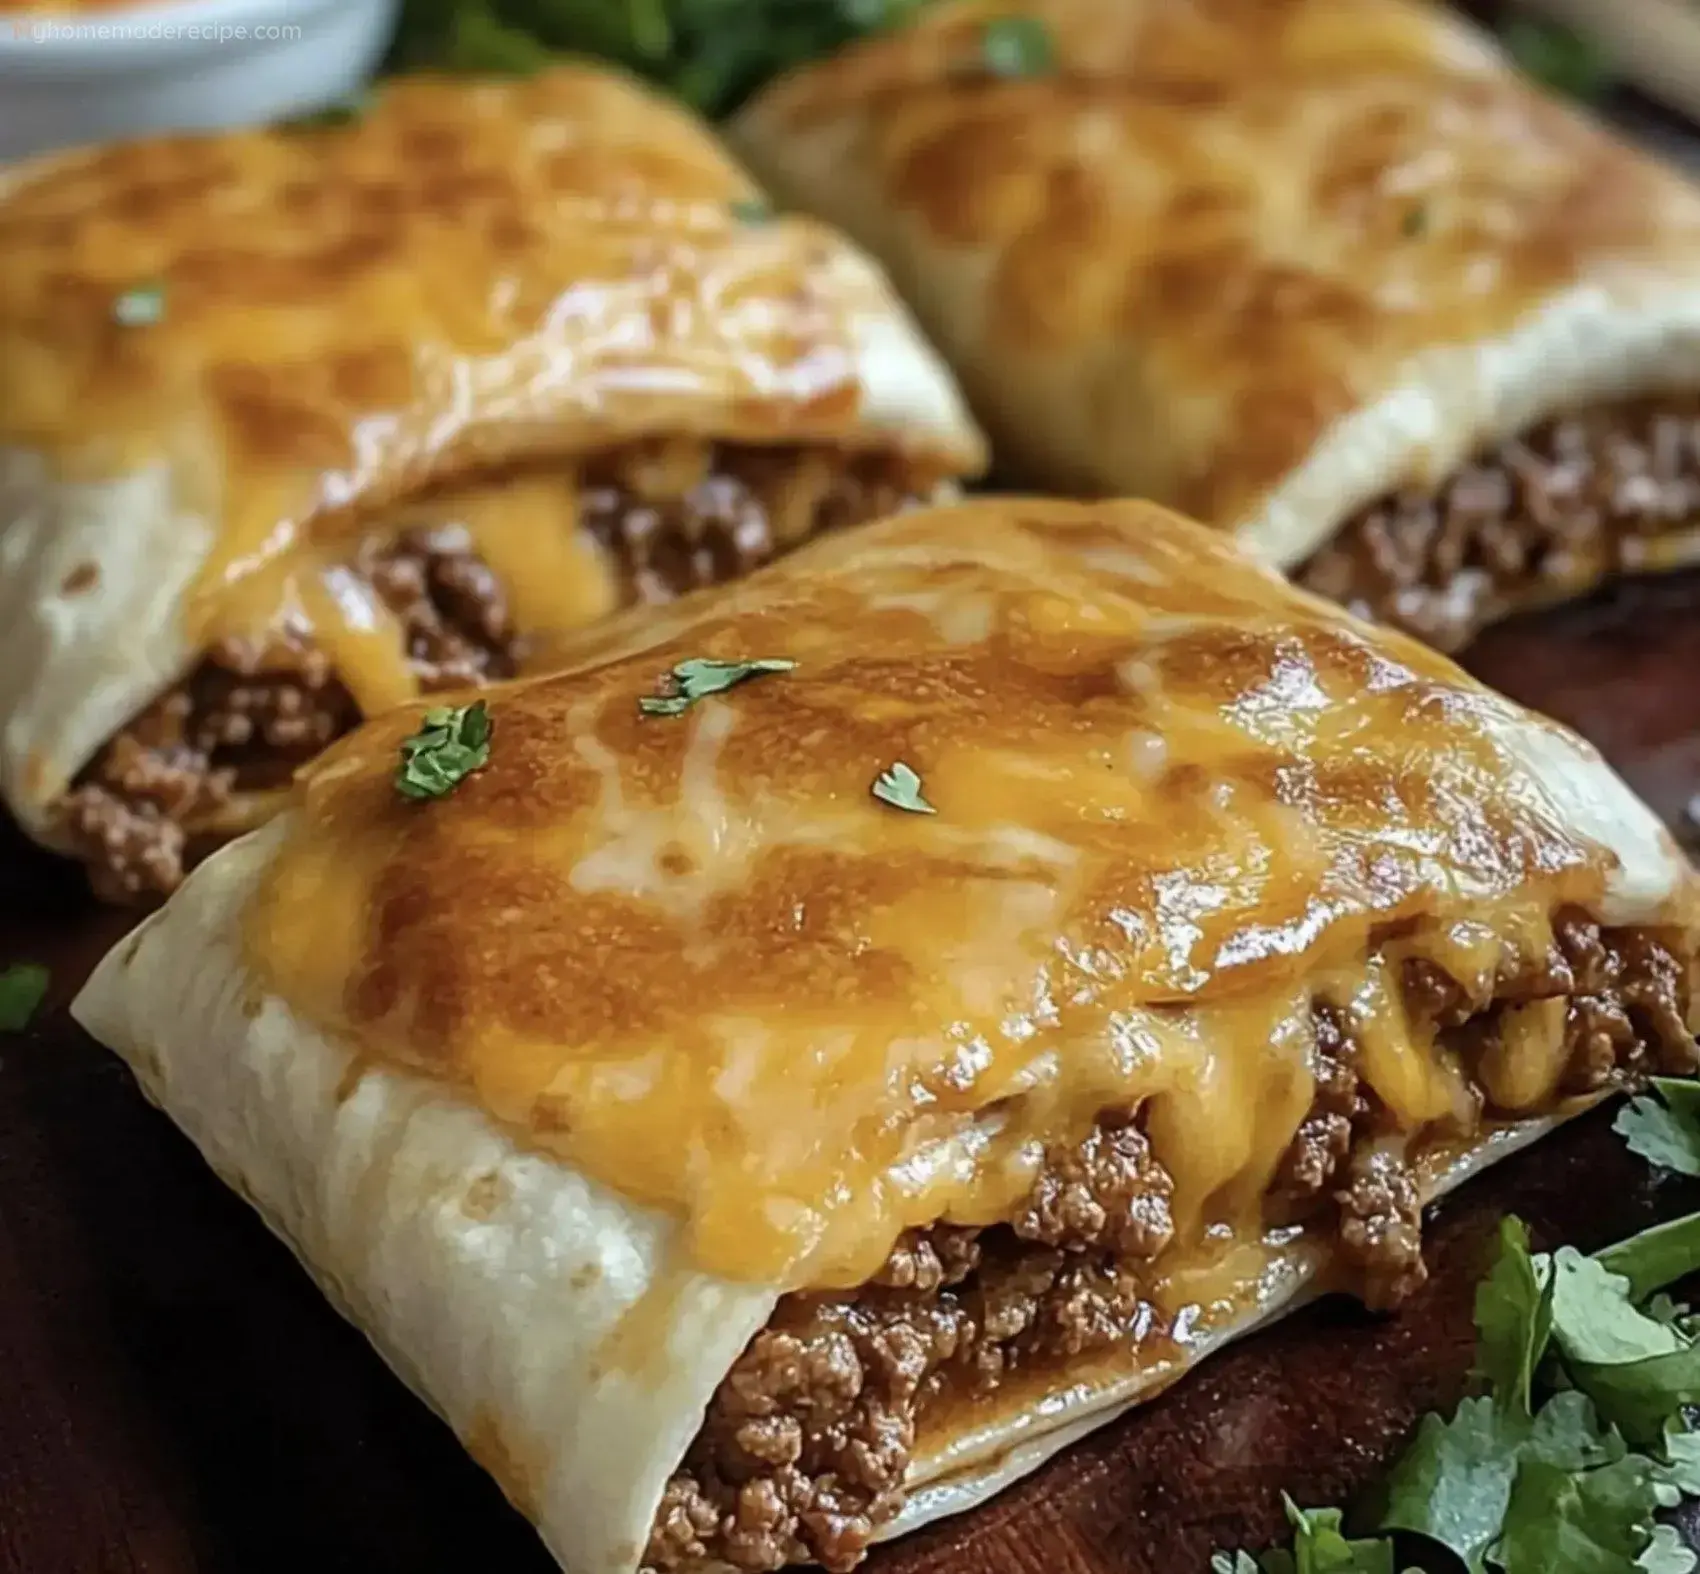
These Loaded Taco-Stuffed Cheesy Pockets are a delightful combination of seasoned beef, creamy cheese, and salsa, all wrapped in a crispy tortilla. Perfect for a quick dinner or a party appetizer, these cheesy pockets are sure to be a hit with everyone. Let’s take a look at the ingredients you’ll need to create these flavorful pockets.
Ingredients
- Taco Seasoning: 1 packet, used to season the ground beef, giving it that classic taco flavor.
- Ground Beef: 1 pound, cooked thoroughly and seasoned with taco seasoning for a savory filling.
- Salsa: ½ cup, mixed with cream cheese to add a tangy, flavorful layer to the pockets.
- Cream Cheese: 8 ounces, softened and blended with salsa to create a creamy, rich filling.
- Melted Butter: 2 tablespoons, brushed on top of the tortillas before baking for a golden, crispy finish.
- Cheddar Cheese: 1 cup, shredded and added to the filling for a gooey, cheesy texture.
- Tortillas: 12 (6-inch) tortillas, used to wrap the delicious filling into perfect pockets.
Instructions
- Step 1: Preheat the Oven
- Preheat your oven to 350°F (175°C). Lightly spray a baking tray with non-stick spray and set it aside.
- Step 2: Cook the Ground Beef
- In a skillet over medium heat, crumble the ground beef and cook it thoroughly until browned. Drain any excess grease from the skillet.
- Step 3: Season the Beef
- Add the taco seasoning packet to the cooked ground beef, following the package directions. Stir well to ensure the seasoning is evenly distributed throughout the beef.
- Step 4: Prepare the Cheese Mixture
- In a medium-sized bowl, beat the softened cream cheese until smooth and creamy. Add the salsa to the cream cheese and blend well until the mixture is thoroughly combined.
- Step 5: Assemble the Pockets
- Hold a tortilla flat in your hand. Place a spoonful of the cream cheese and salsa mixture in the center of the tortilla.
- Add a spoonful of the seasoned ground beef on top of the cheese mixture, ensuring the filling covers the salsa and cheese mix.
- Sprinkle a generous amount of shredded cheddar cheese over the beef, adding a cheesy layer to the pocket.
- Fold the tortilla as you would a burrito, tucking in the sides and rolling it up to enclose the filling securely.
- Step 6: Bake the Pockets
- Place the rolled tortillas seam-side down on the prepared baking tray. Brush the tops of the tortilla rolls with melted butter to help them achieve a golden, crispy finish in the oven.
- Bake in the preheated oven for 15 minutes, or until the tortillas are golden brown and the cheese inside is melted and bubbly.
- Step 7: Serve
- Remove the taco-stuffed cheesy pockets from the oven and let them cool slightly before serving.
- Add your choice of toppings, such as lettuce, additional salsa, sour cream, olives, or more shredded cheese.
- Serve warm and enjoy your Loaded Taco-Stuffed Cheesy Pockets!
Serving and Storage Tips
Loaded Taco-Stuffed Cheesy Pockets are best served hot, right out of the oven, with the cheese still gooey and the tortillas crispy. These pockets make for a satisfying meal on their own, but you can also serve them with a side of Mexican rice, a fresh salad, or some tortilla chips and guacamole. They’re perfect for a casual dinner, game day, or as a party appetizer.
To store leftovers, allow the pockets to cool completely before placing them in an airtight container. Store in the refrigerator for up to 3 days. To reheat, place the pockets in the oven at 350°F for about 10 minutes, or until warmed through. Avoid microwaving, as this can make the tortillas soggy.
