 Pin it
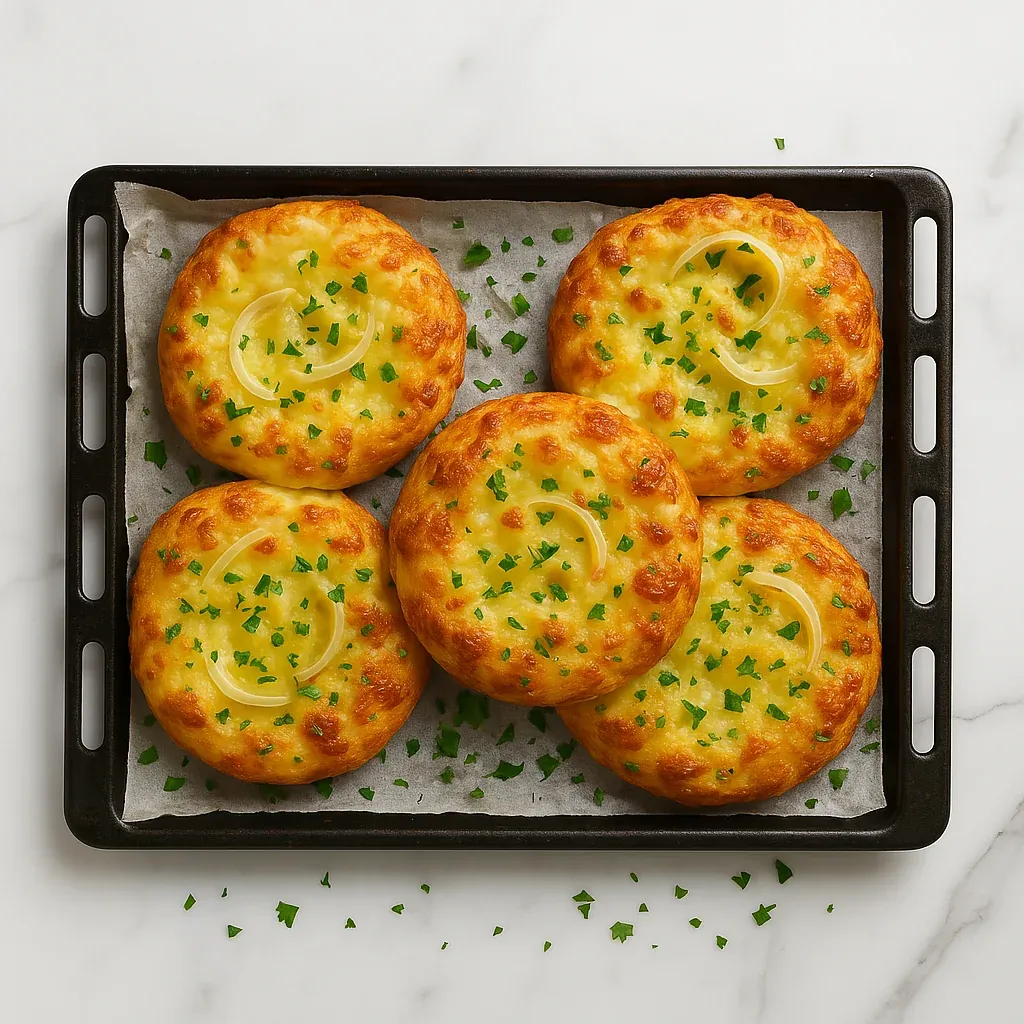
Cheese and onion wrapped in bread - does it get any better? This recipe hits all the comfort food buttons with its gooey center and crisp, cheesy top. Trust me, these golden beauties will disappear fast when fresh from the oven.
I made these for a potluck last month and ended up having to share the recipe with five different people. My son, who normally picks onions out of everything, devoured two without a single complaint.
Essential Ingredients
- Milk: Warm it just until it feels like bath water on your wrist - too hot and you'll kill the yeast
- Honey: Feeds the yeast and adds a subtle sweetness that balances the savory elements
- Instant Yeast: The workhorse behind that perfect rise; check the expiration date before using
- Flour: Regular all-purpose works great, no need for anything fancy
- Young Cheese: Go for something that melts well without becoming too liquid
- Cheese Spread: Adds creaminess to the filling and helps bind everything together
- Yellow Onion: Sliced thin, these get golden and slightly sweet when baked on top
I've tried swapping in a bit of smoked gouda in the filling mixture, and it takes these buns to a whole new level. The smokiness cuts through the richness perfectly.
Step-by-Step Cooking Instructions
- Step 1:
- Get your yeast going - Warm up the milk until it's just slightly warm to touch (not hot!). Stir in the honey until dissolved, then sprinkle yeast over top. Let it sit for about 5 minutes until foamy and active. If nothing happens, your yeast might be too old, and it's better to start fresh.
- Step 2:
- Mix your dough - Beat an egg and add it to the yeast mixture. Stir in the softened butter, then add flour and salt. Mix until it comes together, then turn out onto your counter for kneading.
- Step 3:
- Put some muscle into it - Knead that dough for a full 10-12 minutes until it's smooth and elastic. It might seem like forever, but this step builds the structure that makes your bread soft and airy. The dough should feel like an earlobe when it's ready - slightly tacky but not sticky.
- Step 4:
- First rise - Place your dough ball in an oiled bowl, cover with a kitchen towel, and set somewhere warm for about an hour. I like to turn the oven light on (not the oven itself) and let it rise in there, away from drafts. You'll know it's ready when you poke it and the indentation stays.
- Step 5:
- Prep your filling - While waiting, cut up your young cheese and mix it with the cheese spread in a food processor until smooth. Divide this mixture into 6 equal portions. Then slice your onion into thin half-rings and mix with the grated cheese for the topping.
- Step 6:
- Shape time - Once risen, punch down the dough gently and divide into 6 equal pieces. Shape each into a ball, then flatten into a disc about 5 inches across, with the center slightly thicker than the edges.
- Step 7:
- Fill 'em up - Place a portion of cheese filling in the center of each disc. Pull the edges up and over, pinching firmly to seal completely. Place seam-side down and gently flatten a bit with your palm.
- Step 8:
- Get ready to bake - Place the filled dough balls on a parchment-lined baking sheet, leaving space between them. Brush with beaten egg and pile on the onion-cheese mixture, pressing lightly so it sticks.
- Step 9:
- Second rise - Cover loosely and let rise again for 30 minutes, or until noticeably puffed. Meanwhile, preheat your oven to 400°F.
- Step 10:
- Bake to golden perfection - Slide the baking sheet into the hot oven and bake for 12-18 minutes. Keep an eye on them - you want deep golden brown tops with melty, crispy cheese. Let them cool just enough that you won't burn your mouth before digging in.
 Pin it
The first batch I made, I rushed the kneading and they came out dense. Now I set a timer and make sure to give them the full kneading time - makes all the difference in how light and airy they turn out.
My mom used to make something similar when I was growing up, though her version used feta instead. Every time I make these, I think of Sunday afternoons in her kitchen, waiting impatiently for them to come out of the oven.
A Complete Meal
These buns pair perfectly with a simple tomato soup - the tanginess of the soup against the rich, creamy cheese is a match made in heaven. It's become my go-to comfort meal on rainy days.
For a quick dinner, I'll sometimes serve these alongside a big green salad with a sharp vinaigrette. The acid from the dressing cuts through the richness of the bread beautifully.
If you're having friends over, these make impressive appetizers. Just make them slightly smaller (divide the dough into 8-10 portions instead of 6) and watch them disappear within minutes of hitting the table.
The Right Cheese Makes All The Difference
After making these countless times, I've found that the best filling comes from a mix of fontina and young gouda. The fontina melts like a dream, while the gouda adds just enough flavor without overwhelming.
For the topping, I like a mix of sharp cheddar and low-moisture mozzarella. The cheddar brings the flavor while the mozzarella gives you that Instagram-worthy cheese pull when you tear them open.
Don't be afraid to play around with the cheeses based on what you have in your fridge - these buns are pretty forgiving, and experimenting is half the fun of cooking!
 Pin it
I've been making these buns for years now, tweaking the recipe each time, and they still make me happy every single time they come out of the oven. There's something about the combination of soft bread, gooey cheese, and crispy topping that just hits all the right notes. When my kitchen smells like baking bread and caramelizing onions, everything feels right with the world. Worth every minute of kneading, I promise!
Frequently Asked Questions
- → Can I use active dry yeast instead of instant yeast?
- Yes, you can substitute active dry yeast. Just proof it in the warm milk with honey first for about 10 minutes until foamy before proceeding with the rest of the recipe.
- → What kind of cheese works best for the filling?
- A semi-firm young cheese like young Gouda, Havarti, or young Cheddar works well. Avoid very soft cheeses as they might make the filling too runny or very aged cheeses that don't melt as smoothly.
- → Can I make this bread ahead of time?
- You can prepare the dough a day ahead and let it rise slowly in the refrigerator overnight. Bring it to room temperature before shaping, filling, and proceeding with the second rise.
- → How do I know when the bread is fully baked?
- The bread should be golden brown on top and sound hollow when tapped on the bottom. An internal temperature of 190-200°F (88-93°C) is ideal if you have a food thermometer.
- → Can I freeze this bread?
- Yes, you can freeze the baked bread for up to 3 months. Wrap it tightly in plastic wrap and then aluminum foil. Thaw at room temperature and reheat in a 300°F (150°C) oven for about 10 minutes to refresh.
