 Pin it
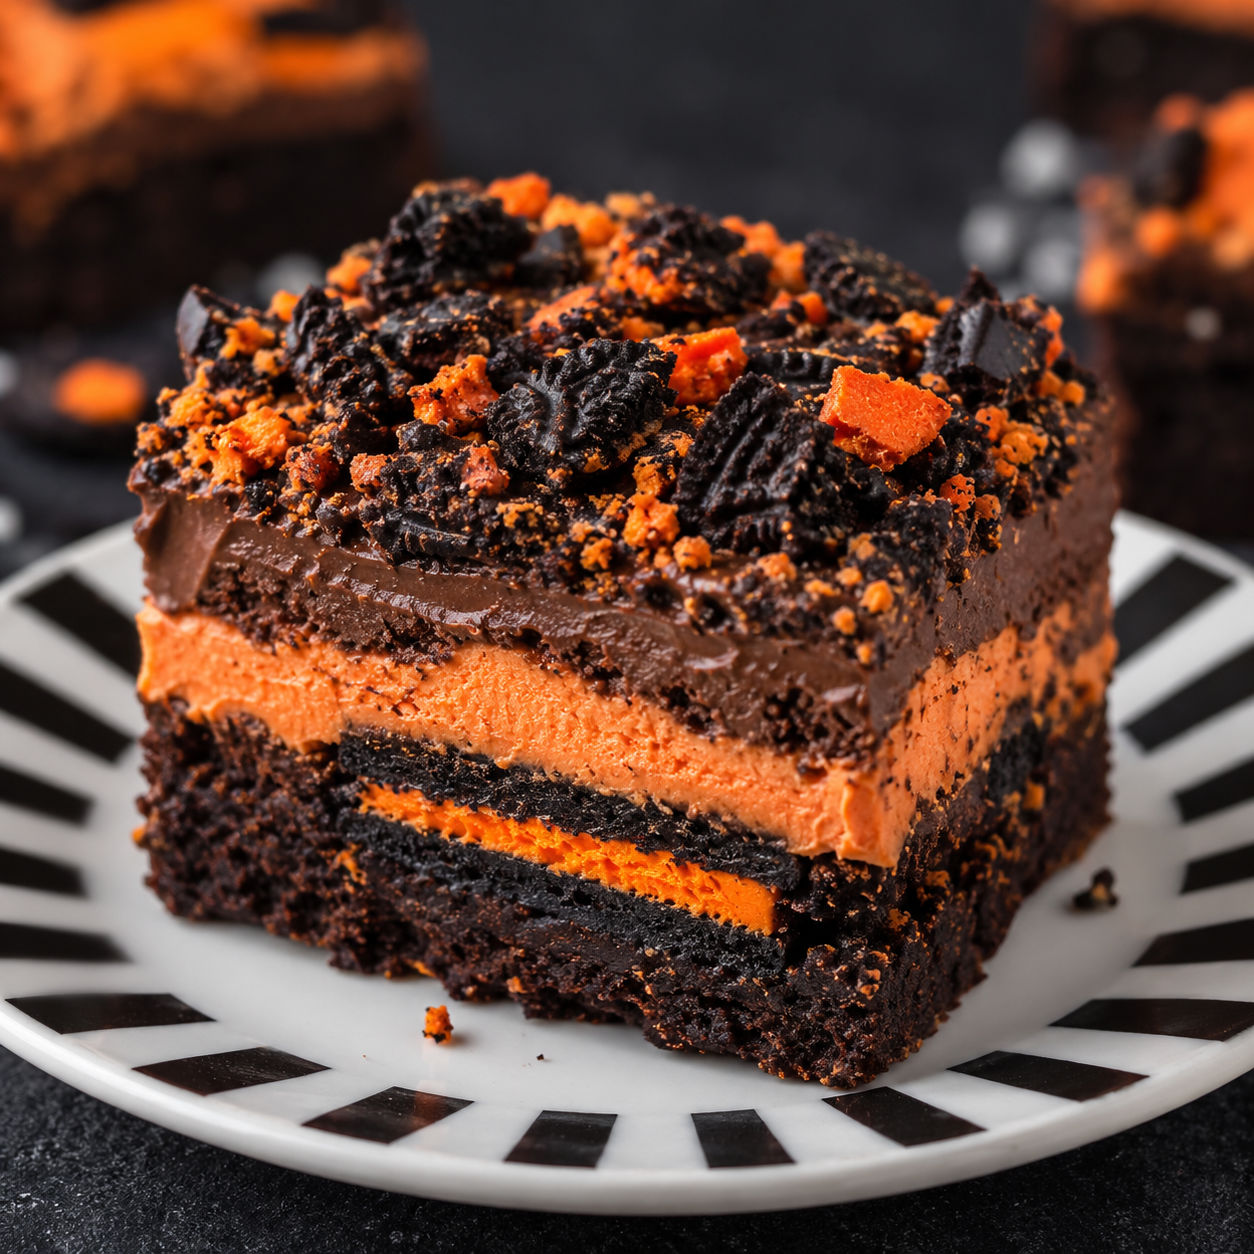
Oreo Layered Halloween Brownies are the kind of dessert that disappears fast from a party table. You get chewy brownie, a hidden cookie layer, bright orange frosting, chocolate frosting, and enough Oreo crunch on top to make every square feel like a treat.
I like this version because it is festive without being fussy. A boxed brownie mix keeps the base simple, but the layered frosting and orange creme cookies make the pan look planned.
What Makes The Layers Work
Choose a fudgy brownie mix rather than a cake-style one, since the cookie layer needs a dense base to hold it. Halloween Oreos with orange creme give the strongest color, but any chocolate sandwich cookie works if you tint the frosting well.
- Brownie mix. Gives you a reliable chocolate base with a chewy center and crisp edges.
- Eggs. Help the brownies set while keeping the texture rich.
- Vegetable oil. Adds moisture and keeps the bars soft after chilling.
- Milk. Makes the batter smoother and a little richer than water.
- Halloween Oreos. Add the cookie layer, the orange creme, and the crunchy topping.
- Vanilla frosting. Turns into the bright orange middle layer.
- Orange gel food color. Gives a stronger Halloween color without thinning the frosting.
- Chocolate frosting. Creates the dark top layer and helps the crushed cookies stick.
Oreo Layered Halloween Brownies Method
- Prep the pan. Line a 9-inch square pan with parchment, leaving overhang on two sides so you can lift the brownies out cleanly.
- Mix the batter. Stir the brownie mix with eggs, oil, and milk until smooth. Spread it evenly in the pan.
- Add the cookies. Press whole Halloween Oreos in a single layer over the batter. They should sit snugly but do not need to touch.
- Bake the base. Bake at 350°F until the edges are set and the center has moist crumbs, about 25-30 minutes. Cool completely in the pan.
- Make the orange layer. Scrape the orange creme from a few Oreos into the vanilla frosting, add orange gel color, and stir until bright and smooth.
- Frost and chill. Spread the orange frosting over the cooled brownies, then chill for 30 minutes so the layer firms up.
- Finish the top. Spread chocolate frosting over the orange layer and sprinkle with crushed Oreos. Cut into squares with a warm knife.
Cool Before You Frost
The cooling step matters more than the mixing. Warm brownies melt frosting on contact, and the orange layer slides into the crumb instead of sitting on top. Let the pan cool on a rack until the bottom no longer feels warm. If the kitchen is hot, give it a short rest in the refrigerator before frosting.
For a fudgier brownie, start checking at 25 minutes. The cookie layer makes the center look a little soft, so look at the edges too. They should be set and slightly pulled from the pan. If you love dense chocolate bars, try these with Lunchroom Ladies Brownies Chocolate as your brownie inspiration next time.
Getting The Orange Layer Bright
Gel food coloring is the better choice here because it gives a vivid color without loosening the frosting. Start with a small amount, stir well, then add more only if the color looks pale. The scraped Oreo creme adds flavor and helps connect the middle layer to the cookies baked below.
If you want to skip food dye, leave the frosting vanilla and lean into the cookie crumbs on top. The bars will taste the same, just less bright. For another cookies-and-cream dessert that does not need baking, use the same party table with No-Bake Funfetti Oreo Icebox.
Easy Halloween Party Swaps
These brownies are easy to customize. Add mini candy eyes after the chocolate frosting if you want a monster look. Sprinkle orange, black, or purple sprinkles over the top before the frosting sets. For a stronger chocolate flavor, fold a handful of mini chocolate chips into the batter before the cookies go on.
Keep the Oreo layer whole if you want a clear bite of cookie in each square. Crushed cookies in the batter taste good, but they soften faster and do not make the same stacked look. Oreo keeps a useful recipe collection at OREO recipes if you want more cookie dessert ideas.
Storing The Frosted Squares
Store the brownies in an airtight container in the refrigerator for up to 5 days. The frosting firms up, the brownie stays chewy, and the Oreo topping softens just enough to slice without shattering. For best texture, set the squares out for 10-15 minutes before serving.
You can freeze the unfrosted brownie base for up to 2 months. Wrap it well, thaw it overnight in the refrigerator, then add the frosting layers the day you serve. For general storage timing, the FoodSafety.gov cold storage chart is a helpful reference.
More Spooky Dessert Ideas
If you are building a Halloween spread, keep the portions small and mix rich chocolate treats with lighter bites. These brownies pair well with creamy bars like No-Bake Halloween Cheesecake or something playful like Halloween Cookie Cake. Put the brownies on a cool tray so the frosting layers stay crisp during the party.
Summary
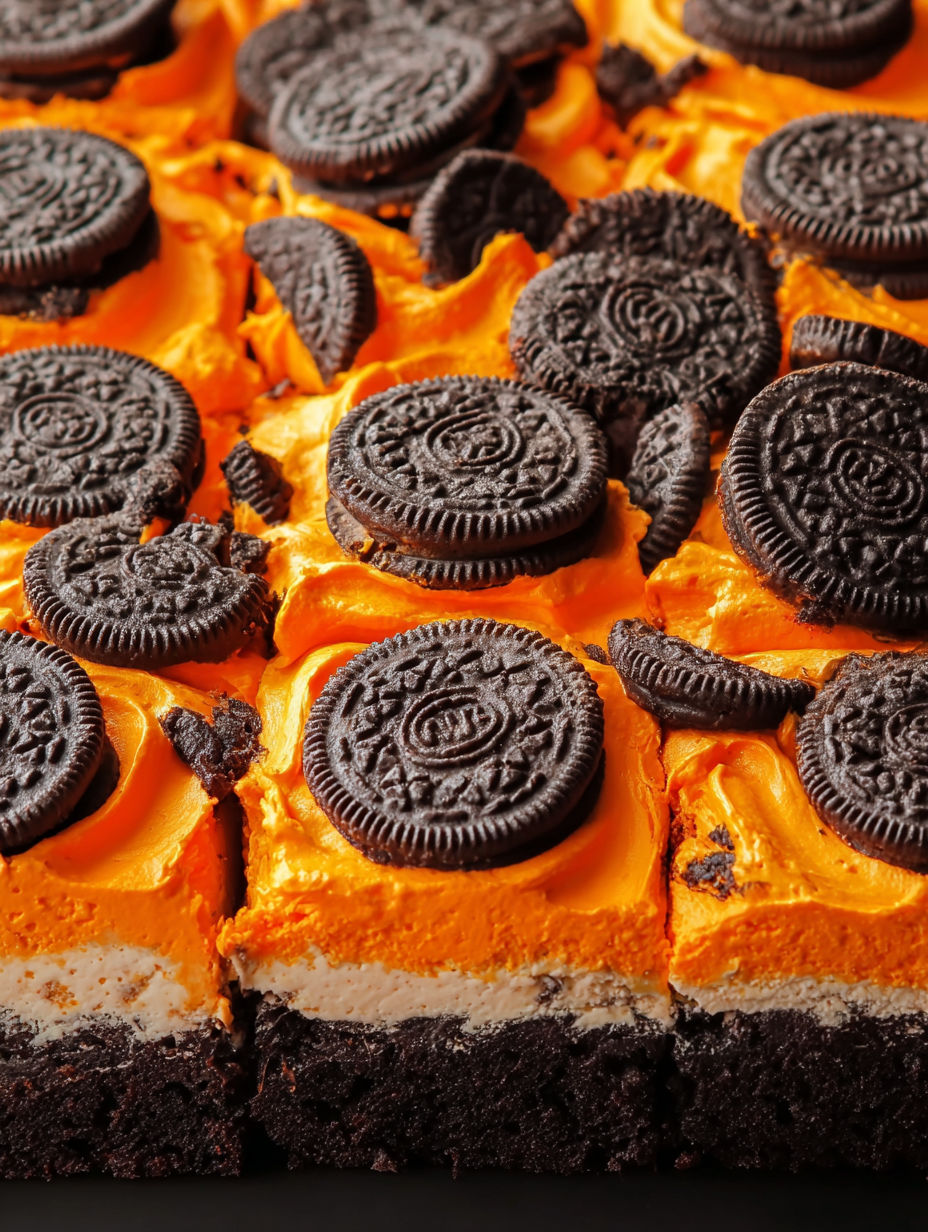
Cool the brownie base completely, chill the orange frosting layer until firm, then spread the chocolate frosting gently for clean, stacked squares.
FAQs
- Can I use regular Oreos instead of Halloween Oreos?
Yes. Regular Oreos bake the same way and give the brownies the same cookie crunch. The only thing you lose is the orange creme color, so add a little extra orange gel color to the vanilla frosting if you want the Halloween look.
- How do I keep the brownie layer fudgy?
Use two eggs if your brownie mix gives a fudgy option, and pull the pan when the center still has moist crumbs on a tester. A fully clean toothpick usually means the brownies have gone a little too far.
- Can I make Oreo Layered Halloween Brownies ahead?
Yes. Bake and frost them up to one day ahead, then keep the pan covered in the refrigerator. For cleaner edges, cut them while cold and let the squares sit at room temperature for 15 minutes before serving.
- Can I make these without canned frosting?
You can use homemade buttercream instead. Make one vanilla buttercream tinted orange for the first layer and one cocoa buttercream for the top layer. Keep both soft enough to spread without pulling at the brownie.
- Why did my frosting mix with the brownie crumbs?
The brownie was probably still warm or the frosting was too stiff. Cool the brownies all the way, then stir the frosting until spreadable before it touches the pan.
- What should I serve with these brownies?
They are rich, so small squares work best with milk, coffee, or a scoop of vanilla ice cream. For a Halloween dessert table, pair them with lighter treats like fruit cups or popcorn mix.
