 Pin it
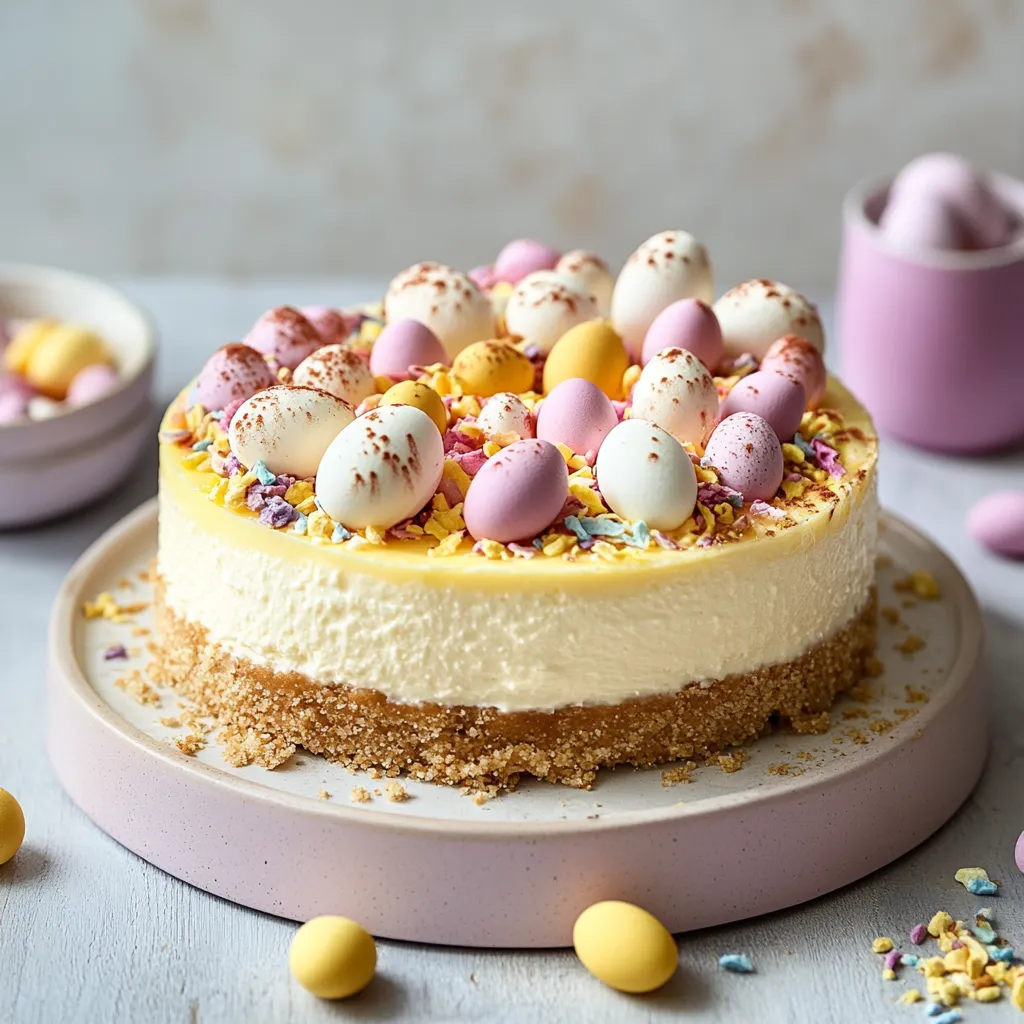
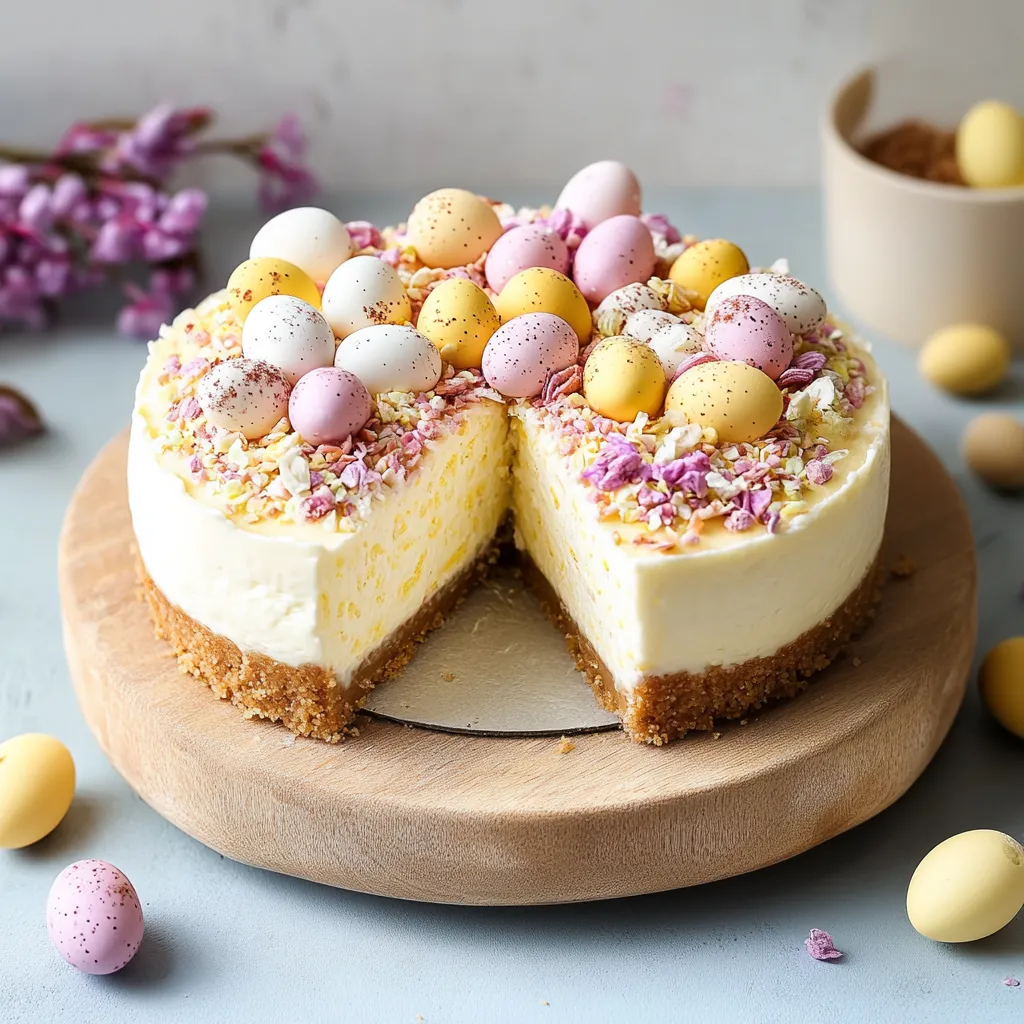
This no-bake mini egg cheesecake combines the creamy lusciousness of vanilla cheesecake with the seasonal charm of mini eggs. Whether you're planning an Easter celebration or simply craving a colorful spring dessert, this showstopper delivers impressive results with minimal effort.
I first made this for an impromptu family gathering when my oven unexpectedly broke down. The enthusiastic reaction from everyone convinced me that sometimes kitchen mishaps lead to the most memorable recipes in your collection.
- Digestive biscuits: these provide the perfect buttery foundation with a hint of sweetness that complements the filling
- Unsalted butter: creates that rich golden base that holds everything together
- Full-fat soft cream cheese: essential for achieving that signature creamy texture avoid low-fat versions which can make the cheesecake watery
- Icing sugar: dissolves seamlessly into the filling creating a smooth sweetness
- Double cream: whips to create structure giving your cheesecake its stability
- Vanilla extract: adds depth and warmth use pure extract rather than imitation for best flavor
- Mini eggs: these chocolate candies provide color texture and the signature Easter flavor throughout
- Melted milk chocolate for decorating: adds a professional finishing touch and extra chocolate flavor
Step-by-Step Instructions
- Prepare the Base:
- Process digestive biscuits into fine crumbs using a food processor or crush them in a sealed bag with a rolling pin until they reach a sandy texture. Mix thoroughly with melted butter until every crumb is coated and the mixture clumps when pressed between your fingers. Transfer to a springform tin pressing firmly across the entire base using the bottom of a glass for even compaction. Refrigerate while preparing the filling to allow the butter to solidify.
- Create the Filling:
- Combine cream cheese icing sugar and vanilla in a large bowl whisking until completely smooth with no lumps whatsoever. This initial step is crucial for a silky texture. Pour in the cold double cream and whip continuously until the mixture reaches a thick consistency that holds its shape when the whisk is lifted. The filling should be firm enough to stand in soft peaks but still be smooth and spreadable. Gently fold in the crushed mini eggs using a folding motion to maintain the air in the mixture while distributing the candy pieces evenly.
- Assemble and Set:
- Spoon the filling onto the chilled biscuit base working from the center outward. Smooth the top with an offset spatula creating an even flat surface. Cover carefully with plastic wrap without touching the surface and refrigerate for at least 6 hours or preferably overnight. The extended chilling time allows the cheesecake to set properly developing both flavor and structure.
- Decorate:
- Release the cheesecake from the springform tin by running a warm knife around the edge before unlocking the collar. Drizzle melted chocolate decoratively across the top allowing some to artfully cascade down the sides. Whip double cream with icing sugar until it forms stiff peaks then transfer to a piping bag fitted with a star tip. Pipe swirls around the perimeter and garnish each with a whole mini egg. Sprinkle crushed mini eggs across the center for a festive finishing touch.
 Pin it
The mini eggs are truly what make this dessert special. I discovered their magical effect when my daughter insisted on adding them to a plain cheesecake recipe. The way the candy shells gently soften in the filling while maintaining their chocolate centers creates an unexpected texture contrast that elevates the entire dessert.
Storage Tips
This cheesecake maintains its quality when stored properly in the refrigerator. Cover loosely with plastic wrap or place in an airtight container for up to three days. The colors from the mini egg shells may bleed slightly into the filling over time which is completely normal and doesn't affect the flavor. For the best presentation serve within the first 24 hours of making.
Troubleshooting Guide
If your cheesecake filling seems too soft after whipping there are two likely culprits. First ensure you're using full-fat cream cheese as lower fat versions contain more moisture. Second check that your double cream has a high enough fat content typically 48% for proper whipping structure. You can rescue a soft filling by thoroughly chilling it before folding in the mini eggs which often provides enough time for it to firm up.
Serving Suggestions
This cheesecake pairs beautifully with fresh berries particularly strawberries or raspberries which provide a tart contrast to the sweet filling. For an extra indulgent dessert consider serving with a warm chocolate sauce on the side. Allow the cheesecake to sit at room temperature for 15 minutes before serving to enhance the creamy texture and flavor notes.
 Pin it
Frequently Asked Questions
- → Can I use a different type of biscuit for the base?
- Yes, you can substitute digestives with graham crackers or any similar biscuits of your choice for a slightly different flavor.
- → How do I ensure the cheesecake sets properly?
- Allow the cheesecake to set in the fridge for at least 6 hours or overnight. Longer setting times achieve firmer results.
- → Can I use low-fat cream cheese for this dessert?
- Full-fat cream cheese is recommended for the best texture. Low-fat alternatives may result in a softer consistency.
- → What can I use if I can't find mini eggs?
- Try using other chocolate-coated candy pieces or crumbled chocolate bars to replace mini eggs for similar flavor and texture.
- → How long does this dessert keep in the fridge?
- The cheesecake can be stored in the refrigerator, covered, for up to 3 days. Consume fresh for the best taste.
- → Can I make this dessert ahead of time?
- Yes, this cheesecake is perfect for preparing in advance. Simply store it in the fridge until you’re ready to serve.
