
 Pin it
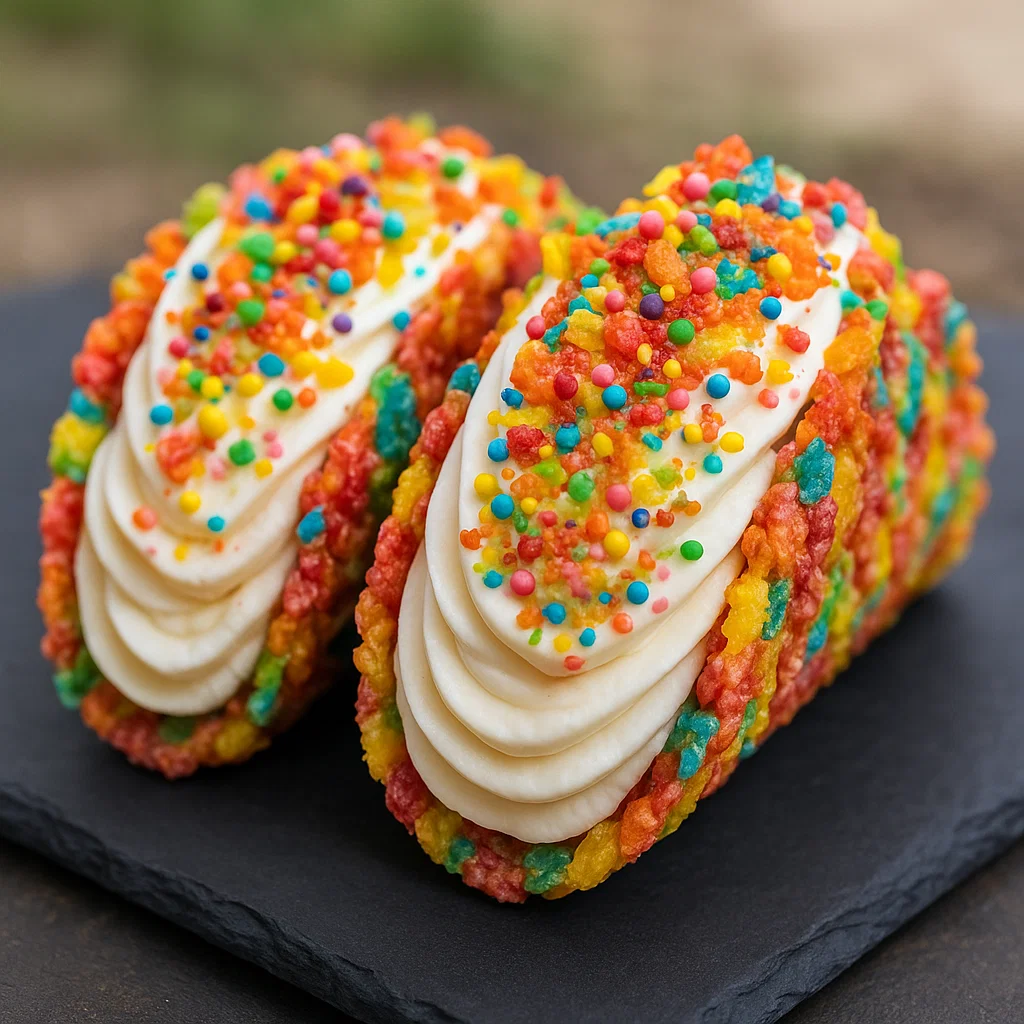
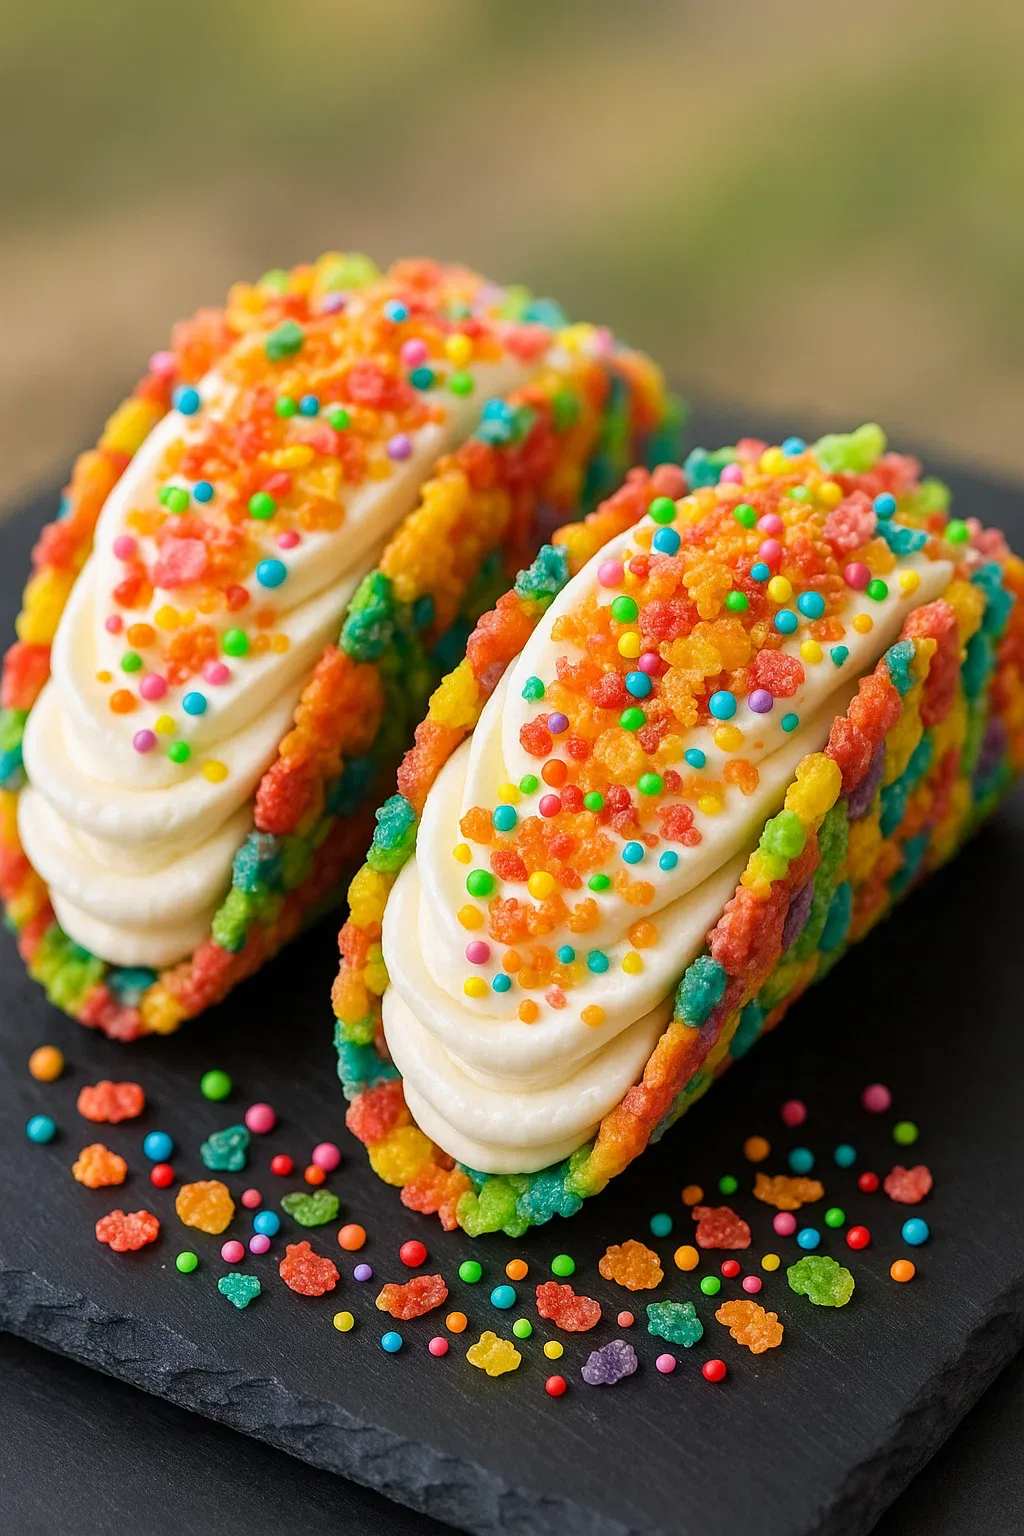
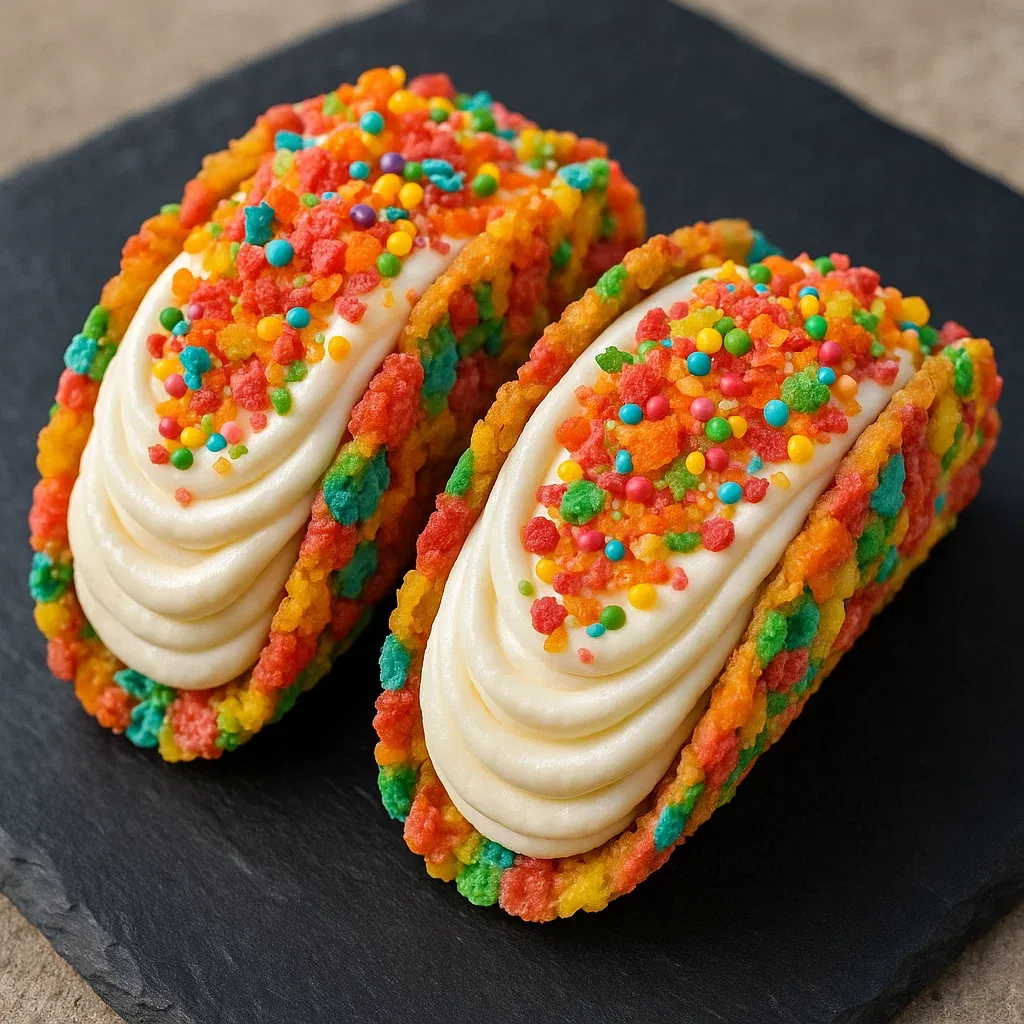
This colorful Fruity Pebbles Cheesecake Tacos recipe transforms ordinary cereal into something magical. The combination of crunchy, sweet shells and creamy filling creates a dessert that brings out the kid in everyone while still being sophisticated enough for any gathering.
I created these on a rainy afternoon when my nieces were visiting and needed a fun activity. Now they beg to make these whenever they come over, and I secretly look forward to it too.
Ingredients
- 3 cups colorful fruity cereal: The vibrant colors create the perfect shell base and add that nostalgic flavor everyone loves
- 1/2 cup unsalted butter melted: Helps bind the cereal together while adding richness
- 8 oz cream cheese softened: Creates that classic cheesecake flavor, look for full fat for the creamiest result
- 1/2 cup powdered sugar sifted: Sweetens without graininess, make sure to sift to avoid lumps
- 1 tsp pure vanilla extract: Enhances all flavors, use real vanilla not imitation for best results
- 1 cup whipped cream: Lightens the filling and gives it that fluffy texture
- Additional fruity cereal for garnish: Adds the perfect finishing crunch and visual appeal
How To Make Fruity Pebbles Cheesecake Tacos
- Prepare the Crunchy Shell:
- Combine fruity cereal with melted butter in a large bowl until every colorful piece is thoroughly coated. The butter should be warm enough to coat easily but not hot enough to melt the cereal colors. Take your time with this step as proper coating ensures your shells will hold together.
- Shape Your Shells:
- Press the mixture firmly into taco-shaped molds or curved sections of a muffin tin. Apply even pressure with your fingers or the back of a spoon to create shells about 1/4 inch thick. Place in refrigerator for at least 30 minutes until completely firm. The shells should feel solid when touched.
- Whisk Up the Cheesecake Filling:
- Beat room temperature cream cheese with an electric mixer for 2 minutes until completely smooth and fluffy. Gradually add powdered sugar and vanilla extract while continuing to beat. Scrape down the sides of the bowl frequently to ensure no lumps remain and the mixture is silky smooth.
- Add Airiness:
- Gently fold the whipped cream into the cream cheese mixture using a rubber spatula. Use a light hand and fold from the bottom up through the center until just combined. Overmixing will deflate the whipped cream and result in a dense rather than fluffy filling.
- Assemble the Bites:
- Remove shells from refrigerator once completely firm. Fill each shell with a generous portion of the cheesecake mixture using a spoon or piping bag if you prefer a neater presentation. Fill to slightly overflowing for a generous look.
- Garnish and Serve:
- Sprinkle additional fruity cereal pieces over the top of each taco pressing gently so they adhere to the filling. Serve immediately for maximum crunch or refrigerate for up to 2 hours before serving.
 Pin it
My favorite part of this recipe is watching the shells transform from simple cereal into sturdy little vessels for the creamy filling. My grandmother always said that the most delightful desserts have contrasting textures, and these tacos prove her right with every crunchy, creamy bite.
Make Ahead Options
These treats are best enjoyed the day they're made, but you can prepare components separately in advance. The cereal shells can be made up to two days ahead and stored in an airtight container. The cheesecake filling stays fresh for up to 24 hours in the refrigerator. For the best experience, I recommend assembling no more than 4 hours before serving to maintain the perfect balance of crunch and creaminess.
 Pin it
Variation Ideas
The beauty of this recipe lies in its adaptability. Try Cocoa Pebbles for a chocolate version, or experiment with Cinnamon Toast Crunch for a warm spiced profile. For an adult dessert, add a tablespoon of orange liqueur to the filling and garnish with orange zest. During holidays, coordinate your cereal colors with the season – red and green cereals for Christmas or pastels for Easter make these tacos festive for any celebration.
Serving Suggestions
Arrange these colorful tacos on a white platter for maximum visual impact. For an interactive dessert bar, set out the prepared shells and filling separately, allowing guests to assemble their own creations with various toppings like chocolate chips, sprinkles, or fruit. These also make delightful individual desserts served in colorful cupcake liners after a Mexican-inspired meal.
Frequently Asked Questions
- → How do I shape the cereal shells?
Press the buttery cereal mixture firmly into small taco-shaped molds or muffin tins. Chill for 30 minutes to allow the shells to set and hold their shape.
- → Can I use any brand of fruity cereal?
Yes, any brand of colorful fruity cereal will work just fine for this recipe.
- → How do I make the filling light and airy?
To achieve a light texture, gently fold whipped cream into the cream cheese mixture using a spatula. Avoid overmixing to keep it fluffy.
- → Can these be made ahead of time?
Yes, you can prepare the shells and filling in advance. Assemble the tacos just before serving to maintain freshness and texture.
- → What is the best way to serve these tacos?
Serve immediately after garnishing with extra fruity cereal for the best texture, or chill for a firmer dessert option.