 Pin it
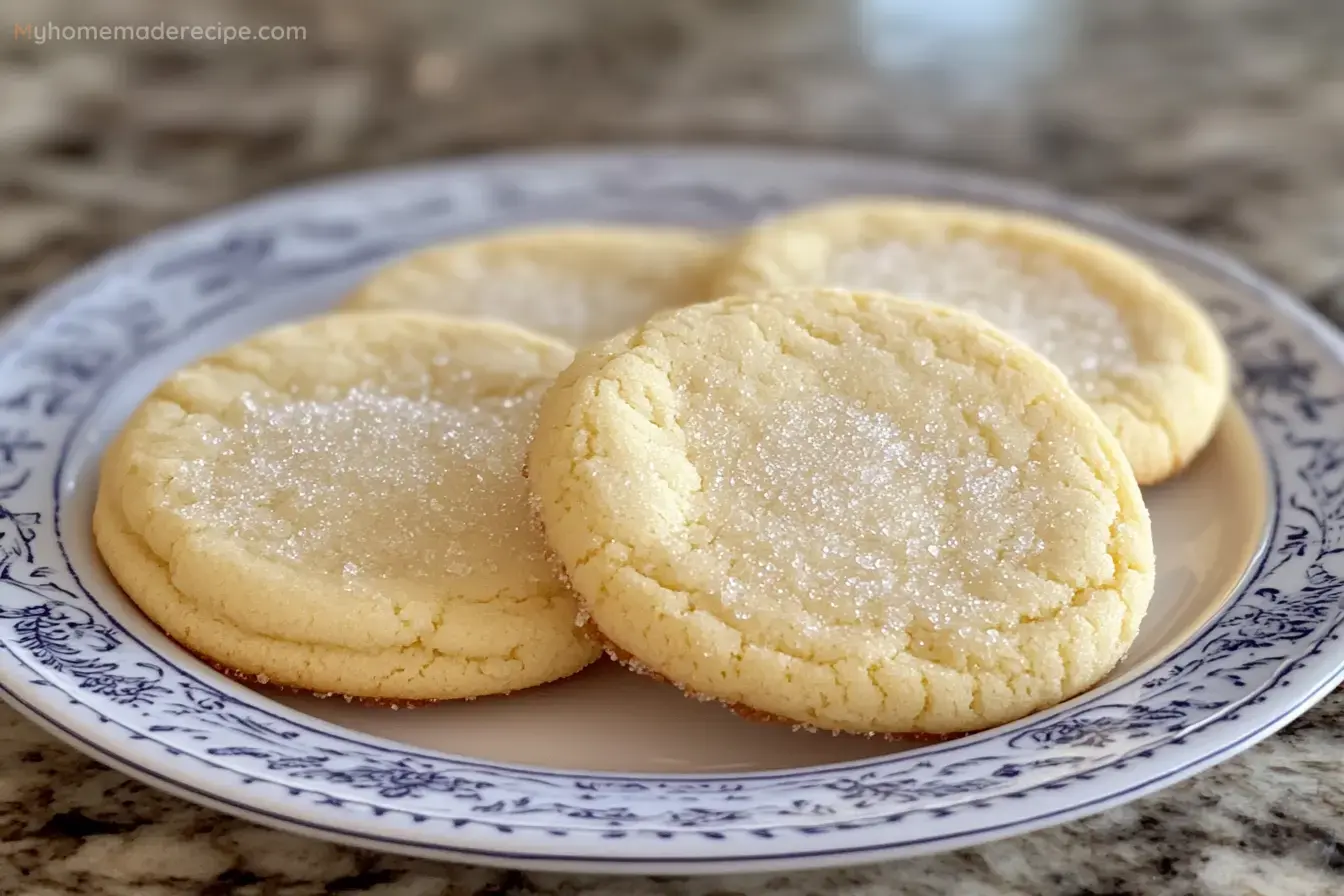
Simple yet elegant, French Butter Cookies capture the essence of French baking - where quality ingredients and careful technique create something extraordinarily delicious. These delicate sablés have a distinctive sandy texture that literally melts on your tongue, proving that true culinary magic can happen with just five basic ingredients.
I remember learning this recipe from my aunt who lived in Normandy - watching her methodically cream the butter by hand until it was perfectly light and airy. She taught me that patience is the secret ingredient in these seemingly simple cookies.
Essential Ingredients
- Butter: European-style butter with higher fat content creates the most luxurious texture. Let it soften naturally on the counter for about an hour
- Powdered Sugar: Sift it first to remove any lumps. The fine texture helps create that characteristic melt-in-your-mouth quality
- Egg Yolks: They add richness and help bind the dough. The freshest eggs give the best flavor and color
- Vanilla Extract: Pure extract or vanilla bean paste adds depth. For a French twist, try using vanilla sugar instead
- Flour: Measure it carefully! Too much flour makes tough cookies. If using all-purpose, sift it twice for extra lightness
Creating Cookie Perfection
- Step 1:
- Begin with your butter - it should be soft enough that your finger leaves a slight indent, but not so soft it's greasy.
- Step 2:
- Work the butter and sugar together with gentle pressure, using a spatula to press and fold rather than beat.
- Step 3:
- Keep working until the mixture becomes noticeably lighter in both color and texture - this usually takes about 5 minutes.
- Step 4:
- Add your egg yolk and vanilla, incorporating them fully but gently.
- Step 5:
- Sift the flour directly over your mixture to prevent any lumps.
- Step 6:
- Use a folding motion to bring the dough together, stopping as soon as no dry flour remains.
- Step 7:
- Gather the dough into a ball - it should feel soft but not sticky.
- Step 8:
- Wrap it well in plastic, making sure no air remains trapped.
- Step 9:
- After chilling, divide and shape into logs, using gentle pressure to avoid dense spots.
- Step 10:
- Roll the logs evenly for uniform cookies.
- Step 11:
- The freezing step is crucial - it helps the cookies hold their shape while baking.
- Step 12:
- When slicing, use a sharp knife and rotate the log slightly between cuts.
- Step 13:
- Space cookies evenly on the baking sheet - they'll spread just slightly.
- Step 14:
- Watch carefully during baking - the edges should be just golden.
My favorite memory is making these with my children - letting them roll the logs in colorful sanding sugar before slicing. Something about that sparkle makes them even more special.
Perfect Pairing Ideas
- Serve with Earl Grey tea for an elegant afternoon treat
- Dip half in dark chocolate for extra indulgence
- Pack them in vintage tins for beautiful holiday gifts
The true beauty of these French Butter Cookies lies in their simplicity - they're a testament to the magic that happens when attention to detail meets quality ingredients. Every time I make them, I'm transported back to that French kitchen where I first learned their secrets.
