
 Pin it
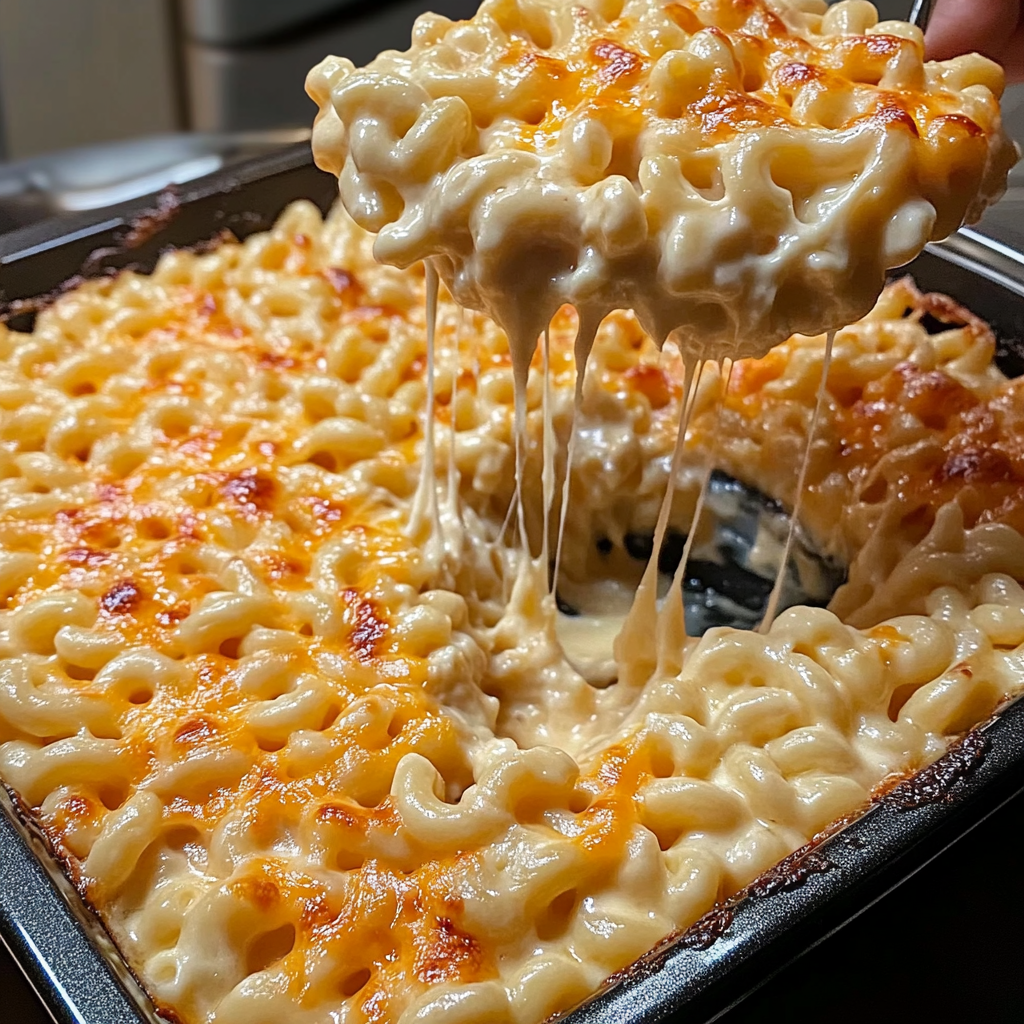
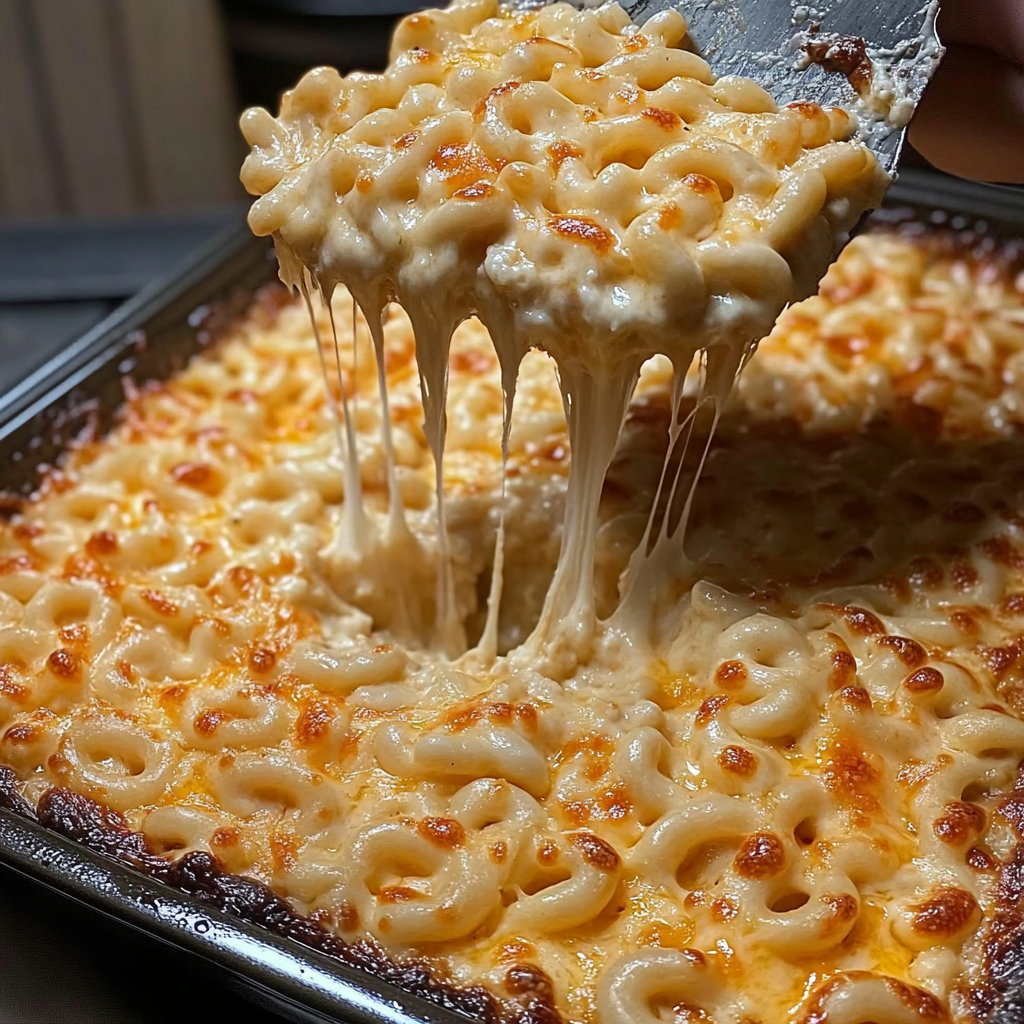
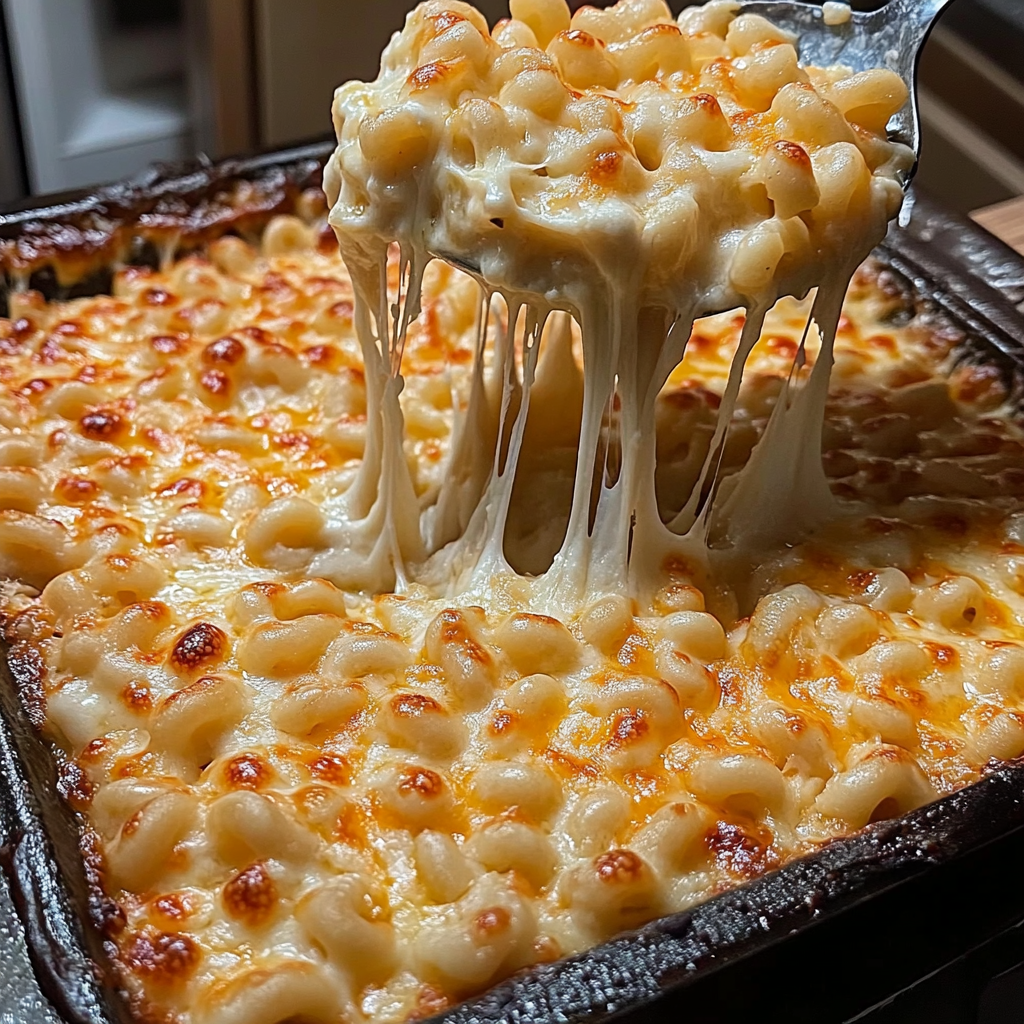
Sink into absolute coziness with this outrageously gooey oven-baked mac and cheese that features five mouthwatering cheeses. When my family’s craving major comfort or someone asks for a knockout dish at a get-together, they beg for this one. It turns out golden and rich every time, bubbling up and reminding me what makes a super stretchy cheese pull so special.
My nephew flat-out avoided any mac and cheese till I whipped up this version for his birthday. Now he acts like it’s the gold standard, tells anyone who’ll listen it’s the only one to eat, and I never end up with any leftovers.
Dreamy Ingredients
- Butter: gives a rich start and magic silkiness as the base to the cheese sauce
- Milk: ties all the cheeses together and boosts that creamy vibe—go whole milk for best texture
- Cream cheese: the smooth secret, just let it fully soften before tossing in
- Parmesan cheese: slams in a sharp, bold kick—aged kinds crank that flavor up
- Gouda cheese: melts awesome and brings nutty, buttery goodness, and if you grab smoked, even better
- Mozzarella cheese: major stretchy factor, use whole milk style for top-notch melting
- Cheddar cheese: makes things classic and snappy, choose a block and shred at home
- Elbow macaroni: classic shape for catching sauce, choose bronze die type if you want extra bite
- Garlic powder: brings mellow, tasty undercurrents—try granulated for subtle flavor that sticks around
- Fresh-cracked pepper and salt: round all the flavors out—don’t be shy with the pepper
Easy Instructions
- Give it a Rest and Dish it Up:
- After baking, leave it to set for about five minutes. This helps the cheese thicken and come out in nice hefty scoops. Serving’s way tidier after this short wait.
- Crank Up the Oven:
- Pop the baking dish in your oven set at 350 F. Bake on a middle rack for about 25 to 30 minutes so it goes bubbly and the edges turn perfectly crisp. For deep gold on top, broil right at the end for a minute but watch it non-stop!
- Spoon it Into a Baking Dish:
- Butter up your baking pan so the noodles don’t stick and every bite gets that brown edge. Spread everything all the way to the corners for max crispiness.
- Melt in Those Cheeses:
- Sprinkle in all four shredded cheeses—cheddar, mozzarella, gouda, and parmesan—adding them bit by bit and stirring so everything melts super smooth. Wait for each handful to disappear before piling in the next batch.
- Marry Pasta with Cheese Sauce:
- Scoop your cooked pasta right into the cheesy sauce and really stir so there’s no dry noodle anywhere. Family might hover when the smell kicks up!
- Taste and Adjust:
- Now throw in garlic powder, lots of fresh black pepper, and a gentle hand with salt. Try it and see if you want more—your cheeses will add salt later.
- Start Your Sauce:
- On medium heat, melt your butter in your biggest pot. Add cream cheese, whisking so it turns creamy while it gets warm. Slowly pour in milk, whisking the whole time till it’s totally smooth. Low heat and patience mean the sauce stays perfect, no lumps allowed.
- Boil Pasta:
- Start your elbow macaroni in salty boiling water, stirring now and then. Pull them out just before fully soft—going a minute shy keeps them sturdy once you toss ‘em in the oven. Drain well and set aside, ready for the next step.
 Pin it
Cheddar always steals the show for me. The older stuff melts smoother and gives mega flavor. My grandma’s house used to smell like cheese heaven on Sundays when she baked pans of mac and cheese for the whole gang.
Storage Tips
Let any leftover mac and cheese cool off, then cover it tight and stash in the fridge. It’ll be good for up to four days. Warm up single servings in the microwave with a splash of milk, or use the oven covered to keep it extra soft and creamy.
Ingredient Swaps
If you’ve got fontina, asiago, or gruyere, toss those in—they’re awesome here. Swap in sharp provolone for gouda, and use low-moisture mozzarella if you love the classic flavor. Elbows of the gluten free or whole wheat kind work fine too.
Serving Suggestions
Let it take center stage with a crunchy green salad or slide it next to roasted broccoli as a side for family feasts. Dash on hot sauce or add crisp bacon to send it over the top. We love piling it high right next to garlic bread at our table.
Cultural and Historical Context
This bubbly baked mac shows off old European roots but really found a home in early American kitchens. The extra cheese layers make it the go-to comfort dish now. It’s always a welcome sight no matter where you’re eating.
Seasonal Adaptations
In summer, top with thick tomatoes slices or mix in chopped herbs for brightness. When it’s cold, swap in roasted squash chunks or toss in a hit of smoked paprika for coziness.
Success Stories
I took this five cheese wonder to our street party once. By the end, people I’d never seen before were asking for directions on making it. A bunch of folks have reached out wanting it every time there’s a potluck or party now.
Freezer Meal Conversion
Put it all together and wrap up tight without baking. Freeze for up to two months. Thaw it overnight when needed and finish baking as usual. It’ll bubble up just as rich after defrosting.
 Pin it
This five cheese mac always brings the party, and leftovers taste even dreamier. Guarantee you’ll be the favorite at every gathering with a pan of this stuff.
Frequently Asked Questions
- → What type of pasta works best?
Classic elbow macaroni always hits the spot, but penne or shells also taste great since they grab lots of melty cheese too.
- → Can I substitute other cheeses?
Go ahead and swap in favorites like Monterey Jack or Swiss. Just make sure you keep some that melt well and others that add good taste.
- → How do I prevent the cheese from clumping?
Let your cream cheese soften first and whisk it until it's smooth—then slowly sprinkle in the rest, mixing as you go till it's all melted together.
- → How can I reheat leftovers?
Cover and warm it up at 325°F in the oven, or just microwave individual servings. Add a bit of milk if it looks dry so it stays creamy.
- → Is it possible to make ahead?
Yes, prep everything but skip baking. Cover and chill till you’re ready, then just pop it in the oven, giving it a few more minutes since it’ll be cold.