
 Pin it
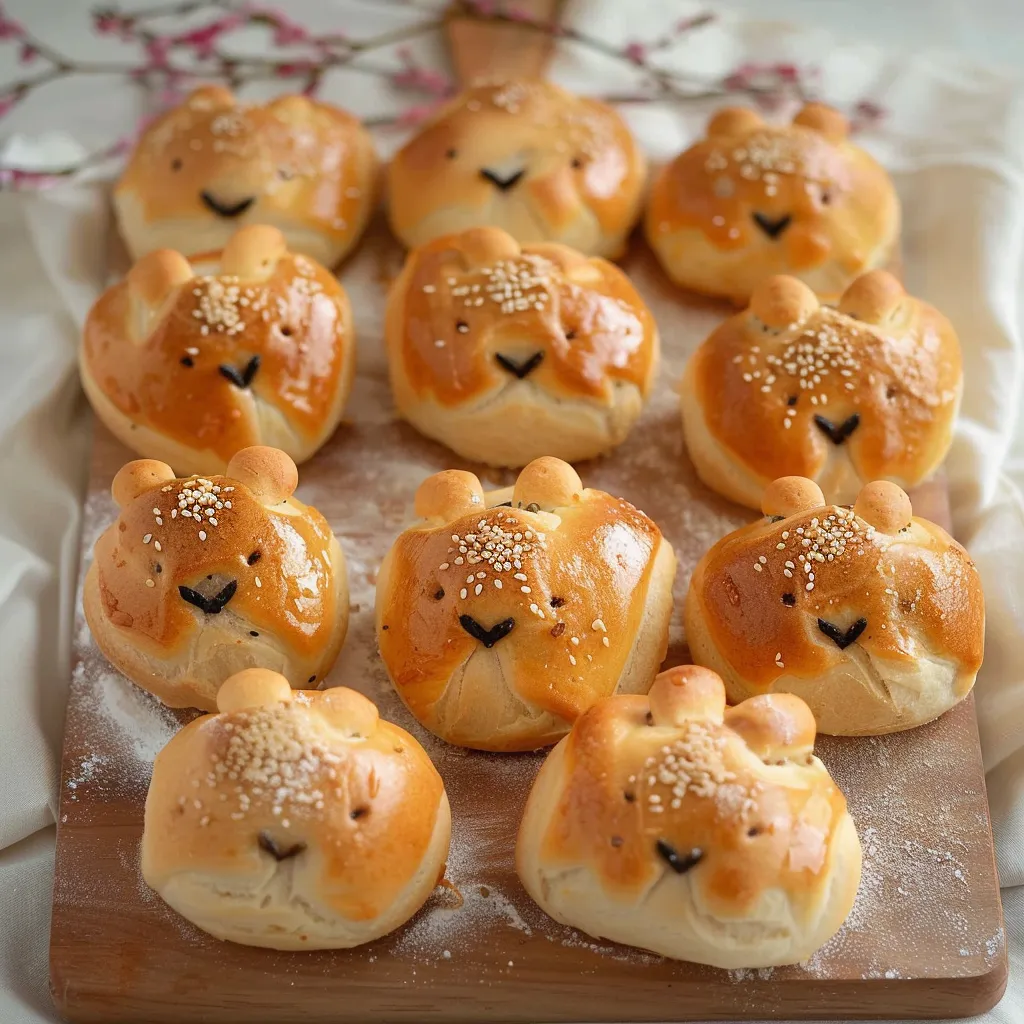
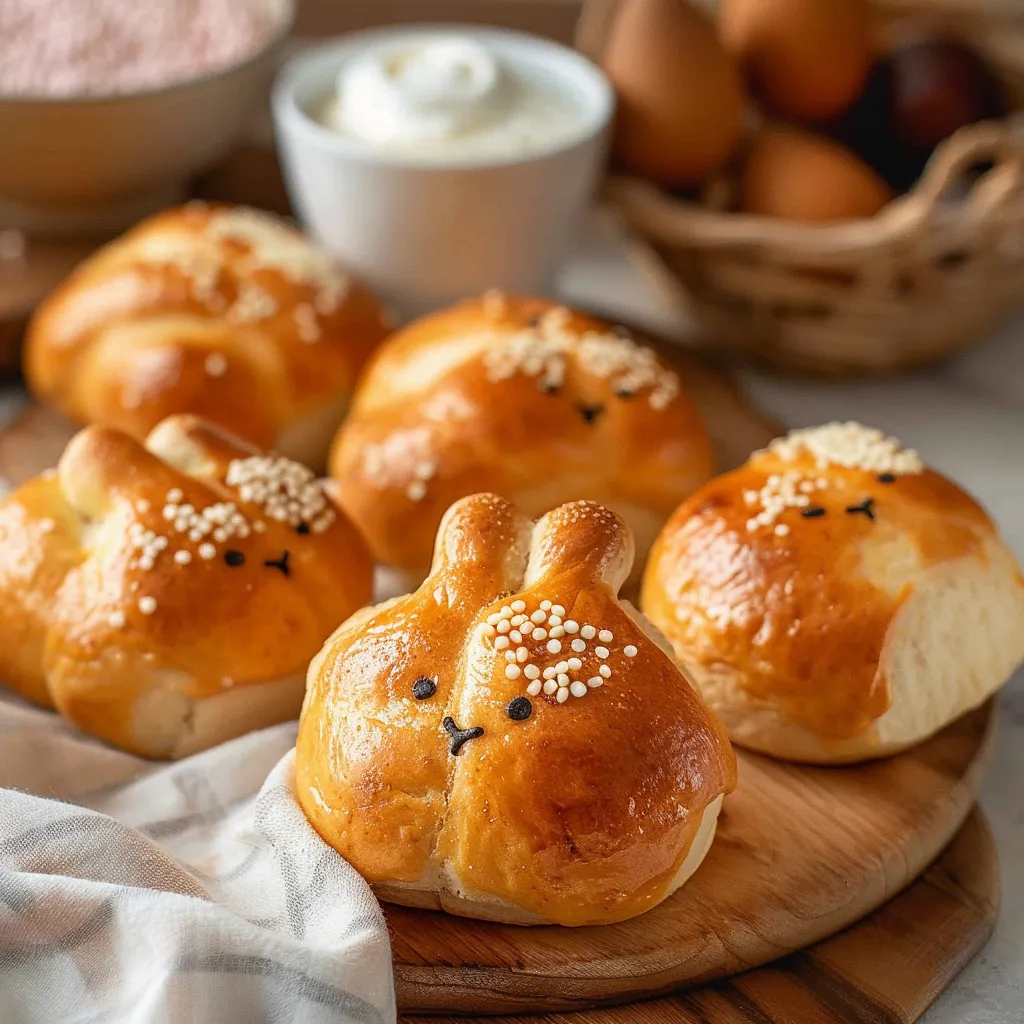
These adorable bunny buns bring pure joy to any Easter table, and the best part? They're incredibly simple to make with just yogurt and flour. After discovering this no-yeast recipe, it's become my favorite way to create festive bread shapes that look like they took hours but actually come together in minutes. They're so cute that kids can't resist helping to shape their own little bunnies.
Last Easter, I made these with my niece, and watching her face light up as the 'bunnies' emerged from the oven was priceless. The secret is in keeping the dough proportions just right for those perfect bunny ears.
Essential Ingredients
- Plain Yogurt: Regular yogurt works better than Greek style as it creates just the right moisture level
- Self-Raising Flour: This gives us the lift we need without yeast. If using plain flour, just add baking powder
- Salt: Just a pinch enhances the flavor and makes these taste like proper bread
- Butter: For greasing the pan and optional brushing before baking
 Pin it
Detailed Instructions
- Dough Creation:
- Combine yogurt and flour in a large bowl. Mix until it forms a soft, pliable dough. Add flour gradually if it feels too sticky. The dough should be smooth but not dry.
- Shaping Process:
- Divide dough into 6 equal portions. From each portion, make one larger ball for the body. Make two smaller balls for the ears. Roll ear pieces into short sausage shapes. Keep everything proportional for cute bunnies.
- Assembly and Arrangement:
- Grease your baking dish well. Space body pieces evenly apart. Attach ear pieces at a slight angle. Press ears gently but firmly to connect. They should look like little sleeping bunnies.
My journey with these buns started when looking for an easy Easter project to do with kids. Now they've become our annual tradition, with everyone creating their own unique bunny shapes.
Dough Consistency
The dough should be soft but not sticky. I've found that adding flour gradually helps achieve that perfect texture that's easy to shape.
Temperature Matters
A moderately hot oven (180°C/360°F) gives these buns a golden crust while keeping the inside soft and fluffy.
Decorating Fun
While they're adorable plain, adding simple faces with edible markers makes each bunny unique. My kids love giving their bunnies different expressions.
Make-Ahead Tips
While best fresh from the oven, you can make them ahead and rewarm briefly before serving. A quick brush with butter makes them good as new.
Chef's Essential Tips
- Keep your hands lightly floured while shaping
- Make sure all bunnies are similar size for even baking
- Brush with melted butter before baking for a golden finish
Every time I make these bunny buns, I'm reminded that baking doesn't have to be complicated to be special. They bring such joy to our Easter celebrations, and watching children's faces light up as they create their own bunnies makes the simple process even more rewarding.
 Pin it
Frequently Asked Questions
- → Can I make these without self-raising flour?
- Yes, substitute 1 cup plain flour plus 1 teaspoon baking powder for each cup of self-raising flour.
- → Can I make the dough ahead of time?
- Yes, store wrapped dough in the fridge for up to 3 days or freeze for up to 4 months.
- → How long do these buns stay fresh?
- They're best eaten fresh and warm, but can be reheated in the microwave for 10 seconds the next day.
- → What type of yogurt should I use?
- Plain regular yogurt works best for this recipe.
- → Can I freeze these buns?
- While the unbaked dough freezes well, the baked buns are best enjoyed fresh.