 Pin it
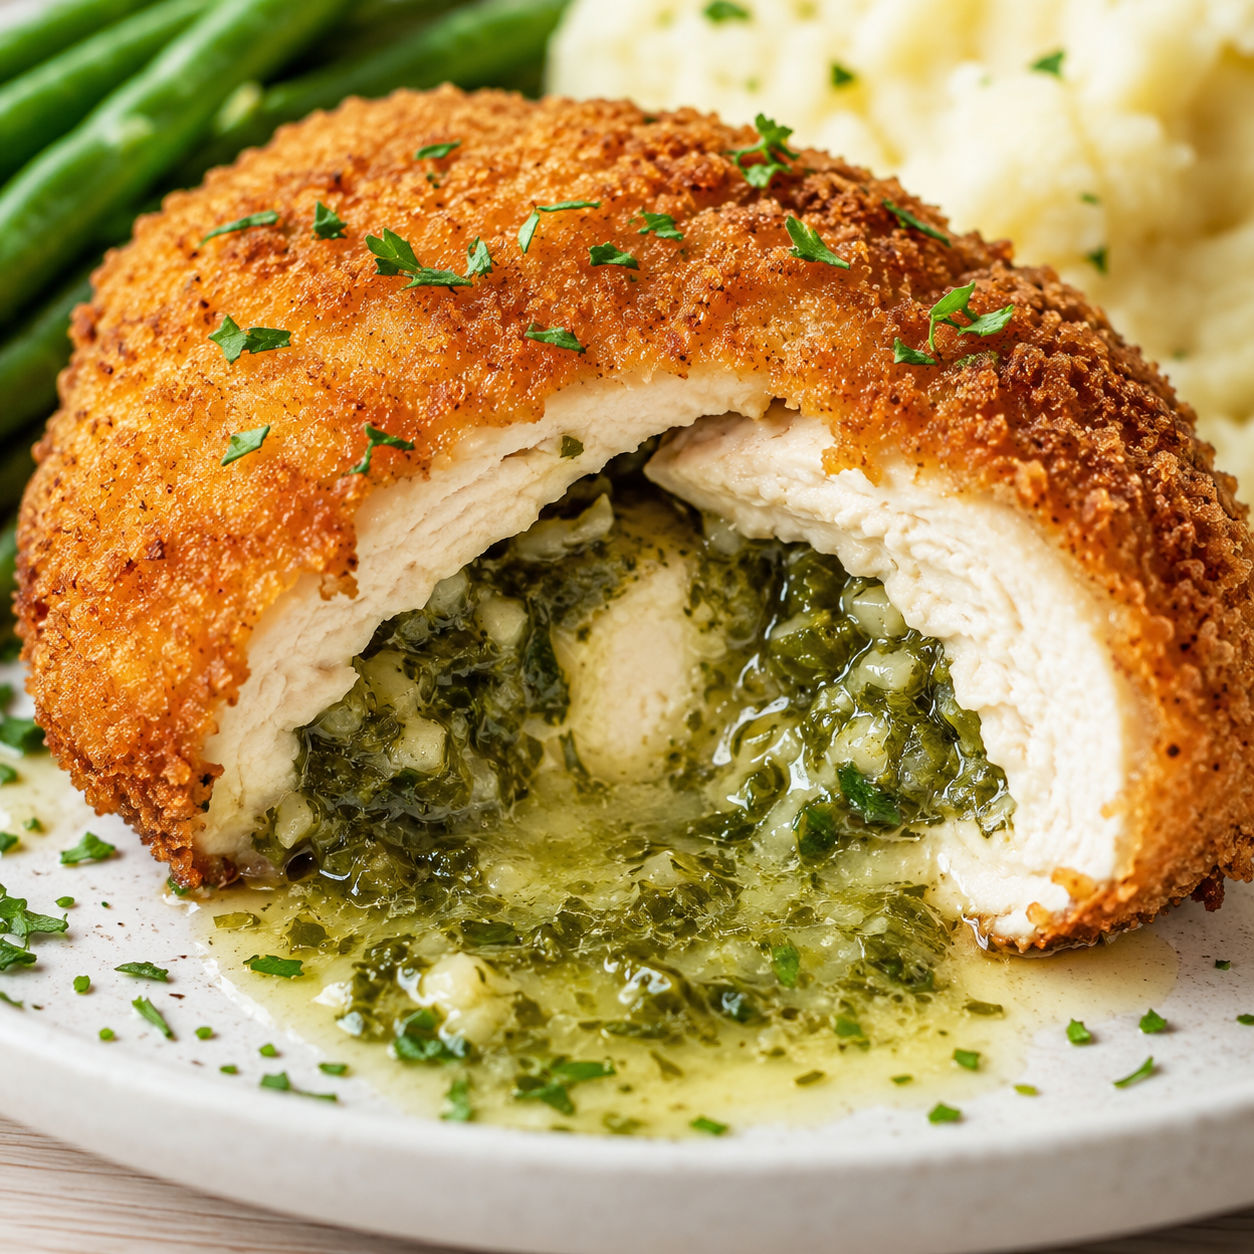
Crispy Chicken Kiev with Molten Garlic Butter Filling is one of those dinners that feels fancy before you even put it on the plate. The crust shatters a little when you cut it, then the garlic butter runs out into the potatoes or vegetables beside it.
The method is not hard, but it does ask for patience. Cold butter and chilled chicken are what keep the filling from leaking too early.
I like this for a weekend family dinner because most of the work can happen ahead. Once the rolls are chilled, the frying and baking part is straightforward.
Butter-Filled Kiev Ingredients
Start with good chicken breasts that are large enough to pound and fold. The butter needs fresh garlic and herbs because there are so few ingredients hiding behind it.
Panko gives the crust its dry, jagged crunch. Plain breadcrumbs are fine in a pinch, but panko fries up lighter.
- Chicken breasts. Boneless skinless breasts pound into a wide sheet that can wrap around the butter.
- Unsalted butter. The filling melts into a rich sauce inside the chicken.
- Garlic. Fresh minced garlic gives the center its sharp, savory bite.
- Parsley and dill. These herbs keep the butter fresh instead of heavy.
- Lemon juice. A small amount brightens the butter and cuts the richness.
- Flour. It dries the surface so the egg coating can grip.
- Eggs. Beaten egg holds the crumbs in place during frying.
- Panko breadcrumbs. The coarse crumbs make the crust crisp and golden.
- Neutral oil. Use canola, vegetable, or sunflower oil for frying.
Crispy Chicken Kiev Method
- Mix the butter. Mash softened butter with garlic, parsley, dill, lemon juice, salt, and pepper until evenly blended. Shape it into four short logs and freeze until firm.
- Pound the chicken. Butterfly each chicken breast, then pound it between parchment to an even 1/2-inch thickness. Even chicken cooks cleanly and wraps better.
- Wrap the filling. Place one frozen butter log in the center of each breast. Fold the sides over first, roll tightly, then wrap each piece in plastic and chill until firm.
- Bread the rolls. Coat the chilled chicken in seasoned flour, dip in beaten egg, then press into panko. Cover every edge so the crust seals well.
- Fry for color. Fry in 350 F oil for 2-3 minutes, turning until golden all over. This sets the crust before the oven finishes the chicken.
- Bake to finish. Transfer to a rack set over a sheet pan and bake at 400 F for 18-22 minutes, until the thickest part reaches 165 F.
- Rest briefly. Let the Kievs sit for 5 minutes before cutting. The butter stays molten, but it will not gush quite as violently.
Seal In The Butter
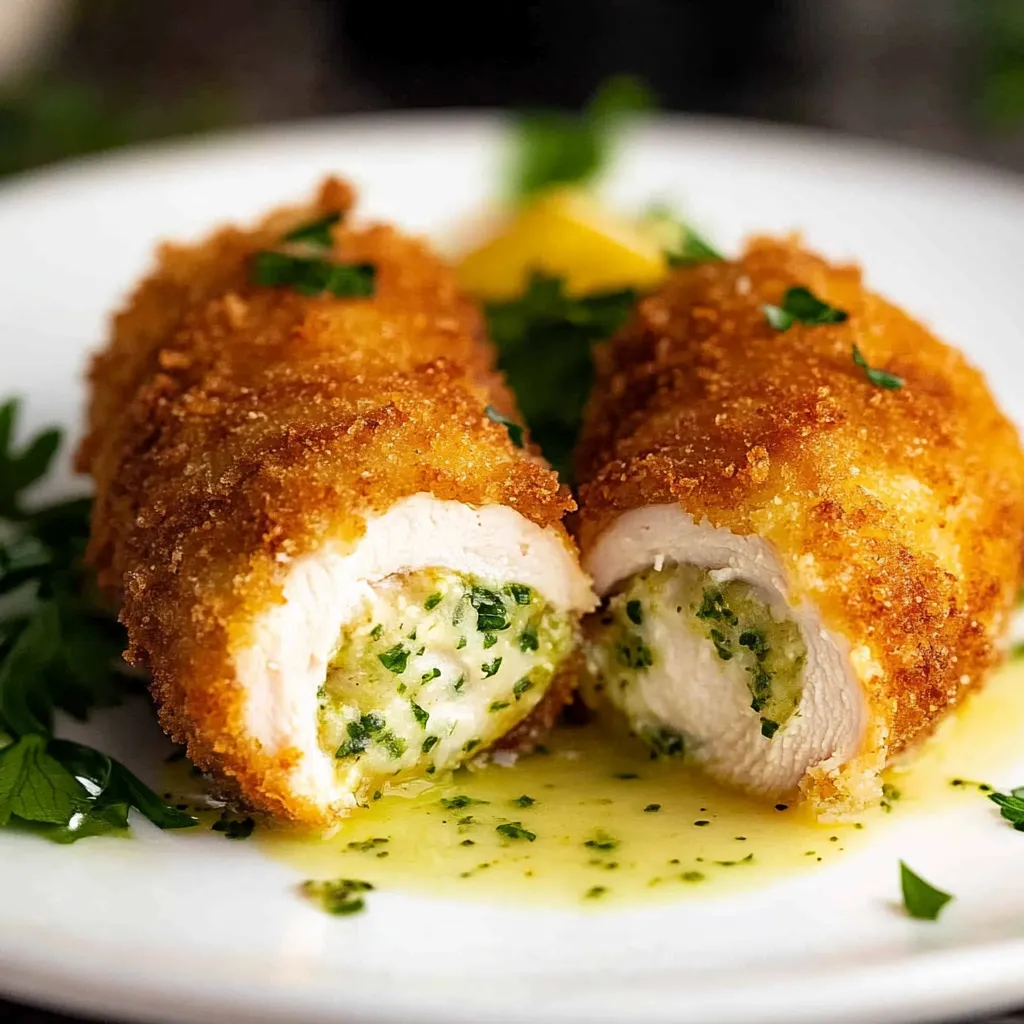
The filling leaks when the butter warms before the chicken has sealed around it. That is why the recipe chills twice. First, freeze the butter so it behaves like a solid piece. Then chill the wrapped chicken so the folded edges hold their shape.
Look closely at the chicken after rolling. If you see butter, patch that spot with a thin flap of chicken before wrapping. You do not need a perfect restaurant shape, but you do need full coverage. This is the same idea behind the classic Chicken Kiev with Garlic Butter, where structure matters as much as seasoning.
Panko Makes The Crust
Panko crumbs give Chicken Kiev a crisp shell because their flakes are larger and drier than standard breadcrumbs. Press them on firmly after the egg dip, especially around the folded edges. A bare patch can turn into a leak.
For a stronger crust, let the breaded chicken rest in the fridge for 15 minutes before frying. The coating hydrates a little and sticks better in hot oil. If you enjoy crunchy chicken dinners, the same coating mindset works well in 30-Minute Crispy Chicken Katsu.
Cook It Safely
Stuffed chicken is harder to judge by sight because the outside browns before the center is done. Use a thermometer and check the thickest chicken portion, not the butter pocket. The safe internal temperature for poultry is 165 F according to FoodSafety.gov.
Do not cut right into the chicken as soon as it leaves the oven. A short rest lets the juices settle and keeps the butter from spraying across the plate. It will still be molten.
Smart Swaps
Dill is traditional in many home versions, but parsley alone works if that is what you have. Chives are good too. Add a pinch of paprika or garlic powder to the panko if you want a deeper savory crust.
For the side, keep it simple. The filling is rich, so a clean vegetable helps. Try roasted asparagus, peas, or Garlic Butter Rice Side if you want something that can soak up the extra butter.
Storage And Reheating
Leftovers keep in the fridge for up to three days. Store them in a shallow airtight container after they cool. Reheat in the oven at 350 F until hot, and place them on a rack if you want the coating to crisp again.
You can freeze cooked Chicken Kiev too, though the crust is best fresh. Reheat from frozen at 375 F until hot in the center. If a little butter leaks during reheating, spoon it back over the chicken instead of wasting it.
Summary
Serve the Kievs hot after a short rest so the butter is molten but not explosive. Mashed potatoes, rice, asparagus, peas, or a crisp salad all work well beside the rich filling.

FAQs
- How do I keep Chicken Kiev from leaking butter?
Use very cold butter and chill the assembled chicken before breading. Tuck the sides of the chicken over the butter like a tight package. If there is a thin spot or open edge, butter will find it in the oven.
- Can I make Chicken Kiev ahead of time?
Yes. Assemble and chill the stuffed chicken up to one day ahead, or freeze the unbreaded rolls for up to two months. Bread them while still very cold, then fry and bake as directed.
- Can I bake Chicken Kiev without frying?
You can, but the crust will be lighter and less crisp. Spray the breaded chicken well with oil and bake at 400 F until the chicken reaches 165 F. Frying first gives the most even golden crust.
- What can I use instead of panko breadcrumbs?
Regular dry breadcrumbs work, though they make a finer crust. Crushed cornflakes are a good crisp substitute. Season whatever coating you use so the outside tastes as good as the filling.
- Can I use chicken thighs instead of breasts?
Boneless skinless thighs can work, but they are harder to pound into an even sheet. They also have more gaps, so leaking is more likely. Chicken breasts are easier to seal around the butter.
- What should I serve with Chicken Kiev?
Mashed potatoes are classic because they catch the garlic butter. Steamed peas, roasted asparagus, buttered rice, or a sharp green salad balance the richness.
- How do I reheat leftovers?
Reheat leftovers in a 350 F oven until hot in the center, about 15-20 minutes. The microwave softens the crust and can make the butter filling spill out fast.
